Kernel G Suite to Amazon WorkMail adds G Suite mailboxes as a source and migrates them to Amazon WorkMail. There are multiple mapping, filters, and selection features that help in each step of migration. We are providing you a step-by-step procedure with the relevant images.
Single Mailbox Migration
For a single mailbox migration, the software will ask for the credentials of the G Suite account, its service account, a P 12 key. The destination WorkMail needs the original domain name, mailbox ID, and Password.
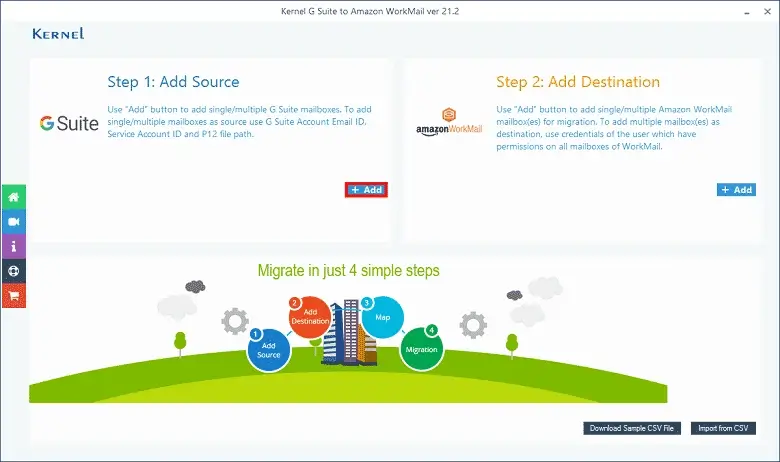
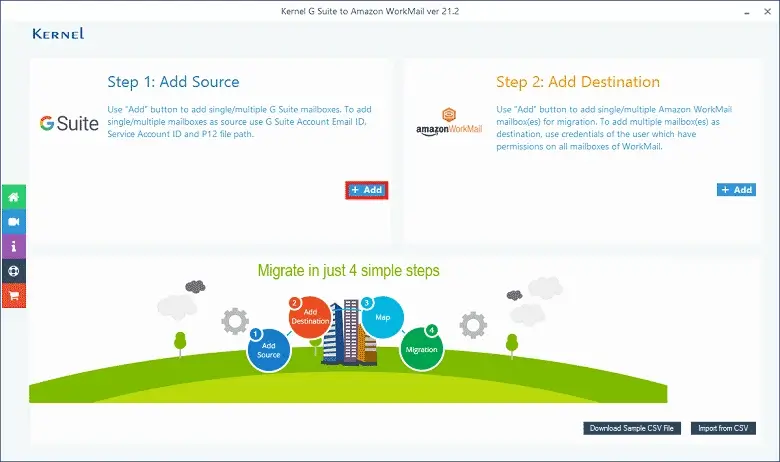
Step 1: After starting the software, you will see the options to add both source and destination. Click the Add button in the Source section.
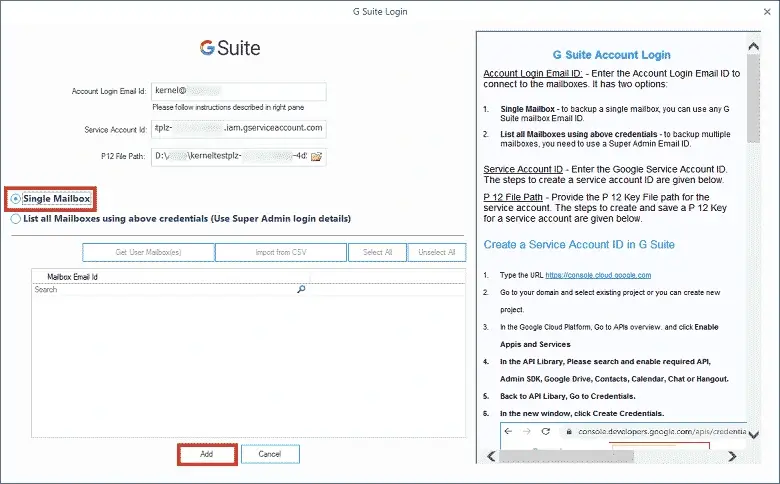
Step 2: Input G Suite account’s login email ID, Service Account ID, and a full path of P 12 Key. Then choose the option ‘Single Mailbox’ and click Add.
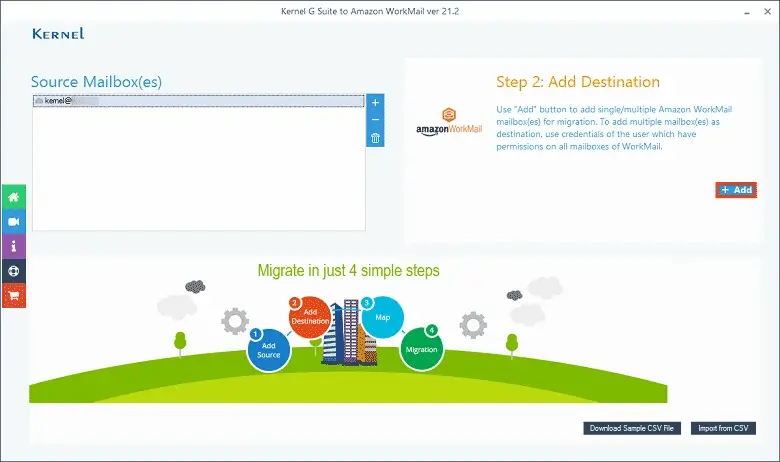
Step 3: The tool will check the validity of the account credentials and will add them in the tool. Then you can click Add in the destination section.
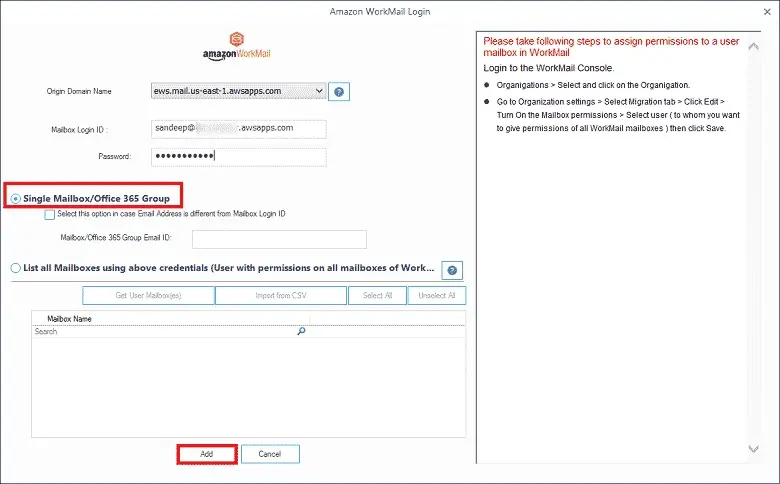
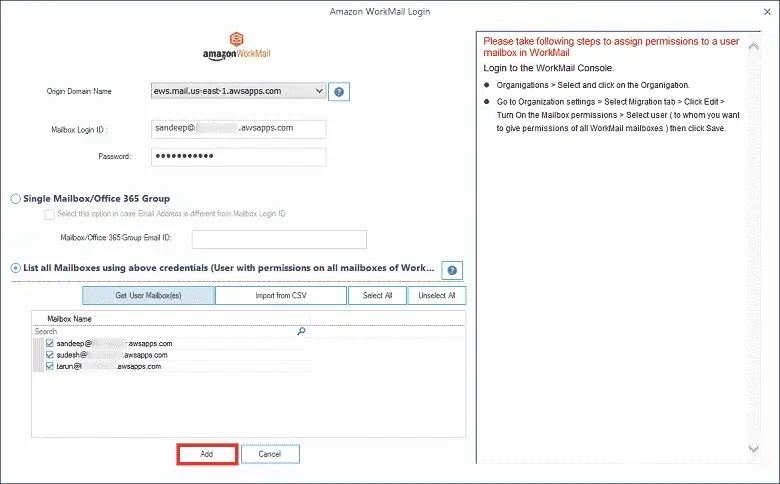
Step 4: Input the origin domain name, mailbox login ID, and password of Amazon WorkMail account. Then choose the option for single mailbox. Then click Add.
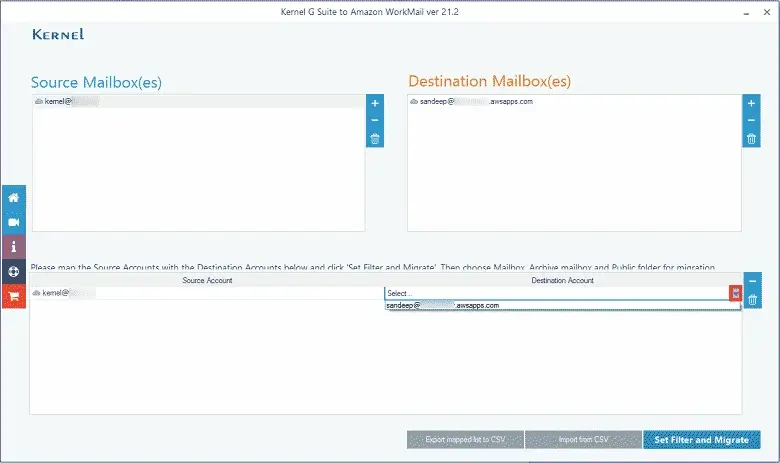
Step 5: Now, the tool has added both accounts. You need to map the destination account with the source account using the drop-down list.
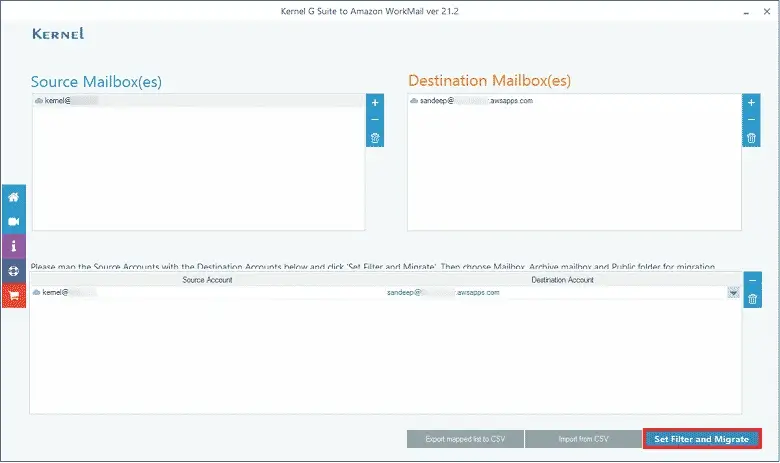
Step 6: Click Set Filter and Migrate.
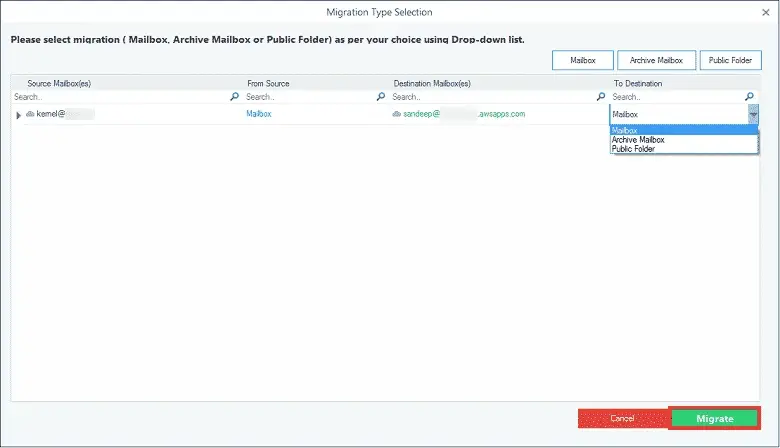
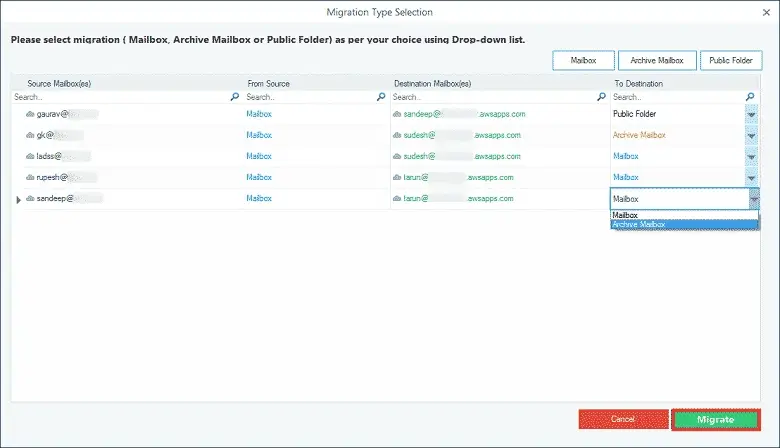
Step 7: The Migration Type Selection page is important where you can choose between mailbox, archive mailbox, and public folder. Choose any one and click Migrate.
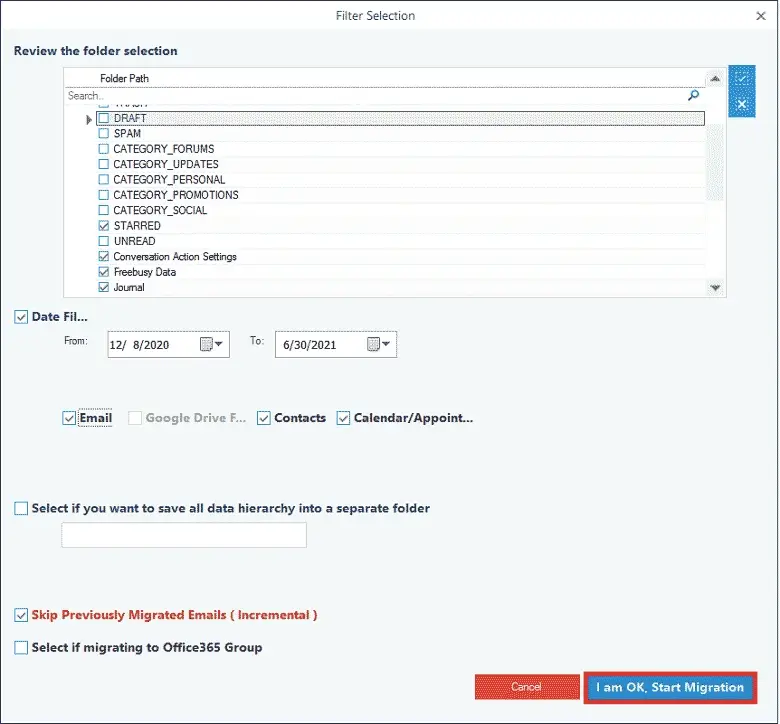
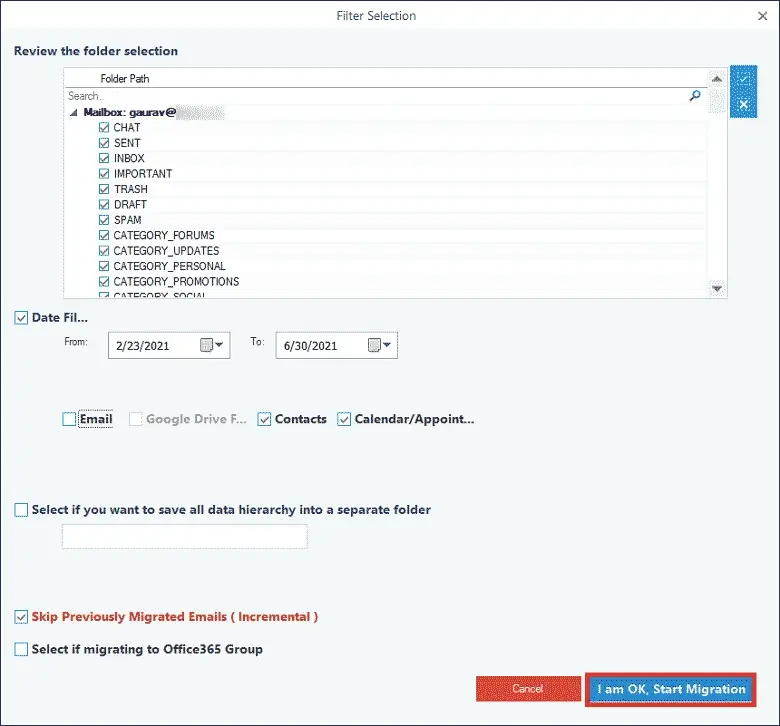
Step 8: The Filter Selection page offers various types of filter options that you can use to select the important content of the G Suite mailbox. Then click I am Ok, Start Migration.
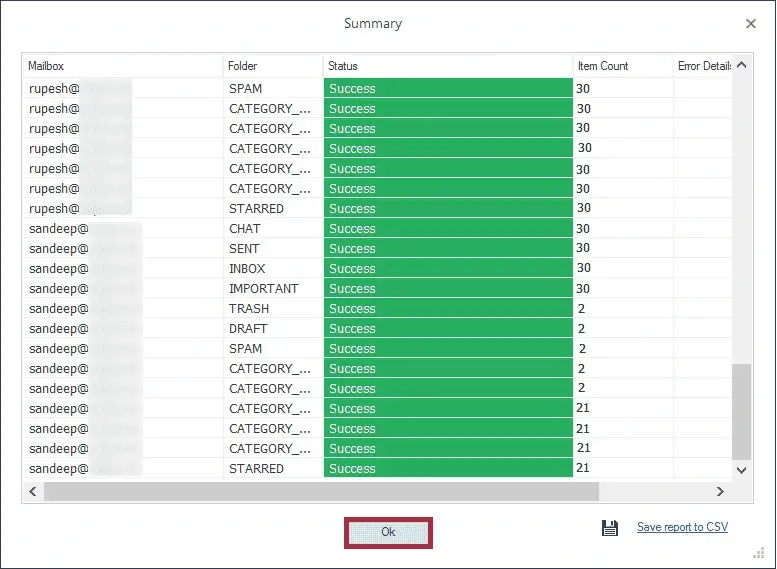
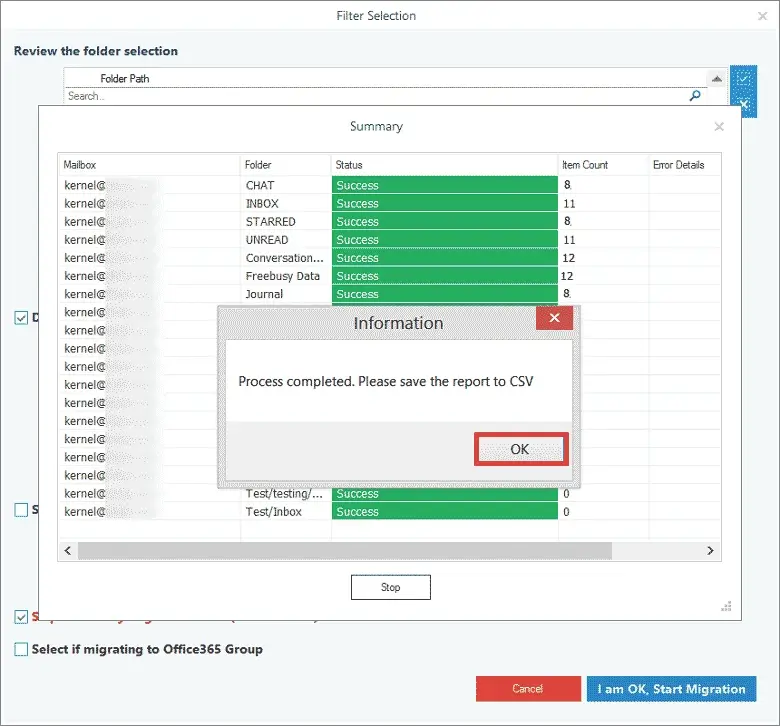
Step 9: The migration will complete successfully. A message will appear that process is completed. Click OK.
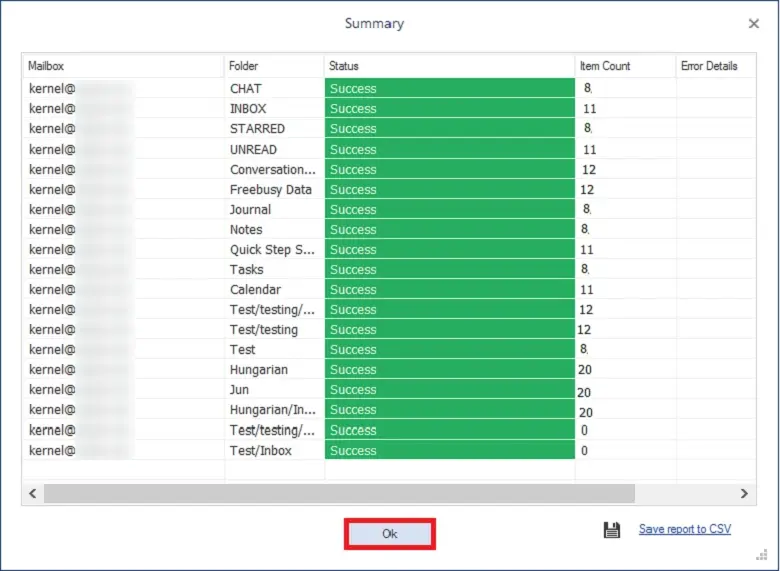
Step 10: You can save the report in CSV format, then click OK to finalize the process.
Multiple Mailbox migration follows the same process as single mailbox migration to migrate several mailboxes simultaneously. On the login page, you can select multiple accounts.
Step 1: At the home screen, click the Add button in the source section.
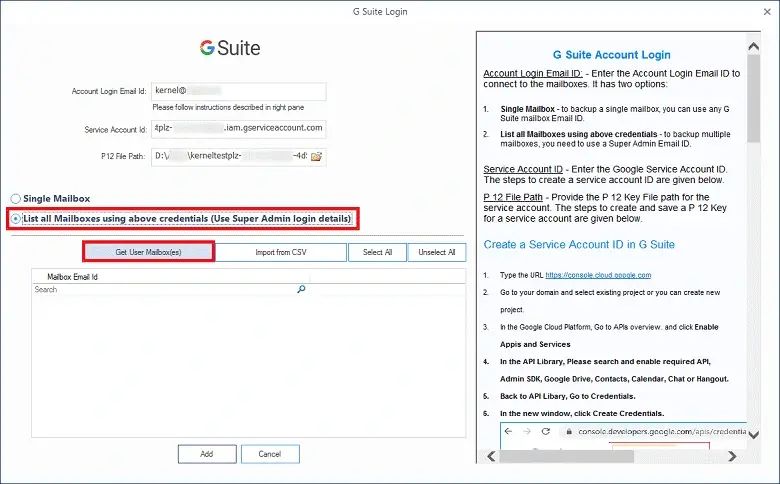
Step 2: You need to use a Super Administrator G Suite Account’s Email ID, Service Account ID, and P 12 key. Then choose the second option to list all mailboxes using the given credential. Click Get User Mailbox(es).
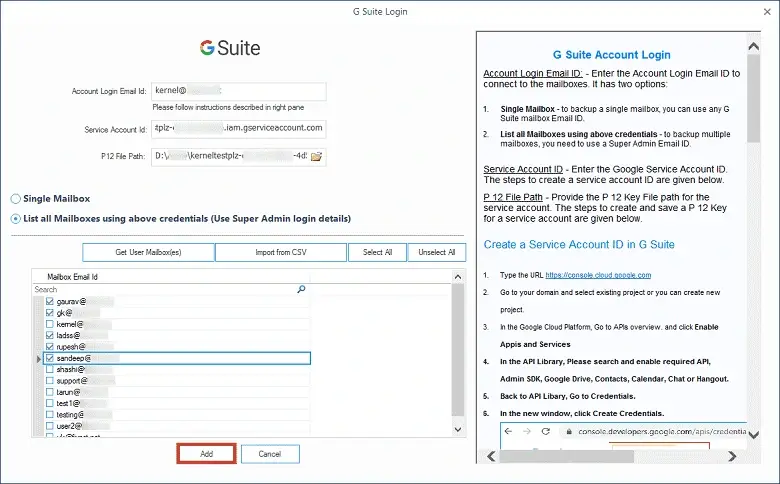
Step 3: The software will add all the user mailboxes created with the Super Administrator account. You can select/deselect them easily. Then you need to click the Add button.
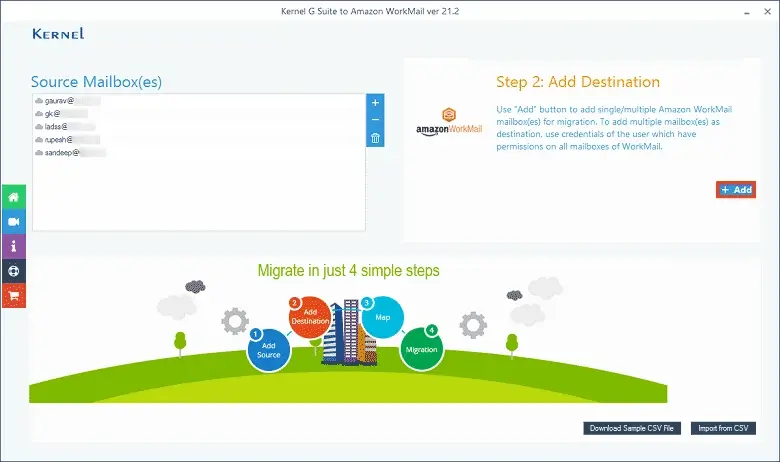
Step 4: The software will include the selected G Suite accounts. Then you should click the Add option in the destination section.
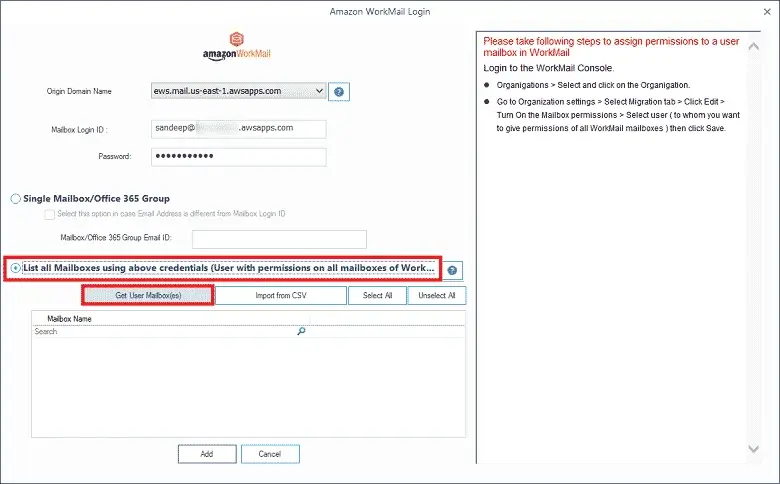
Step 5: Input Origin Domain Name using the drop-down list, Administrator login ID, and password. Then choose the second option to list all mailboxes using the Administrator credentials. Click Get User Mailbox(es).
Step 6: Select multiple WorkMail accounts and click the Add option.
Step 7: The software has added accounts from both platforms. Now, you should map source and destination accounts so that there is no improper migration. The destination section has a drop-down to map the accounts properly.
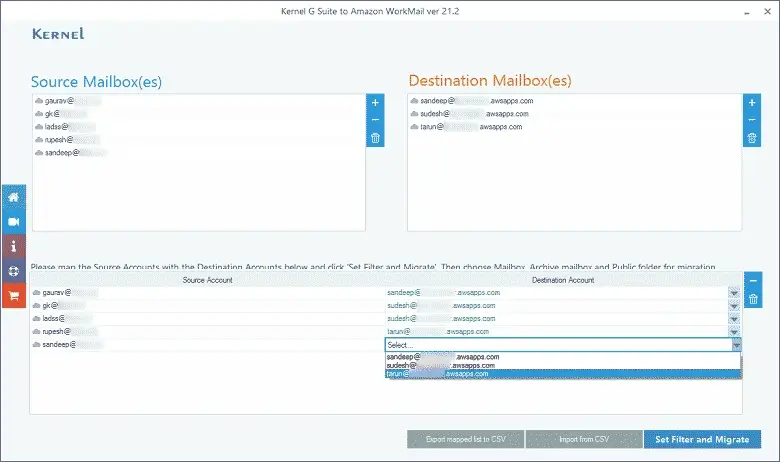
Step 8: Click Set Filter and Migration option after you have mapped the accounts.

Step 9: If you want to migrate data between mailbox, archive mailbox, or public folder, you should select it on the Migration Type Selection page. Then click Migrate.
Step 10: The Filter Selection page has many options to filter only the important parts of G Suite mailboxes. Then you need to click I am OK, Start Migration.
Step 11: The software will quickly migrate entire mailboxes and their folders. You can save reports in CSV format and then click OK to complete the process.