Here is the detailed step-by-step guide to export Google Docs to local or NAS drive using our Kernel Google Docs Export tool:
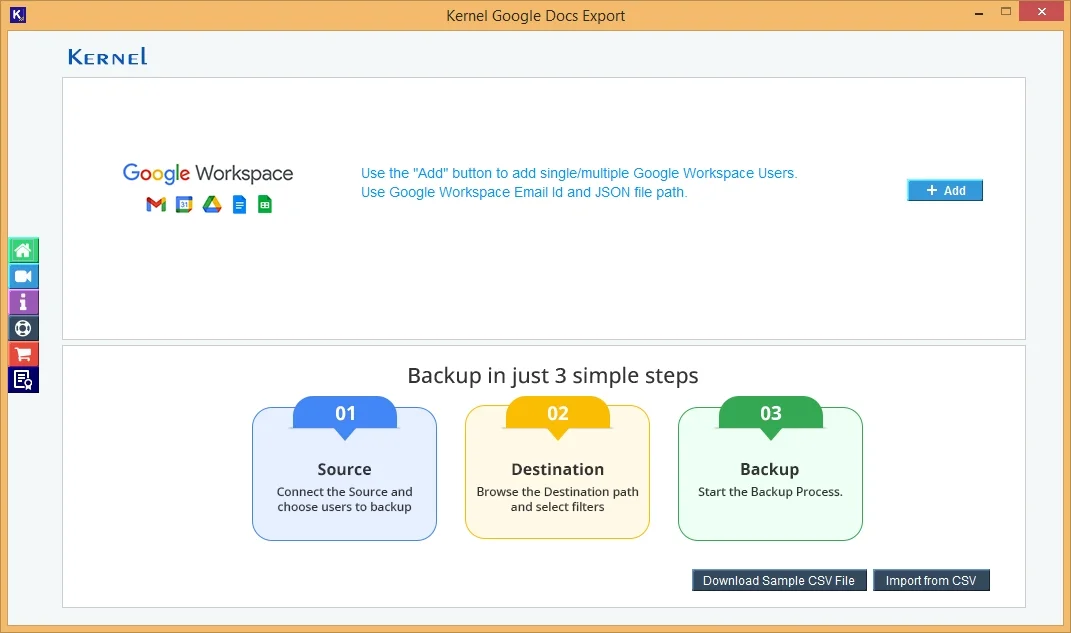
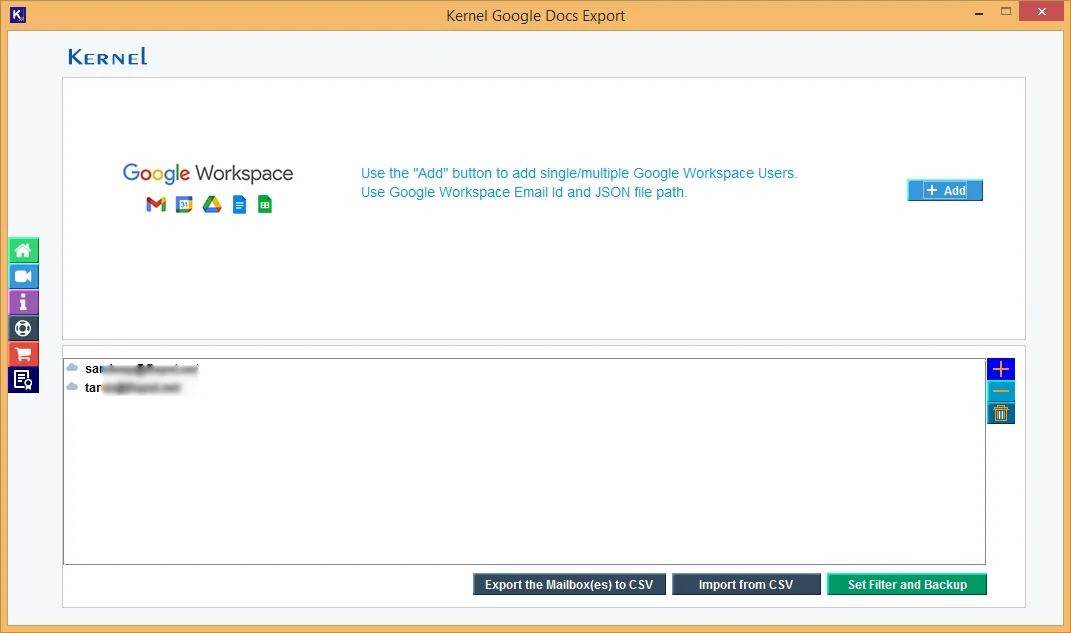
Step 1: Launch the Kernel Google Docs Export tool and click Add from the home screen to add single or multiple Google Workspace users.
Step 2: Add the required G Suite login credentials to connect the account using Account Login Email Id and JSON File Path.
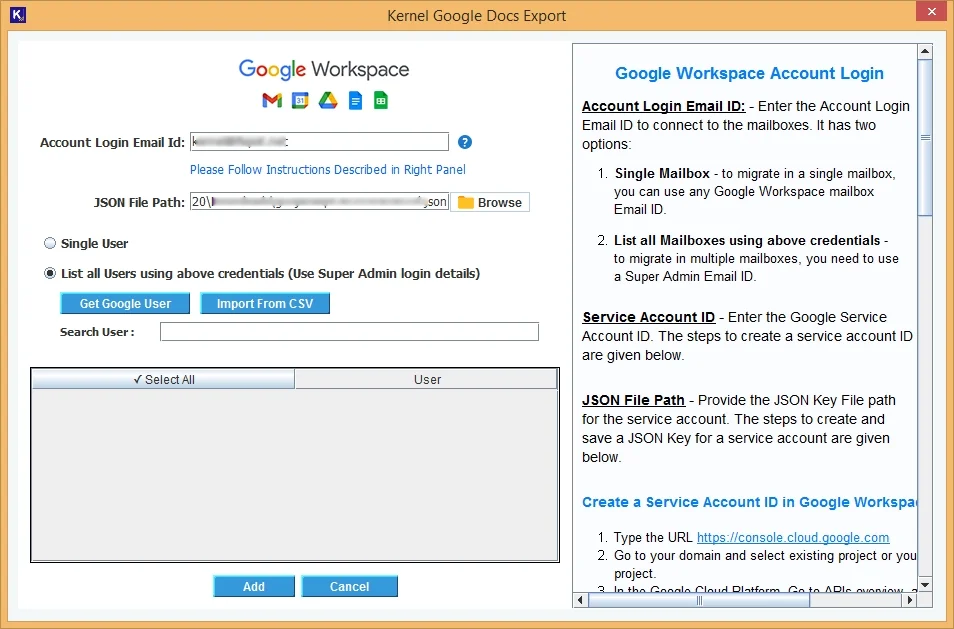
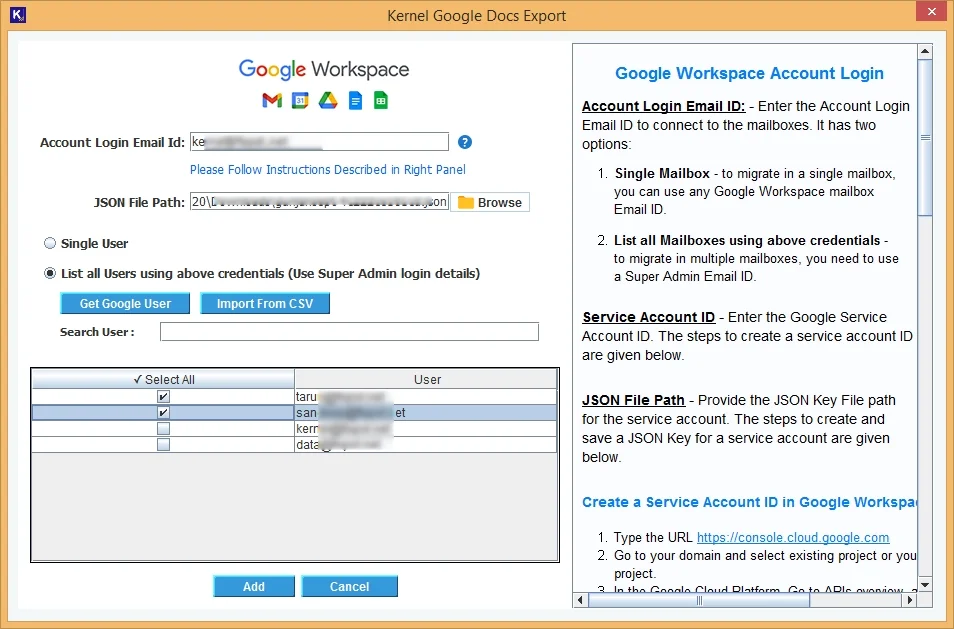
Step 3: Select to add Single User or List all Users using above credentials (Use Super Admin login details). Click Get Google User to retrieve all the users from the account.
Step 4: Select the desired users from the listed ones to proceed with the export. Click Add.
Step 5: Click Set Filter and Backup to continue.
Note: Use Export the mailboxes to CSV file and then Import from CSV to run bulk data export. Click on + sign to add more users to the list.
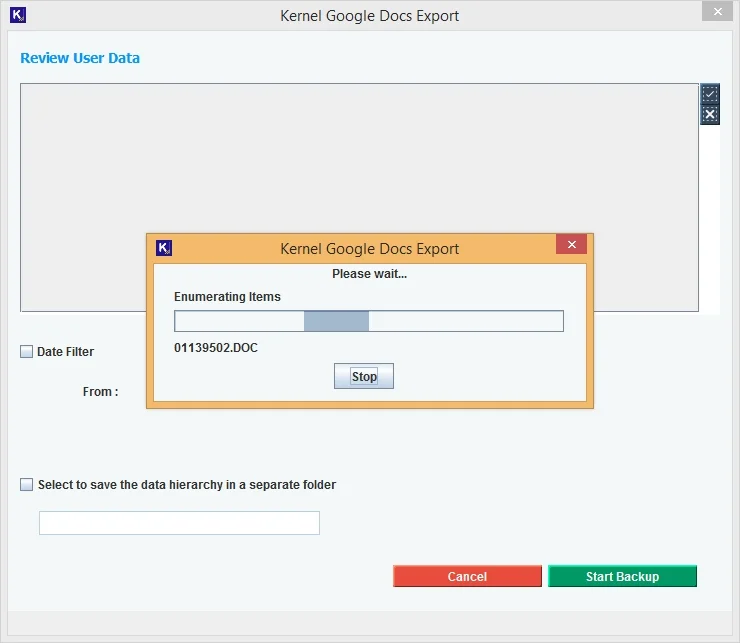
Step 6: Tool will begin enumerating all the items from the Google Workspace and list them for easy selection.
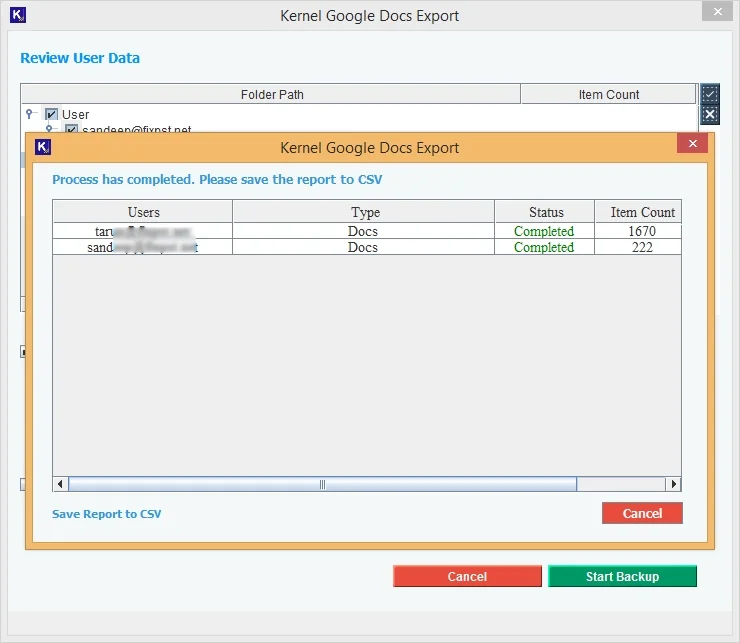
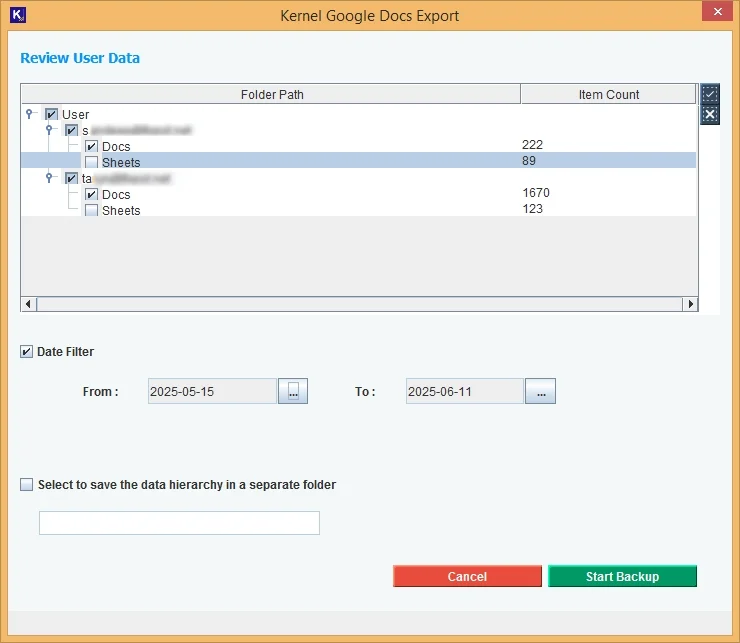
Step 7: Review User Data as described with the item count in each G Suite user. Apply date filter if required for selective docs download.
Step 8: Mark the check box, “Select to save the data hierarchy to a separate folder” to move all the docs to a separate folder with hierarchy. Click Start Backup.
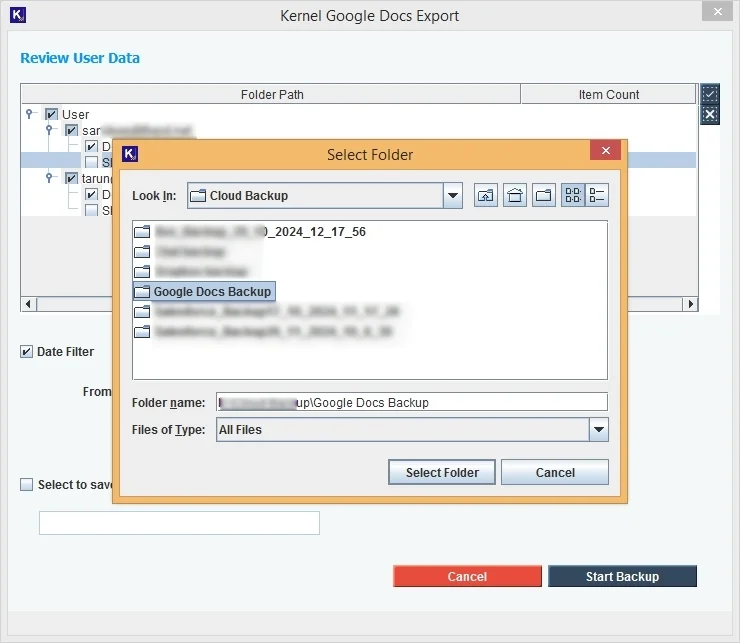
Step 9: Provide the destination to save the file on your local machine.
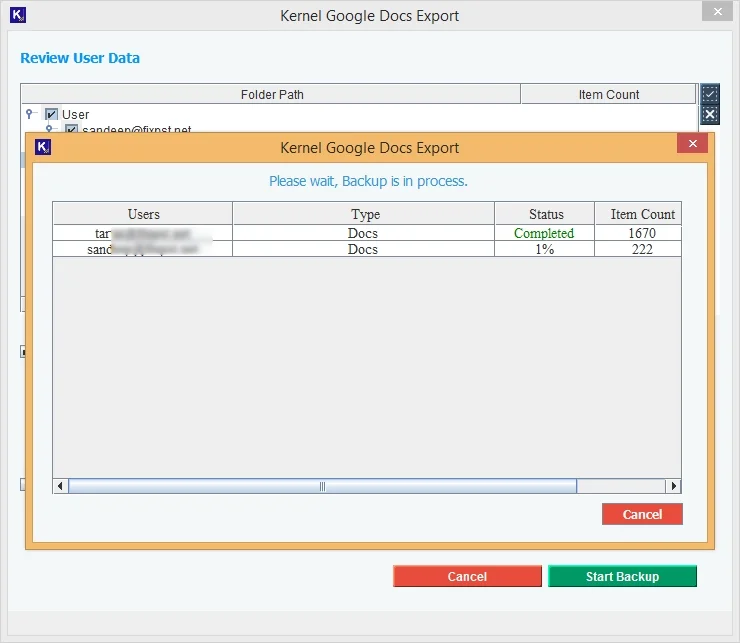
Step 10: After that, the export process will begin. Track the real time progress from the screen.
Step 11: In the end, the tool provides a popup with the export location. Click on it to visit the files. Click OK to finish.
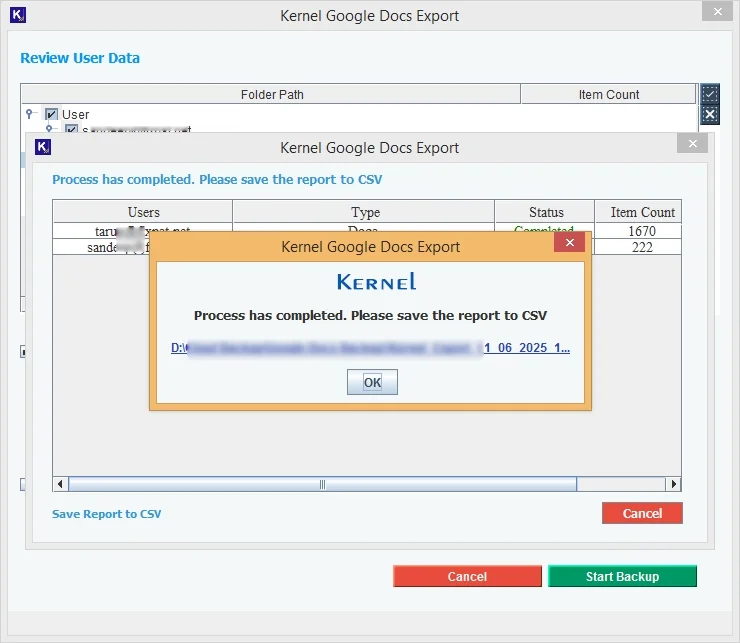
Step 12: Click on Save Report to CSV to save the process report to a CSV file within your system. Click Cancel to exit.