Follow the given step-by-step instructions to export Google chat without any hassles:
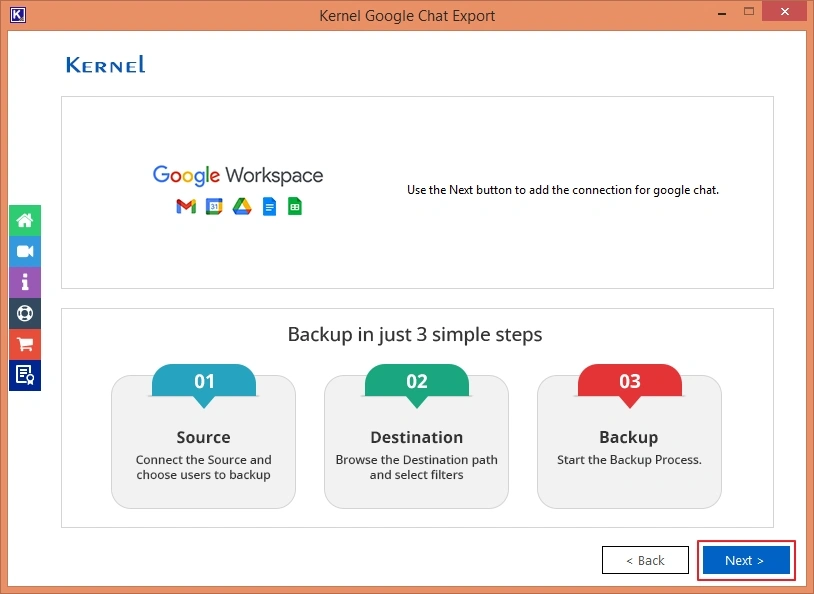
Step 1: Launch the Kernel Google Chat Export software and click Next from the home screen.
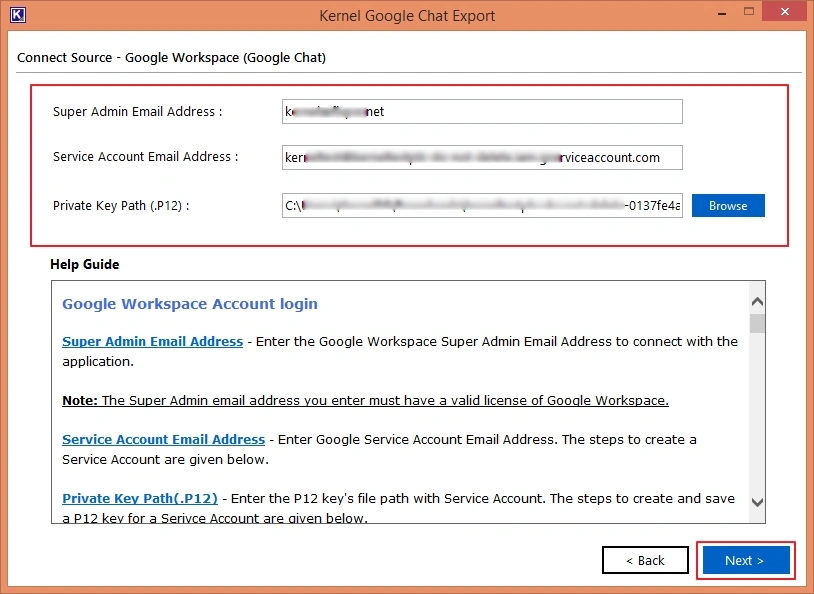
Step 2: Enter the Google Workspace (Google Chat) credentials: "Super Admin Email Address," "Service Account Email Address," and "Private Key Path (.P12)" to connect the account. Click Next.
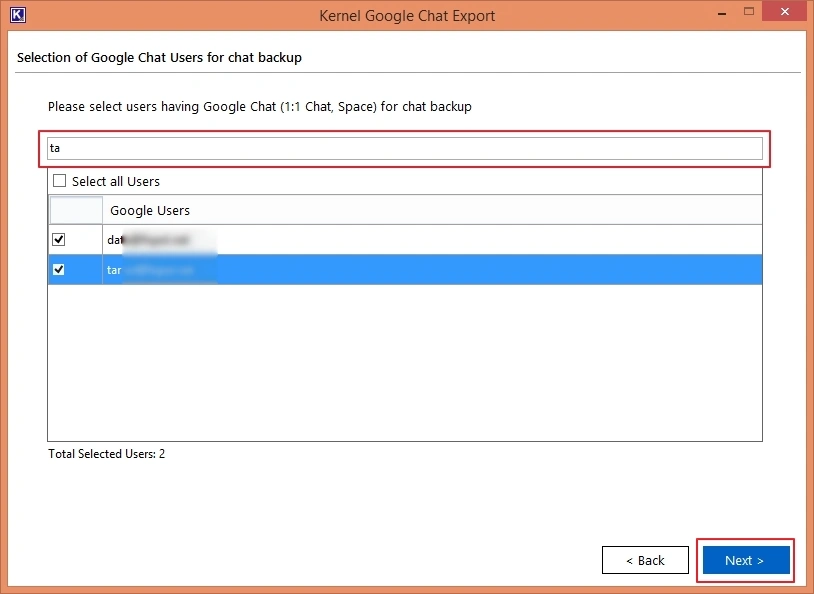
Step 3: The next wizard shows the list of all users having Google Chat (1:1 Chat and Space) to backup.
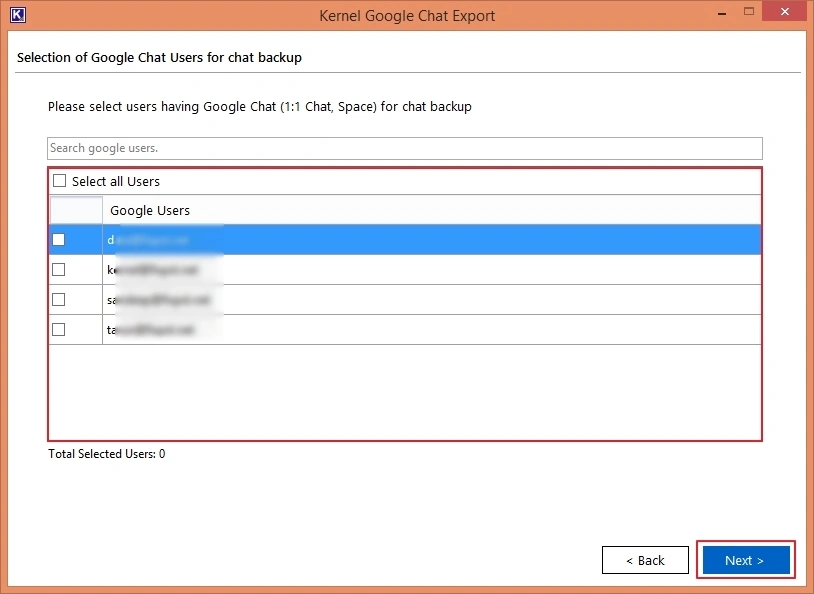
Step 4: Use the search bar on the top to find the specific users with their email id. Select users from the search results and click Next to proceed.
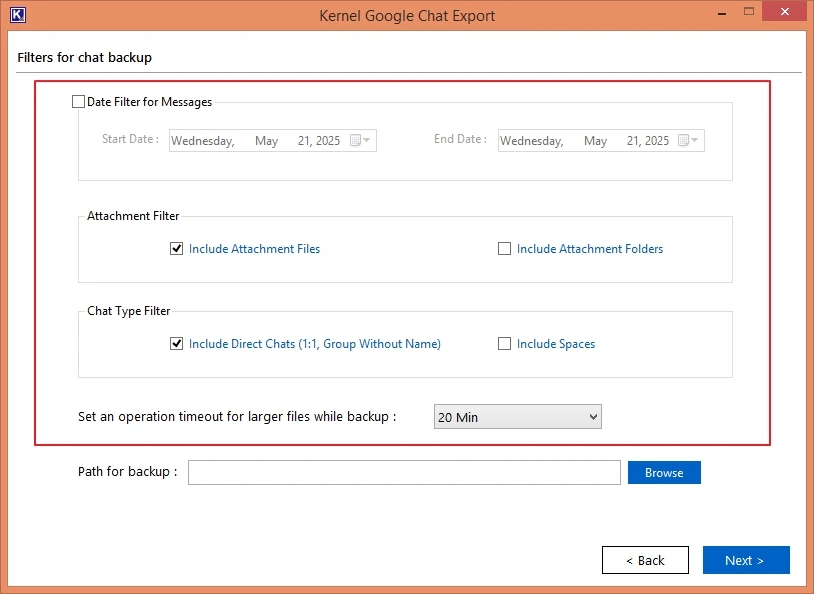
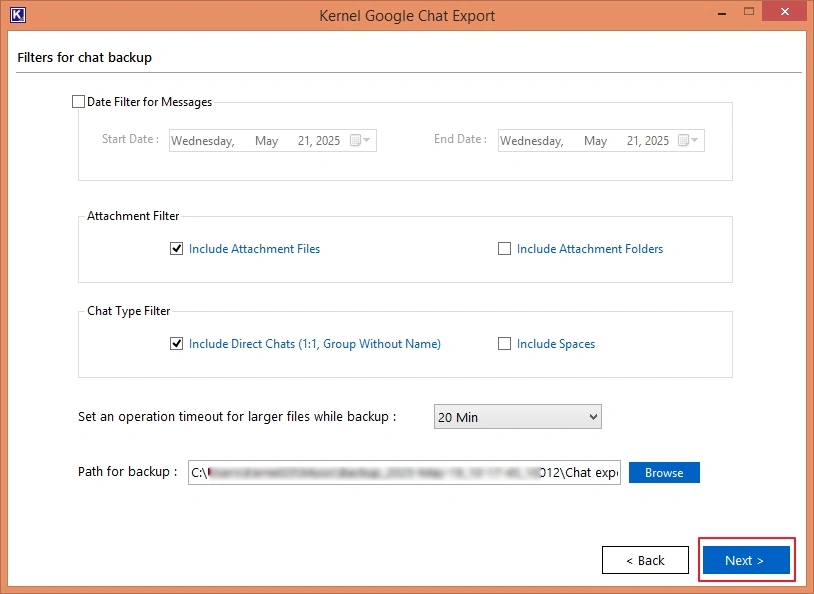
Step 5: After the users’ selection, choose from the available filters for chat backup.
- Date Filter: Define start and end date of the messages.
- Attachment Filter: Specify to include attachment files or folders.
- Chat Type Filter: Mention if you want to include Direct Chats or Spaces.
- Set an Operation Timeout for larger files while backup
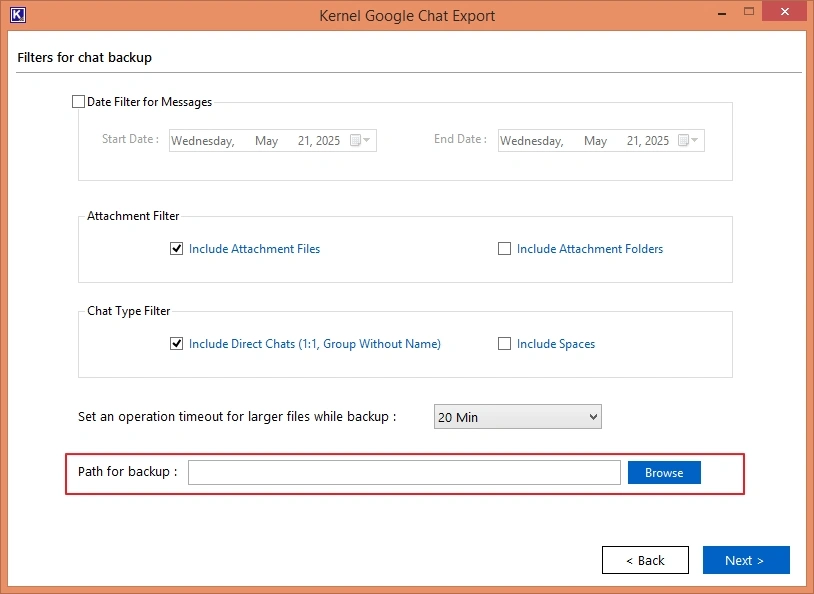
Step 6: After applying the filters, use the Browse button to define the path for backup.
Step 7: Select the existing folder from your local machine or NAS storage or use Make New Folder option to create a new folder to save the files.
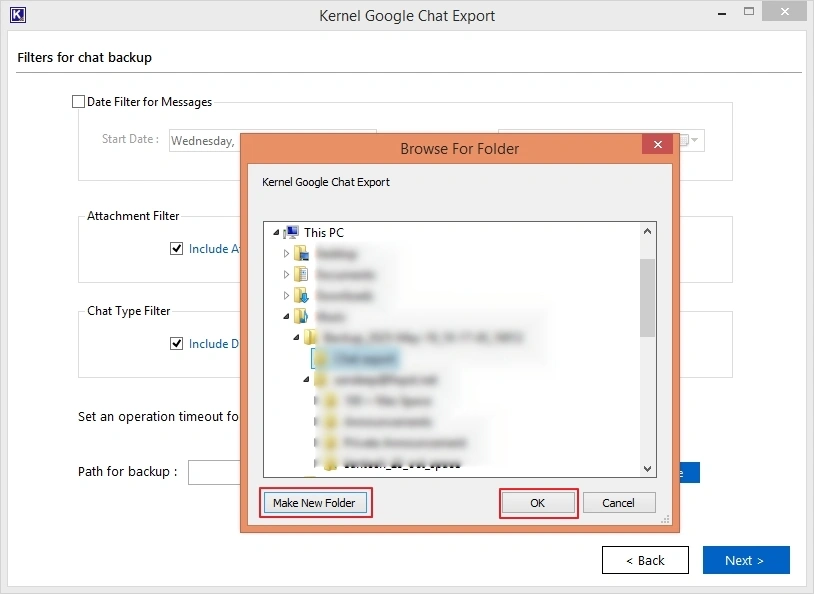
Step 8: Once the destination is defined, hit the Next button.
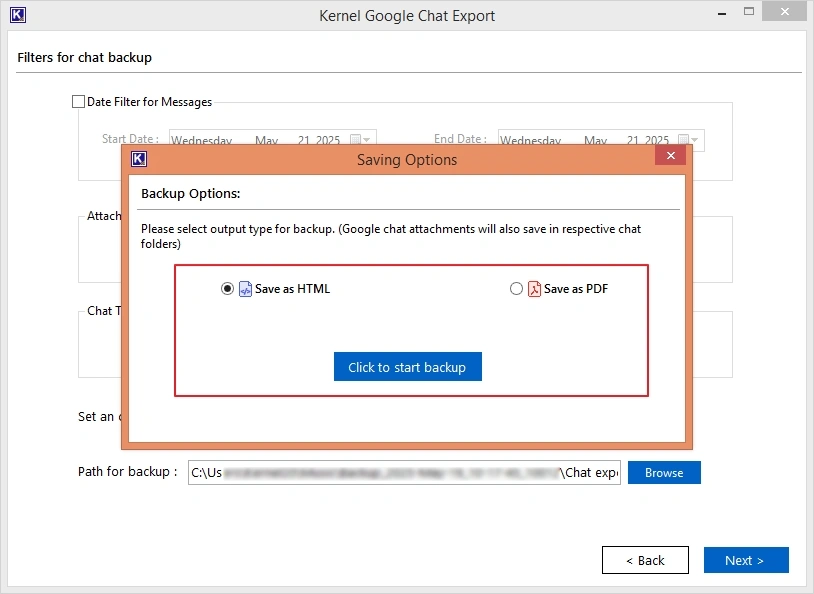
Step 9: Select the desired output file type for backup from HTML and PDF and tap on Click to start backup button.
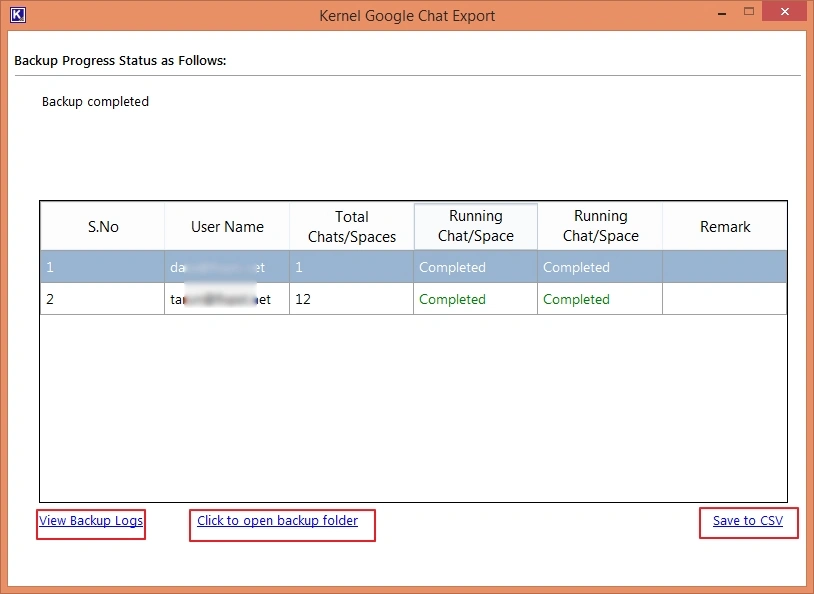
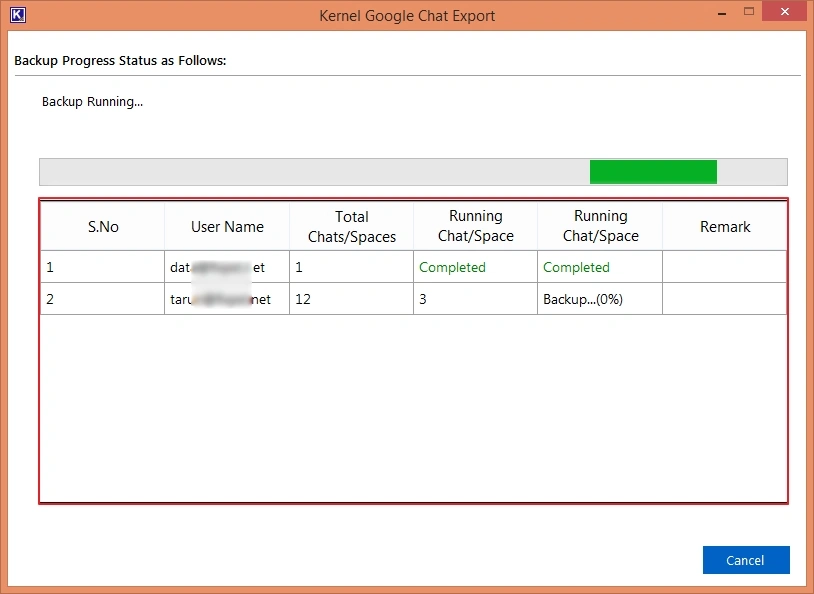
Step 10: The tool will begin the process to export Google Chat, showing you the real-time progress of the process.
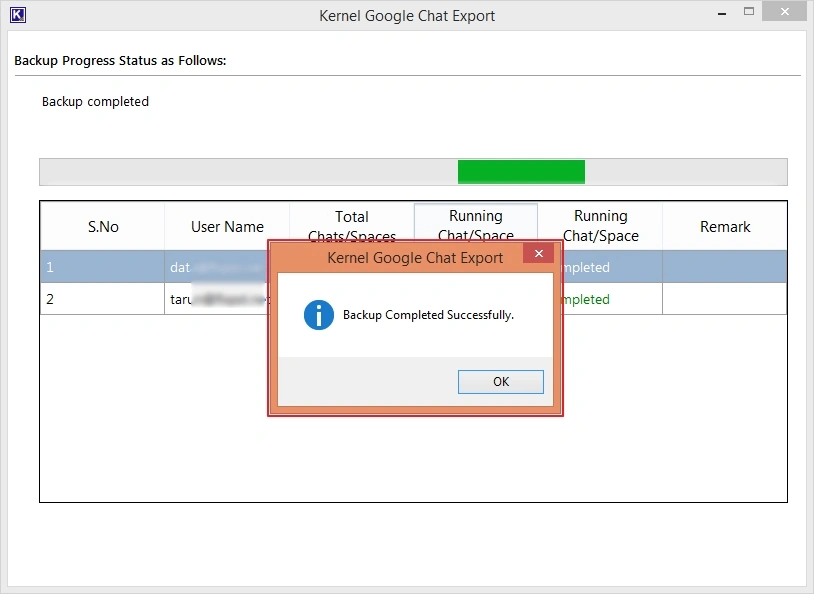
Step 11: With the process completion, it will show a pop up with the message, "Backup Completed Successfully." Click OK to finish.
Step 12: You can check the Backup logs of the process by clicking on the View Backup Logs link. To find the backup files and folders, tap on Click to open backup folder.
Also, you can select Save to CSV to download the backup logs to your local drive