Here is the detailed stepwise guide to easily migrate entire data from Dropbox to Google Drive with intact files and folders using the software.
Step 1: Download and install the Kernel Dropbox to Google Drive tool.
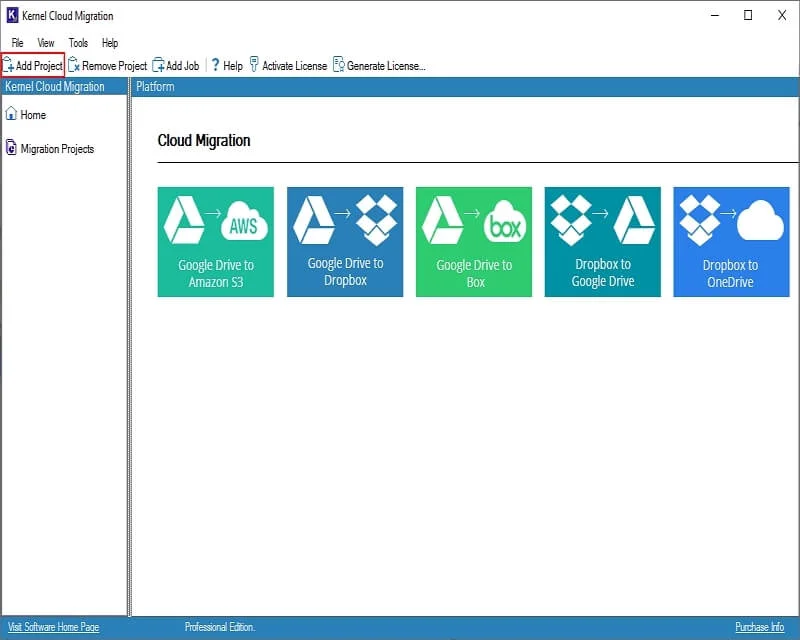
Step 2: On the software’s homepage, click on Add Project option.
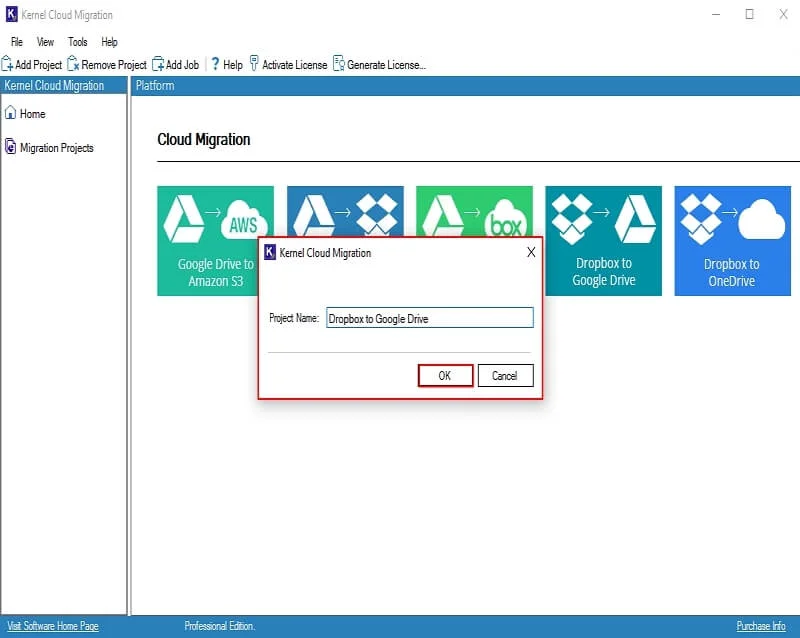
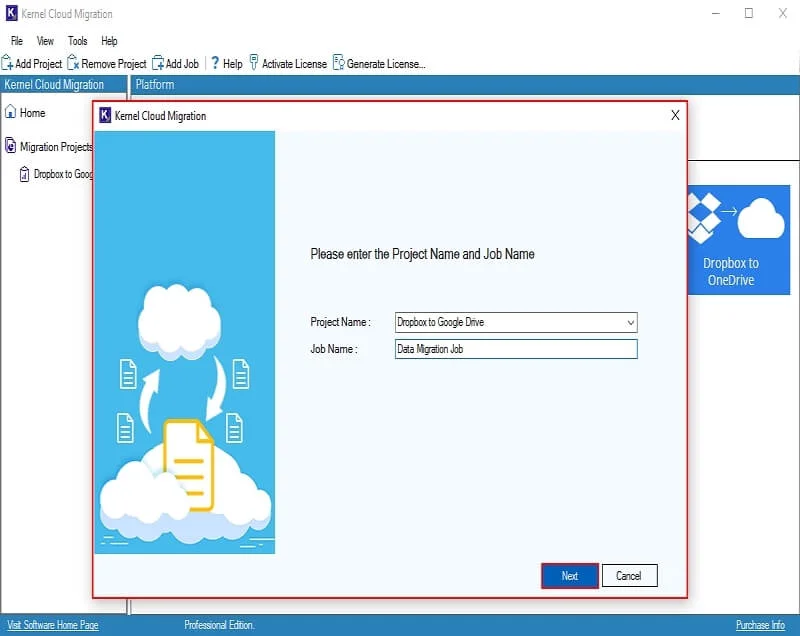
Step 3: Enter Project Name and click OK.
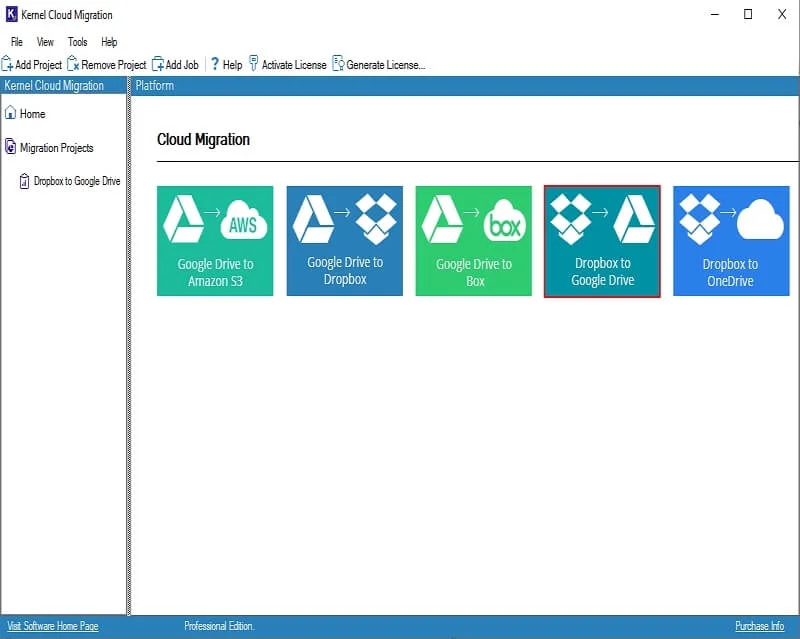
Step 4: Double-click on the Dropbox to Google Drive tile.
Step 5: Enter the specific Job Name and click Next.
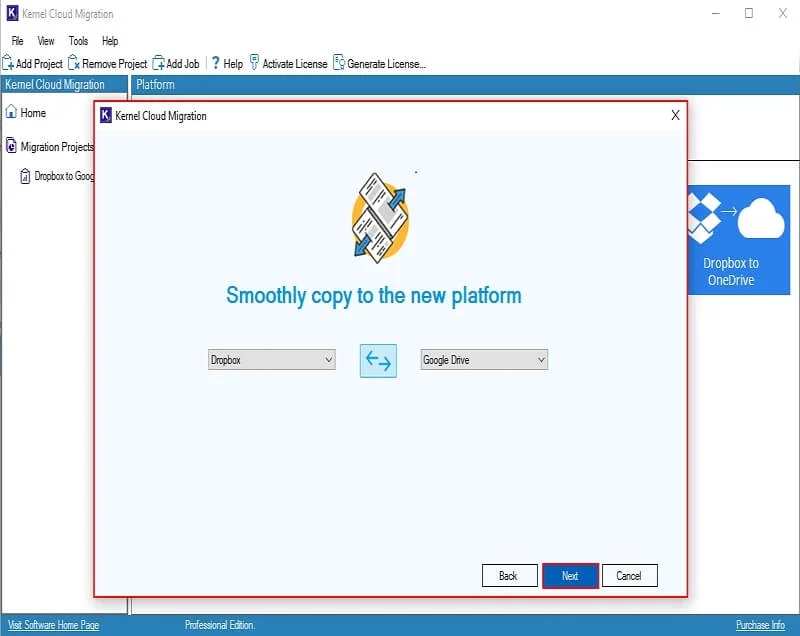
Step 6: In the following window, verify source and destination, and click Next.
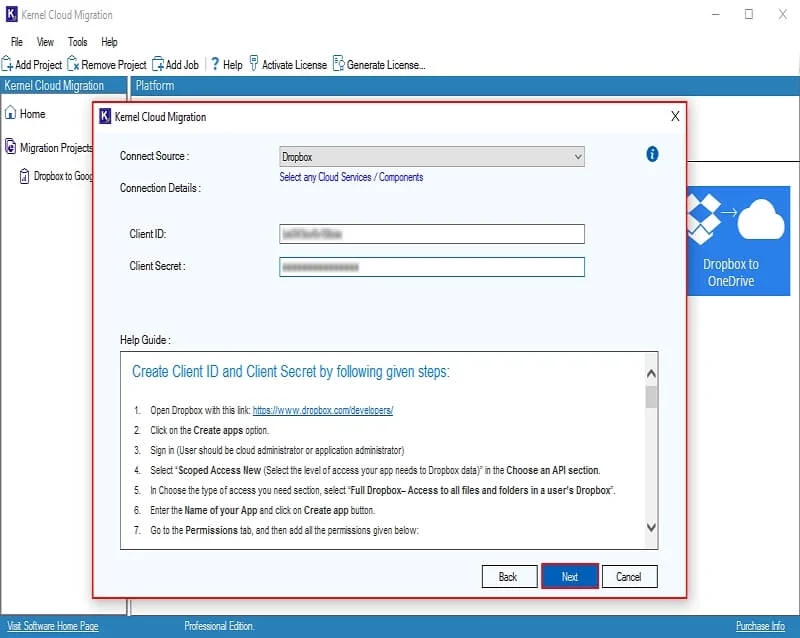
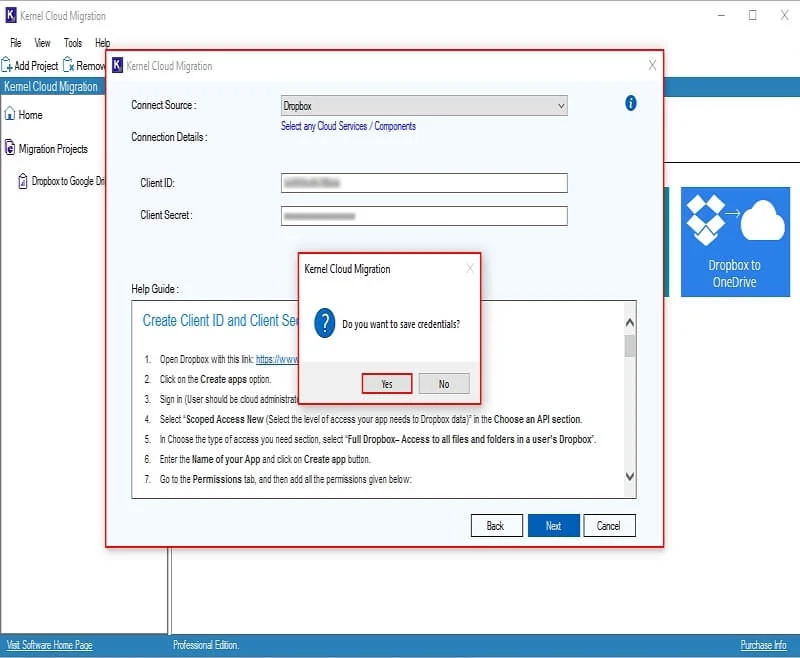
Step 7: In the Connect Source window, enter Connection Details, such as Client ID and Client Secret. Click Next.
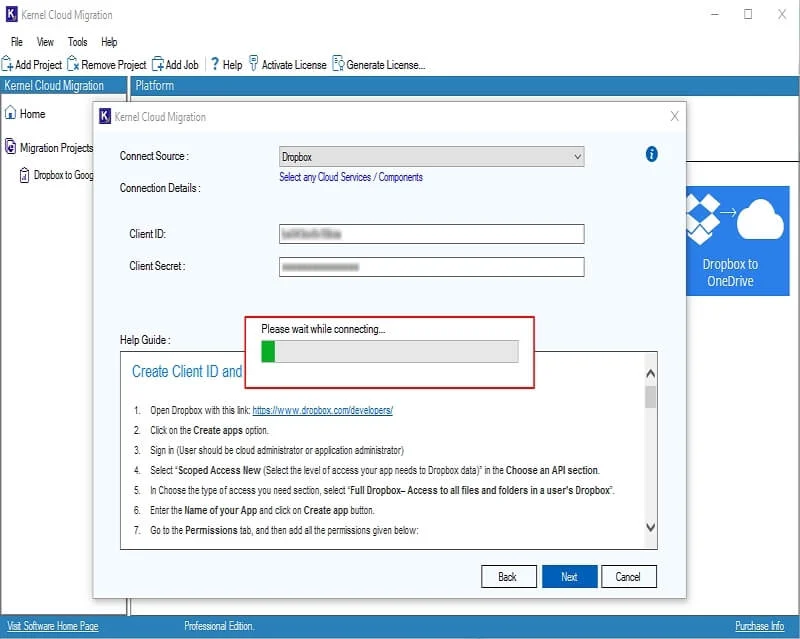
Step 8: The software will start adding Dropbox account and show “Please wait while connecting” message.
Step 9: In the following message box, click Yes to save Dropbox credentials in the software.
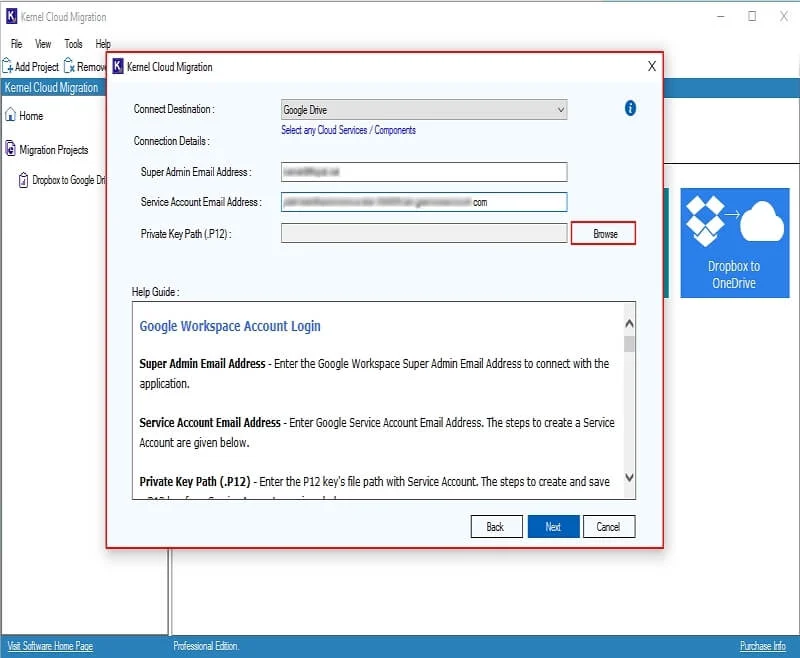
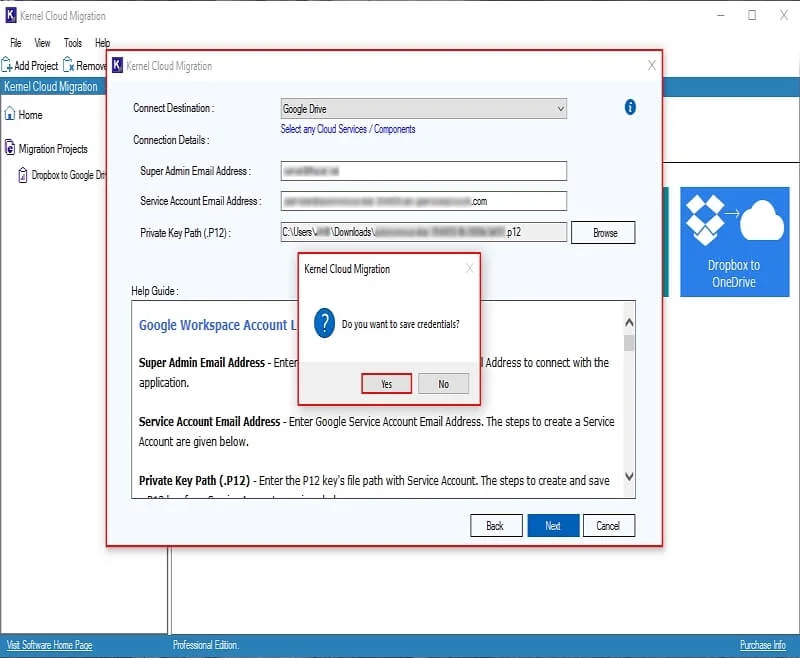
Step 10: In the Connect Destination window, enter Connection Details, such as Super Admin Email Address and Super Account Email Address. Click on Browse to select the Private Key Path (.P12).
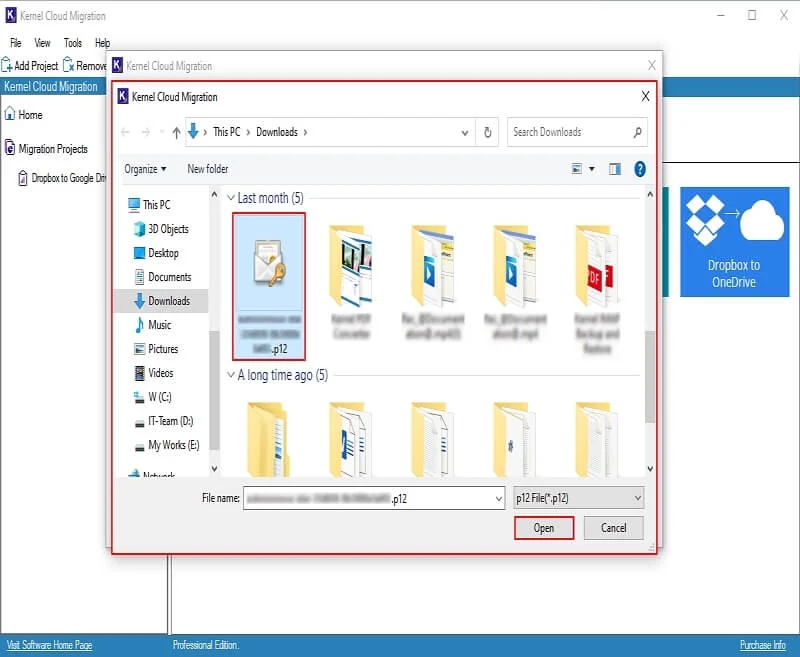
Step 11: Select P12 Key from your system and click Open.
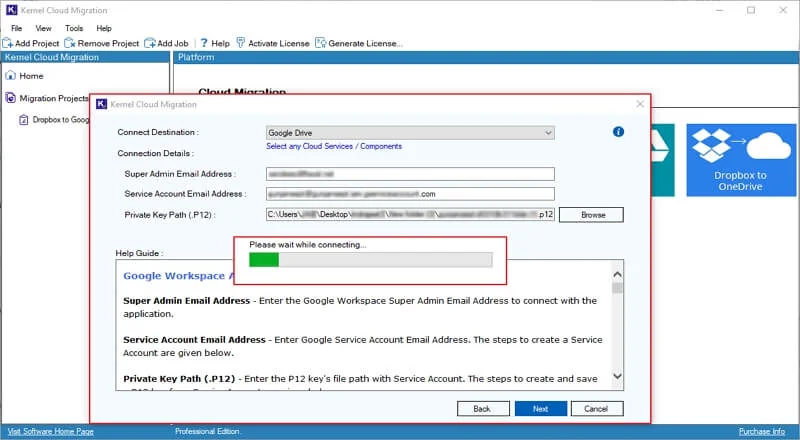
Step 12: Again, in the Connect Destination window, click Next.

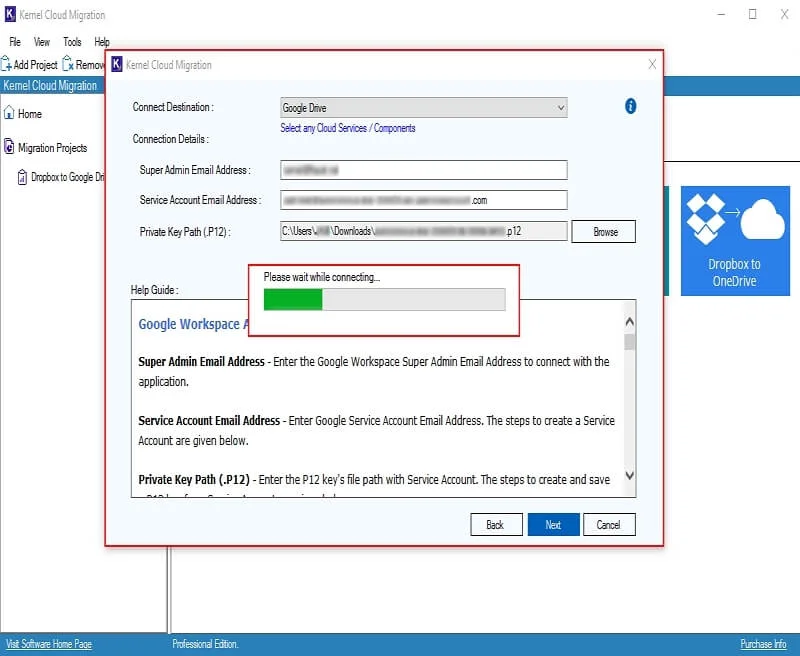
Step 13: The software will start connecting to the destination and show “Please wait while connecting” message.
Step 14: Click Yes to save the password in the following window.
Step 15: The software will start adding Google Drive account and show “Please wait while connecting” message.
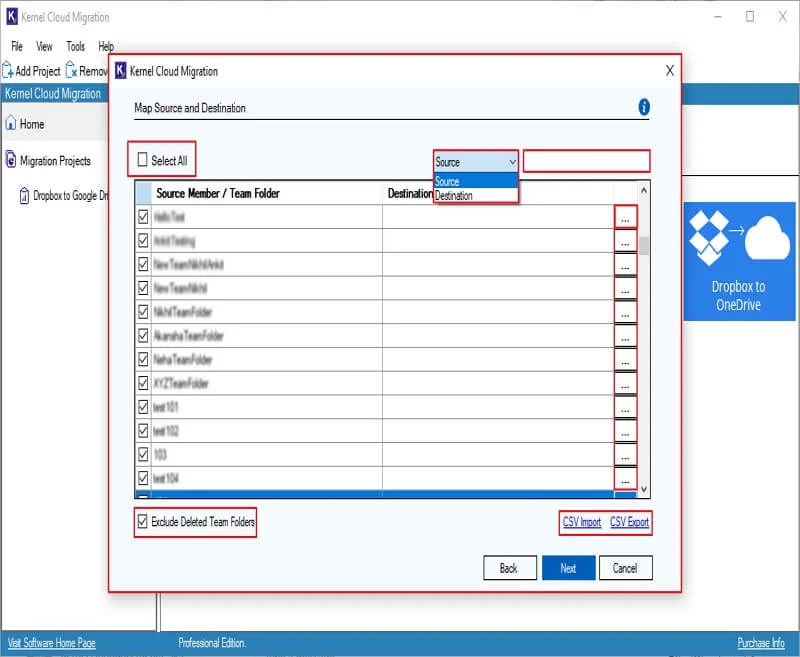
Step 16: : In the Map Source and Destination window, tick the checkbox of Select All to choose all Source Member/Team Member. Use advanced Search option to find specific member from multiple ones.
In the Destination User/Path column, click on three dots to select Google Drive user. Also, you can skip migrating deleted team folders by clicking on the Exclude Deleted Team Folders option.
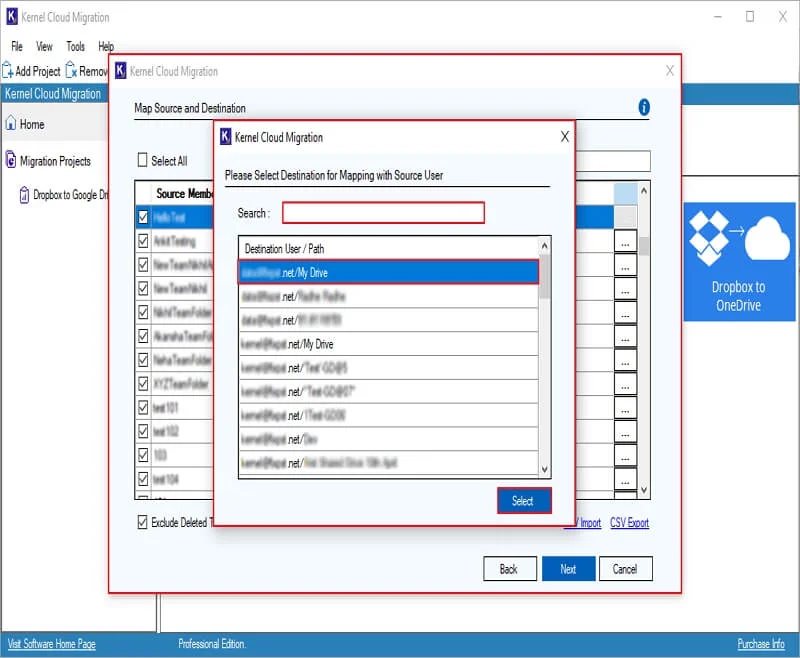
Step 17: In the following window, Select Destination Users. Also, you can Search for specific users and initiate your migration process.
Step 18: Again, in the Map Source and Destination window, click Next.

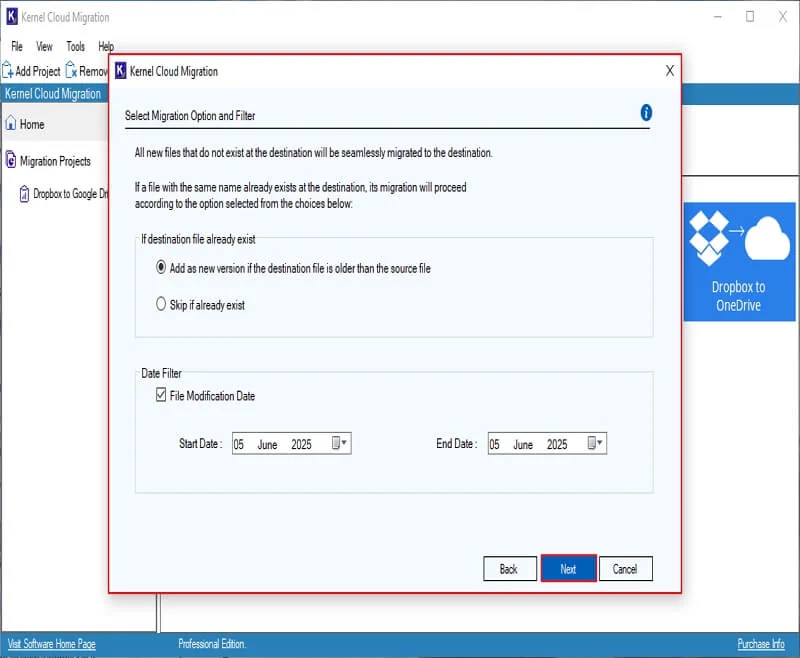
Step 19: In the Select Migration Option and Filter window, select options from:
If destination file already exist: This option provides you two different options to save migrated files:
- Add as new version if the destination file is older than the source file.
- Skip if already exist.
Date Filter: Select Start Date and End Date to migrate data according to the selected dates.
File Modification Date: It will save your modified files or newer versions of files for a selective date range.
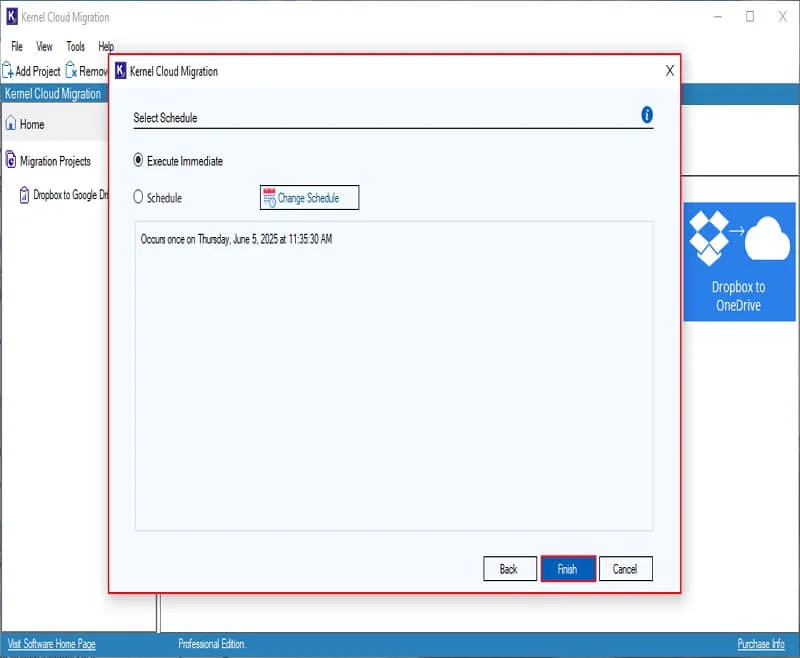
Step 20: In the Select Schedule window, schedule your migration as per your needs:
Execute Immediate: It will start your migration instantly.
Schedule: Automate your migration on Daily, Weekly, Monthly, and Only Once. Finally, click Finish.
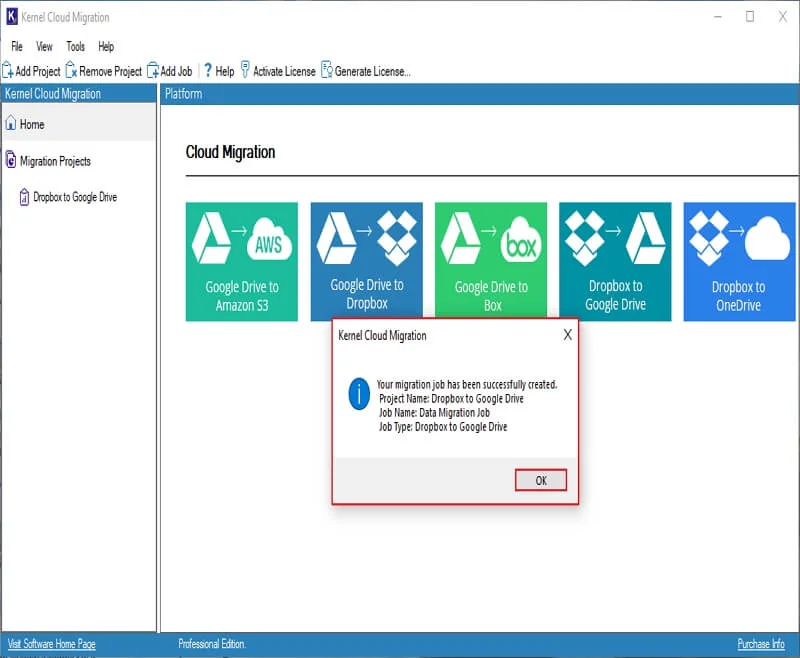
Step 21: The software will create a migration job and show “Your migration job has been successfully created” message with Project Name, Job Name, and Job Type. Click OK.
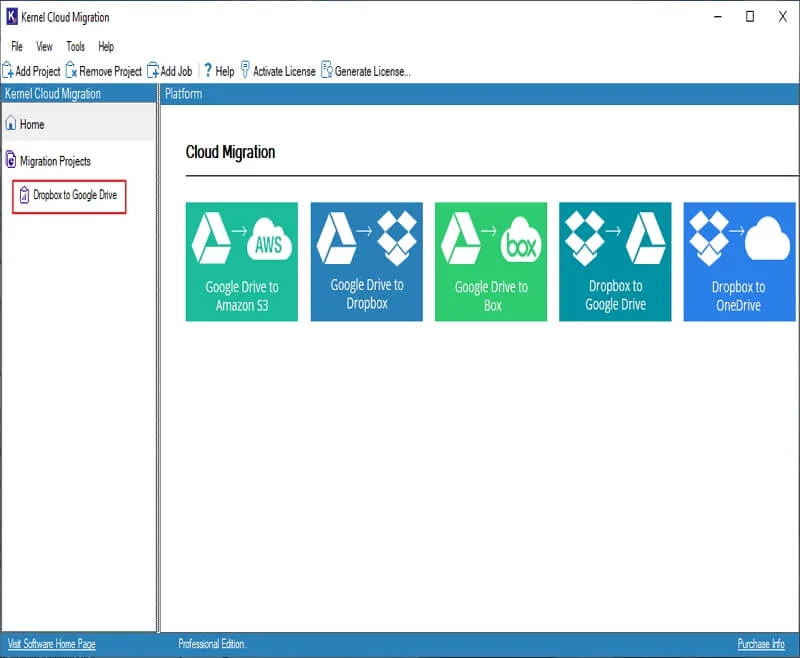
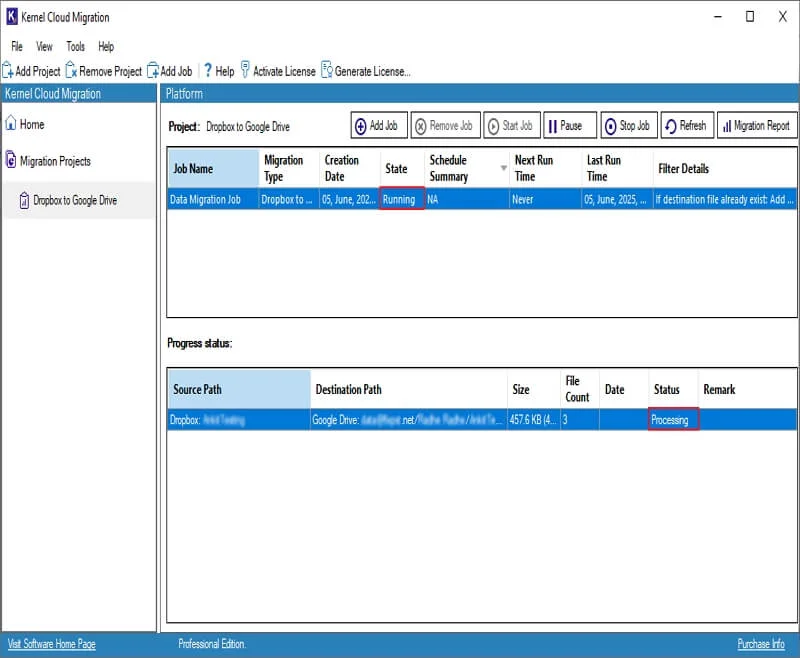
Step 22: Click on the Project Name to see your migration job progress.
Step 23: The software will show Running State of the Dropbox to Google Drive Migration.
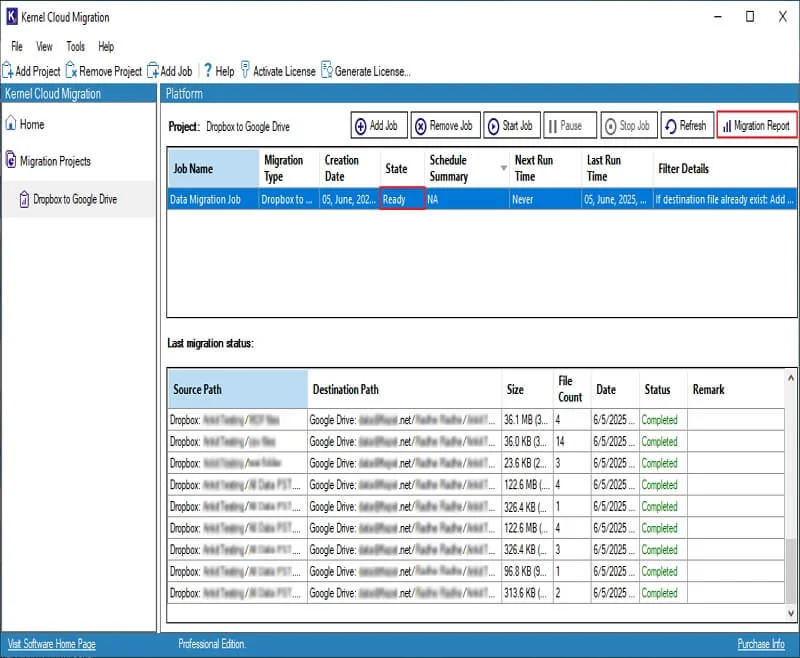
Step 24: Once the Migration Job is completed, you will see the Ready message in the Status bar. In the Project options, select your Job Name and click Migration Report option to download a detailed migration report.
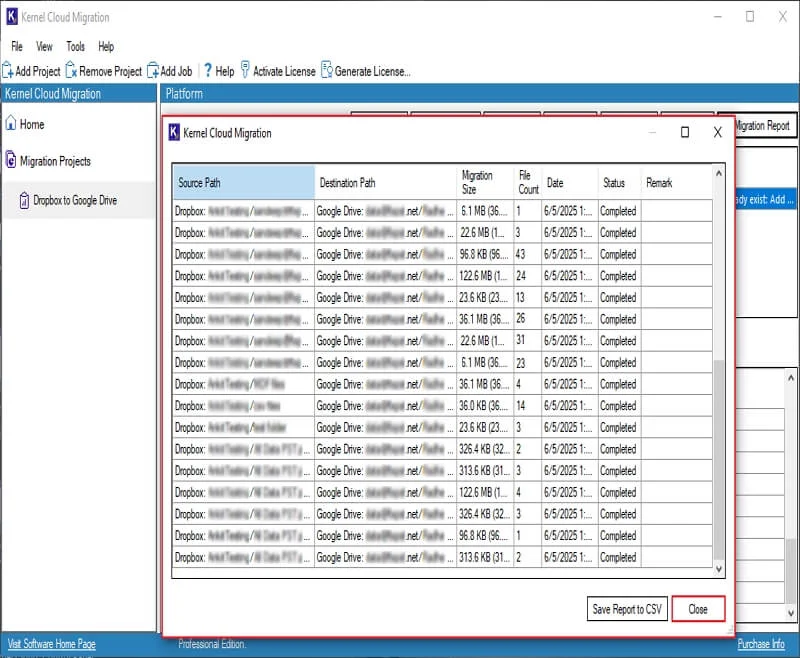
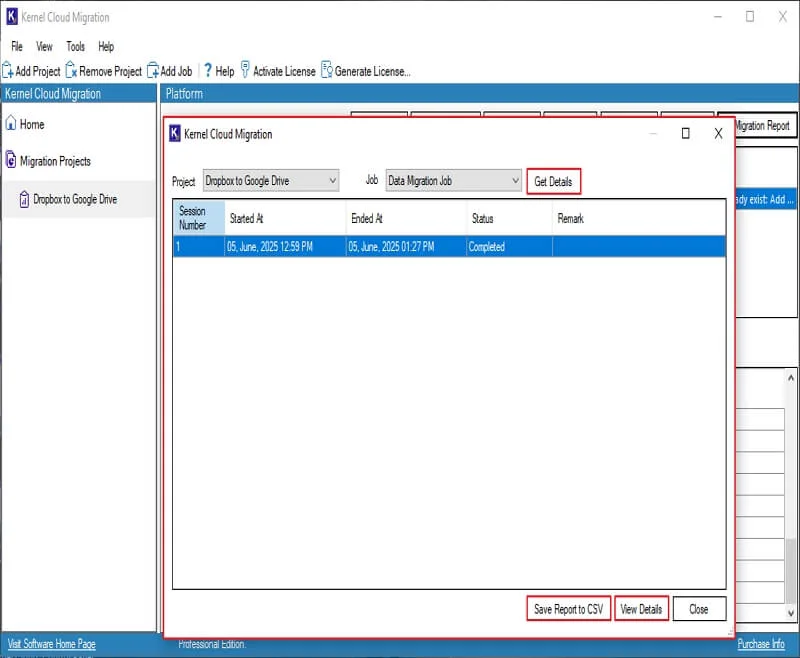
Step 25: Select your Job Name and click on View Details.
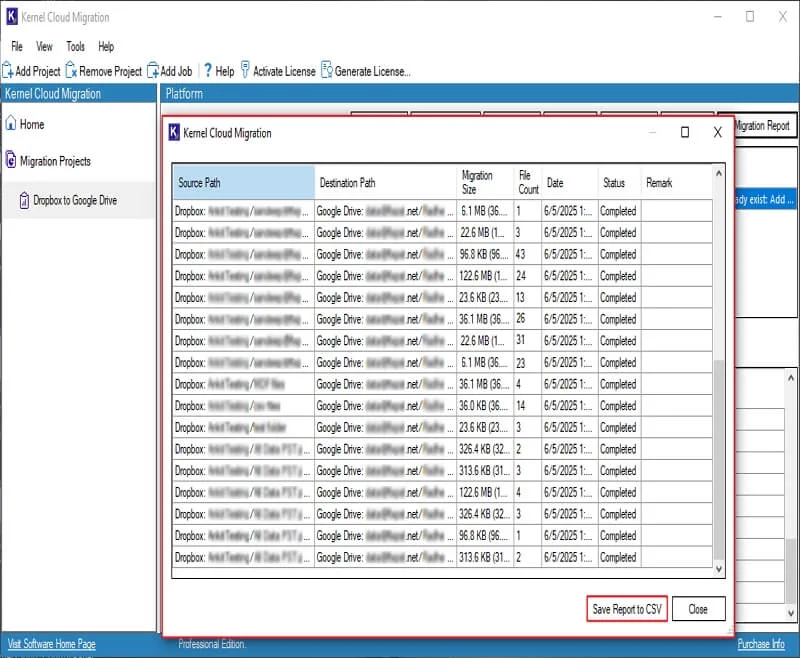
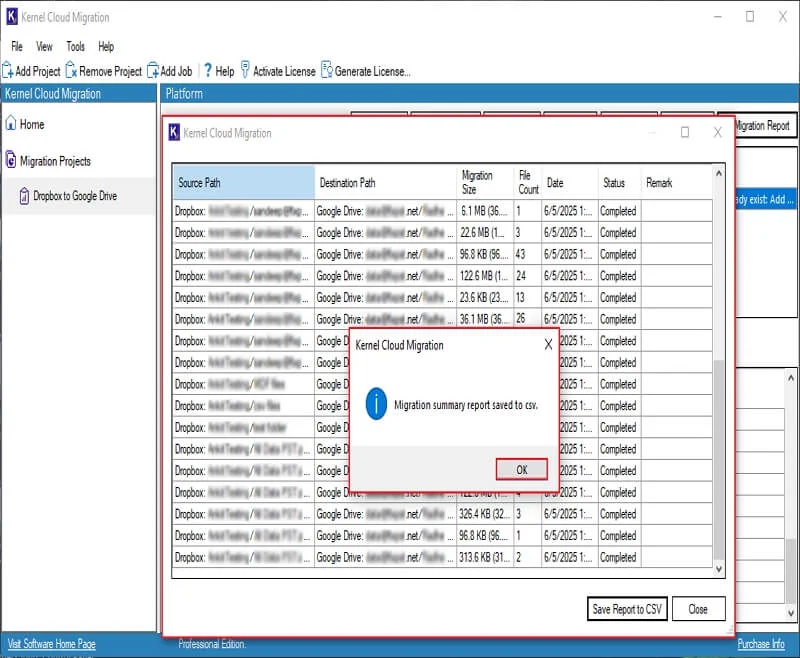
Step 26: In the following migration summary window, click Save Report to CSV option.
Step 27: In the Save As window, select your preferred location and click Save.

Step 28: Once the migration report is saved, you will receive the message “Migration summary report saved to CSV” and click OK.
Step 29: Finally, click on Close to end the migration process and exit software.