Step 1: Download and install Kernel Box to SharePoint software.
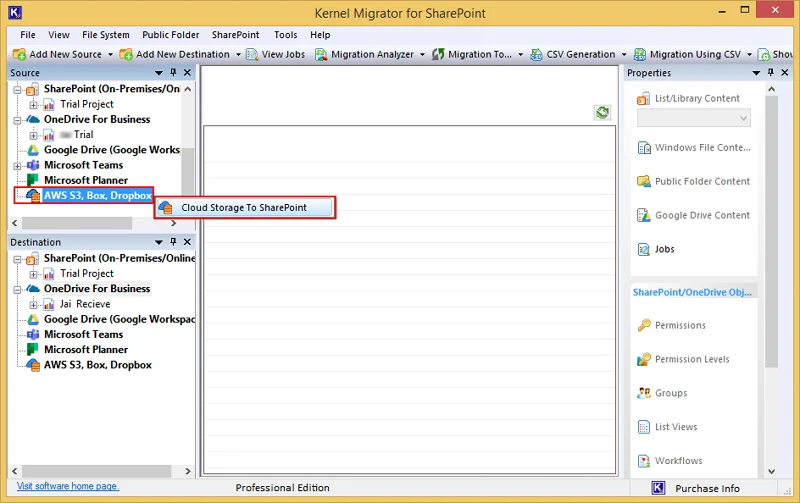
Step 2: Install the software, go to Source section, left click on AWS S3, Box, and Dropbox. After that, click on Cloud Storage to SharePoint.
Step 3: In the following window, click Next.

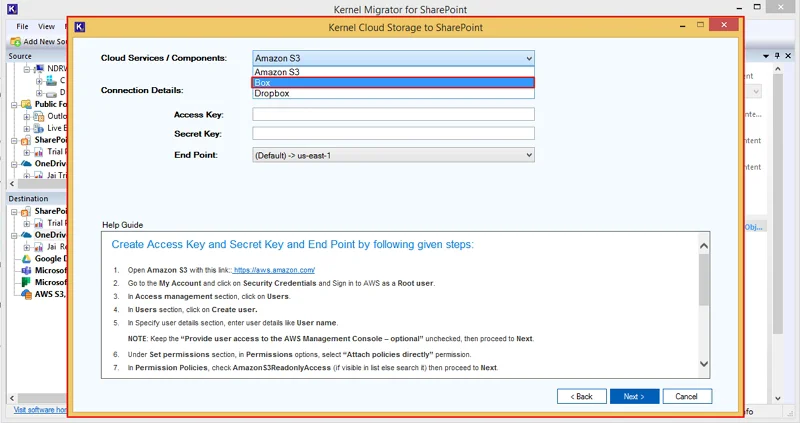
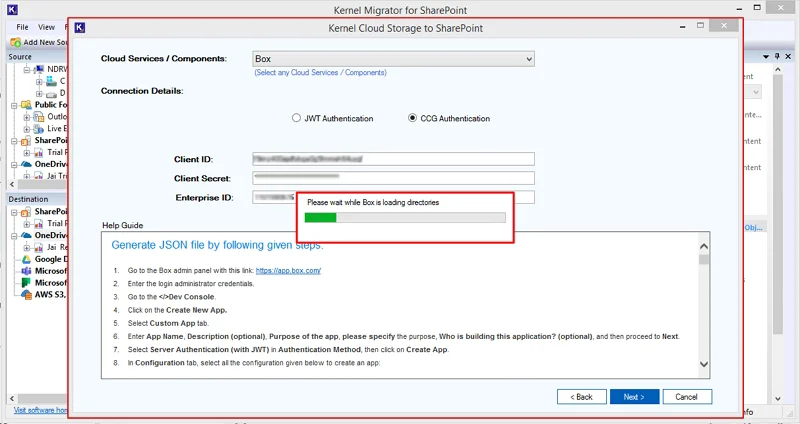
Step 4: In the Cloud Service/ Components drop-down menu, select Box.
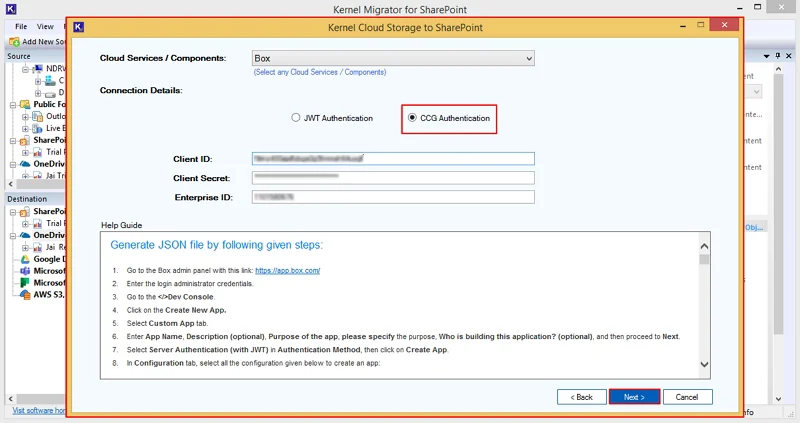
Step 5: In the Connection Details section, select CCG Authentication, enter Client ID, Client Secret, and Enterprise ID. After that, click Next.
Step 6: The software will start loading directories and show “Please wait while Box is loading directories” message.
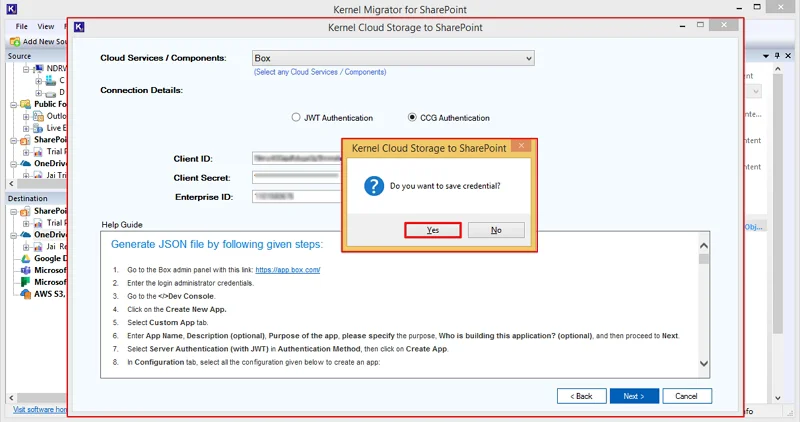
Step 7: The software will ask you to save the credentials by clicking Yes or No.
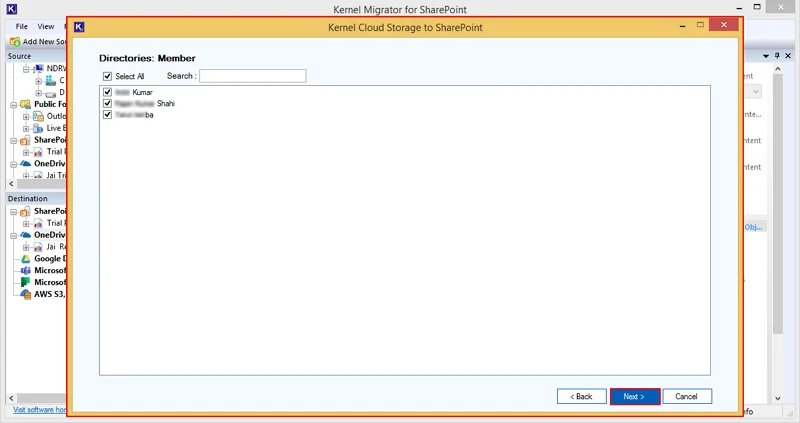
Step 8: In the Directories: Member window, select essential members and click Next.
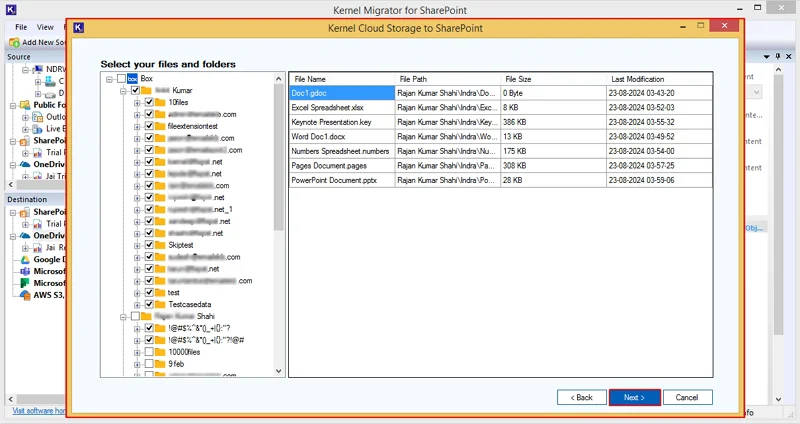
Step 9: In the Select your files and folders window, select specific folders, preview folder’s files extensions in the software, and click Next.
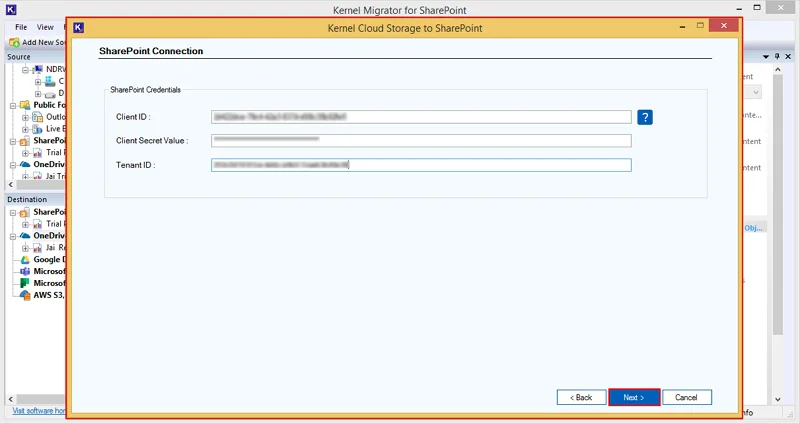
Step 10: In the SharePoint Connection window, enter SharePoint credentials such as Client ID, Client Secret Value, and Tenant ID. After that, click Next.
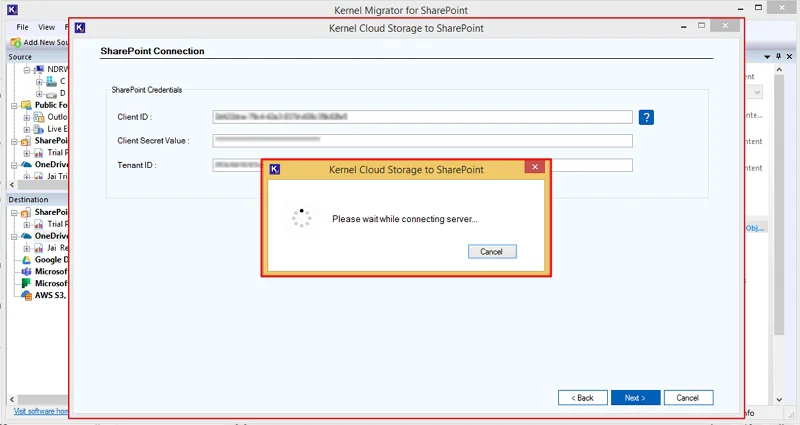
Step 11: The software will start connecting destination and show “Please wait while connecting server” message.
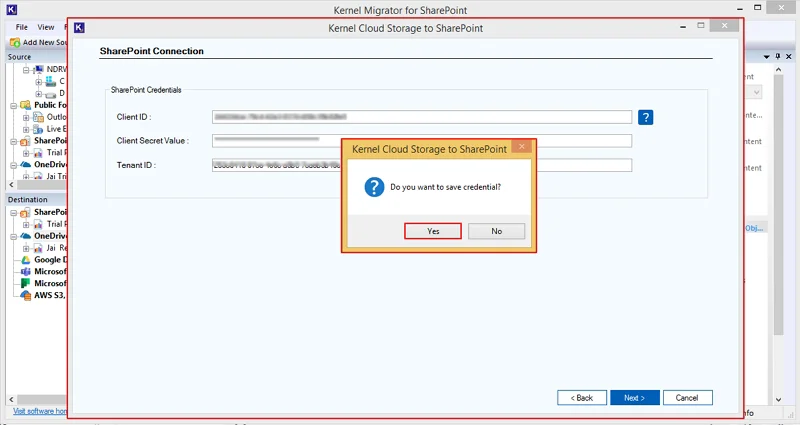
Step 12: The software will ask you to save the destination credentials by clicking on Yes or No accordingly.
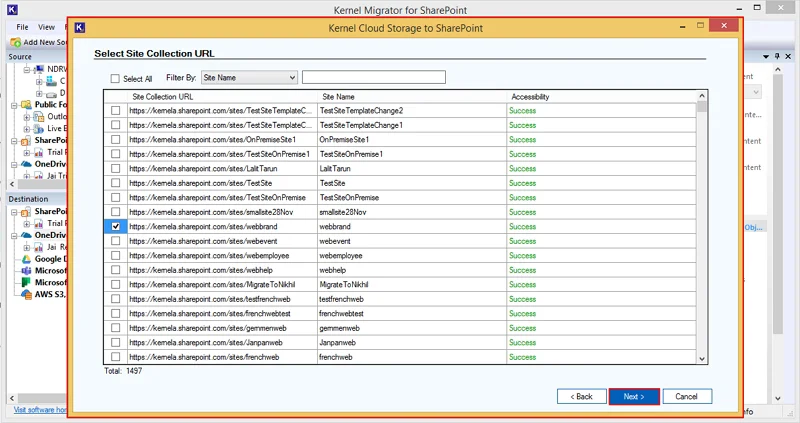
Step 13: In the Select Site Collection URL wizard, select a specific destination URL and click Next.
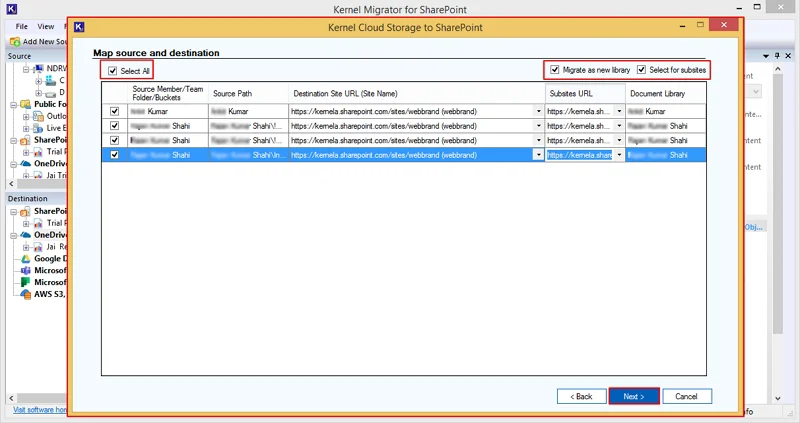
Step 14: In the Map source and destination window, select source users and map them with destination SharePoint URL and Subsites URL.
- Select All: It will select all the users of the software panel.
- Map as a new library: Map your source with destination and create a new library as source name.
- Select for subsites: Select subsites in which you want to migrate your Box data.
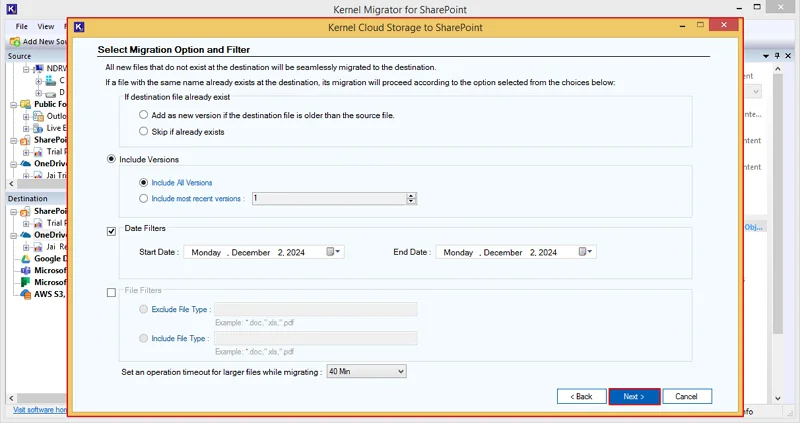
Step 15: In the Select Migration Option and Filter window, select necessary filters from the given options:
If destination file already exist: It provides you with two options:
- Add as new version if the destination file is older than the source file.
- Skip if already exist.
Include versions: It allows you to select versions accordingly:
- Include all versions: Select this to migrate files all versions to the destination.
- Include most recent versions: Select the files' newest versions according to your needs.
- Date Filters: Select Start Date and End Date to migrate data between specific dates.
File Filters: Migrate files according to these filters:
- Exclude File Type: Enter file types such as pdf, xls, png, etc., and exclude them from being migrated to SharePoint.
- Include file Type: Input File extensions including doc, jpg, csv, pdf, and many more that you want to migrate to SharePoint.
Set an operation timeout for larger files while migrating: Set a time when software will extract large-sized data from the server. If data takes more time than selected, then the software will skip that file and migrate another one.
After selecting necessary filters, click Next.
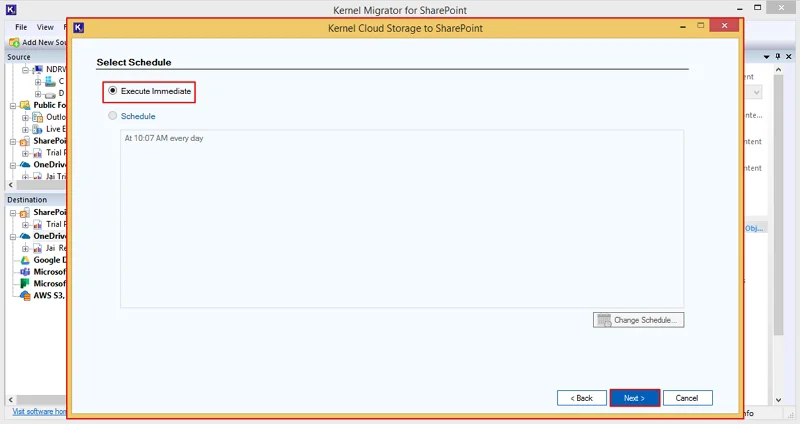
Step 16: The software will pop up Select Schedule wizard, where you can opt for Execute Immediate to start migration process instantly and Schedule to set a time when you want to run the migration process.
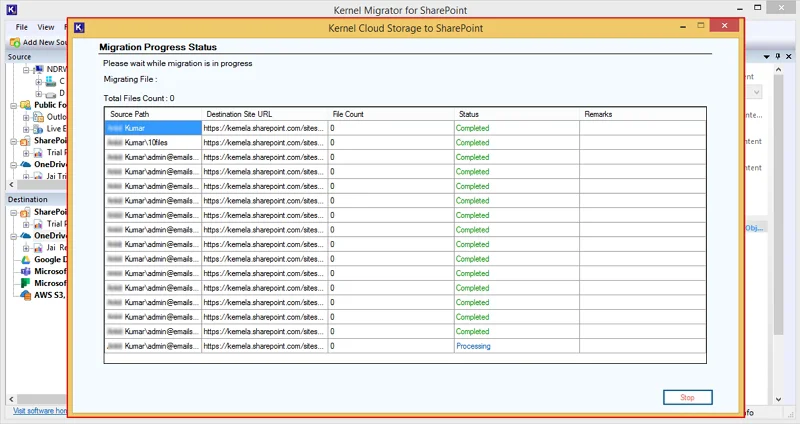
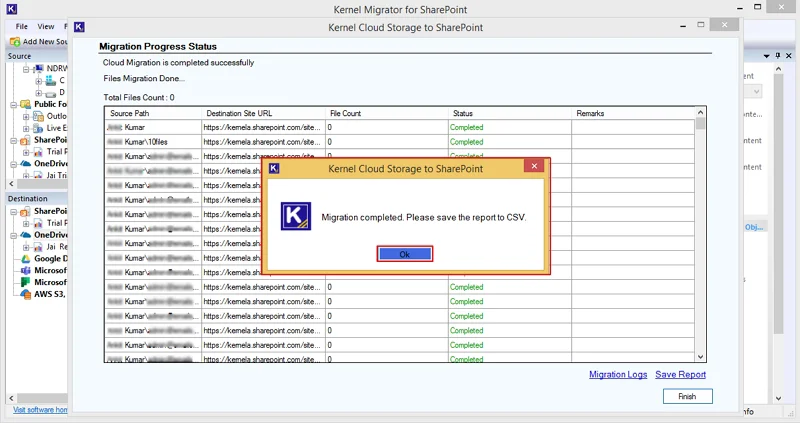
Step 17: The software will start and show live migration process in the Migration Process Status window.
Step 18: Once the migration process is completed, the software will pop up Migration completed. Please save the report to CSV message and click OK.
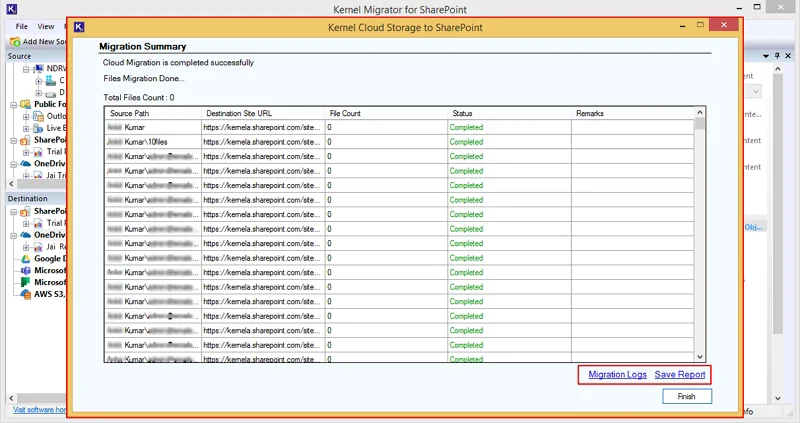
Step 19: Click on Migration Logs to check the migration errors and Save Report to download detailed migration report in CSV format.
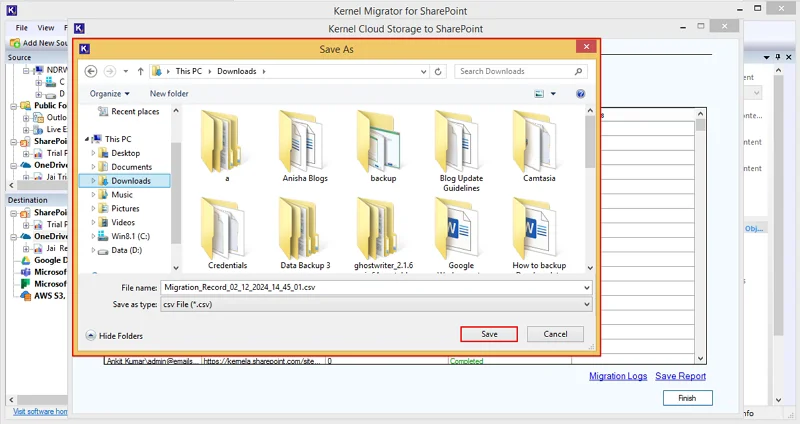
Step 20: In the Save As window, select drive where you want to download migration report and click Save.
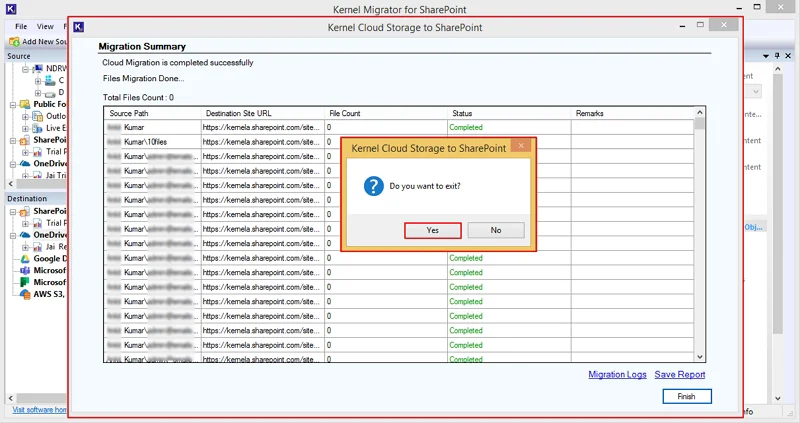
Step 21: To end the migration process, click on Finish.
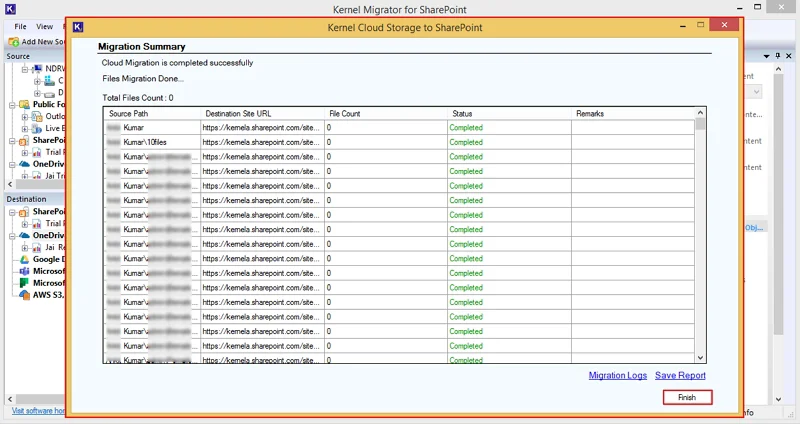
Step 22: The software will request your consent to end the migration process. Click Yes.