Read time 7 minutes
Microsoft 365 offers a suite of applications, including Exchange Online, OneDrive, SharePoint, and more. Among these, SharePoint Online stands out as a cloud-based service that empowers users to efficiently manage diverse content and foster collaboration. The available storage capacity for your SharePoint Online account depends on your subscription plan and the number of licenses you hold. SharePoint Online administrators frequently need to assess storage quotas and allocations for various purposes. In this guide, we will present several techniques for locating storage-related settings in SharePoint Online.
Ways to check SharePoint Online storage information
- Via SharePoint Online Admin Center
- Via Windows PowerShell
Check the storage space using the SharePoint admin center
You can access storage space details in SharePoint Online through the SharePoint admin center. To do this, we’ll make use of the Storage Metrics functionality found within Site Collection Administration. This feature is accessible in both SharePoint Online and in versions starting from SharePoint 2010.
Here is the complete method that answers your query to check SharePoint storage information for each site present in the account.
- Log in to the SharePoint Online as a site administrator or with the required credentials.
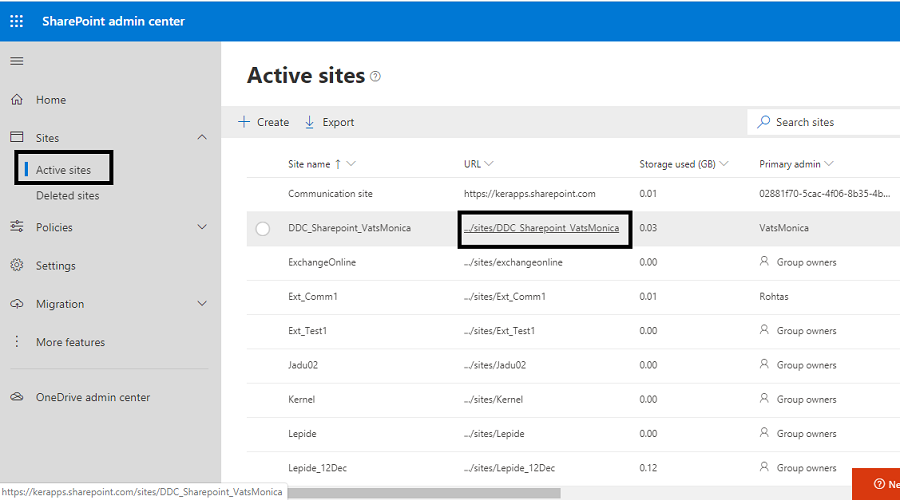
- Go to the SharePoint admin center. There, click Active sites on the left panel, choose your site for inspection and click on its URL to open it.
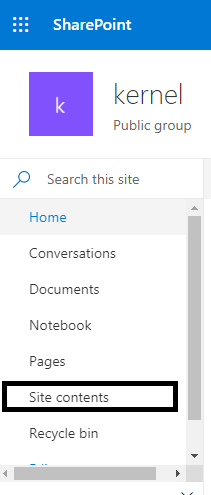
- In the opened SharePoint Site page, go to the left panel and click the Site contents option.
- Next, click Site settings.

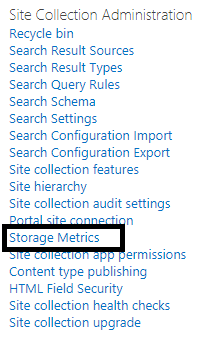
- Now, move to the Site Collection Administration category and click Storage Metrics under it.
- Now, you have complete storage information such as Type, Name, Total Size, % of Parent, % of Size Quota, and Last Modified (date and timings) about Site Collection contents.

Note: The maximum storage size limit for a site is 25TB by default. However, you can set it up manually with the following steps.
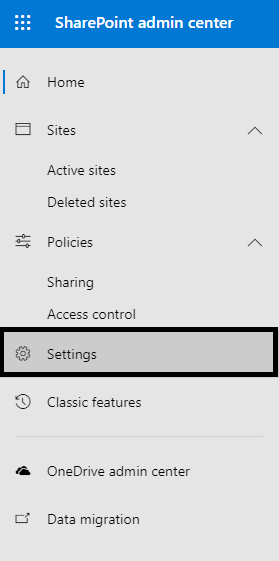
- In the SharePoint admin center panel, click Settings.
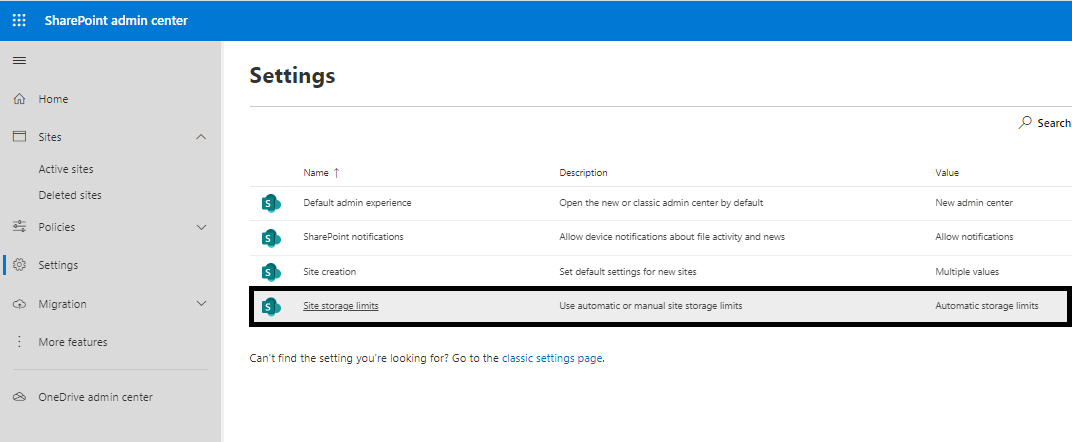
- On the Settings page, click Site storage limits option.
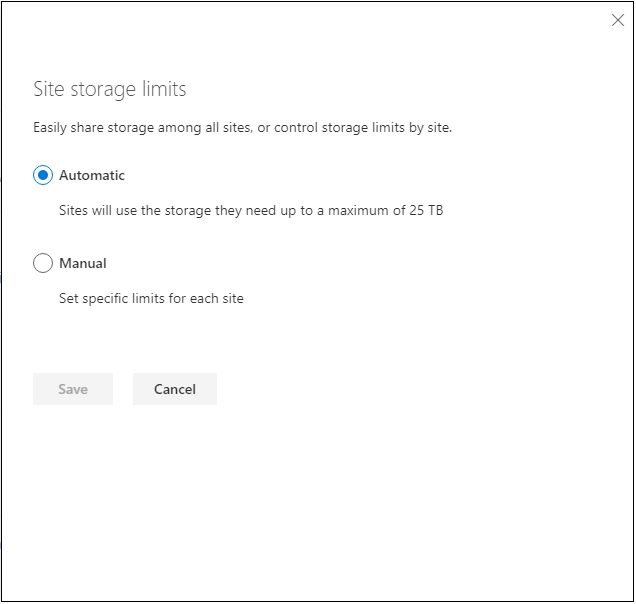
- Switch to Manual option and click Save.
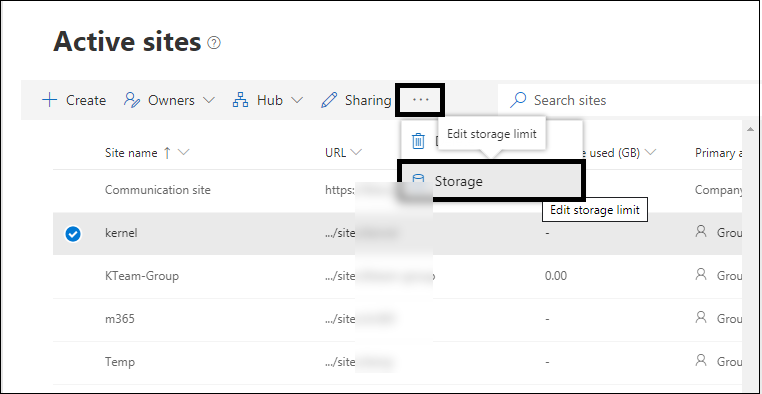
- Select the desired site, click on … and choose the Storage option.
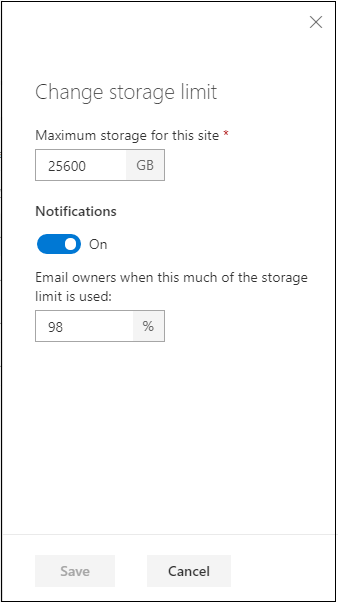
- On the Change storage limit page, edit the maximum storage limit for this site by entering it manually (in GB as shown below) and then clicking Save option.
How to check SharePoint Storage quota using Windows PowerShell?
To get the storage quota in your SharePoint Online, you can use the Windows PowerShell.
First of all, you require connecting SharePoint Online Site with Windows PowerShell. Let us know about its process.
- Run the Windows PowerShell as administrator by right-clicking it and selecting Run as administrator option.
- Then run this command.
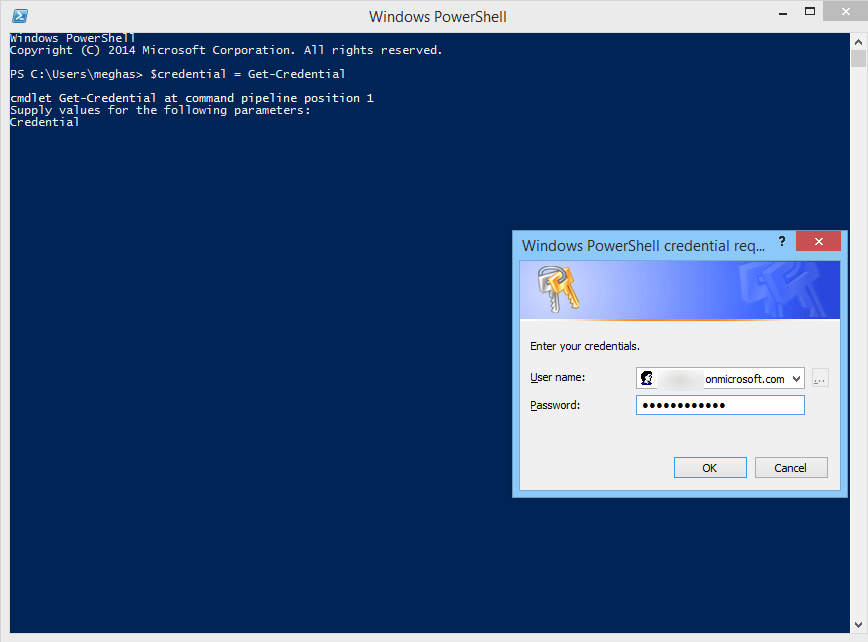
$credential = Get-Credential
A dialogue box with credential req will be opened. Here, add your SharePoint Online account user name and password, then click OK.
- Then, to import the Windows PowerShell module, you need to run this command.
Import-Module Microsoft.Online.SharePoint.PowerShell

- Finally, execute the below command to connect SharePoint Online to PowerShell module.
Connect-SPOService -Url https://”username”-admin.sharepoint.com -credential $credential

- Hence, you have connected SharePoint Online to Windows PowerShell successfully. To check the storage quota of a particular SharePoint site, just run this command next.
Get-SPOSite
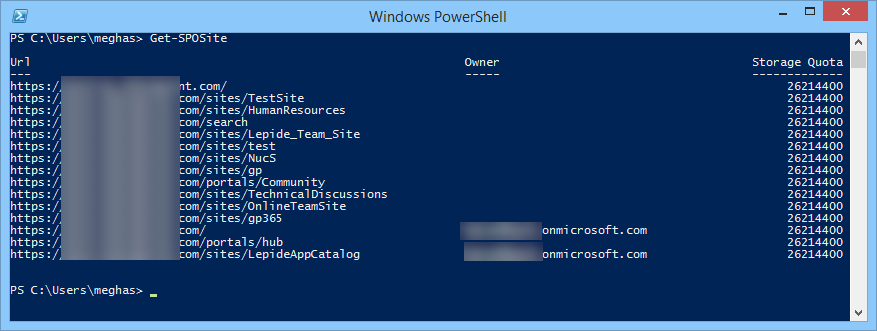
You will get information like Site URL, Owner name, and Storage Quota for all sites available in that SharePoint Online account.
This manual procedure outlines how to determine the storage quota in SharePoint Online. While the Exchange Online PowerShell approach may appear somewhat technical, the first method offers a straightforward alternative. SharePoint Administrators should inform users about the manual process for checking SharePoint Storage information.
Setting automatic or manual site storage limits in SharePoint
In SharePoint, storage management is streamlined through a centralized pool, eliminating the need for Global Administrators or SharePoint Administrators to allocate specific storage quotas to individual sites. This automated approach allows sites to access the necessary storage from the pooled resources without manual intervention.
Initially, if the storage management is transitioned from manual to automatic (pooled storage), SharePoint automatically adjusts the storage limits of all sites to a substantial capacity of 25 TB (25,600 GB), subject to the total available storage for the organization potentially being less.
For organizations requiring a more granular control over storage allocation, the option to manually set storage limits for each site is available. This can be particularly useful for managing resources in a more tailored manner, ensuring critical sites have adequate storage while preventing excessive use by less critical sites.
Procedure for Managing Site Storage Limits
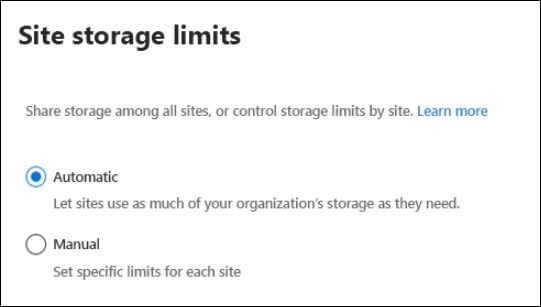
- Navigate to the SharePoint admin center and authenticate using an administrator account. Locate and select ‘Site storage limits‘ within the Settings section.
- From the available options, select either ‘Automatic‘ for pooled storage management or ‘Manual’ for individual site storage allocation. Confirm your selection by clicking ‘Save‘.
Detailed steps for manual storage allocation
To assign specific storage limits under the manual setting, follow the below steps:
- Site selection: Within the SharePoint admin center, proceed to ‘Active sites‘. Select the desired site from the list, or for channel sites, use the link provided in the ‘Channel sites‘ column.
- Editing storage limits: On the site’s ‘General‘ tab, locate the ‘Storage limit‘ section and click ‘Edit‘. This action opens the panel for editing storage limits.
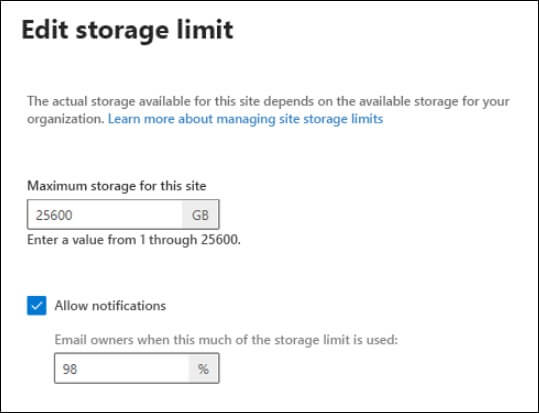
- Setting storage quota: Input the desired maximum storage capacity for the site in GB, noting that the maximum permissible value is 25,600 GB, which may exceed the total storage available to your organization.
- Enable notifications: Ensure the ‘Notifications‘ feature is activated to allow for email alerts to site administrators when storage usage approaches the set limit. Specify the storage threshold as a percentage for when these notifications should be triggered.
- Save changes: After configuring the storage limit and notification settings, click ‘Save‘ to apply the changes.
In instances where a site exhausts its allocated storage, site administrators have the option to request additional quota through the ‘Storage Metrics‘ section under ‘Site Collection Administration‘ within the Site Settings, thereby sending a notification to Global Administrators for action.
You must note that certain features and functionalities within SharePoint may be introduced progressively, especially to organizations enrolled in the Microsoft 365 Targeted release program, which may affect the visibility and appearance of the described features.
Use automated solution
As SharePoint Migration gains prominence as a preferred choice over on-premises SharePoint deployments, a growing number of users are making the transition from SharePoint Server to SharePoint Online. In response to this demand, we introduce you to an exceptional and highly effective SharePoint Migration solution known as Kernel Migration for SharePoint. This powerful tool streamlines SharePoint on-premises to SharePoint Online migration seamlessly and swiftly. It empowers users to migrate SharePoint documents and various files from their lists and libraries. Explore the full capabilities of this tool by taking advantage of its free trial version.
Final words
Utilizing the SharePoint data migration tool functionality within SharePoint Online, you can easily monitor maximum storage limits for sites and configure the storage size for individual sites. Both the Admin Center and PowerShell facilitate the management of this process. However, in cases where a site’s size exceeds its designated maximum threshold, you’ll require effective techniques to facilitate the transfer of content either between sites or within an entire site collection. The Kernel Migration for SharePoint offers efficient SharePoint Migration methods, allowing you to select specific sites, apply filters, and ensure site agility and accessibility for new data.