Shifting to a cloud ecosystem with SharePoint for better collaboration and content management? Migrating documents from the file system to SharePoint allows you to share your documents with your team members and eliminates the need to repeatedly attach documents in emails after making changes.
Learn how to upload documents to SharePoint for a simplified migration and reduced IT overhead cost and manual backups.
How to Add Documents to SharePoint?
Some limited methods help you to migrate your documents to SharePoint. However, migrating tasks need technical skills and expertise. Follow the given methods to upload documents to SharePoint:
Method 1: Drag and drop the documents to SharePoint Library
The drag-and-drop option will help to move your documents from one location to another easily. It’s easy to use; you just have to select and drag the documents and then drop them into another location. Using the drag and drop feature, you can move files in SharePoint, but only up to 100 at a time. Furthermore, this method does not work to migrate SharePoint document library.
Method 2: Using Open with Explorer option
SharePoint is the most advanced and feature-rich application. You can easily utilize the built-in Open with Explorer option to upload documents to SharePoint.
- Go to the SharePoint document library. Select the “Library” tab on the toolbar.
- Click on the Open with Explorer” in the right corner.
- The Windows Explorer wizard will appear on the screen displaying all the folders in your document library.
- You can access these files as they are on your computer.
- Use this window to upload documents into SharePoint.
However, this option is available only in the Internet Explorer browser. Also, you cannot migrate large SharePoint documents with images, tables, and animations.
Method 3: Utilize OneDrive for Business sync option
You can also migrate SharePoint documents with the help of OneDrive for Business sync. It will help you to synchronize your OneDrive documents with your SharePoint.
What is the Easiest Way to Upload Documents to SharePoint?
Using manual methods to upload documents to SharePoint is a suitable choice if you’re migrating data on a small scale or for individual use. For direct and structured upload of files, use Kernel Migration for SharePoint. It is an easy-to-use SharePoint Migrator tool that allows users to migrate multiple documents at a single time. It allows the ease to schedule the migration process as per your requirements. You can also migrate SharePoint permissions from file server to SharePoint Server.
Some of software features are as follows:
- Pre-migration analysis to minimize the risks
- Drag and drop feature to migrate files to SharePoint account
- Filters to migrate specific data to SharePoint
- Run migration at a specific time with the scheduler
Steps to Upload Documents to SharePoint Using the Tool
Step 1: Download the software and install it on your system.
Step 2: In the source pane, there are system drives connected by default.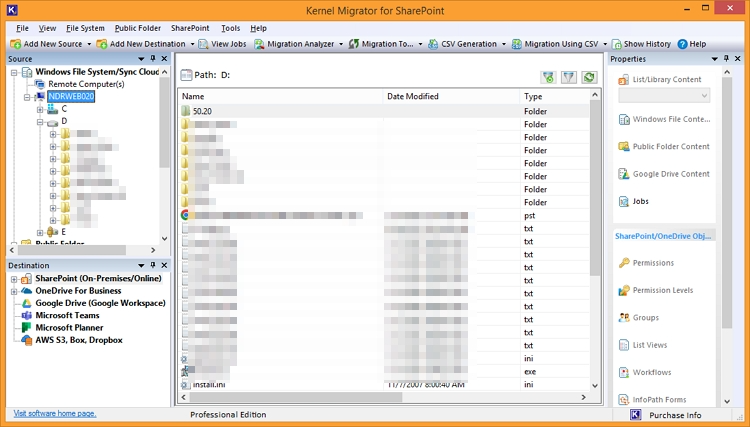
Note: To add a remote file system, click on Add New Source > File System.
Step 3: Enter the required details to connect the remote computer and click OK.
Step 4: Now, go to the Destination pane and right-click SharePoint (On-premises/Online), select Add SharePoint Site, and enter credentials to connect with the SharePoint site.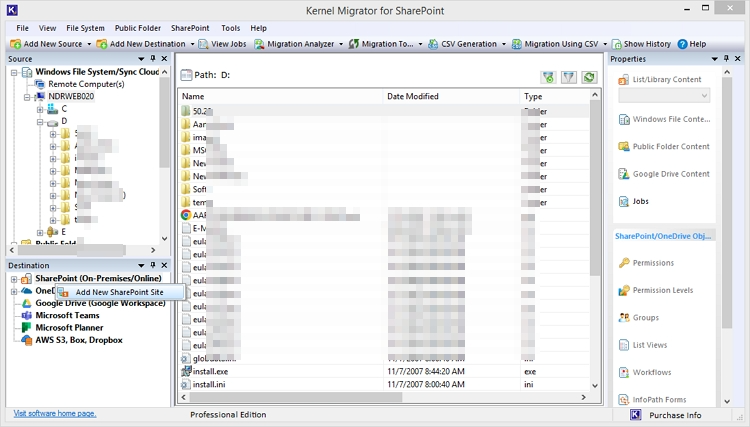
Step 5: Click on "File System" option from the top menu and select File System to SharePoint Migration from the drop-down.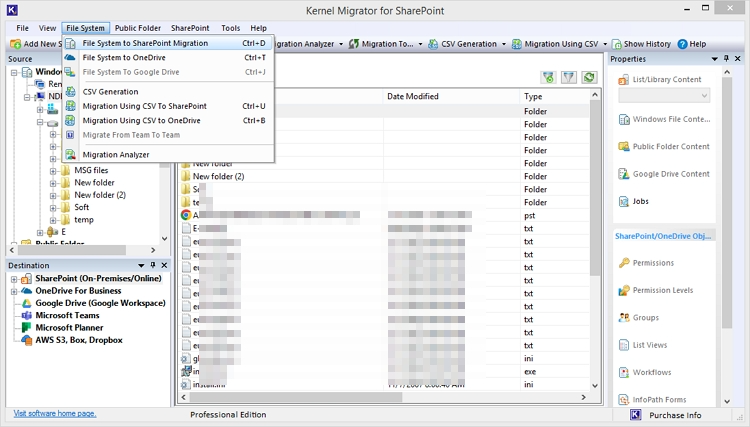
Step 6: Click the "Add" option, to add files or folders from local or remote system. After that, click on the Next.
Step 7: In the Select Destination wizard, Click Browse to select destination, and enter required details, and tap on Next.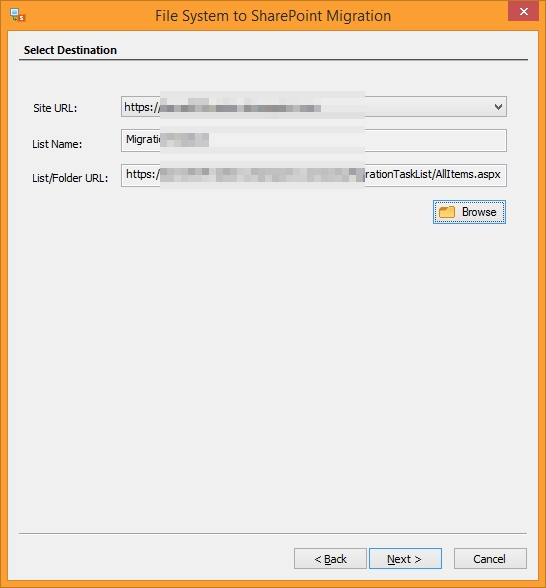
Step 8: Select an item from the SharePoint site shown in the tree-like structure and click OK to proceed.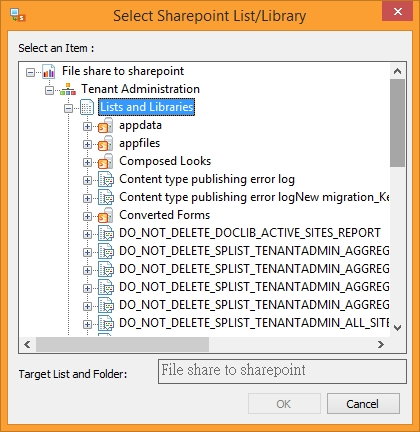
Step 9: Once the documents are selected, select attributes to proceed. Click Next.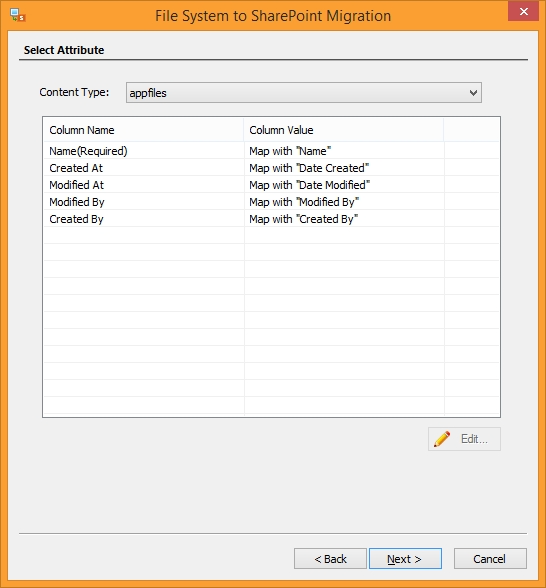
Step 10: In the next step, select copy options and filters to upload specific documents and click Next.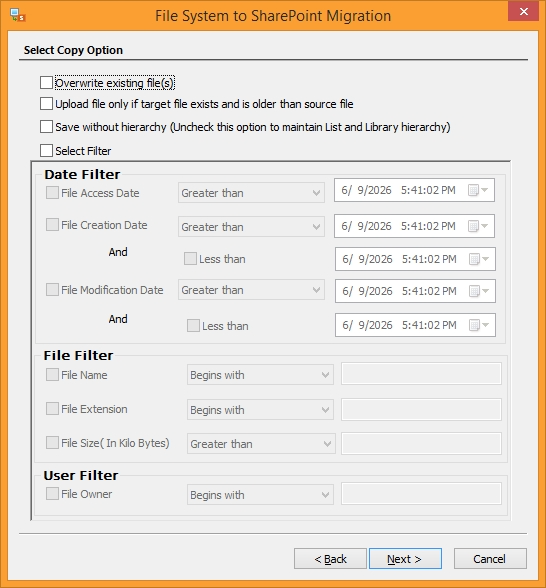
Step 11: Select Migrate Permissions to allow the permissions to migrate the data from the file system. Then, click Next.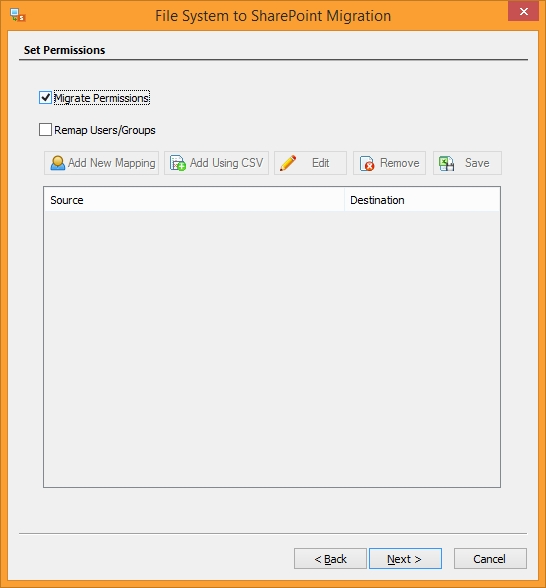
Step 12: In the next step, select whether you want to execute the process immediately or Schedule it for later and click Next.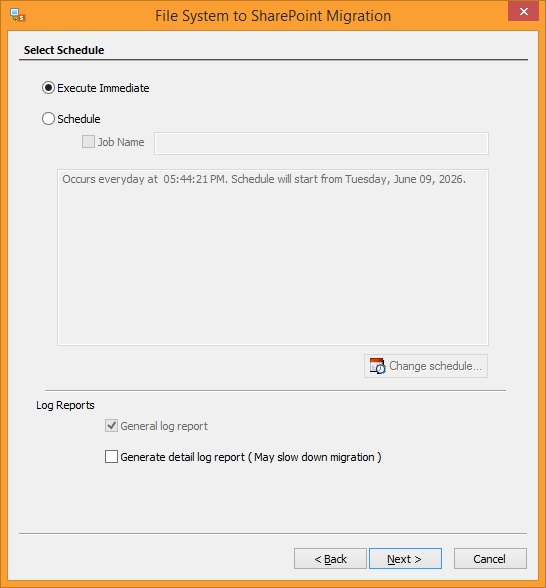
Step 13: Review the summary of the migration process and tap on the Next button to start the migration process.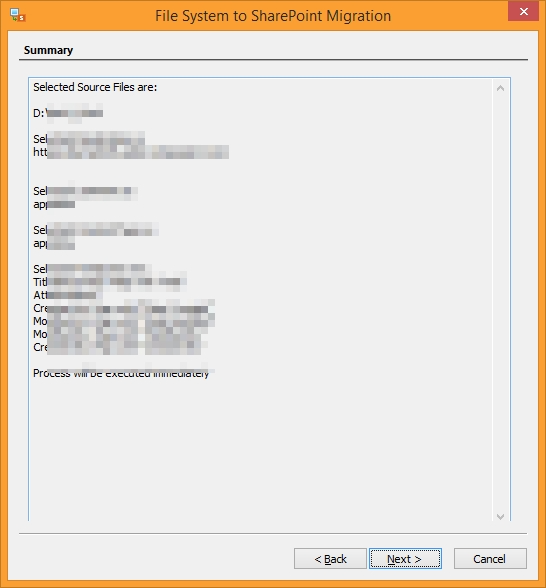
Once the process is complete, click Finish to close the wizard. In this way, you can easily upload documents to SharePoint using the tool.
Conclusion
Uploading files and folders from the file server to SharePoint can be done using the native methods. However, even this simplest migration can turn into a nightmare if you’re a non-technical person trying to migrate bulk data. To avoid the limitations of the manual methods, use the recommended SharePoint migration tool. It allows you to connect to file share and SharePoint and then perform the data upload with minimal effort.
Frequently Asked Questions
Here are some common queries that most of the users have when uploading SharePoint documents.
Q. How do I upload multiple documents to SharePoint?
Ans. To upload multiple documents, you can use the drag and drop method or the sync option in the document library. However, there are certain limitations to doing this, such as file and folder upload restrictions. The best and simplest way is to use the SharePoint migration tool.
Q. How many files can be uploaded to SharePoint in one go?
Ans. SharePoint Online allows a maximum file size limit of 250 GB, which is the total upload limit too for a single upload process.