Read time 6 minutes
There are many scenarios where you need to restore the mailbox from EDB file. One of which is hardware breakdown. So, when any such problem arises, don’t panic, the Exchange has a Data Protection Manager, an application responsible for backup and recovery of the data. With the help of which you can recover a mailbox from the EDB file.
Recovering mailbox using Data Protection Manager Recovery Wizard
Let’s see how you can use the manual method to restore Exchange EDB files.
- Start with verifying the Server protection, mailbox database whether it exists or not. Create a new database by running the command – “New-MailboxDatabase” if it is not there.
- Now, using the command feature, set mailbox database cmdlet to configure recovery database settings.
- Now it’s time for DPM, go to DPM Administrator Console, select Recovery view, click on All Protected Exchange Data node. Finally, select the mailbox for Exchange Server Recovery.
- On the next step in the Recovery Points section, select the data you want to recover and allot a recovery destination. Now, click on Recovery Time and finally click Recover to Continue to proceed.
- Now, click on Recovery Wizard, a window with information will open, check the details and click on Next.
- On the next step, select the type of recovery and click on Next.
- On the next window, you will see some recovery options, select them as per your requirements and preferences. After the selection, go to the Notification section, enter the recipients for the mail and click on Send an e-mail.
- On the next page, click on Close.
- Now, run this cmdlet “New-MailboxRestoreRequest –SourceDatabase ’RDB-CONTROL’ –SourceStoreMailbox ‘mailbox name’ –TargetMailbox @servername.com –TargetRootFolder Recovery -SkipMerging StorageProviderForSource” to restore the mailbox.
- Now, finally, delete Recovery mailbox database with the cmdlet – “Remove-MailboxDatabase -Identity ‘RDB-CONTROL’”.
How to recover & restore mailbox using automated method?
You can recover & restore your mailbox with the automated method by installing Kernel for EDB to PST tool. As we can see that manual methods to convert EDB file to PST is very lengthy and tricky at the same time. So, it is advisable to go for the automated method to extract mailbox from EDB file quickly and smoothly. For this, install the Exchange Server recovery tool from the website and run it.
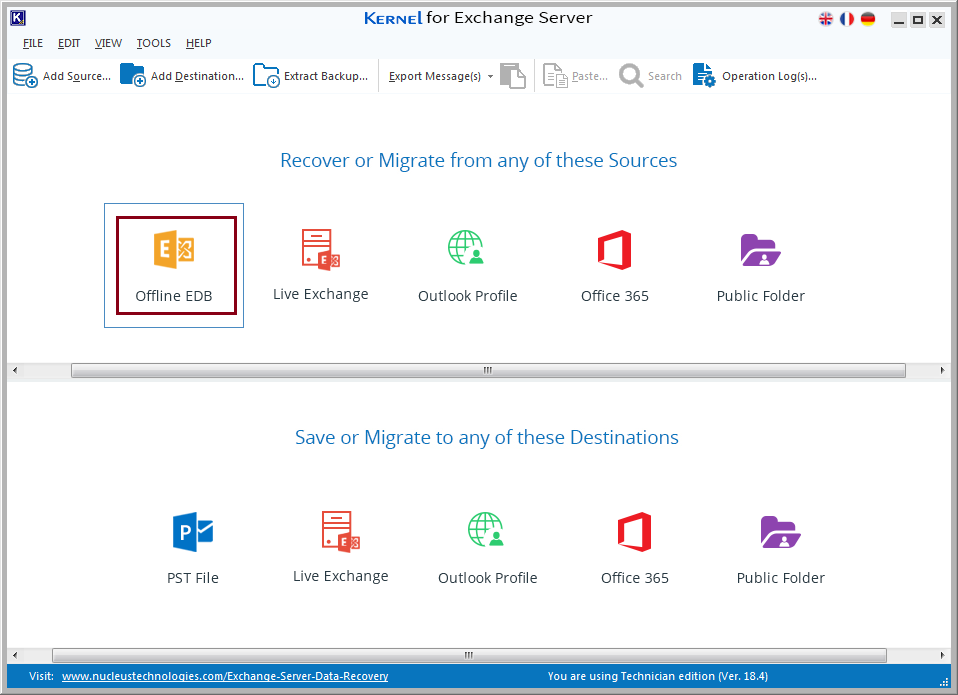
- Click on the Offline EDB in the ‘Recover or Migrate from any of these Sources’ section.
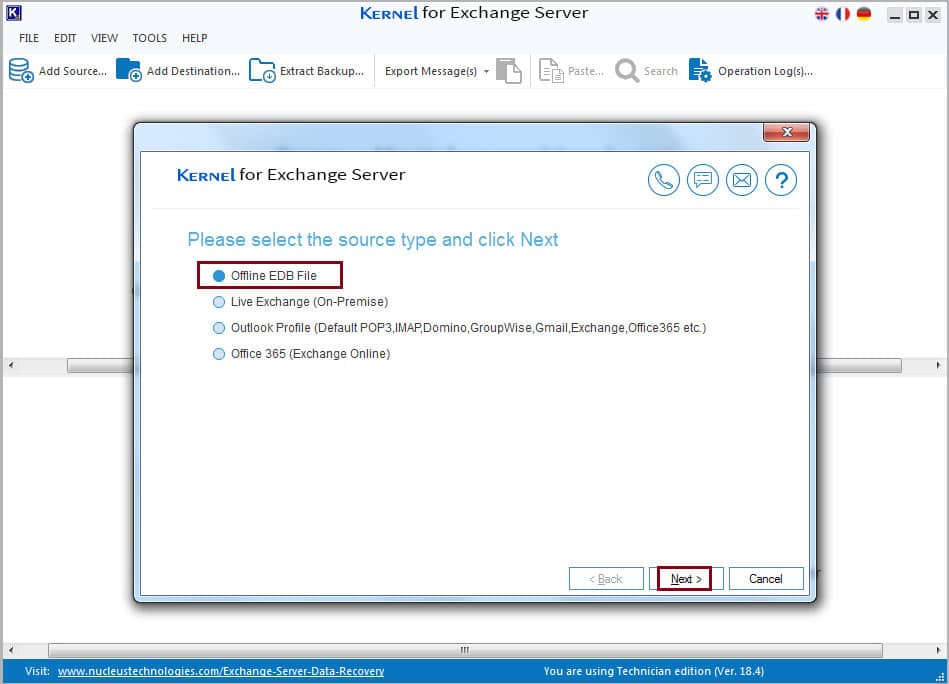
- In the source type, select Offline EDB File and click on Next.
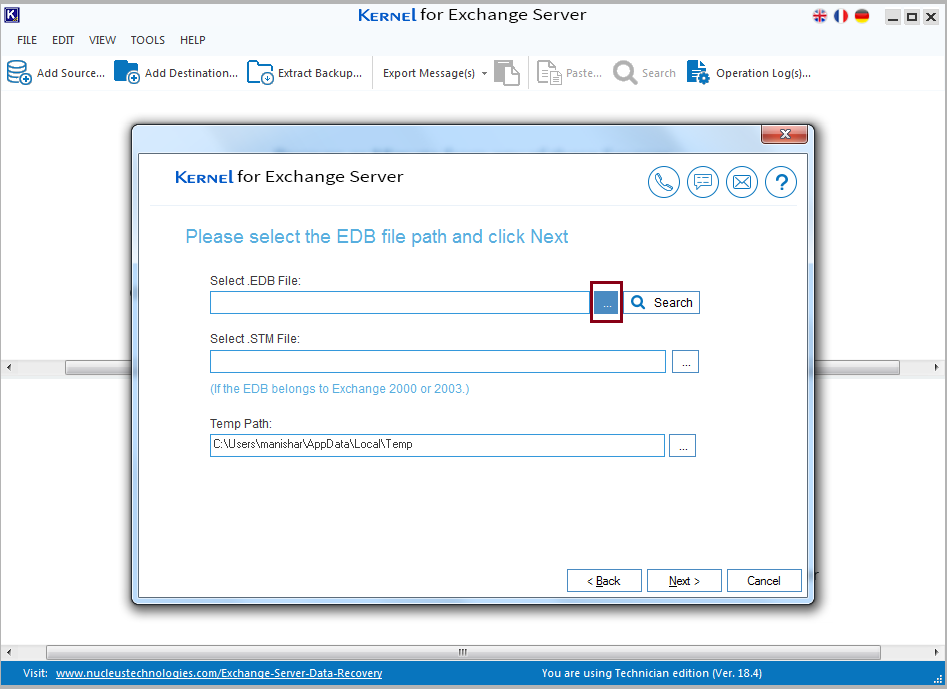
- On the next step, select an EDB file by clicking on the browse button denoted by three dots.
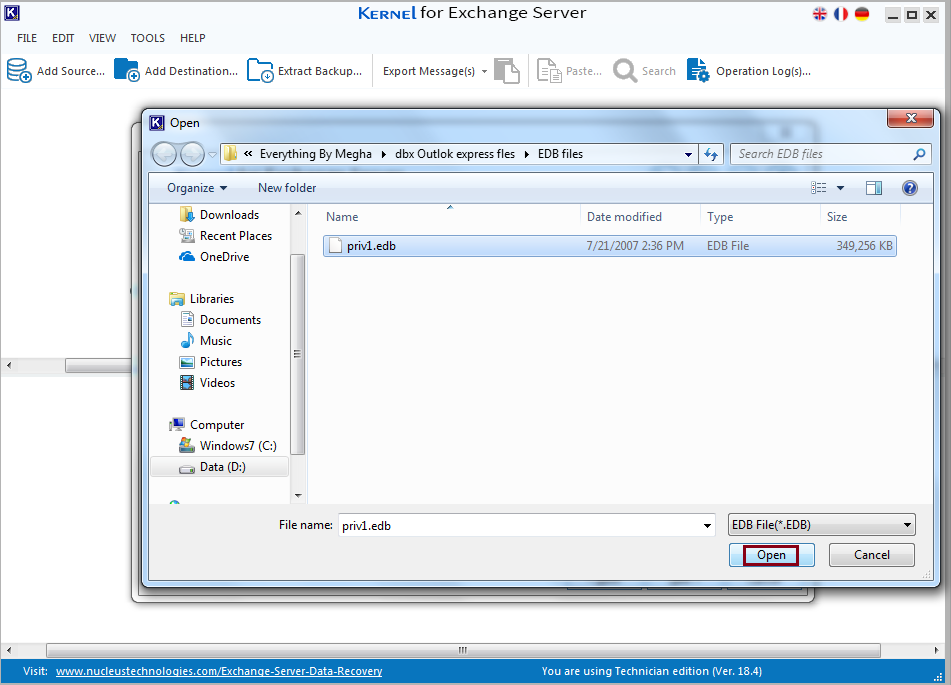
- Select the file and click on Open.
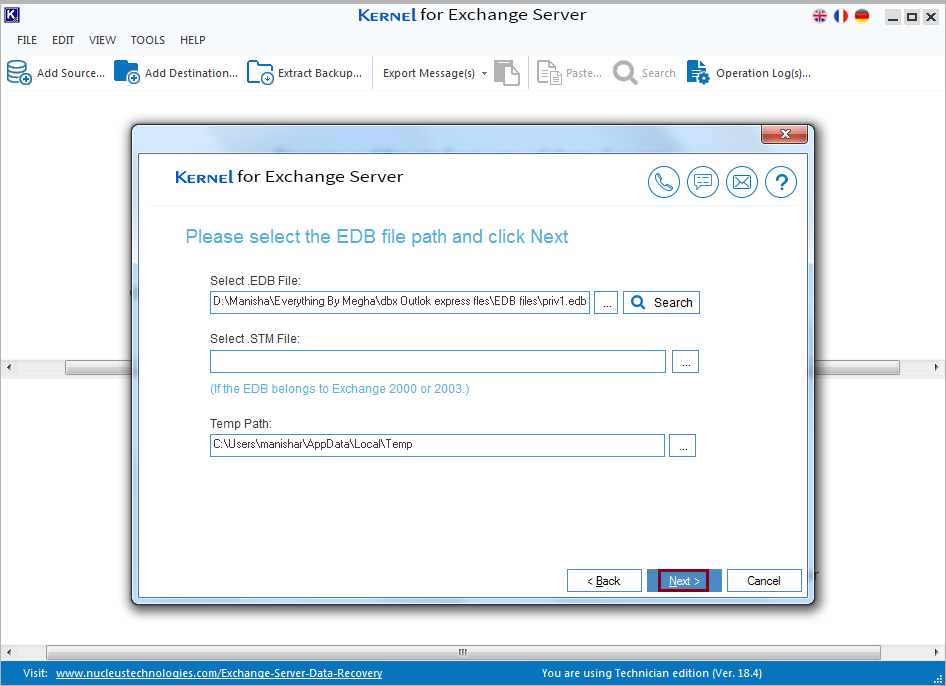
- After selecting the file, check once to make sure. In the Temp path section, the software will provide a path, click on Next.
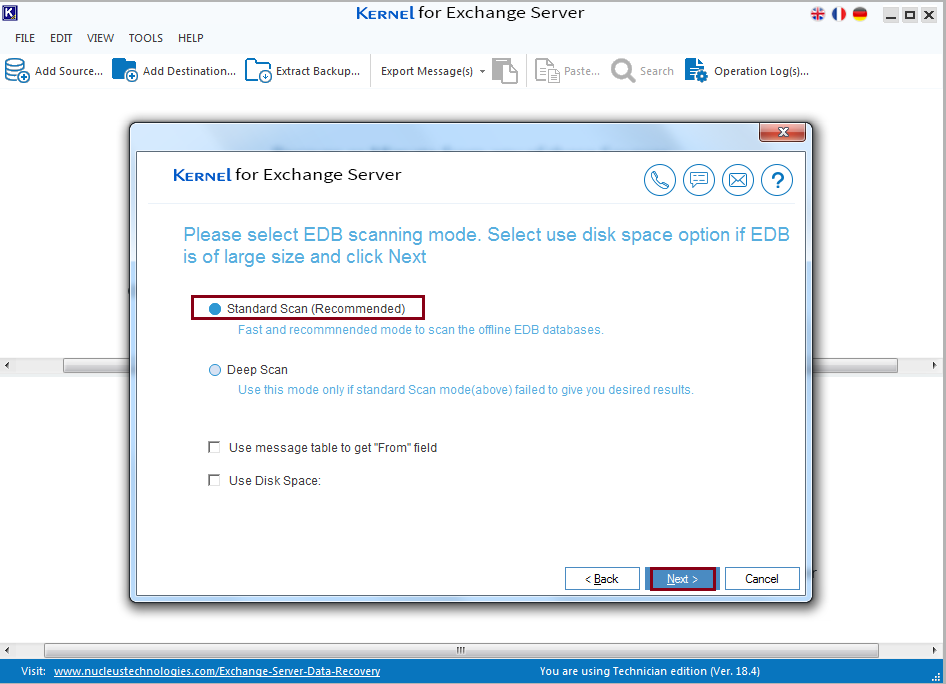
- On the next step, you need to select the scanning mode. Also, select the options mentioned below ‘Use message table to get “From” field’ and ‘Use Disk Space’ as per your preference. Click on Next.
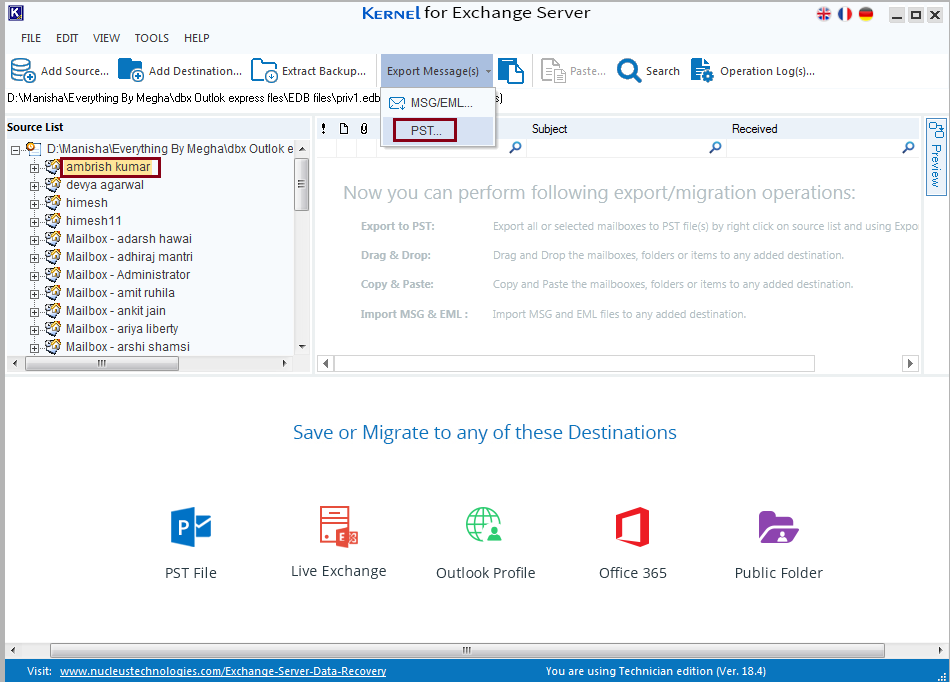
- Select the mailbox and click on Export messages, from the dropdown select PST.
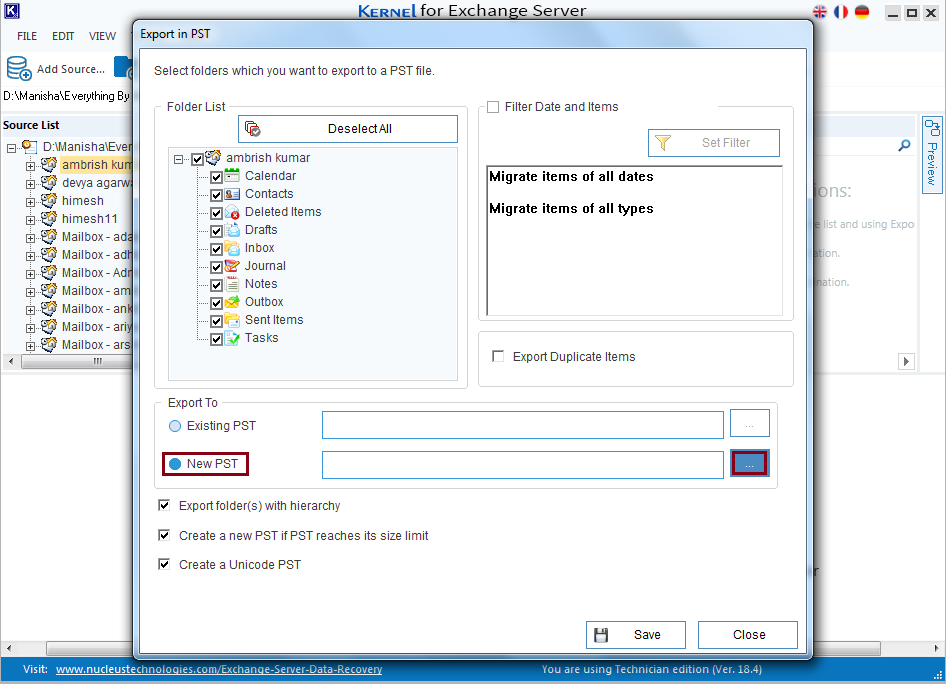
- Select the folders which you want to export to a PST file, select an option from the section ‘Export to’. Select ‘Existing PST’ if you want to export to an existing folder or select ‘New PST’ for a new destination. Now select the path by clicking on the three dots denoting browse.
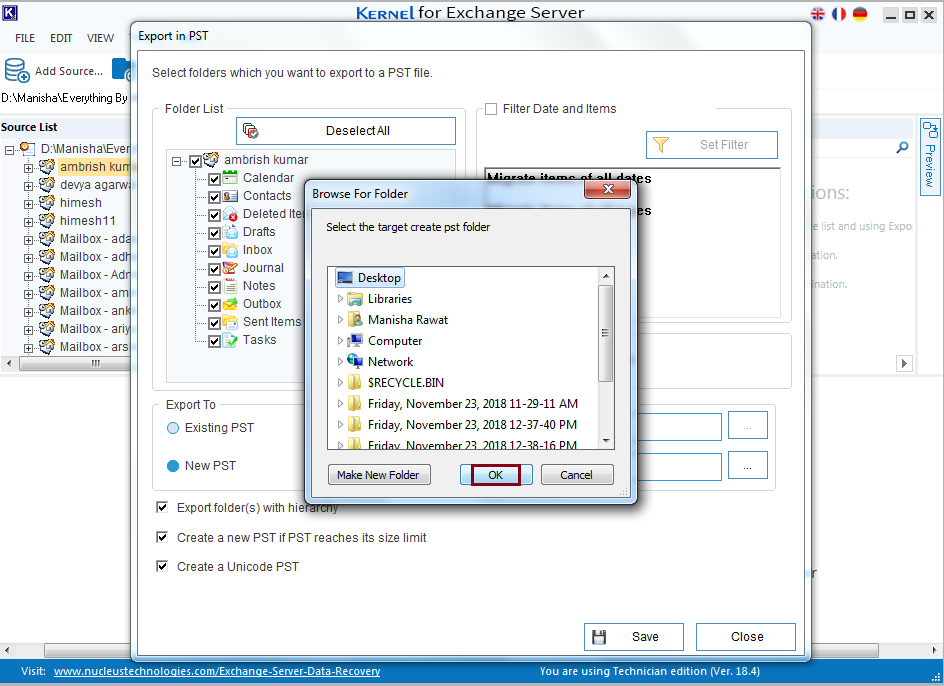
- Select the destination and click on Ok.
- Select the rest of the options as per your requirement i.e., hierarchy, size limit, and Unicode PST. Click on Save to proceed.
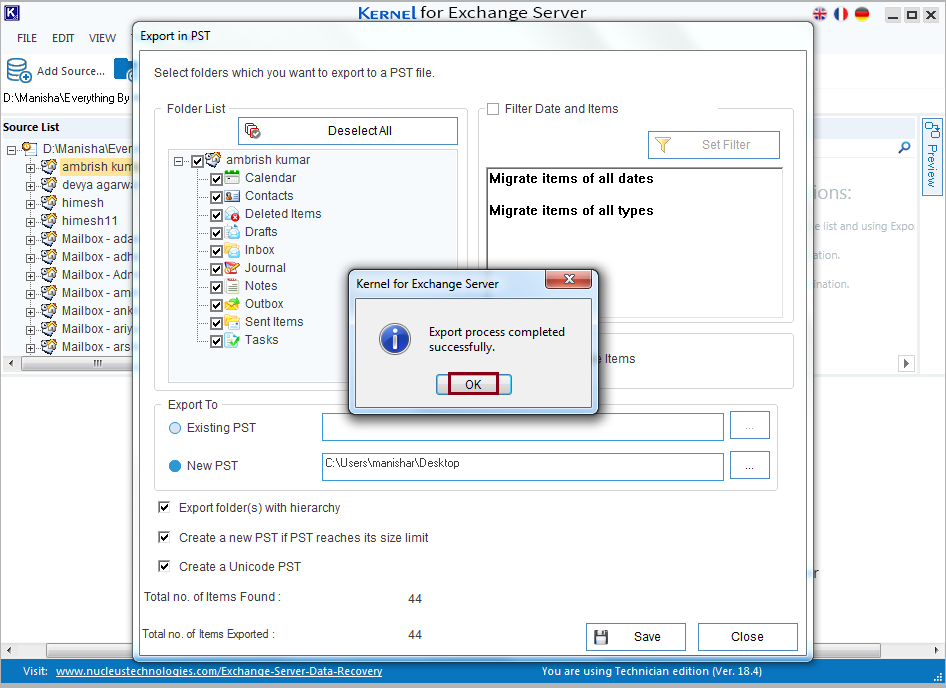
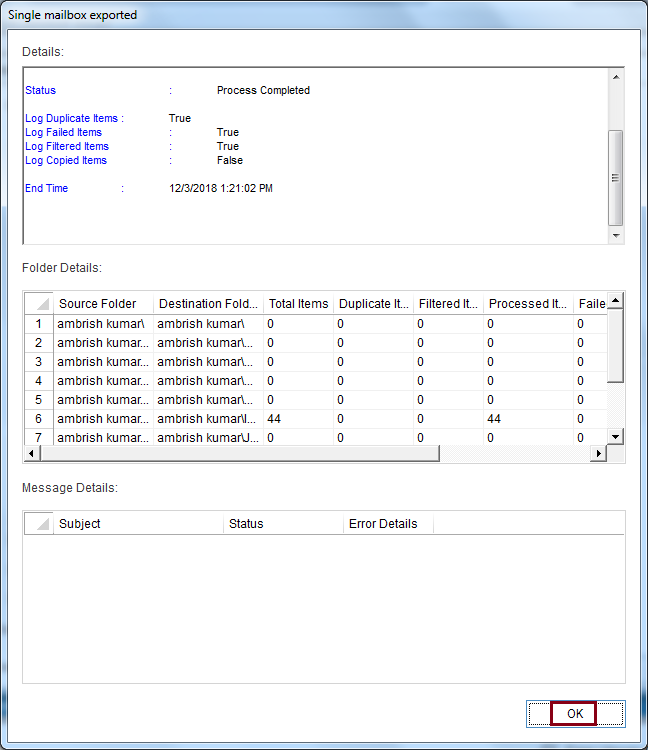
- Once the mailbox is exported, all details will be shown on the screen. Click on Ok.
Conclusion
We have performed both approaches, i.e. Manual with DPM and automated with a professional tool. It is very clear till now that if the same scenario arises again, I am not going to extract EDB mailbox with the manual method for sure. The automated approach is a better approach any time because it not only saves time but also provides security. If you have the corrupt exchange database issues, then also Kernel can provide you unbeatable results. To make yourself double sure about the product you can try it on your own at no cost.