Read time 8 minutes
Cloud-based platforms like G Suite and Outlook have genuinely been revolutionary for organizations, changing the working style of many professionals. G Suite, also known as Google Workspace, comprises all of Google’s collaborative, productive, and cloud-based tools. It comprises Google Drive (cloud storage) and other useful apps like Gmail, Calendar, Contacts, etc. However, Microsoft Outlook is an email management platform that supports an innovative and collaborative approach for all its users. It is a part of the Office 365 suite.
Both platforms follow very different approaches but can be utilized to their maximum capacity when put together. Outlook, as an email client, comes with great potential as it allows you to configure any IMAP account, such as G Suite account to MS Outlook. This blog discusses some easy methods to safely add Google Workspace email to Outlook.
How to add Google Workspace email in Outlook?
The manual approach to add G Suite account in Outlook involves a multi-step process where you first need to enable the IMAP settings in your G Suite account to access your G Suite Emails to PDF. Then, you need to allow access to less secure apps and finally, connect G Suite account to Outlook. The detailed process has been discussed below:
Step 1. Enable IMAP in G Suite account Settings
IMAP refers to Internet Message Access Protocol that allows users to access emails stored on a remote server while using multiple devices. It is the reason to make sure to turn on the IMAP settings.
- Sign in to the Google web apps and click the settings gear icon.

- Go to Forwarding and POP/IMAP tab and check if the IMAP is enabled.
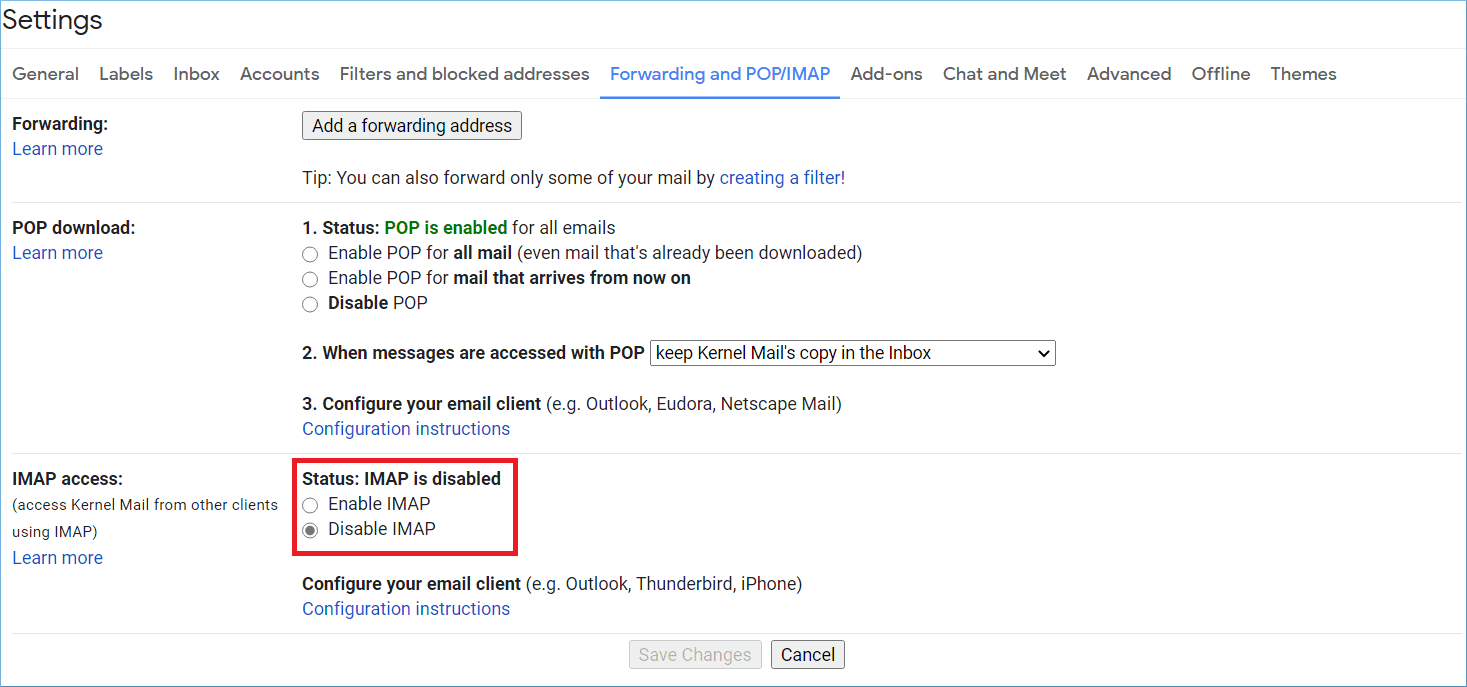
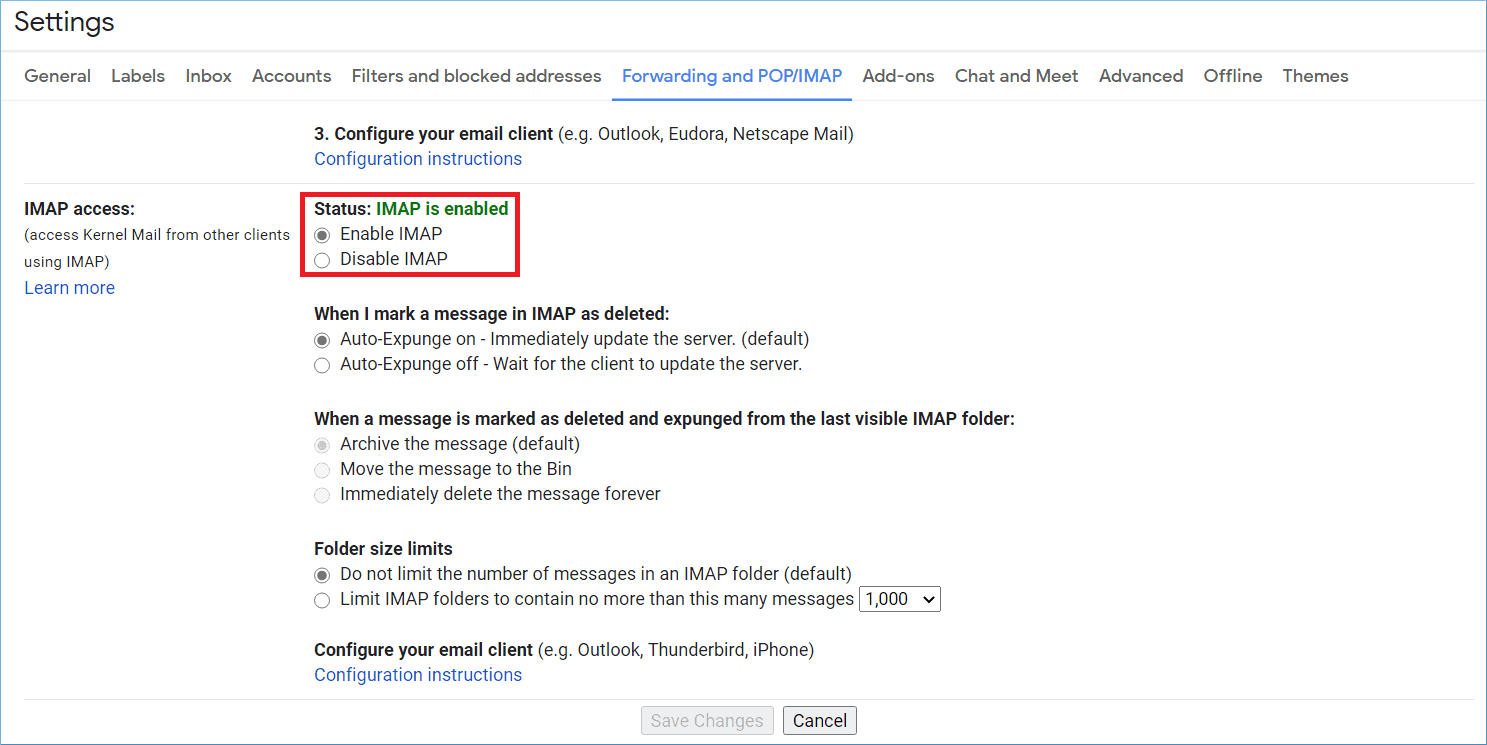
- If IMAP is disabled, then click Enable IMAP and click Save Changes.
Step 2. Connect G Suite account in Outlook
After enabling the IMAP for the G Suite account, you can add the new Google Workspace email in Outlook.
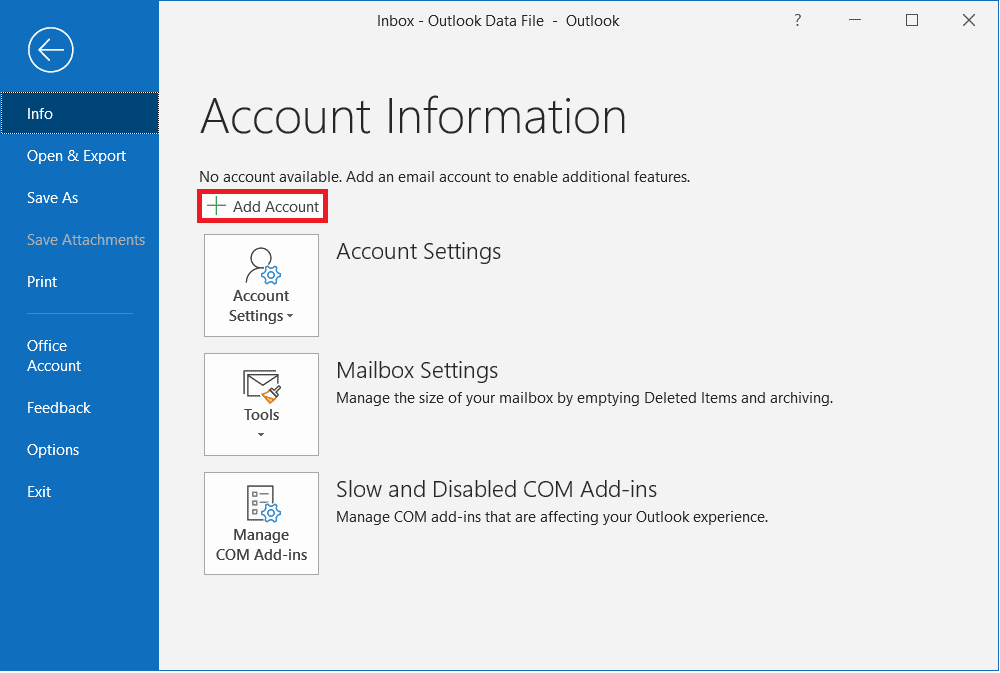
- Start Outlook and go to File option in the toolbar. After that, click the Add Account button.
- Input the G Suite account’s email address, and in the Advanced Options, click the checkbox for ‘Let me set up my account manually.’ Click Connect.

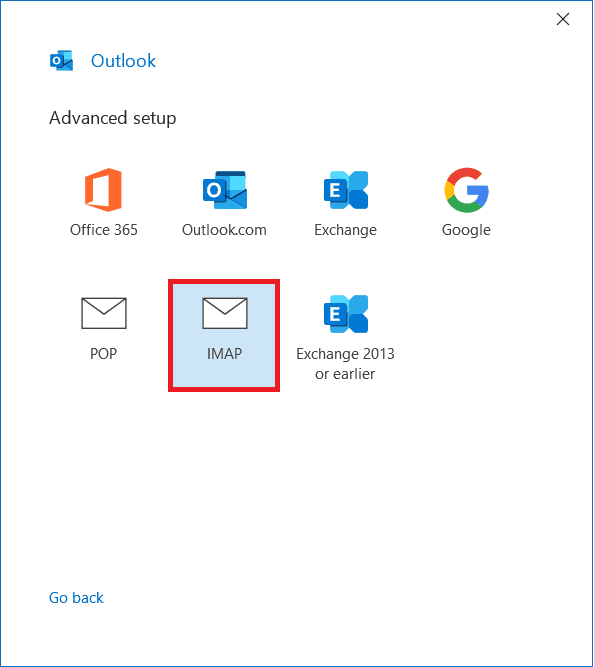
- Choose IMAP for the account type.
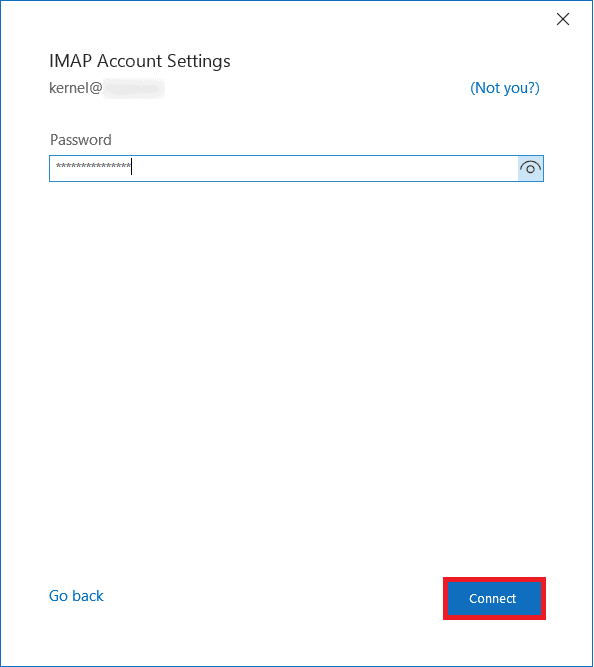
- Input the password of the G Suite account. Then click Connect.
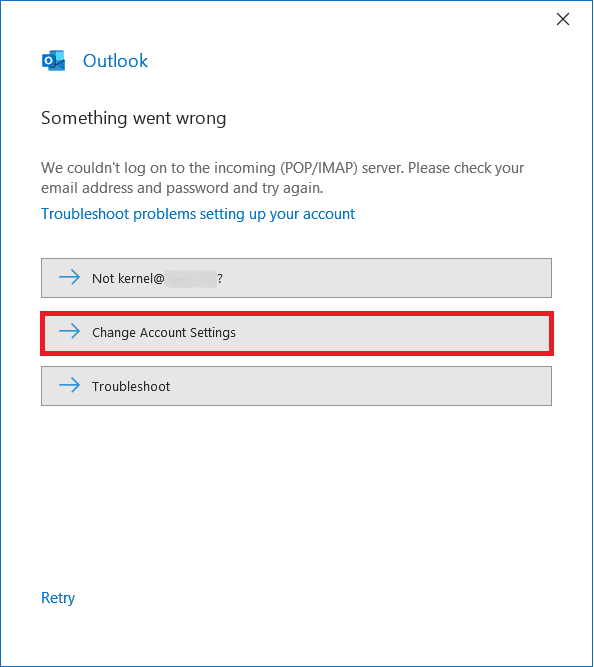
- If an error message appears, it shows that it could not log on to the incoming (POP/IMAP) server. Click the option Change account settings.
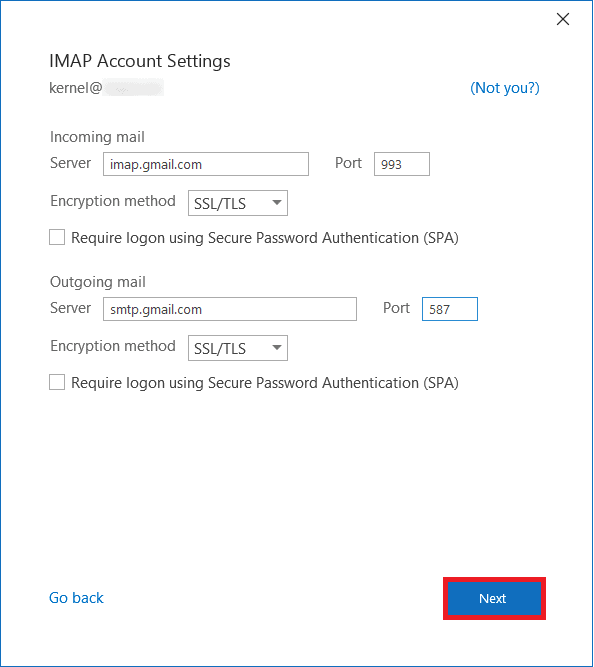
- In the incoming mail – type Server as imap.gmail.com and Port number as 993. Choose SSL/TLS from the Encryption method dropdown. In the Outgoing mail – type smtp.gmail.com in the server and 587 as the Port number. In the Encryption method, choose SSL/TLS in the dropdown. Click Next.
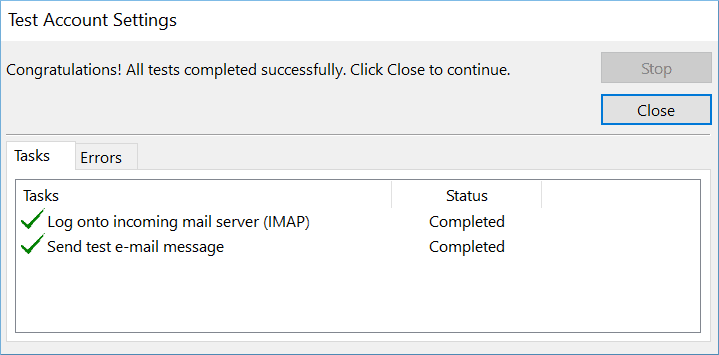
- Outlook will run a connection check with the IMAP Server and send a test email. Click Close after Outlook has completed the tasks successfully.
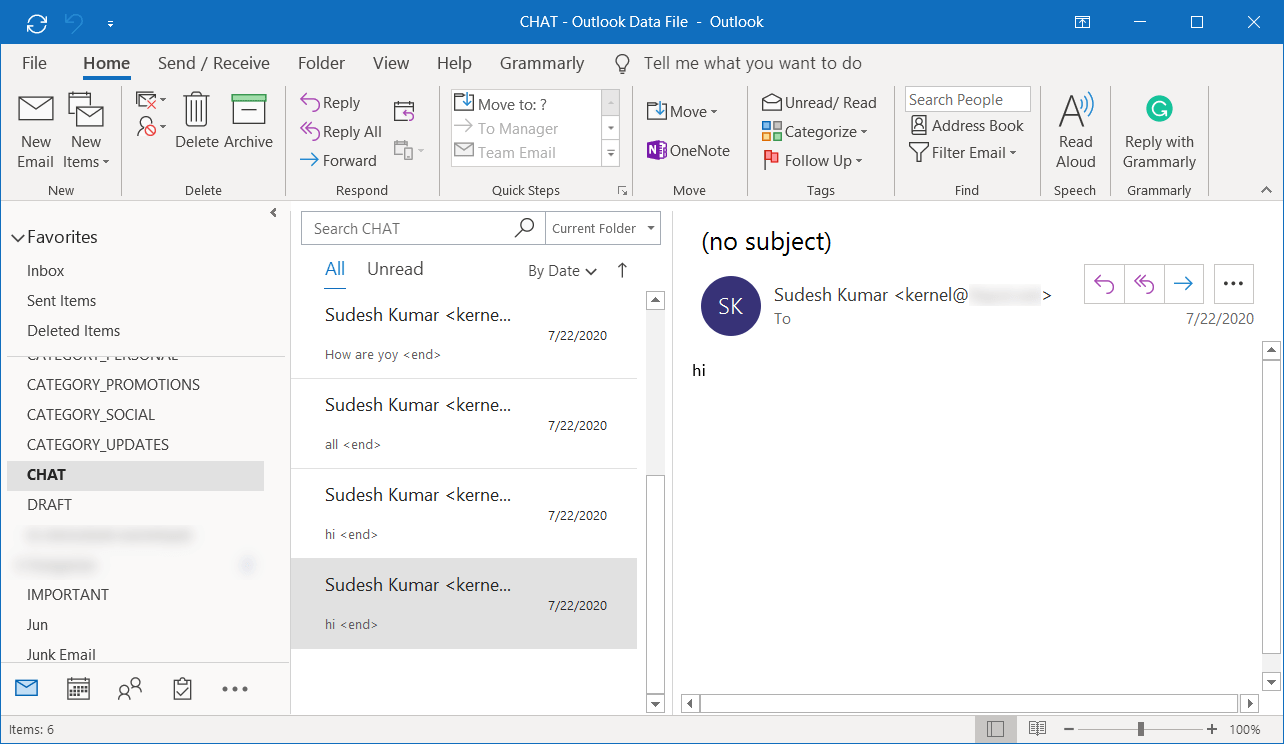
- The account mailbox will be available in Outlook. You can check all the folders and their content.
Note: The Outlook connection for the G Suite account only adds emails, not calendars and contacts.
How to take a backup of G Suite emails in Outlook?
When configuring Google Workspace to Outlook, you need to be very cautious with data security. To preserve your mailbox data, you can backup these emails and place them at a different location. Outlook has an inbuilt option to export the data to offline CSV and PST files, allowing you to backup your G Suite Emails to PDF. Here is the process:
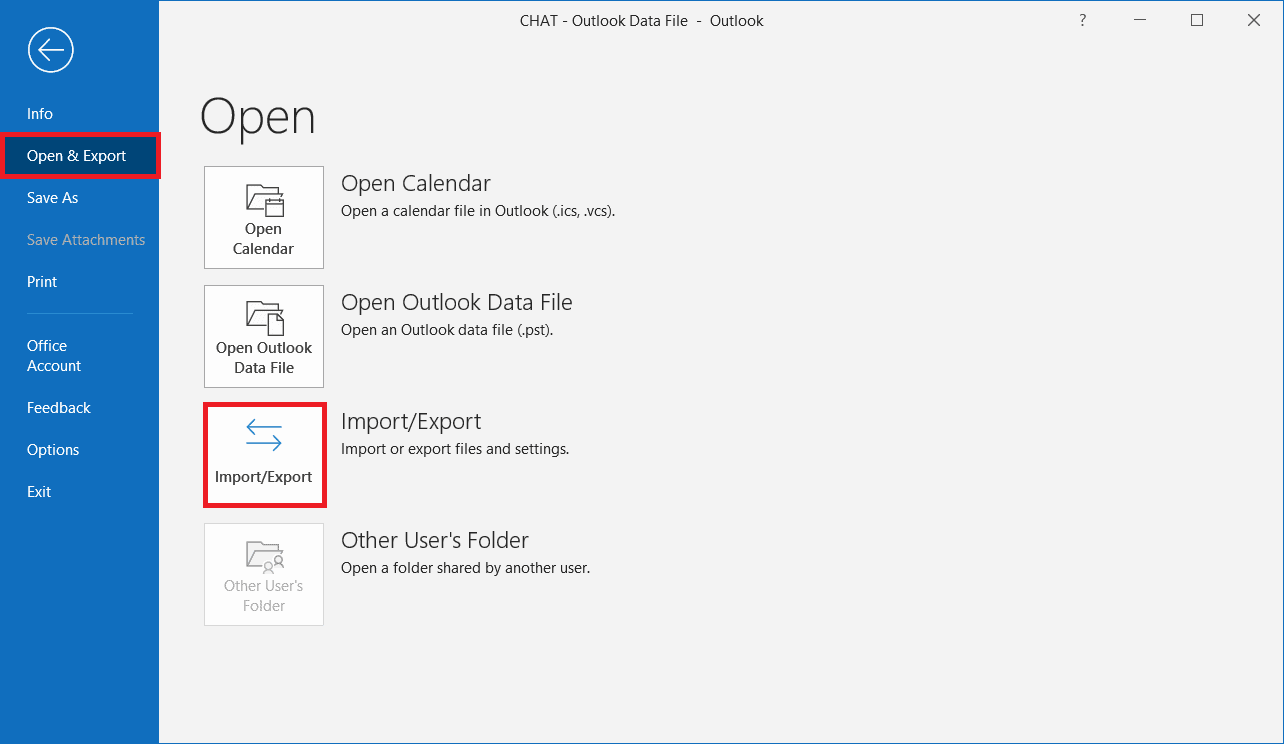
- After clicking the File option in the menu bar, click Open & Export. Then click Import/Export.
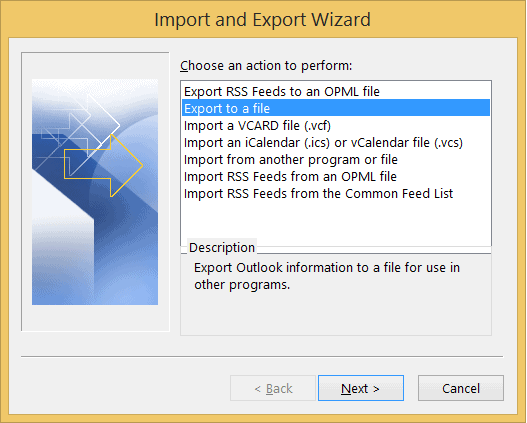
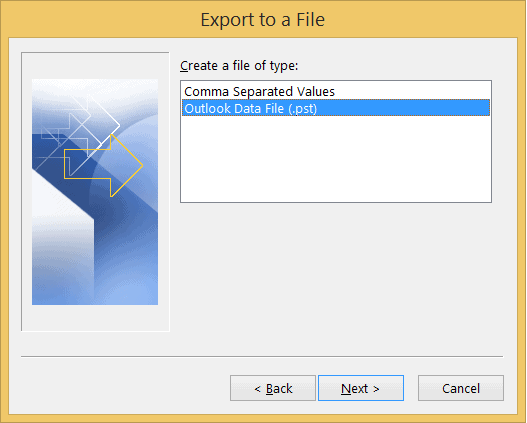
- Click ‘Export to a file.’ Then click Next.
- Select the Outlook data file (PST) then click on Next.
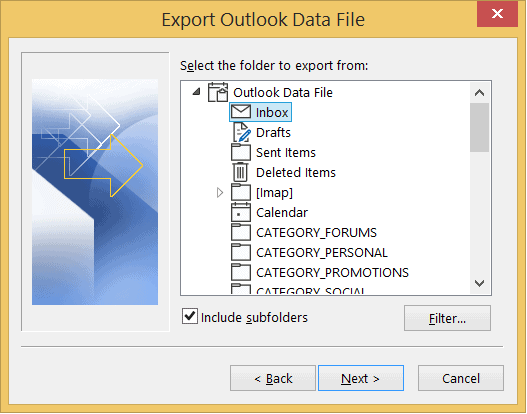
- Select the mail-based folder of the G Suite account. You can filter the option using the Filter button.
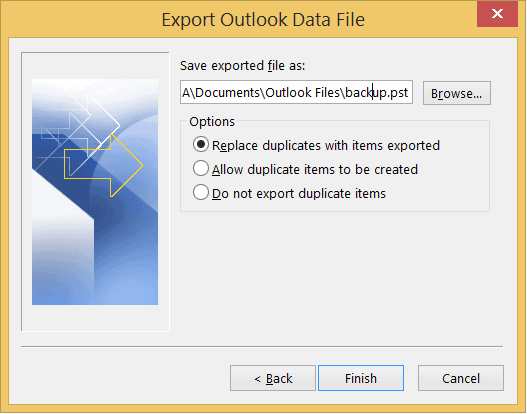
- Choose the option to handle the duplicate items and Browse the location to save the export file. Then click Finish.
Now you have a G Suite account backup stored in the PST file format. You can also assign a password to the PST file to make it more secure. But as we know, Google Workspace email in Outlook can have only the emails and not the other apps of your G Suite account. Therefore, the manual method to back up the data is not feasible in all cases.
In addition, there are some other limitations of the manual method, which are as follows:
- Even a tiny mistake can have a disastrous impact in terms of losing the data.
- It is time-consuming and requires the user’s utmost attention.
- There is also a risk of severe failure.
It would be a wise decision to use a professional software that supports all the G Suite tools and can take their backups.
Take backup using a professional Google Workspace backup utility
As G Suite saves your professional data, you should not take any chances with its security. One of the best recommended solutions is to use the Kernel Google Workspace Backup and Restore tool (formerly Kernel G Suite Backup) for precise and desired backup. The Kernel Google Workspace Backup and Restore tool (formerly Kernel G Suite Backup) to make a routine backup. The Google backup tool can back up all the data from the apps whose APIs are enabled for your account. It will allow you to filter the data and backup selectively. If you want to backup multiple accounts simultaneously using Super Administrator credentials, then the tool will create a separate backup folder for each Google Workspace account.
Some unique features of the tool are:
- Backup data with complete integrity and original file/folder hierarchy.
- Backup Google Photos locally to desired location on your machine.
- Save G Suite mailboxes to multiple formats such as PST, PDF, DOCX, etc.
- Advanced filters for customized backup of Google Contacts, Calendars, emails, and other items.
Conclusion
Despite the vast difference between G Suite and Outlook, there is a manual method does exist with which you can add Google Workspace email in Outlook. However, to safeguard your data, we recommend performing a complete G Suite backup with the Kernel Google Workspace backup and restore tool. The tool’s robust algorithms can accurately perform several backups, including Google Hangout Chats backup, Google Photos, Calendar, Contacts, and other data items.