Read time 6 minutes
Duplicate files can be quite a hassle as they occupy a significant portion of your computer’s storage, ultimately causing your system to operate at a sluggish pace.Find duplicate files in Windows 10 are a result of-
- Multiple backup of files
- Copying the same file in multiple destinations.
- Numerous downloads of files.
- Sharing files through emails
Methods to remove duplicate files in Windows 10
Manually it is difficult to remove duplicate files one by one from your Windows 10 system. However, many people choose them as they are free to use.
Grouping all the same format files
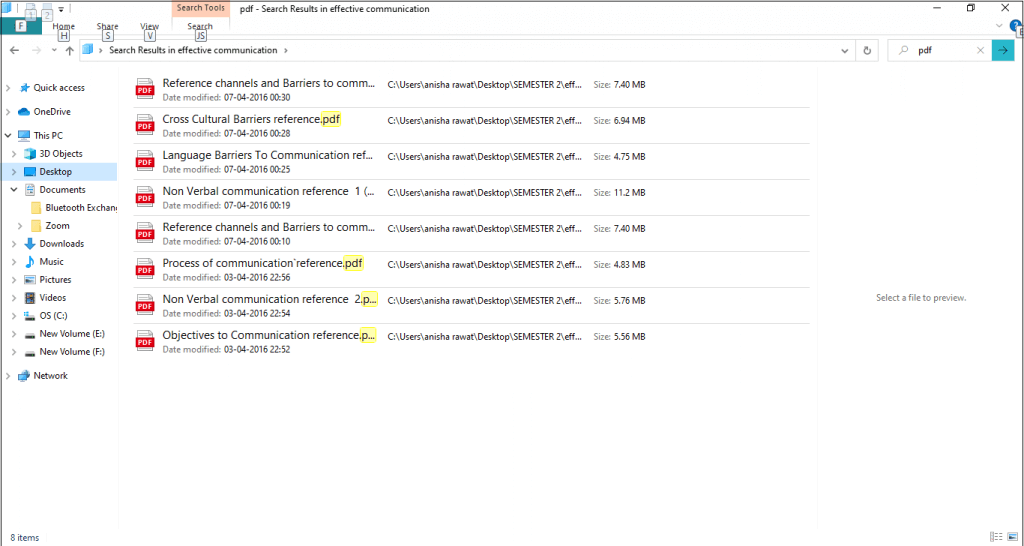
- Navigate to the designated directory and locate the specific file format you wish to eliminate, such as PDF files.
- A list of all the PDF files will be displayed.
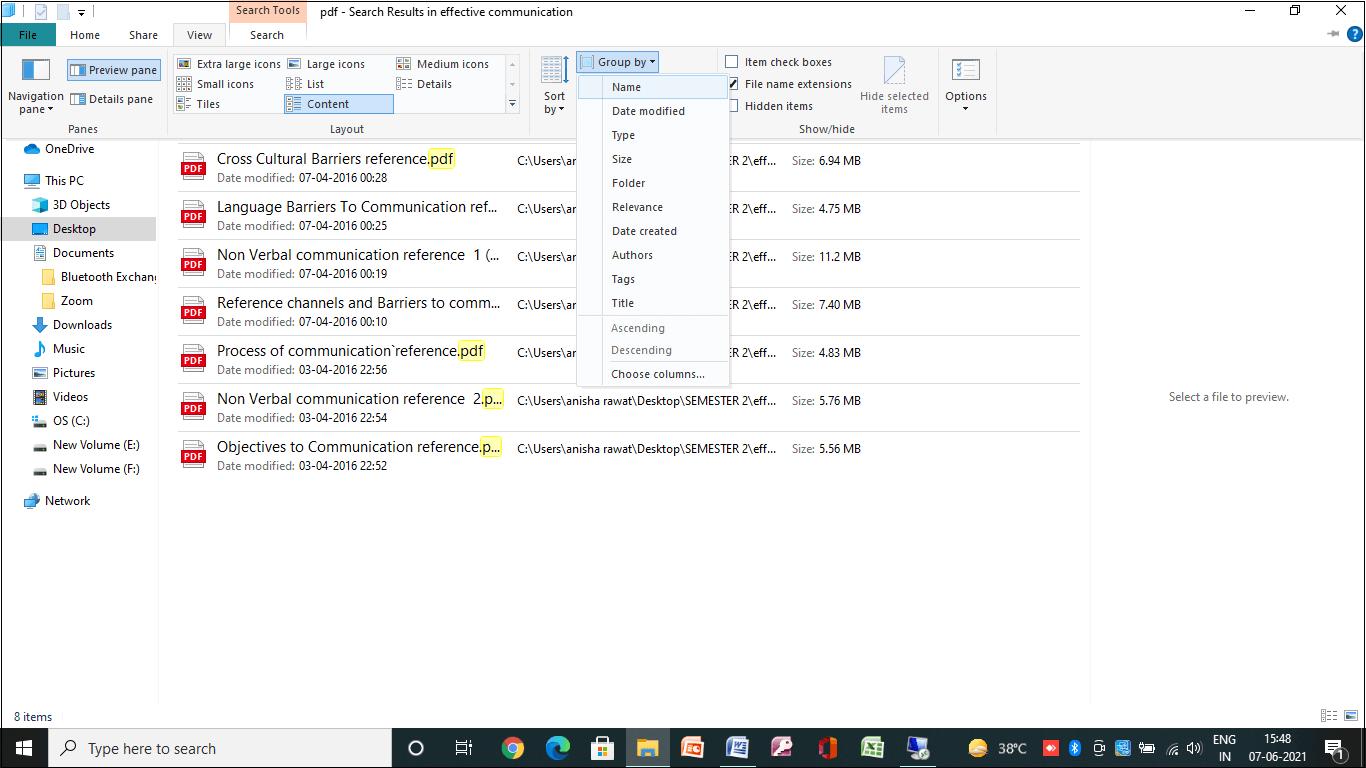
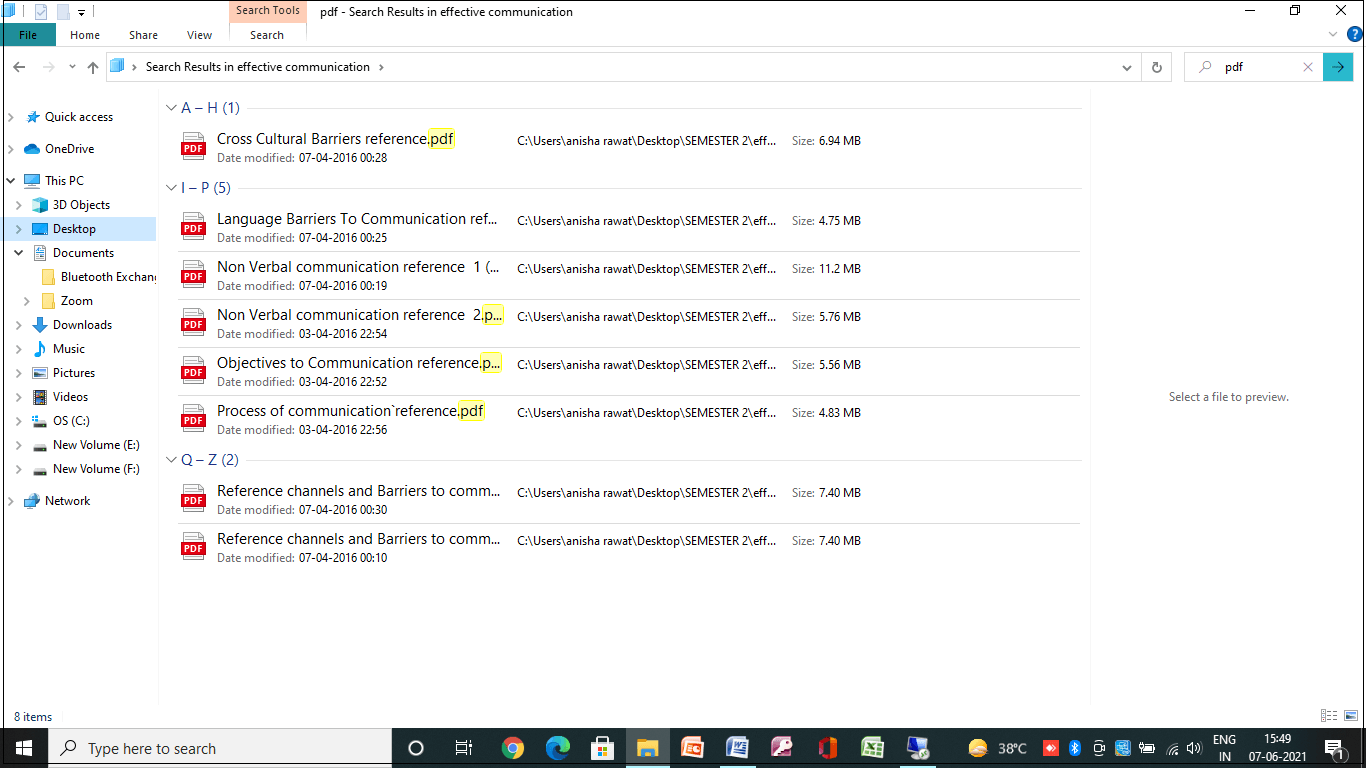
- Navigate to the ‘View’ tab, then access the ‘Group’ option and select ‘Name.’ This action will organize the files based on their names, and you can also observe their file sizes in this view.
- You can even preview the file and remove the duplicate ones.
This method is useful only if you are aware and certain about which duplicate files have to be removed.
Kernel Duplicate File Finder
Kernel Duplicate File Finder, a sophisticated tool, simplifies the process of removing duplicates with just a few simple instructions on your part. It can simultaneously scan multiple folders, allowing you to identify and address all duplicate files in one go. Follow these straightforward steps to eliminate duplicate files on your Windows 10 system.
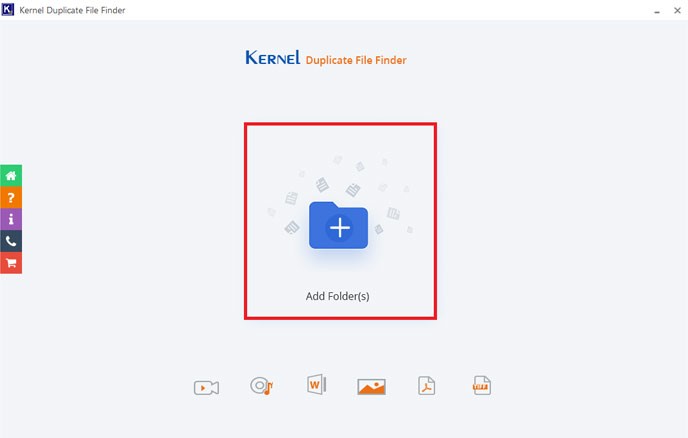
- Install the Kernel Duplicate File Finder on your Windows 10 system.
- Open the tool and click on the plus sign “+” to add folders.
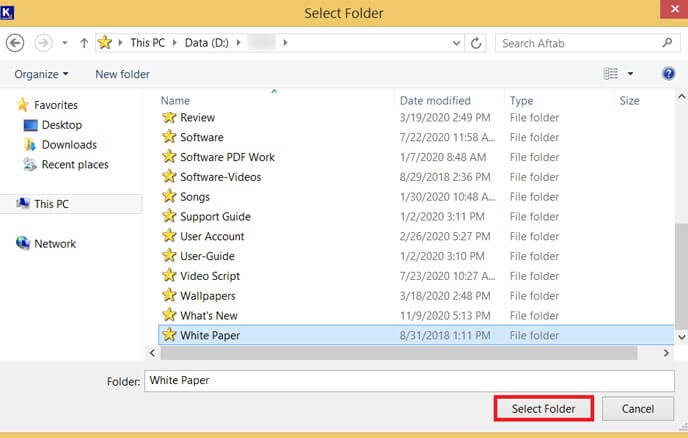
- Add the drive or folder, and it will be displayed on the screen.

- Choose the required folder and click on ‘Select Folder’.
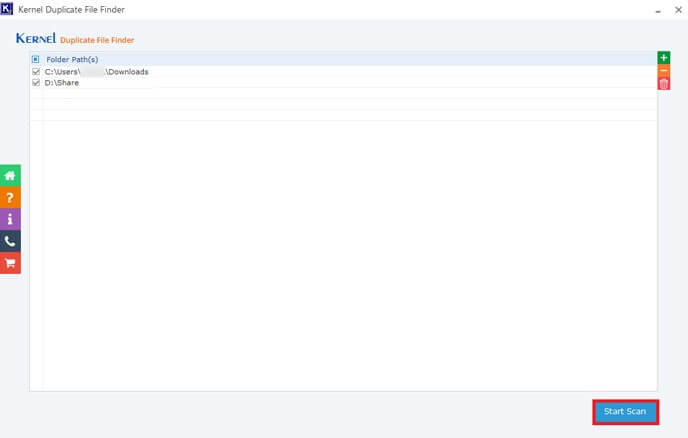
- Click on ‘Start scan’ to start the scanning process.
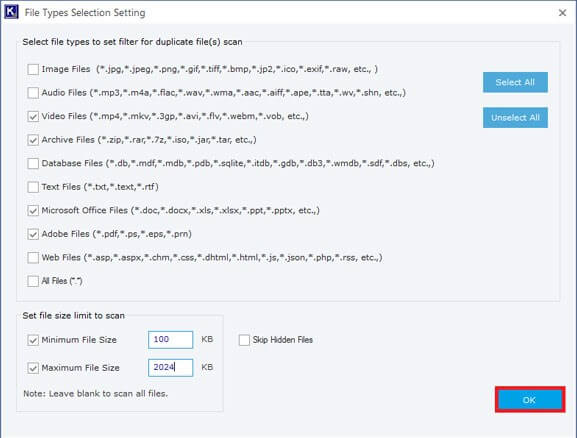
- You can choose the file type and size now. Click on ‘OK.’
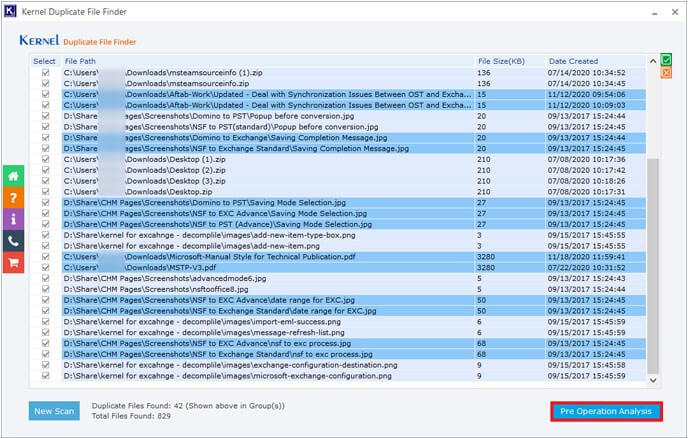
- The tool displays a list of duplicate files. Click on ‘Pre-Operation Analysis.’
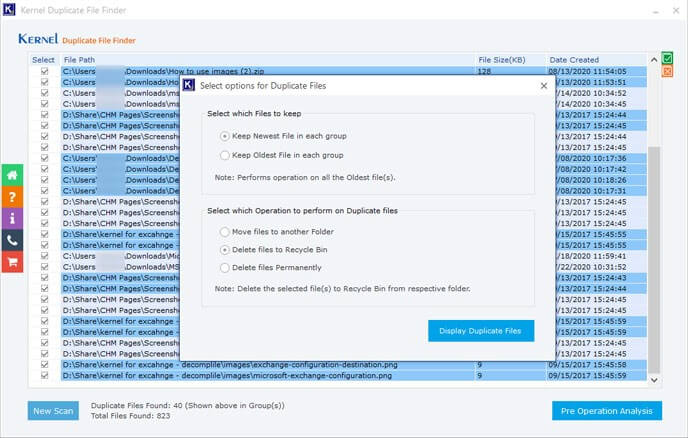
- Choose your preferences for which files to retain. Opt for either ‘Permanently Delete Files’ or ‘Send Deleted Files to the Recycle Bin’ from the available list of actions to perform on duplicate files.
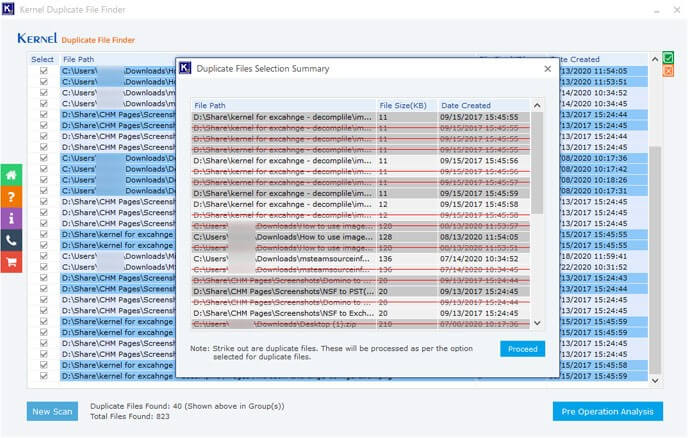
- Click on ‘Display Duplicate Files’ to check all the duplicate content which has been crossed out. Click on ‘Proceed.’
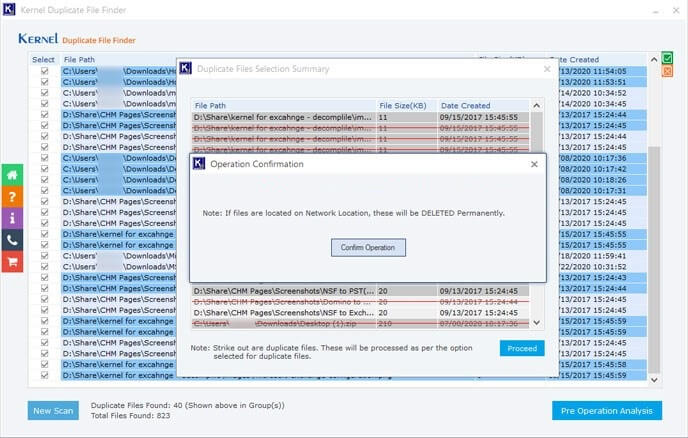
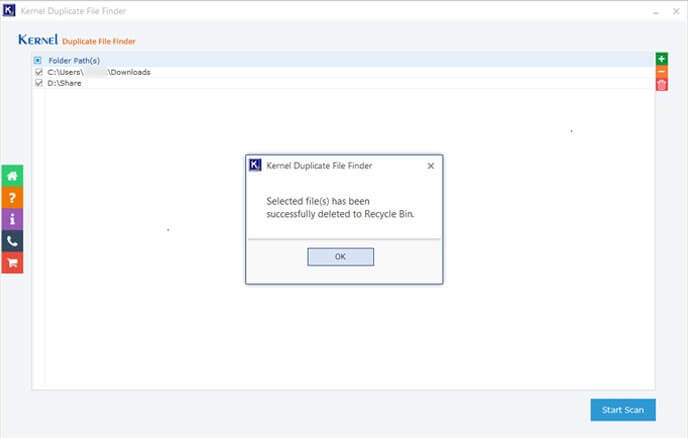
- The tool will ask for confirmation. Click on ‘Confirm Operation.’
- The selected actions have been fulfilled. Now, click on ‘OK.’
The Kernel Duplicate File Finder trial version grants you access to view the comprehensive list of duplicate files. To carry out any actions on these duplicates, a purchase of the tool is required.
The software possesses the ability to detect duplicate files of various kinds within any directory or drive on your Windows 10 computer. Users can employ filters to pinpoint specific duplicate files, making Kernel Duplicate File Finder an extremely recommended utility.
Conclusion
The abundance of duplicate files can significantly impact the performance of our Windows 10 system, causing it to slow down from its typical speed. This slowdown is the primary motivation for eliminating these duplicate files from our system. While there are methods such as organizing files by type or utilizing specialized software to accomplish this task, these approaches can be time-consuming and may not consistently deliver the desired outcomes. This is where Kernel Duplicate File Finder comes into play as the ideal solution for efficiently removing duplicate files from your Windows 10 system.