Read time: 7 minutes
A poll is conducted to gather opinions, ideas, suggestions, or feedback from a group of people on a particular topic. Organizations often require time-to-time feedback from their employees on various matters. Instead of physical forms, Microsoft provides an instant and easy way to receive a response from all employees without effort. The results are then collected, analyzed, and then better decisions at the workplace are made. Many companies are making the most of this feature, and even you should start using it. These are the most useful methods which can help you to create a poll in Microsoft 365:
- Microsoft Forms
- Poll in MS Outlook
- Poll in Microsoft Teams
- Poll in Yammer
Method 1: Microsoft Forms
Microsoft Forms in Office 365 is solely dedicated to creating polls, surveys, and quizzes. The results are presented automatically in real-time and can be easily exported to an Excel sheet.
Standout features:
- A user can add various types of questions, including multiple Choice, Text, Rating, Date, Ranking, Likert, and Net Promotion Score.
- The responses are summarized with visual charts and can be shared with others.
- There are many available themes that can be chosen for the form.
- It seamlessly integrates with other applications.
- You can use it for business, education, or personal learning purposes.
How to create a poll in Microsoft forms?
These steps are used to create a poll in Microsoft Forms:
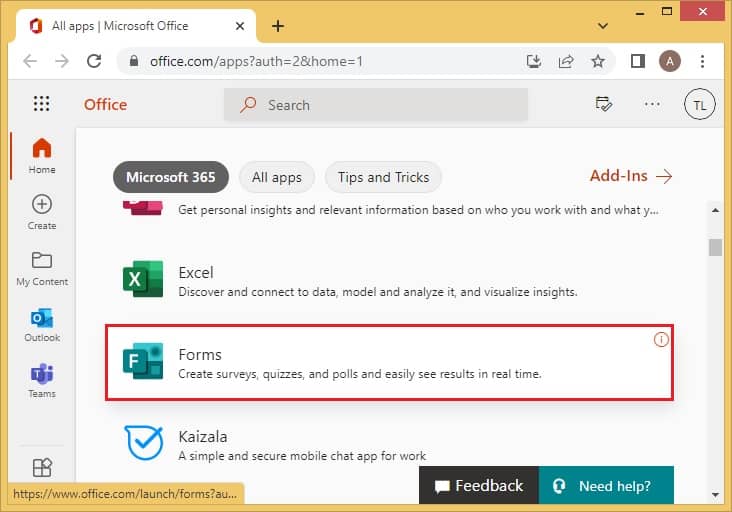
- Select the ‘Forms’ application from the list.
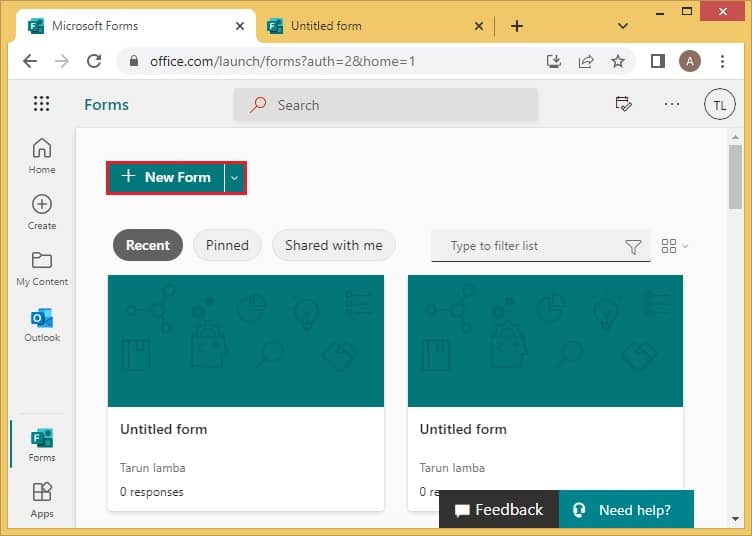
- On its Home page, click on ‘+ New Form.’
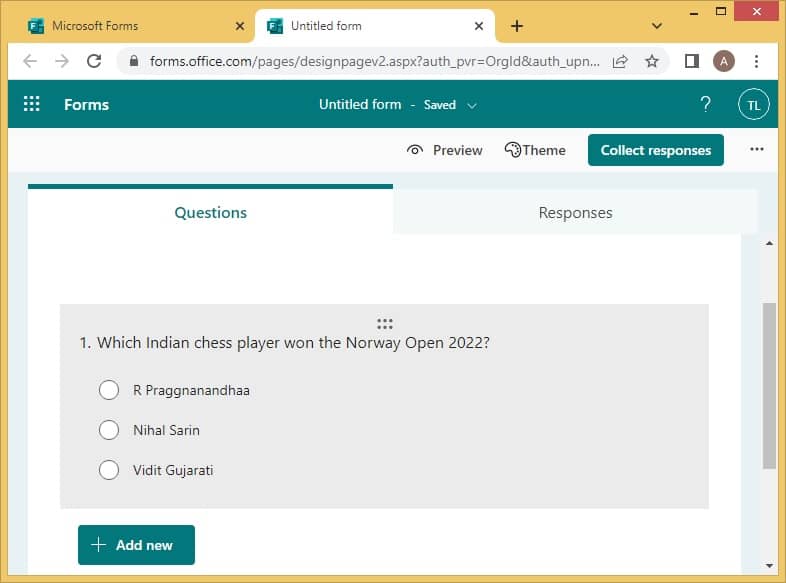
- Now, select ‘+ Add New,’ and a list of options will be displayed. Name the poll and choose the options you prefer.
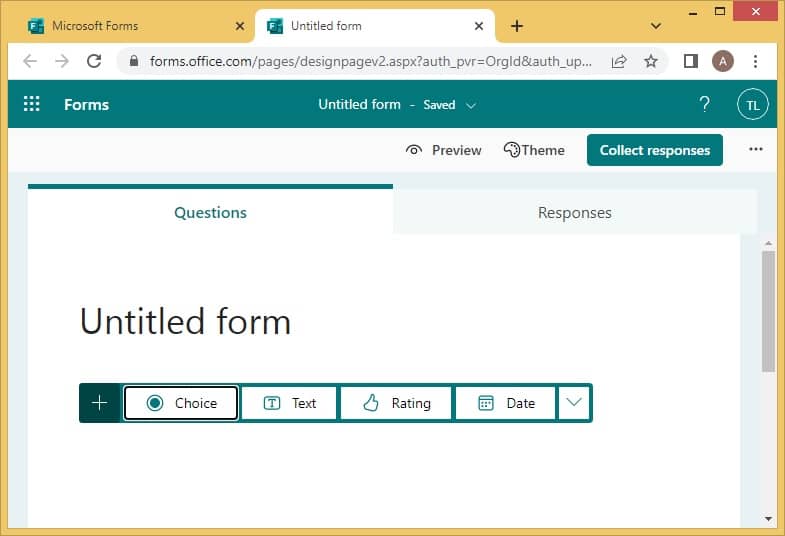
- Type the question and specify its options. Similarly, you can add more questions and view all the answers in the Responses section.
Method 2: Poll in Outlook
Outlook also allows its users to create a single-question poll in its web and application consoles. In addition, due to all the exemplary features it offers, many users often configure a Microsoft 365 account in Outlook.
Standout features:
- This is a one-time poll that cannot be edited after it has been sent.
- The results are displayed in detail in the same format as in the Forms application.
- The question is sent to participants via an email message.
- You can add multiple options and allow multiple correct responses.
How to create a poll in Outlook?
The process of creating a poll in Outlook is mentioned as follows:
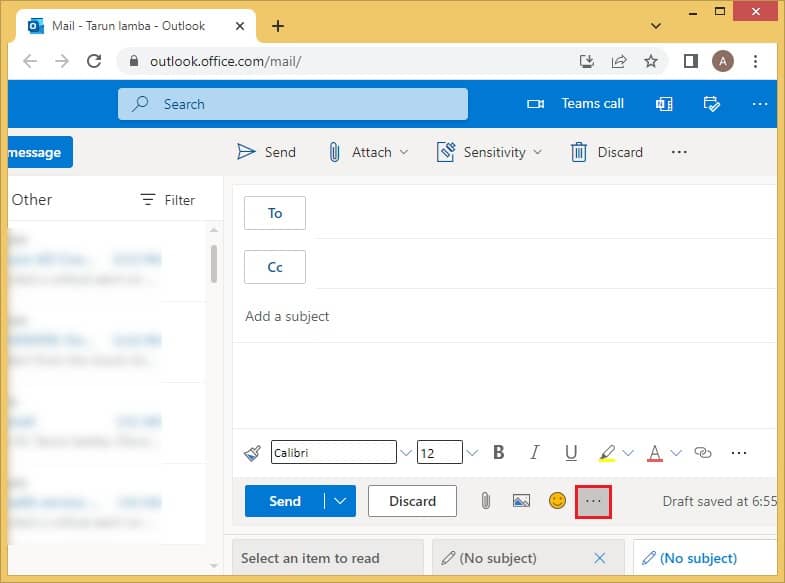
- Open MS Outlook and open a new message window. Click on the 3 horizontal dots.
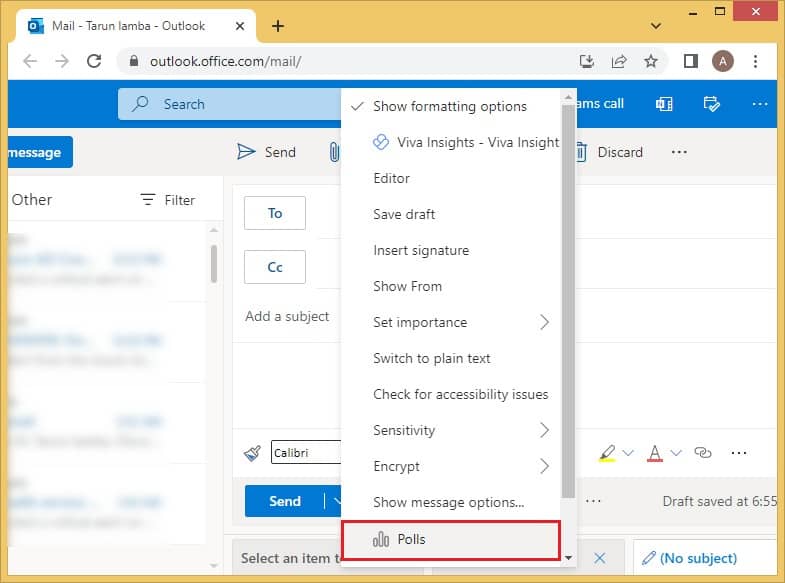
- Click on the ‘Polls’ option at the bottom.
- Click ‘Add to email’ to send the poll to others.
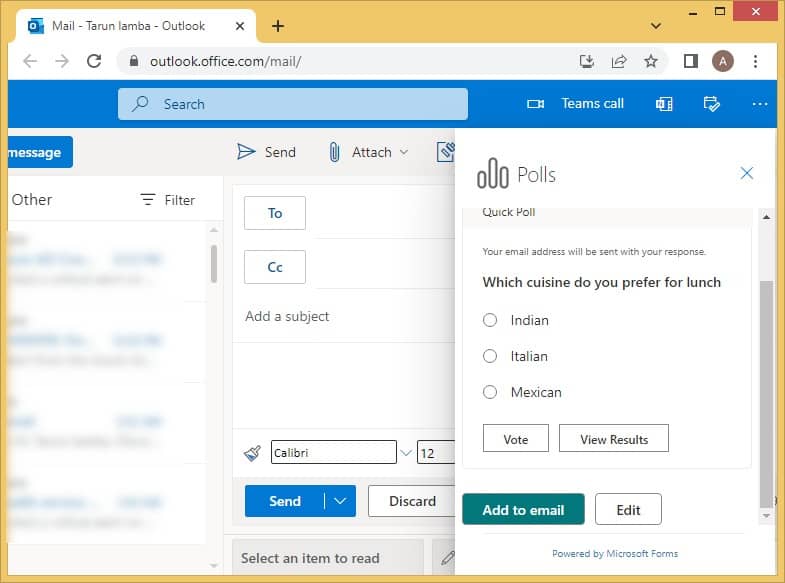
The recipients will see the poll in the message body of the email, or a link will be mentioned in the email redirecting them to vote in a browser.
Method 3: Poll in Teams
You are in an important meeting or taking an online class, and a quick query needs to be addressed where everybody’s ideas are required. That’s exactly when a poll is needed in Teams the most. Microsoft Teams allows users to create a poll on the spot due to its integration with Forms.
Standout features:
- The poll can be generated while a meeting or class is ongoing.
- A multiple-choice question with multiple selections can be added.
- The creator can view the names of all the respondents.
- The results can also be shared with all the participants.
- The responses can also be viewed in the Excel format for better understanding or in the Forms application.
How to create a poll in Teams?
Follow these steps to create a poll in Teams:
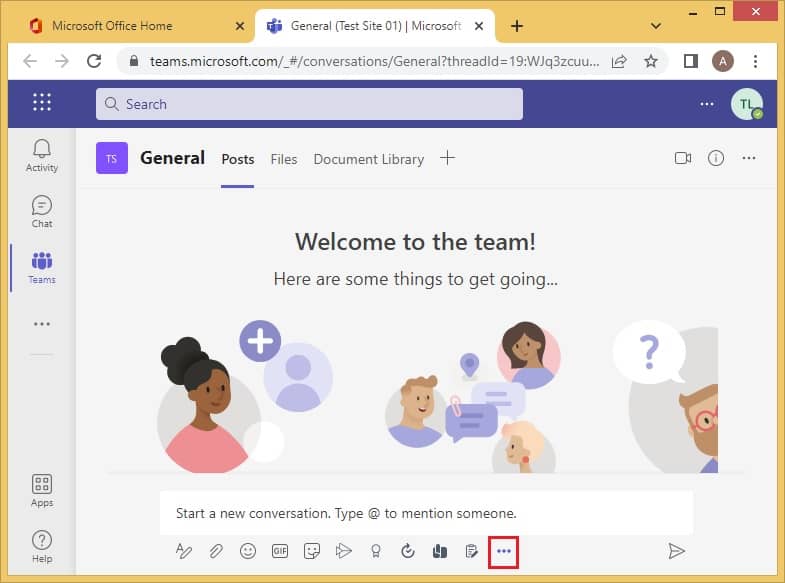
- Launch ‘Teams’ and start a new conversation. Click on the 3 dots present below.
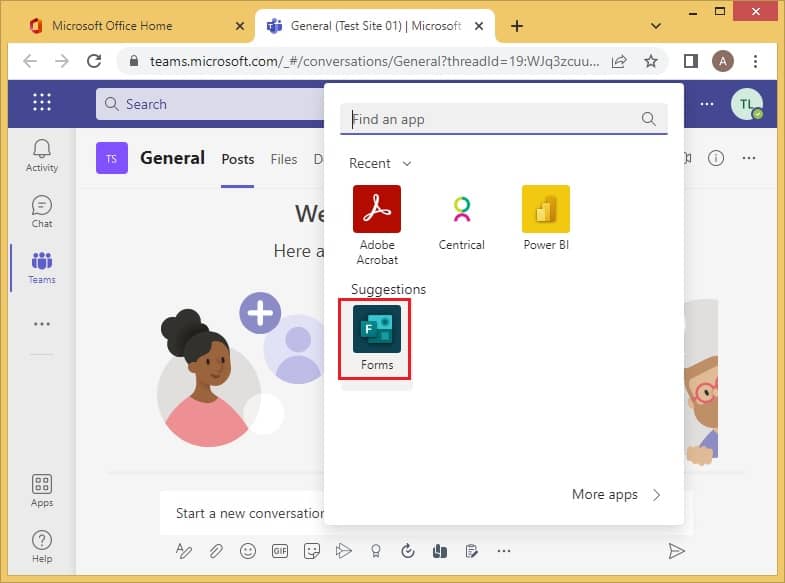
- The option of ‘Forms’ will appear; select that.
- When the form opens, type the question and its suitable options.
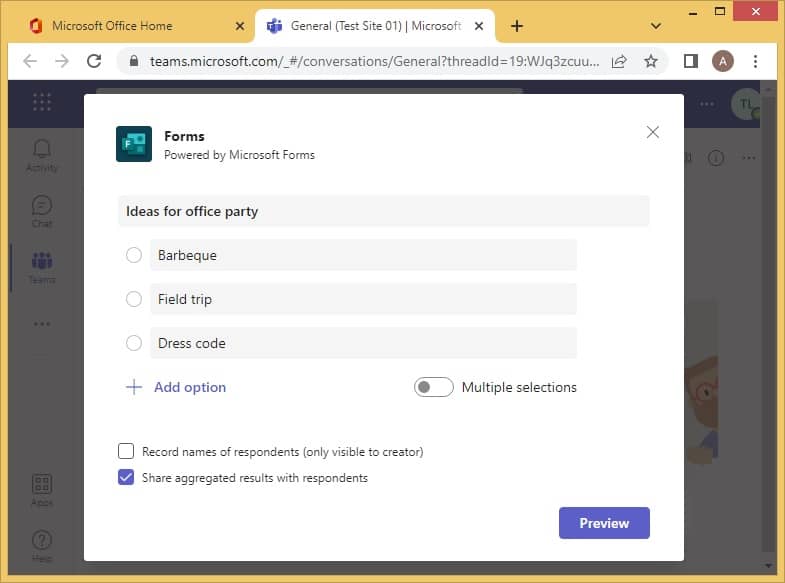
- You can turn on or off the option to allow or disallow making Multiple Selections.
- Click Save after making changes.
- Once you’re done, click Send and the results of the poll are viewable instantly.
Method 4: Poll in Yammer
Yammer is a social networking service within the organization that enhances communication by collecting all the ideas and feedback of employees. You can consider it as social media for the corporate world. It has a special feature where polls can be easily generated.
Key features:
- Increases the engagement among employees.
- The poll is targeted toward a larger set of audience.
- Links, attachments, GIFs, and pictures can be incorporated along with the questions.
- A poll can be created only for a specific community.
- This is unique to this platform only and has no integration with other Microsoft applications.
How to create a poll in Yammer?
Here are the steps for generating polls in Yammer:
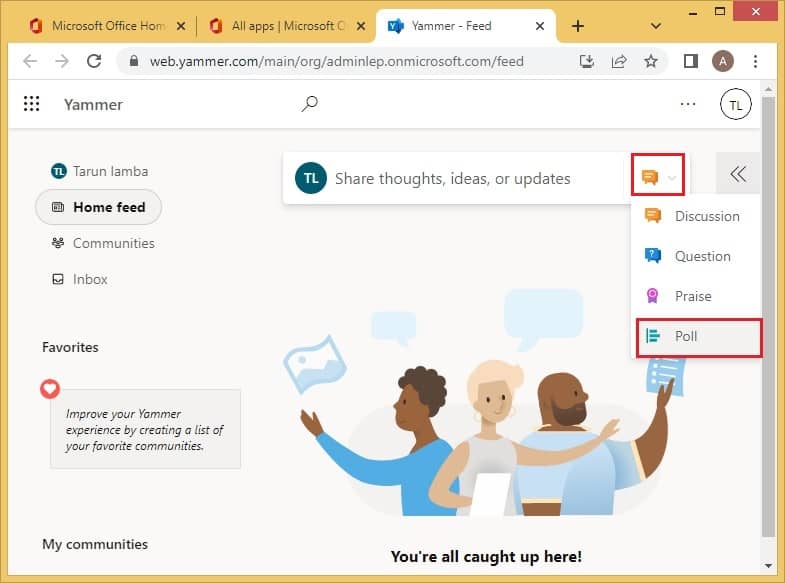
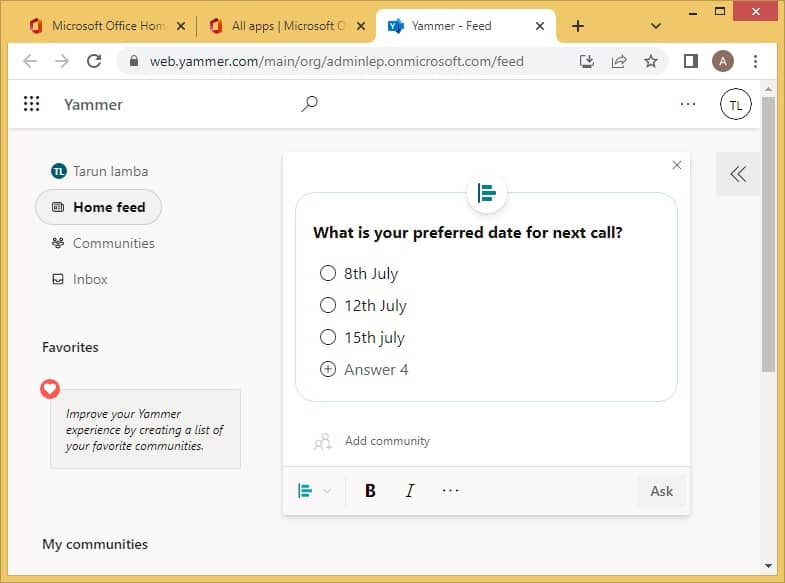
- Choose ‘Yammer’ from Microsoft.

- Click the downward arrow and select the ‘Polls’ option.
- Simply write the query, mention some options to choose from and click on ‘Ask.’
Method 5: Creating a Poll in SharePoint Online
Creating a poll or survey in SharePoint Online provides a quick way to collect user generated data (feedback, opinion, etc.).
Some key features:
- Allows users selecting multiple answers to the polls.
- You can set a deadline (date and time) for the poll to close.
- The creator of the poll can decide who can view the results.
- Users can poll anonymously in SharePoint Online polls.
How to create a poll in SharePoint Online?
To create a poll in SharePoint Online, you first need to add Survey as an app by clicking on the New button from the Site Contents page. Here are some steps that guide how to create a poll:
- Login to the SharePoint Online site in which you want to create a poll.
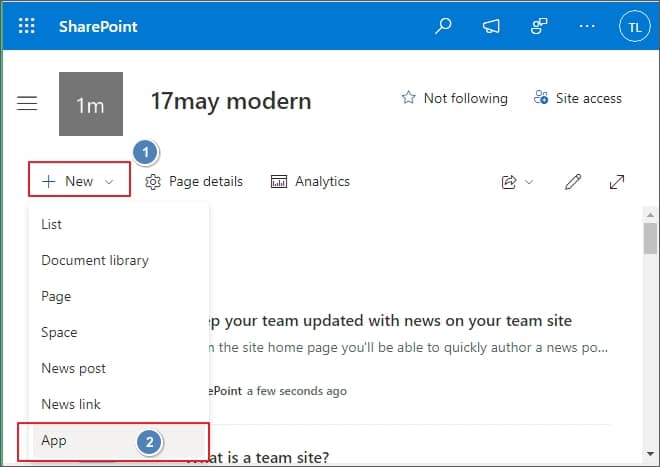
- Select + New and then click on App.
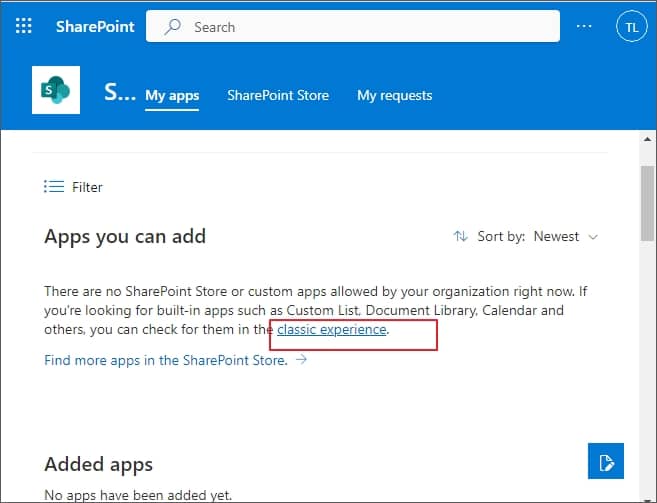
- In the new wizard click on the link that says classic experience.
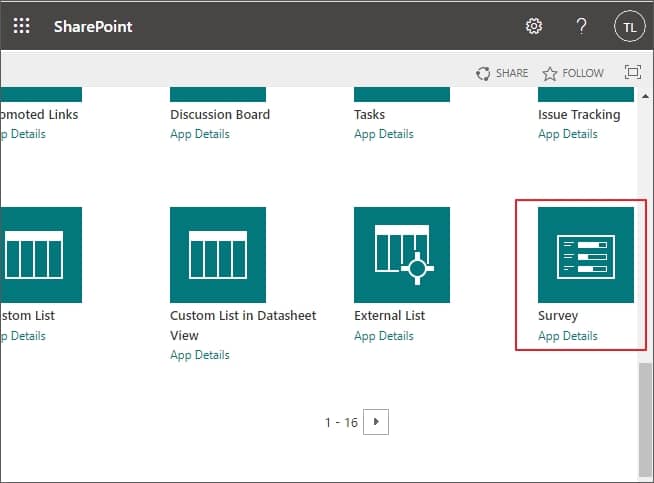
- Click on the Survey from the list of apps you can add.
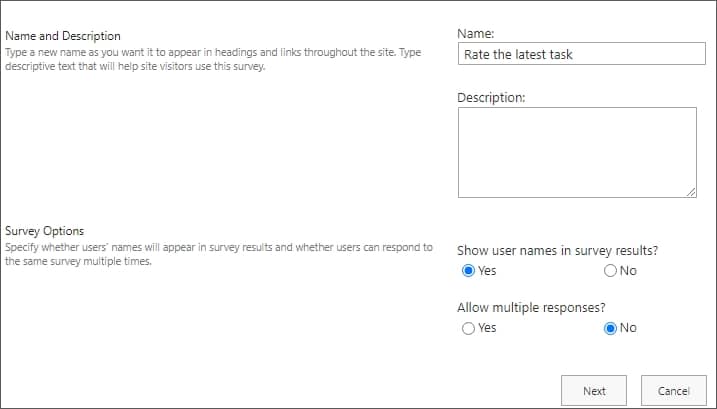
- Give a name and a brief description to the poll you want to create and click Next.
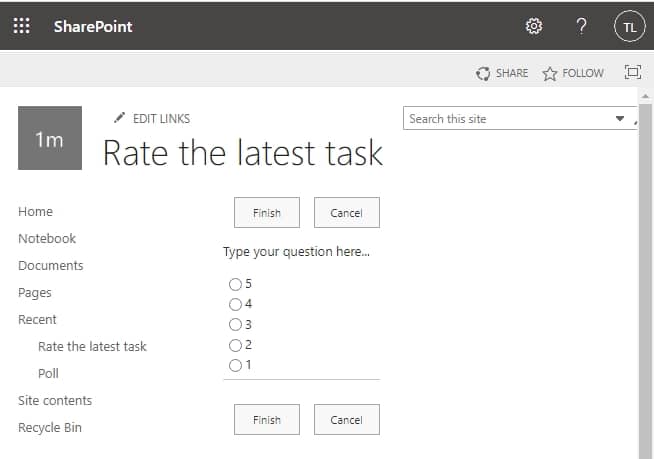
- Type the question and the respective responses and then hit the Finish button.
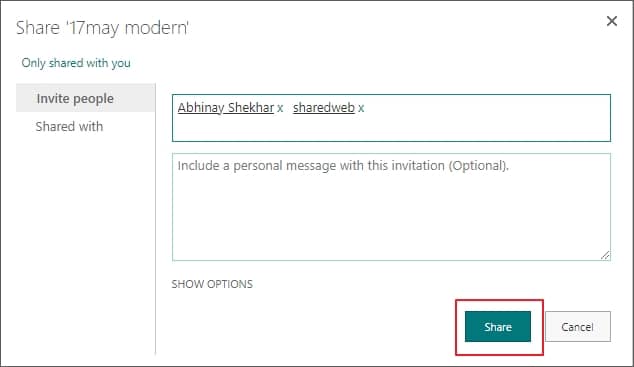
- Once done, click the Share button on the top right and you can enter the email addresses of the members to whom you want to share the poll.
- For this, go to Responses and then See All Responses.
You can export this data into an excel sheet by selecting Export to Spreadsheet for further analysis.
With all these methods, you can create a poll with much ease, collect all the required information, and then make better decisions for the organizations.
Backup Microsoft Office data using professional utility
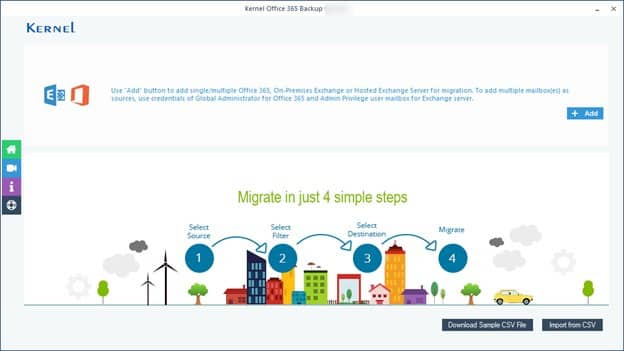
The data stored in Office 365 is critical, you can use professional Office 365 backup software like the Kernel Office 365 Backup and Restore to take a secure backup of all the Office 365 data. It is a powerful utility that can export Office 365 mailbox to PST and many other preferred output formats. It has a simple yet effective process to take backup and you do not need to install or connect the Office 365 account with the system you’re taking backup on.
Conclusion
You can create polls in Office 365 using any of the four different techniques mentioned: Forms, Yammer, Outlook, and Teams to create polls in Office 365. Each method is straightforward, and the selection of the best method depends on their individual features, which have been explained above. To ensure the safety of your Office 365 data, consider using a professional utility like Kernel Export Office 365 to PST to back up substantial data. It will also make it easier for you to find old emails in Office 365 without wasting any time and energy.