Read time 5 minutes
When the user configures an Office 365 account in Outlook, then the application does not require maximum details to connect with the server. Only the credentials (email address and password) help to establish a secure connection. There is a feature called autodiscover that connects with the server with minimum information. It works automatically and the mailbox is connected along with all the folders. When autodiscover is not working for an Office 365 account, then it gives the error –
This situation is contrary to the normal pop-up of the dialogue box asking permissions to the website for Office 365 account configuration via Autodiscover URL and server settings which involves the verification of DNS for Autodiscover record basically. But the onset of this error caused disturbance or interruption in the configuration which needs to be checked and resolved.
The list of the possible causes of the error is following
- The email address which you are using for Auto Account Setup is wrong.
- The updates necessary for the Exchange Online (Office 365) are not installed on MS Outlook you are using.
- Some essential attributes like proxyAddress, displayName, mailNickname, and the Mail are not set up in the on-premises Active Directory.
- The CNAME record is not set up correctly, or it is not existing
Scenarios Related to the Auto to Discover Issue
- Outlook will not connect to the mailbox.
- Public folders are not accessible.
- Auto-mapping within a shared mailbox does not work.
- Sharing invitation will not work.
- Calendar entries issues.
Verify the Auto discover not working issue
Auto discover is an advantageous feature which lets the user account automatically connect to Exchange Online. The user profile is automatically configured and requires the least assistance from the user. If you are facing the autodiscover error, then you can check the status of the autodiscover using the PowerShell command or MS Outlook.
Using Exchange PowerShell: Run the following command –
The command will check the health of auto discover feature and bring a list of all the related services like – availability service, offline address book, and unified messaging.
Using Outlook
- Go to the Outlook application in the application menu, right-click it, and select the option ‘Test Email AutoConfiguration.’
- Input the user credentials, check the option of ‘User Autodiscover,’ and click the Test button.
- The system will check the connection and provide a ‘succeeded’ message on a clean connection.
Both the methods to check the Autodiscover are quite remarkable. They both tell about the health of Autodiscover, and it is imperative in case of an error or corruption.
Troubleshoot the Autodiscover not working problem
An administrator can try multiple methods to diagnose and troubleshoot to remove the error related to the autodiscover feature. Let us see some useful techniques one by one –
- CNAME DNS record: Use the Autodiscover URL and check whether it is working –
https://mail.company.com/autodiscover/autodiscover.xmlYou can visit the URL by logging in to the Outlook Web Apps if the error returns the ErrorCode 600, then you can go ahead to add the CNAME record to the external DNS.
- Name: autodiscover
- TTL: 3600
- RR Type: CNAME
- Value: mail.companydomainname.com
- SRV DNS Record: The second method is to use the SRV DNS record to make the autodiscover feature useful again.
- Name: _autodiscover._tcp
- TTL: 3600
- RR Type: SRV
- Value: 0 443 companydomainname.com
- XML redirect on root domain: Put the XML redirect file on the web server of the hosting domain. You need to restore autodiscover XML file to the web server hosting to your website.
After placing the file, you can check the autodiscover using the MS Remote Connectivity Analyzer.
All the three methods require only some changes in the hosting web server and the autodiscover may start working again.
Solution at the end user-level
All the above-mentioned methods are suitable at the server levels, but some workarounds can help you in fixing the issue at the user-level itself.
Check the default Autodiscover URL
- The first method checks if the domain account has been set to an alternative URL. To run this process, you need to login to Outlook Web Access from outside your corporate network and then input the following Autodiscover URL;
https://emailname.organizationname.com/autodiscover/autodiscover.xml
The above URL should give an error message that it is an invalid request. The Autodiscover URL should not work anywhere else except your corporate network. - Create a new XML file in the notepad and input the following entries;
<?xml version=”1.0″ encoding=”utf-8″ ?>
<Autodiscover xmlns=”http://schemas.microsoft.com/exchange/autodiscover/responseschema/2006″>
<Response xmlns=”http://schemas.microsoft.com/exchange/autodiscover/outlook/responseschema/2006a”>
<Account>
<AccountType>email</AccountType>
<Action>redirectUrl</Action>
<RedirectUrl>https://emailname.organizationname.com/autodiscover/autodiscover.xml</RedirectUrl>
</Account>
</Response>
</Autodiscover>Save the file with the name Autodiscover.xml at a suitable location. Make sure that you have changed the file extension from TXT to XML.
- Open the Registry Editor. You will need to input the following details;
Key: HKEY_CURRENT_USER\SOFTWARE\Microsoft\Office\16.0\Outlook\AutoDiscover
Value name: organizationname.com
Value type: REG_SZ
Value: F:\Autodiscover\autodiscover.xmlThe Value and Value name should match the details of your organization.
- Open the outlook and try to add the account by auto account setup and provide only the name, email address, and password. If the Exchange Server is in the proper configuration, then the account will be connected to Exchange automatically. During the process, you may get the request to input the credentials again depending on the security settings and protocols.
- If you are using older versions of Outlook like 2010 and its predecessors, then upgrade the Outlook to latest versions as only the new versions support autodiscover.
- Execute ‘Office 365 Support and Recovery Assistant’ and it will diagnose the problems present in your account. It will also show you various resolutions to remove them and make the account accessible in Outlook.
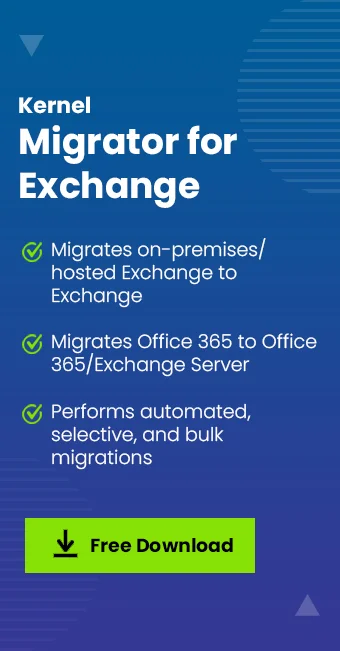
Many Office 365 users face Auto discover issues after migration to Office 365. Such issues can be fixed by following the above methods. However, if they are facing issues related to migration itself, they can try a professional Office 365 migration tool. It is one such tool which can put you at ease during any Exchange or Office 365 migration.
Conclusion
If you do not want to face the technical hardships associated with the AutoDiscover feature while setting up Office 365 account, then you should use Kernel Migration for Exchange software that can migrate along with its AutoDiscover feature. After using Exchange Migration software, the entire data will be migrated to the new account and you will not require to set up a new account in Outlook.