Read time 4 minutes
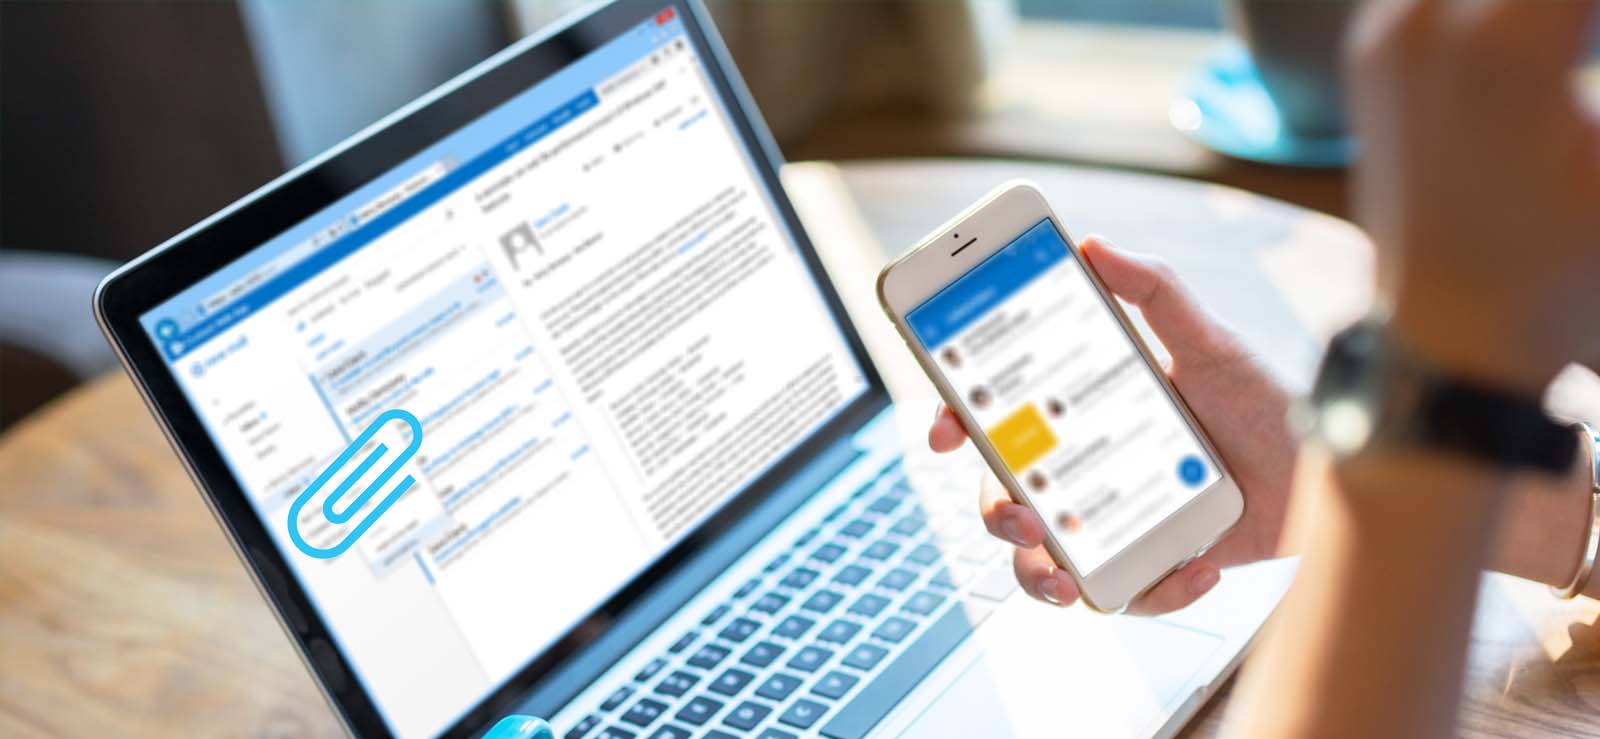
Are you an Exchange Online Admin looking for a hassle-free way to collaborate with your team on emails? Shared mailboxes in Microsoft 365 offer an ideal solution. With a common email address, team members can easily communicate and collaborate on project-related emails. However, creating and managing a shared mailbox can be overwhelming for new admins.
That is why we created this step-by-step guide to help you add multiple users to a shared mailbox. In this post, we will discuss all the technical aspects of this process and provide you with simple instructions to streamline your team’s email communication. Ready to get started?
Creating a shared mailbox
Generally, there are two ways to create a shared mailbox in Exchange Online. You can either use the Exchange Admin Center or Exchange PowerShell to create shared mailboxes.
But creation of Shared mailbox through Exchange PowerShell requires technical expertise and accurate knowledge of the commands which is difficult to have. In contrast, the Exchange Admin Center is ideal for new admins since it involves a straightforward process.
These are the steps to create a shared mailbox using the Exchange admin center-
- Open Exchange Admin Center and go to Groups.
- In the Groups section, select the Shared Mailboxes page.
- The Shared Mailbox page will appear on the screen, select ‘+ Add a shared mailbox.‘
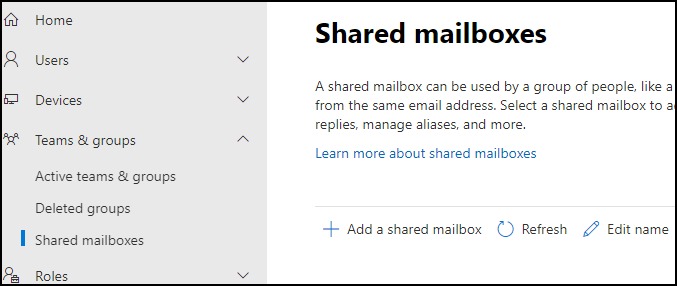
- Now, provide the name and email address for the shared mailbox.
- After providing the details for the Shared mailbox, click Add.
It will take a few minutes to create a shared mailbox. Once it is successfully created, you can add members to it.
Adding users to a shared mailbox
If you want to add users to the recently created shared mailbox, then select ‘Add members to this mailbox’ and follow the given process. However, if you are going to add members to any other shared mailbox, then follow the given steps below:
- Sign into Exchange Admin Center and go to Teams & Groups and select Shared Mailboxes.
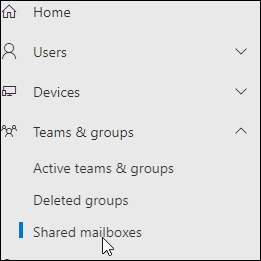
- The shared mailboxes will appear on the screen, select the mailbox to which you want to add members to.
- From the Details Pane menu, select Edit.
- Now, click the ‘Add members‘ button on the top.
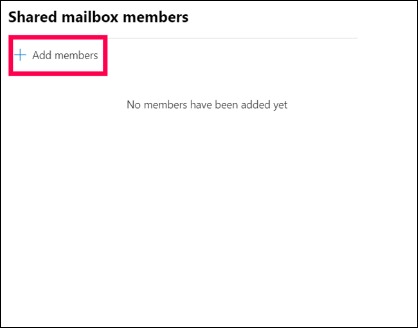
- The list of users in your organization will display in the pane. You can select multiple users by selecting the checkbox next to their names, or you can also search for the users if you have a lengthy list of names.
- After selecting the users, click Save.
It will take at least 60 minutes to show up the added users to the shared mailbox.
Removing members from a shared mailbox
You can easily remove any member from a shared mailbox by using the Exchange Admin Center.
- Select the shared mailbox from which you want to remove the user.
- In the Details Pane menu, select Edit.
- The shared mailbox users will be displayed in the pane, click the ‘X‘ icon next to the user that you want to remove from the shared mailbox.
- Once you are done removing the users, click Save.
It will take just a few seconds to remove the users from the shared mailbox.
Adding and removing users from shared mailboxes is extremely easy with the help of the Exchange Admin Center. But, when it comes to migrating shared mailboxes from one tenant to another, you need to have adequate knowledge of PowerShell commands; else you won’t be able to do that manually.
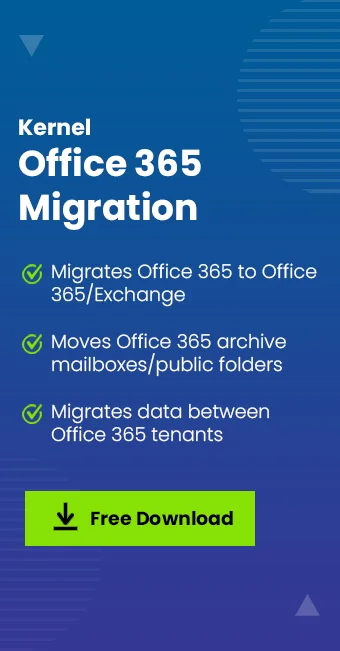
However, you can use an automated solution like Kernel Office 365 Migration if you are not comfortable using Exchange PowerShell to migrate shared mailboxes. This tool provides you with additional functionalities that make it easier for users to migrate Microsoft 365 mailboxes from one tenant to another.
Final words
By following the step-by-step instructions provided in this article, adding multiple users to your shared mailbox in Microsoft 365 can be done with ease. However, if you are still facing difficulties with managing multiple mailboxes or migrating to Microsoft 365, you may consider using Kernel Office 365 Migration tool.
This tool simplifies and automates the migration process and allows you to focus on your daily tasks without any disruptions. With this utility, you can migrate your shared mailbox alongside other mailbox data, such as emails, contacts, and calendar events.