Hyper-V is a virtualization platform launched by Microsoft in 2008 and since after that Microsoft has launched many new releases of Hyper-V versions. From 2008, till now four versions of Hyper-V has been launched, and those are Windows Server 2012 R2, Windows Server 2012, Windows Server 2008 R2 and Windows Server 2008.
Hyper-V is a Windows Server feature, but even after that, it is also available as a separate product called Microsoft Hyper-V Server. It is a hybrid hypervisor, and it is installed with the help of Windows Wizard of adding roles.
You can also install Hyper-V just like any other program installation; you just need to make sure that your Windows is newer than 2008. If you have any version of Windows older than 2008, then it is recommended that you first update it and then install Hyper-V. Once it is installed, your system will need a reboot. After the reboot process, you will see that some additional services have been installed in your system including the Hyper-V Manager.
How Hyper-V is Helpful?
With Hyper-V you have a flexible cloud environment, which lets you expand your use of shared resources, let you supply It services as per demand and also manage utilization if there is a change in demand.
If there is any scheduled or unscheduled stoppage of your assignments, then Hyper-V makes sure that the impact of both of them is low.
With the help of Hyper-V, you can have a centralized desktop strategy, which can ultimately increase your business quickness and data safety. It can also help you to manage applications and desktop Operating System.
Hyper-V contains security measures which protect and the data and the system from the malware attack and Unauthorized Access.
It provides double security to your data, as it safeguards your system and data from malware. It also creates copies of virtual machines and saves it for the time of disaster to helps the user with the backup and recovery support.
How to Attach VHD Using Hyper-V
To connect VHD to the virtual machine using Hyper-V, you first need to have a version of Windows newer than 2008 and install Hyper-V in your machine. Now follow the below-mentioned steps.
Go to the Hyper-V manager center, select the virtual machine and click on Settings.
Now, select the controller type that you need to attach to the disk. There are two type of controllers, IDE Controller, and SCSI Controller. Highlight the drive, select any and click on Add.
On the next screen, you can change how the selected virtual disk is attached to the virtual machine, need to provide a path to the file, and can also remove the virtual hard disk.
So, from the first Dropdown, select the required controller. The controller is automatically selected but if the required user can select the desired controller.
The next will be the location option; there you need to set the location for the controller to attach the disk to. Make sure that you cannot pick a location which is already in use; it will be marked as In Use.
Next, you need to perform a search to find the file that you need to attach. For this, click on the Browse button and search for the file.
Now, at the last step, you need to apply all the changes that you have made recently. In the settings dialogue box, click on Ok or Apply.
Why Do You Need to Connect VHD to Virtual Machine?
There are several reasons for which you might need to connect VHD to Virtual Machine. When a new disk is needed for an existing virtual machine, or when the VHD is intact, but the files of the virtual machine are damaged, when you need to transfer duplicates of virtual disks to one or more locations, when you need to transfer files between a host or guest or other test virtual machines.
What If Your VHD File is Corrupted?
If the VHD file you want to migrate is corrupted, then you first need to repair it using a third-party tool, just like Kernel’s tool for VHD. Install, run the Kernel for VHD Recovery software and follow the instructions given below.
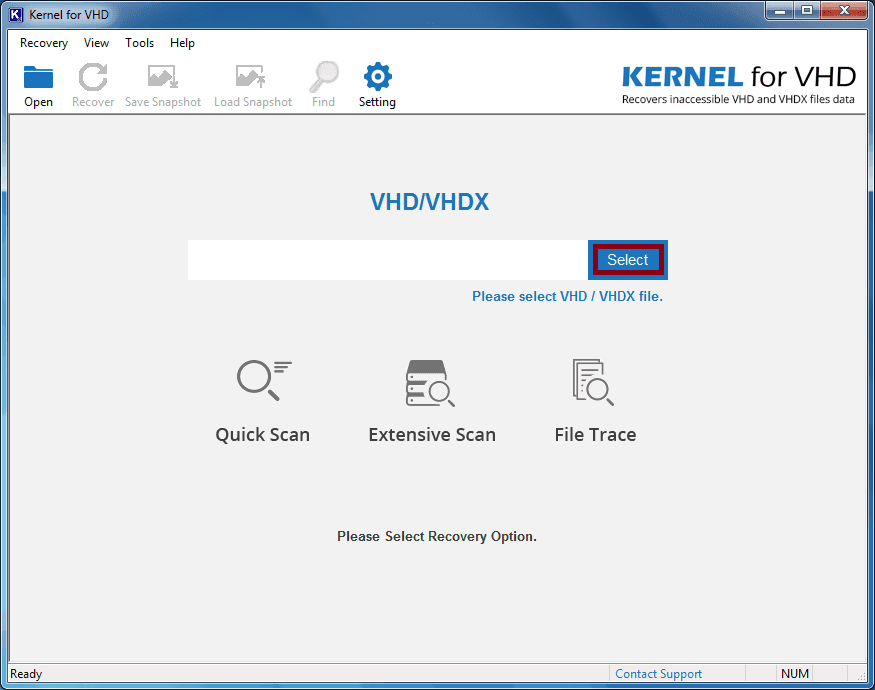
Click on the Select button.
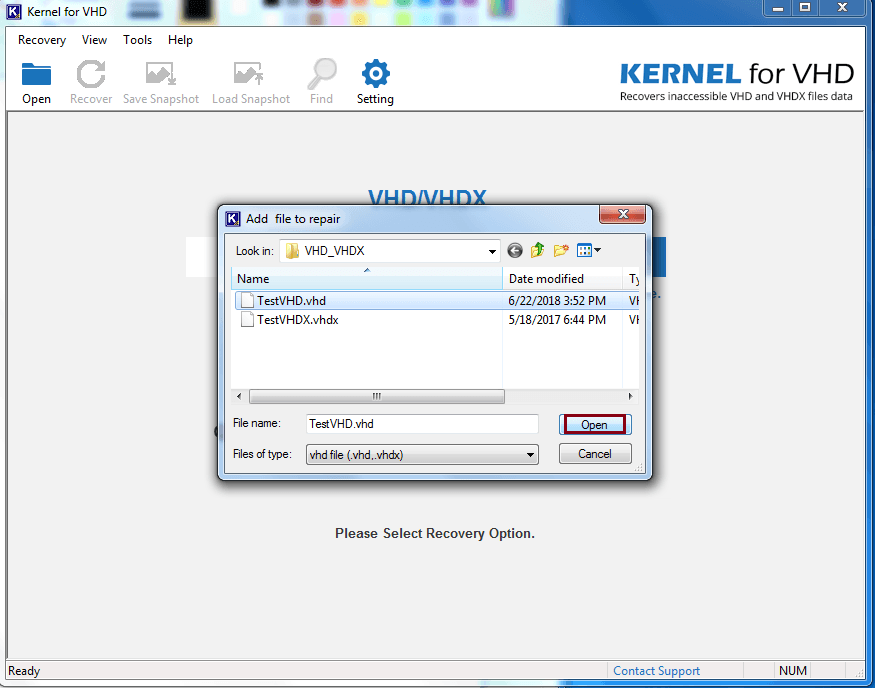
Select the desired VHD file and click on Open.
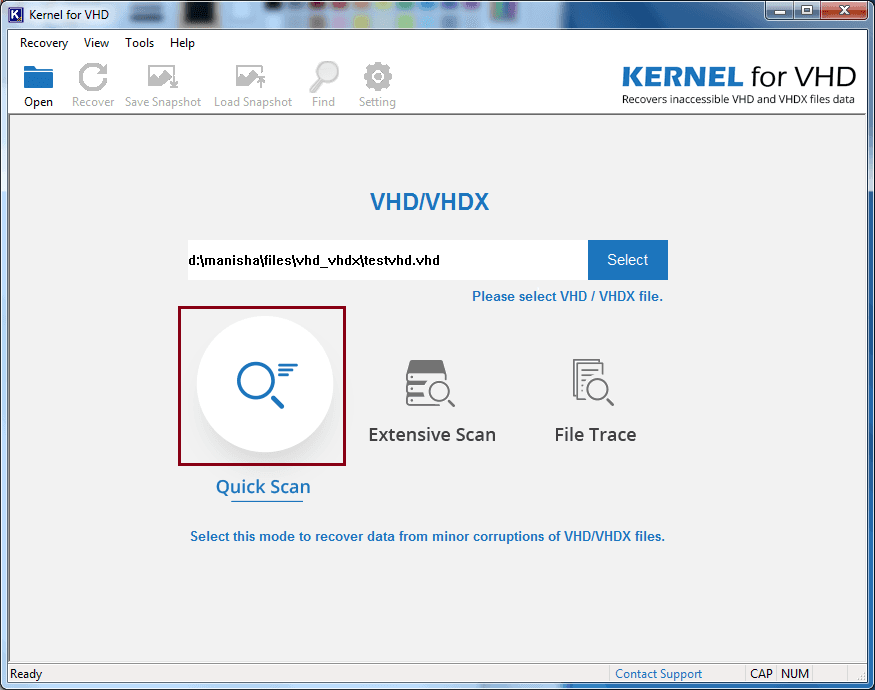
Select the required scanning mode; here we are going for Quick Scan.
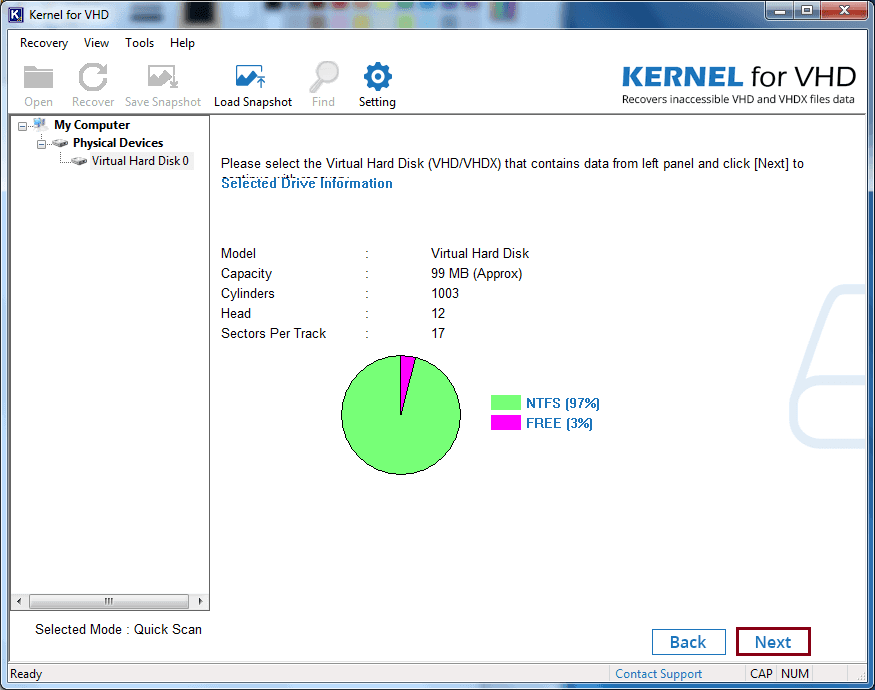
The tool will show the information of the selected disk, click on Next.
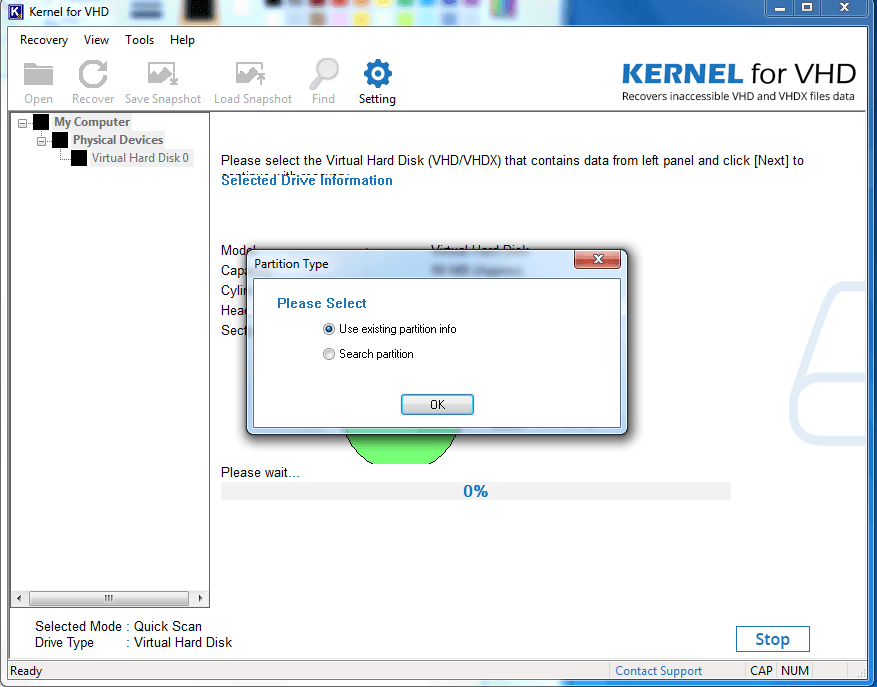
In this step, you need to select the partition options, select the required one and click OK.
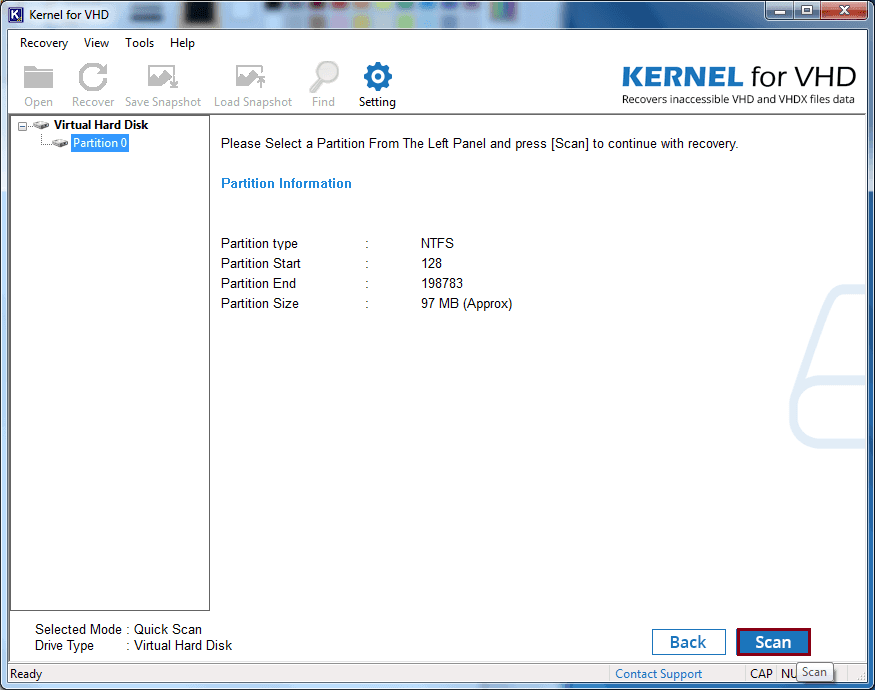
Select the partition, read the information about it and click on Scan.
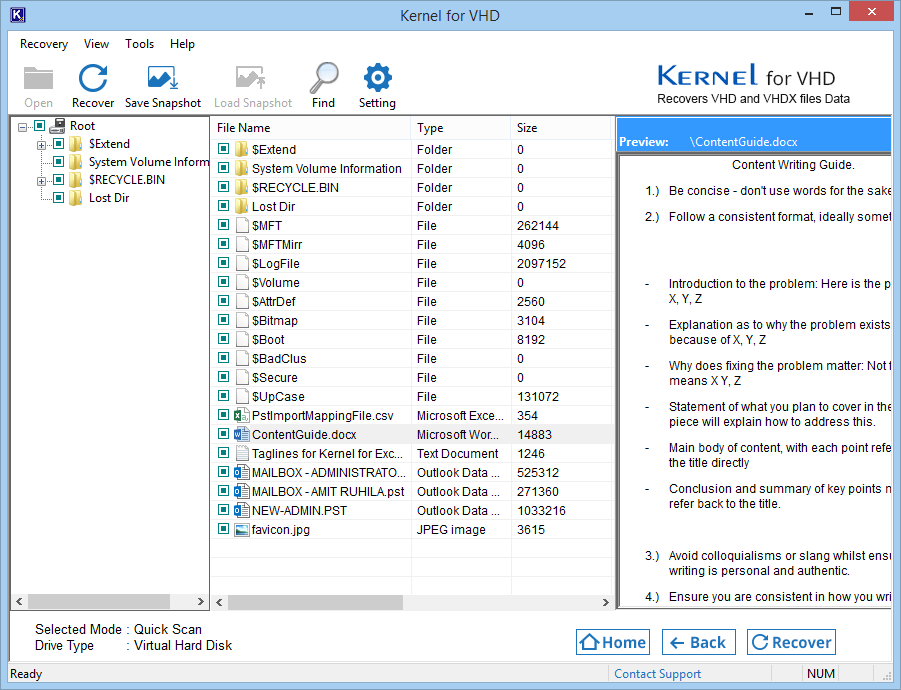
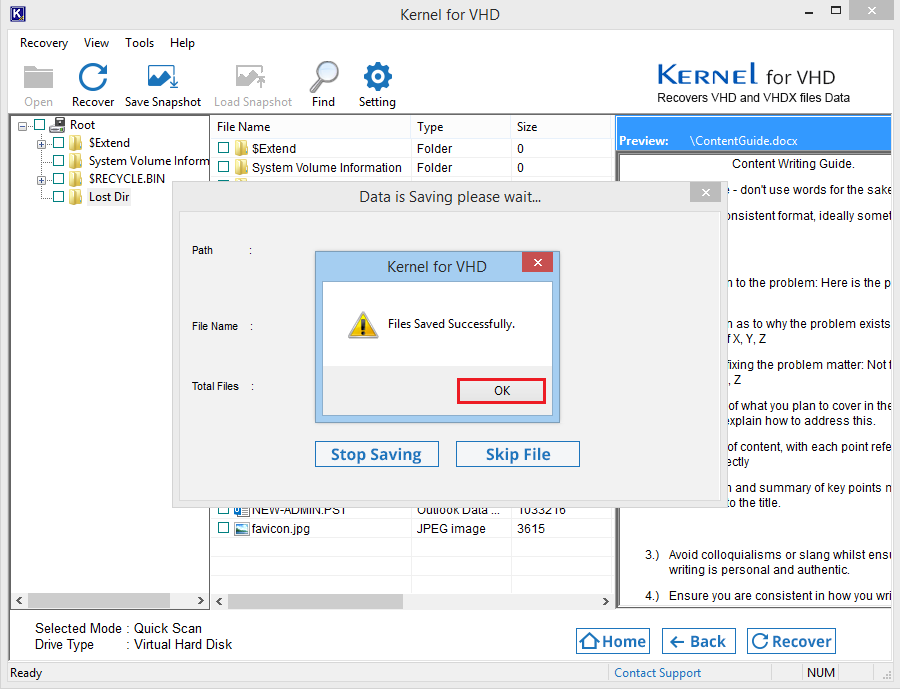
Select the files and folders that you want to preview, have a preview of all the files you want to recover. Check the ones you wish to recover and click on Recover.
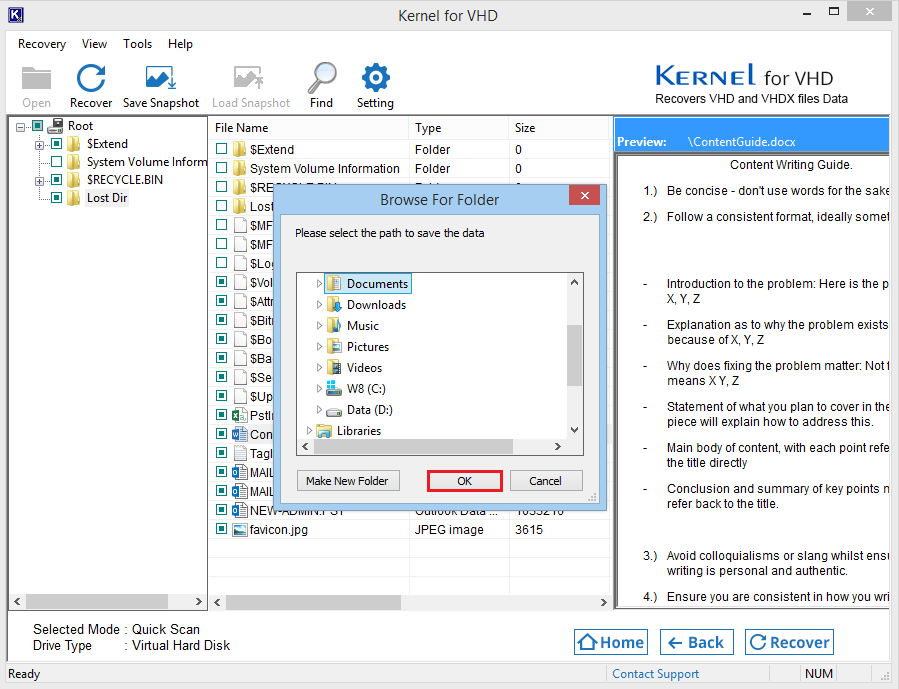
Select the destination location for the recovered file and click on Ok.
Once the process is completed, click on Ok.
Conclusion:
This blog is all about how you can attach a VHD file using Hyper-V. We have discussed the benefits of Hyper-V and why do you actually need to connect VHD to Virtual machine and how to perform that. We have also discussed that how you can repair and recover a VHD/VHDX file with the help of Kernel for VHD. With the help of this tool, you can scan your files on the basis of the criticality of the corruption, where you can select among Quick Scan, Extensive Scan and File Trace.


By using this product I was able to convert VHD file to HyperV.