Read time 8 minutes
“Last night, while I was working on my computer, an unexpected power outage occurred. Unfortunately, my uninterruptible power supply (UPS) failed to function due to a lack of maintenance, resulting in an abrupt shutdown of my PC. When power was restored, I restarted my computer and realized that several files were missing. The cause of this issue was evident – it was a direct result of the sudden shutdown. I knew that I needed to run the CHKDSK command immediately, so I did just that. To my surprise, I discovered a folder labeled FOUND.000, containing FILE000.CHK files. I suspect that these CHK files may contain my lost data, but I am unsure how to go about recovering my original files from them. Can anyone offer guidance or assistance in this matter?”
In the previously discussed situation, the user commendably executed the CHKDSK command to promptly address the issue. If you happen to be a Windows user, you’ve likely encountered a folder called FOUND.000 and noticed those CHK files. You might be curious about their origin and sudden appearance on your system. This blog will delve into the nature of these files and provide guidance on restoring them within your system.
Found.000 is automatically created by running CHKDSK, as we can read in the user’s query that after running the CHKDSK command, this folder showed up. These CHK files are the pieces of the corrupted data that the system automatically saves (instead of deleting it). That data is now put in a folder by Check Disk.
You can easily restore CHK files from the FOUND.000 folder on your own, and it’s a straightforward and fast procedure. There are several methods you can use to recover them to their original format, and we’ll outline a few of them below. Let’s explore these options.
The best thing about the tool that it supports all versions of Windows and can recover deleted files from Windows 10 to the oldest versions of the Windows. Let’s see its process with the help of screenshots:
1- Download and install the tool successfully on your system.
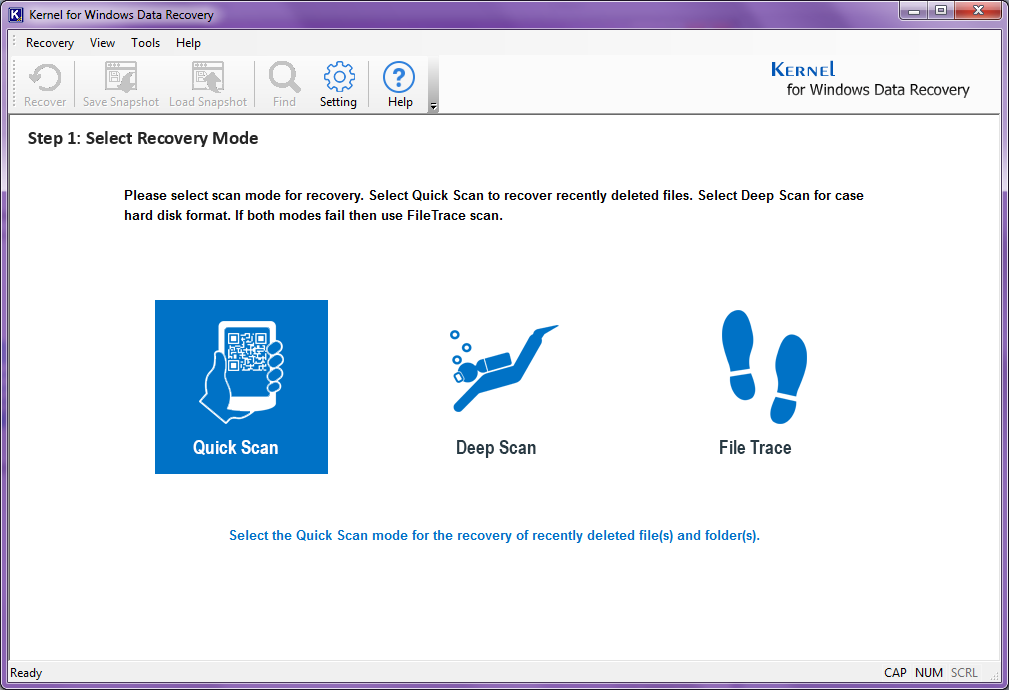
2- Run the tool and select a recovery mode; for a demo, we are going for Quick Scan mode. Depending on the severity of the matter, you can go for any of them.
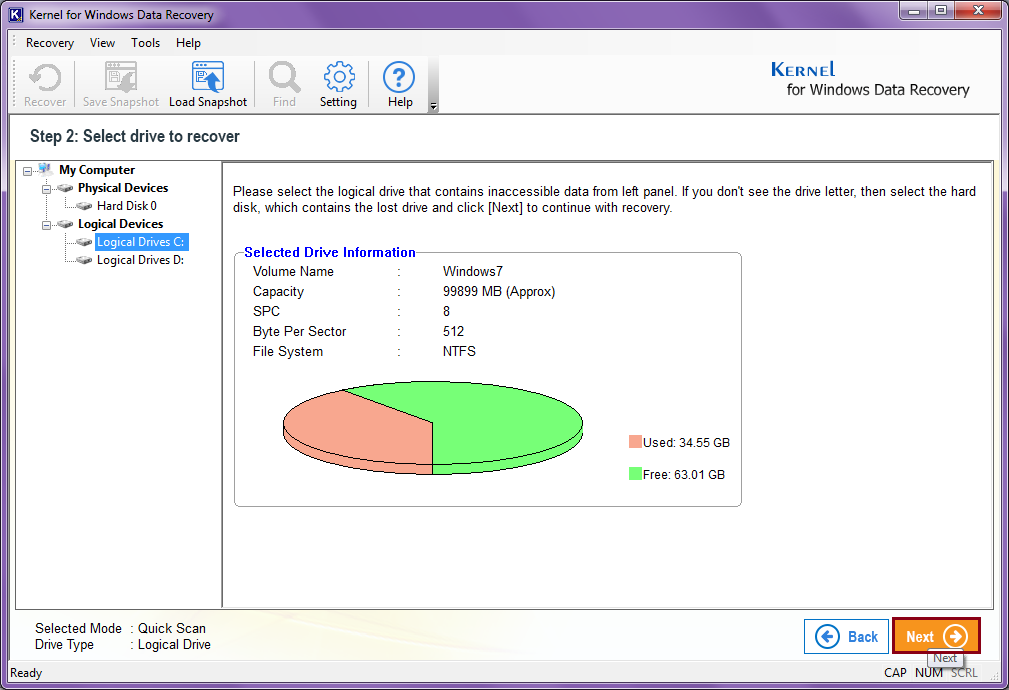
3- In the next step, select the drive from which you want to recover your data and click on the Next button.
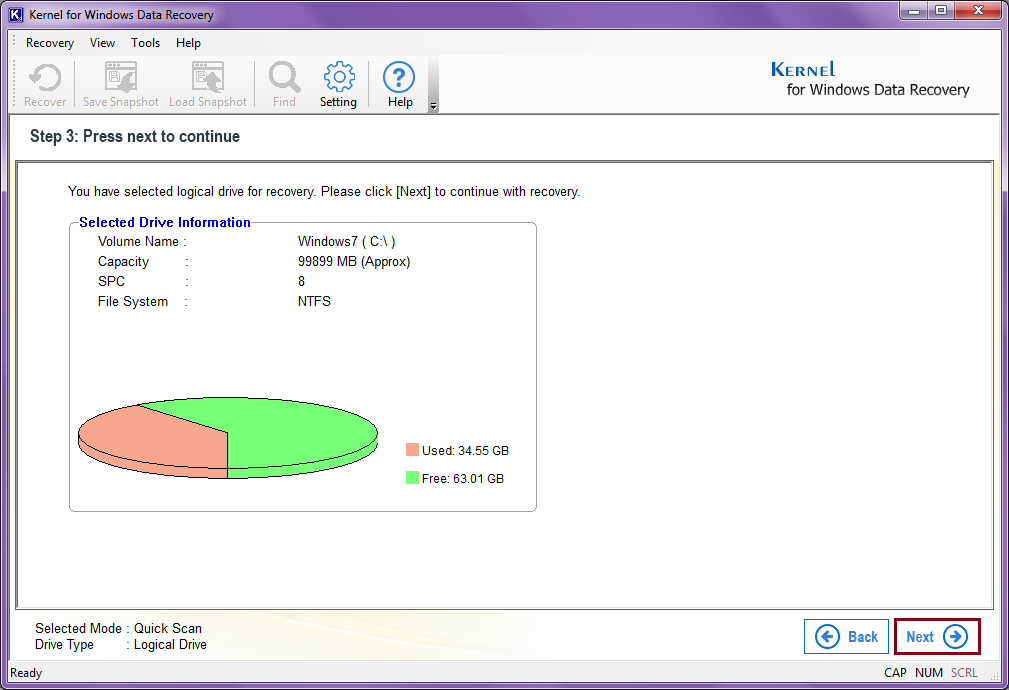
4- The next step will show you the information on the selected drive. Click on the Next button to proceed.
5- As you click on the Next button, the scanning process will start, which you can see on your screen.
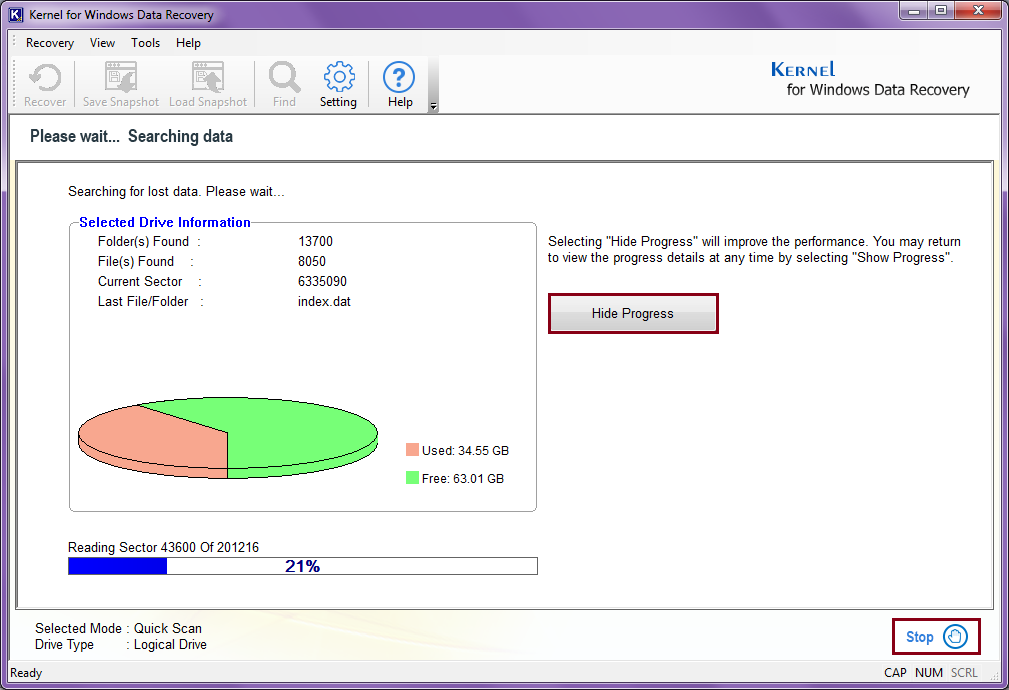
Note: To stop the process, click on the Stop button. To make the process faster, click on the Hide Progress.
6- Because we selected Quick Scan in the starting, the tool is suggesting switching to the more intense recovery modes. Well, click on OK to proceed.

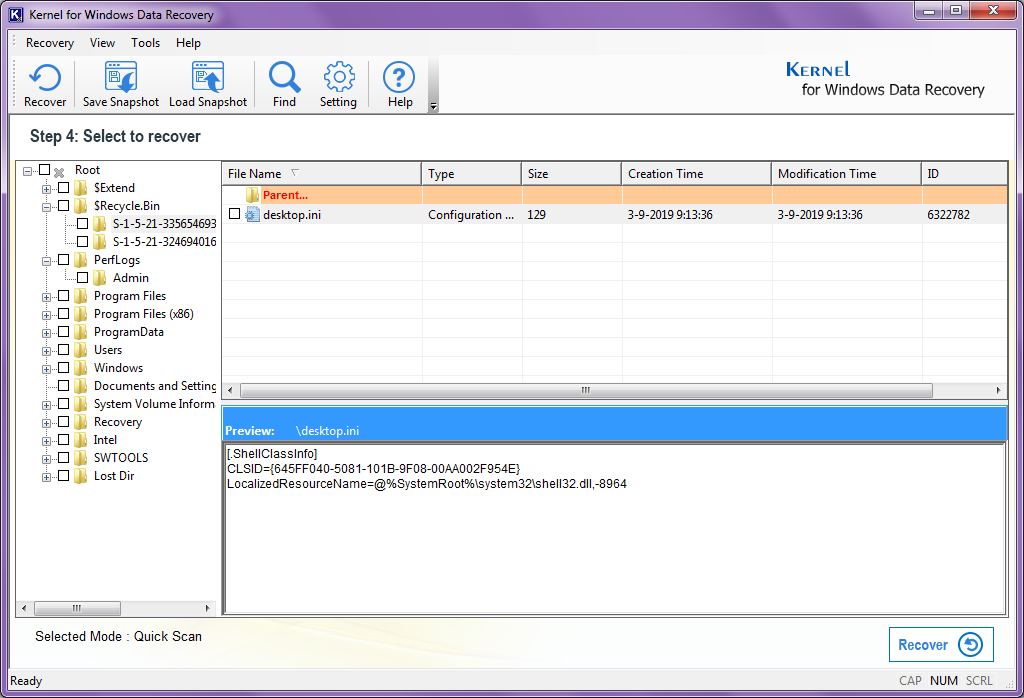
7- Now, you will get to check what all is recovered, check if everything you have lost is recovered or not. You can also have the preview of the data by clicking on them.
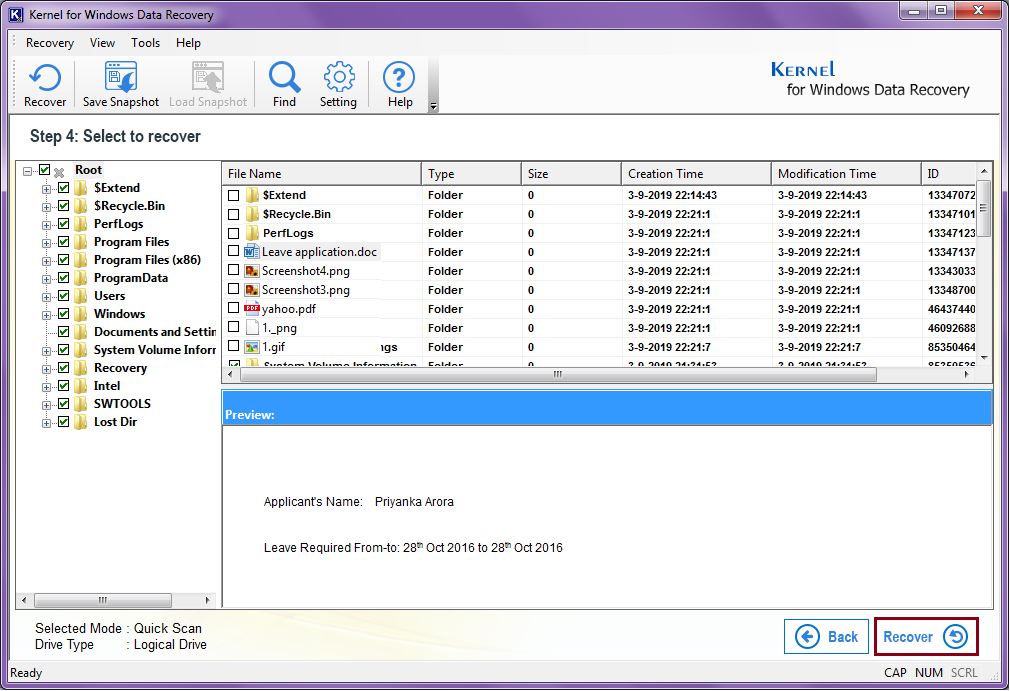
8- To recover the lost content, select it, and click on the Recover button.
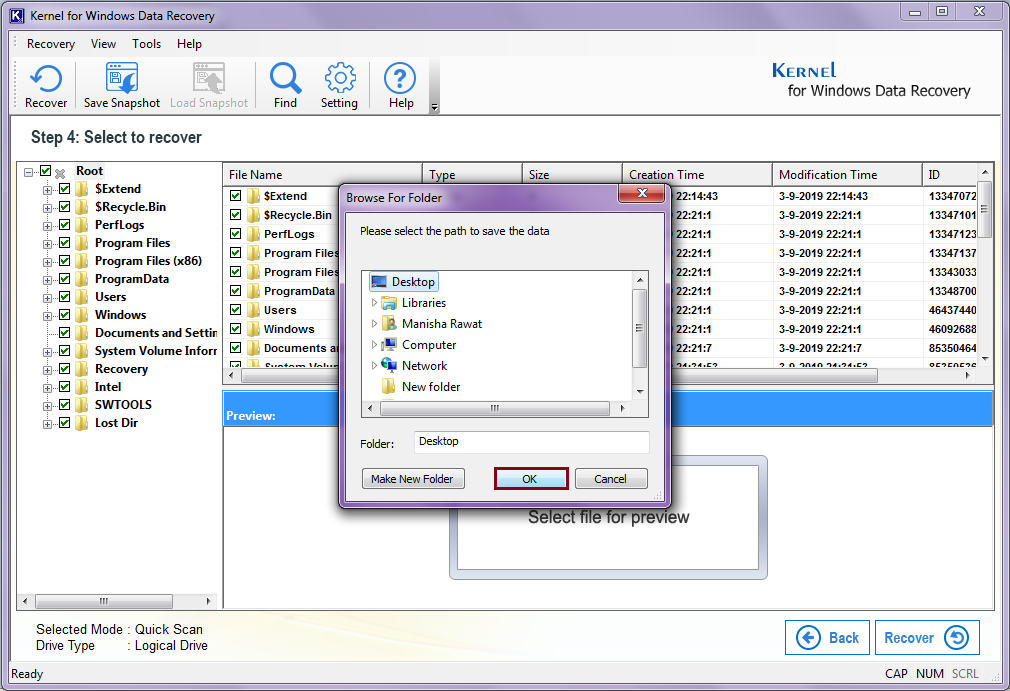
9- To save the file at the desired location, provide a destination to it and click on the OK button.
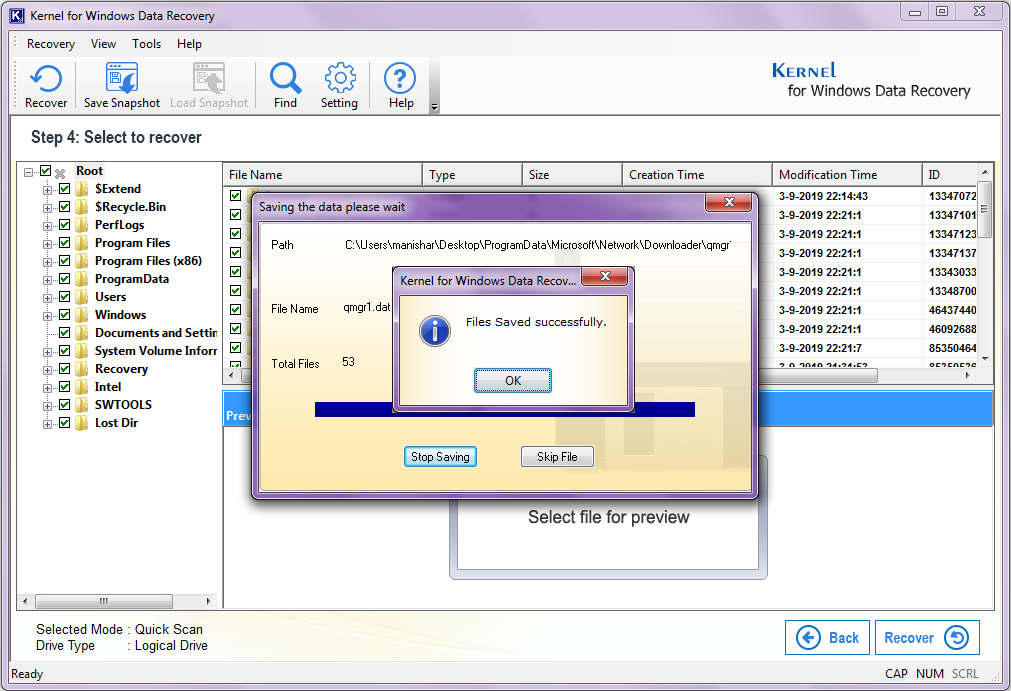
10- The tool starts to save files and shows you its progress on the screen.
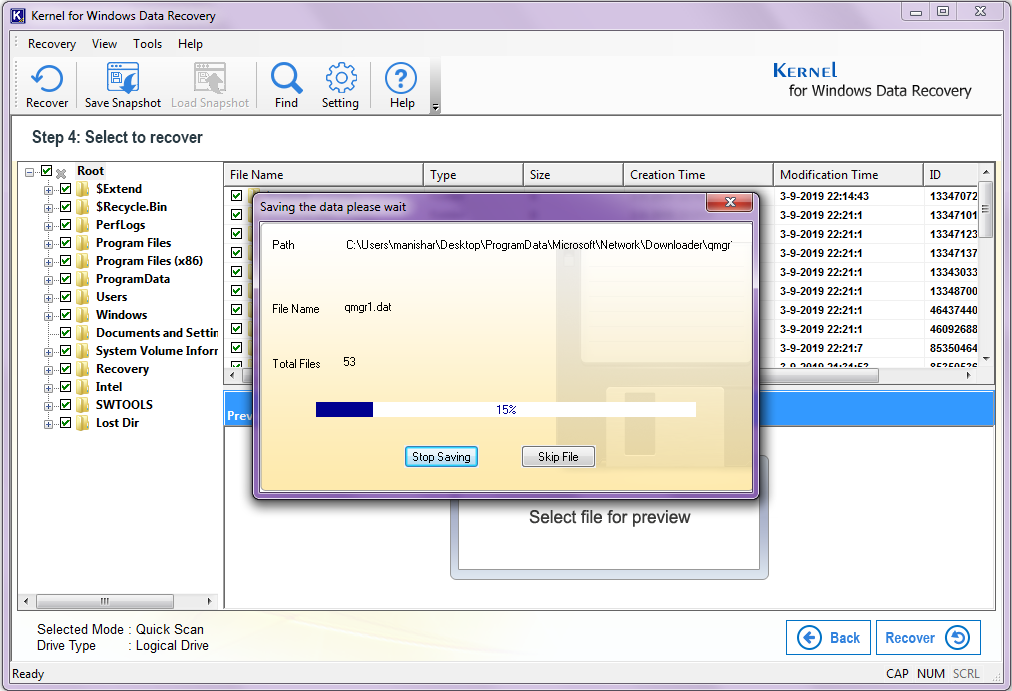
11- Once finished, click on, OK.
After performing all the above steps successfully, you can find all the lost data back on your system. Just go to the location you selected while saving the recovered files.
In this blog post, we’ve explored the Found.000 folder and its associated CHK files. We’ve delved into various techniques for recovering these files. One such approach involves utilizing the Kernel Windows Recovery tool—a highly efficient and automated software solution capable of swiftly restoring a wide range of lost data from your system. To give it a test run, you can opt for the Kernel for Windows Data Recovery Free Version, offering a quick and convenient trial experience, this version of tool can recover deleted files for free.


it is Very good working software it recovers FOUND.000 folders in memory card