Related Posts
Read time 8 minutes
“An Operating System has multiple features that empower the users to tackle various threats attacking the integrity of the system. The article will show you all the processes to restore an Operating System from previously taken image and Kernel Windows Data Recovery software usage.”
System Image of your Windows system is the savior that you require in case of windows corruption or data unavailability. It is the exact copy of the Windows environment, which includes Windows operating system, hard drive sector, boot sector, program files, settings, and other data present on those partitions. Whenever there is a problem in the Windows, where you are unable to either open it or the data is corrupt or inactive, then you can use the system image to restore the windows to an active state.
The motive behind creating the system image on an external hard drive is to have a backup, which restores the Windows in its original format. There are many threats like corruption, broken system file, malware attack which make the data inaccessible at Windows. Furthermore, the benefit of saving the Windows image at an external hard drive is that it saves the precious storage space at your internal hard drive.
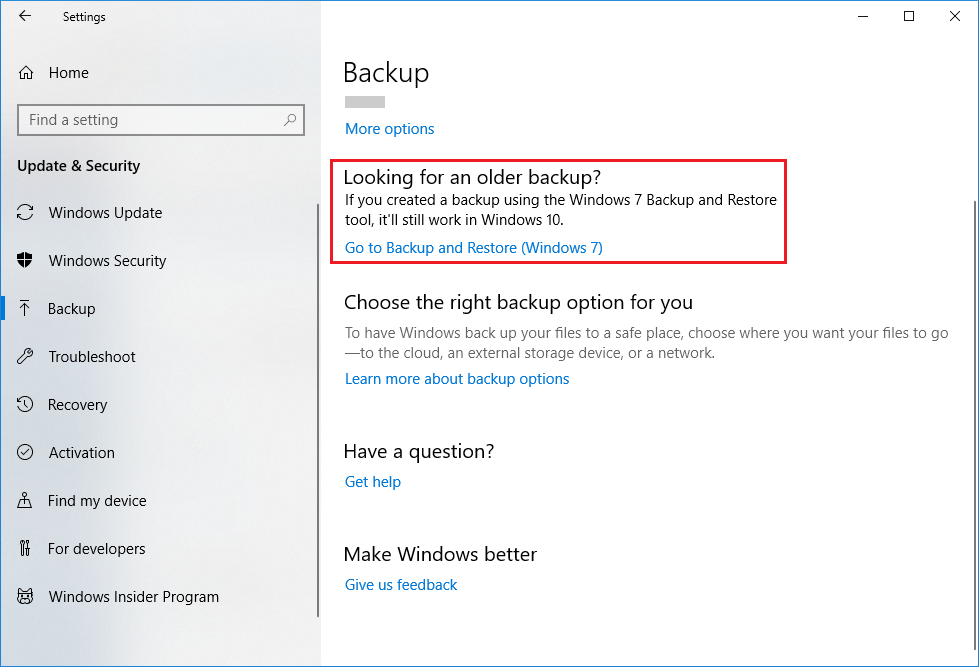
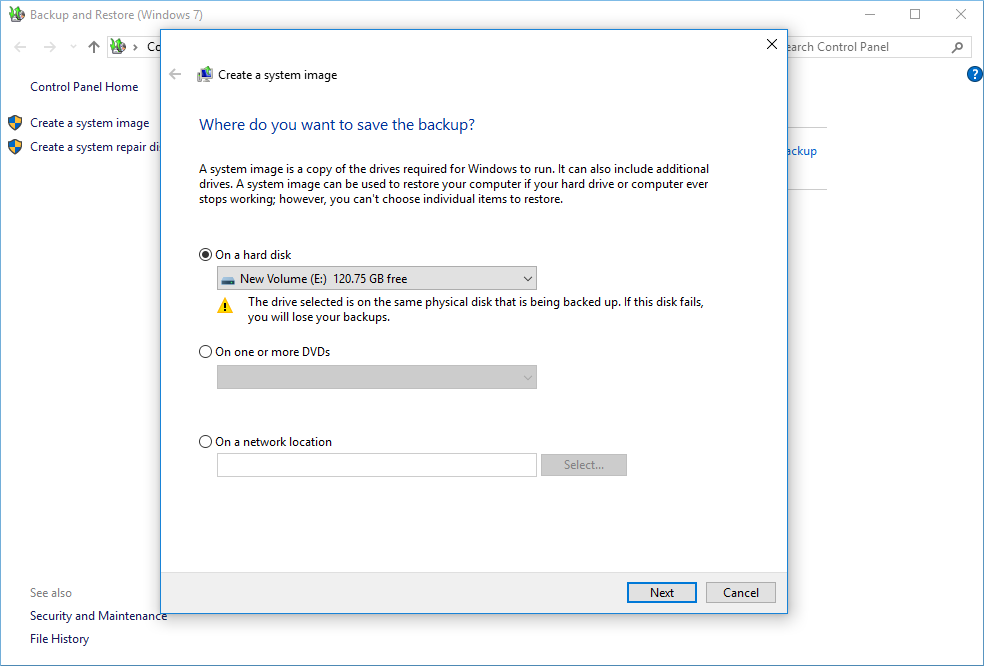
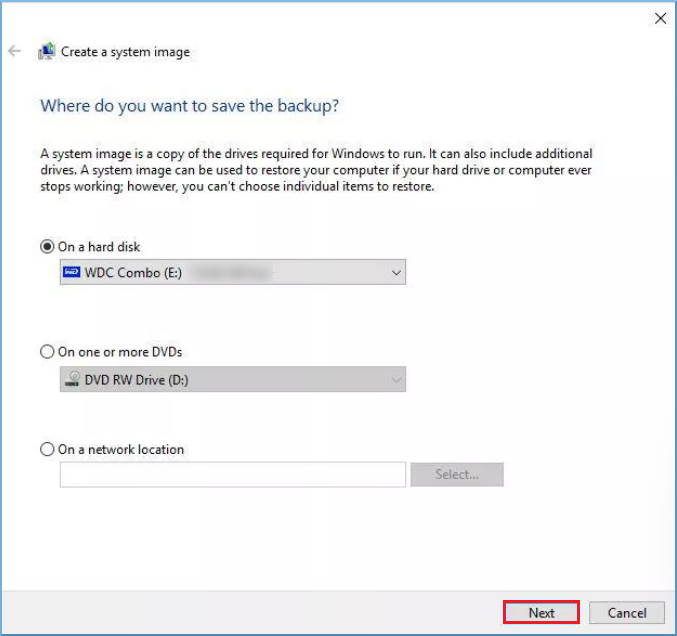
To restore the Windows to a healthy state, you need to create and save the system image to an external hard drive. You also should create a system repair disk and the recovery options in case the Windows is unable to boot. Connect the external hard drive with the computer and follow the below steps;


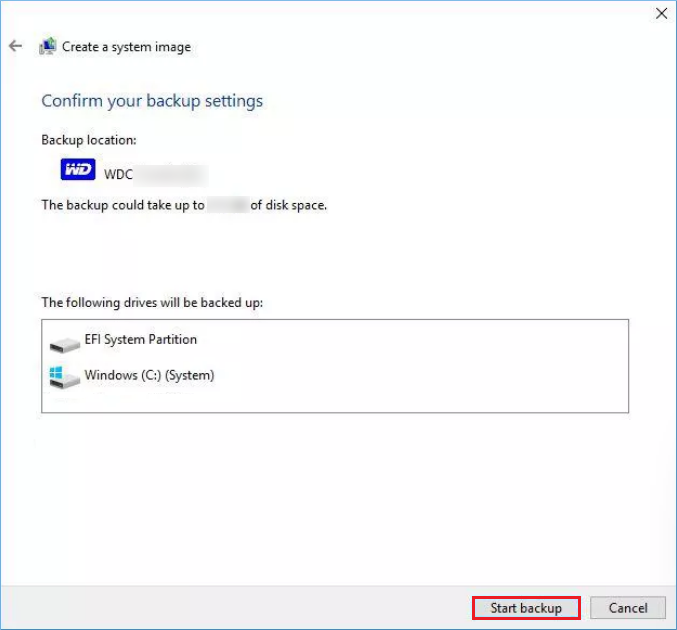
Now you have a secure backup of your Windows at the external hard drive, and in the future, if there is a catastrophe and the Windows becomes corrupt, then you can use the system image to restore the Windows.
Let’s check the restore procedure also. Here are the steps;
The restore process brings the Windows back to your computer, and you can access the data easily. But if you had taken the system image a long time back, and there were some important file in the computer which were lost due to corruption, they will not come back after restoring the image because the image may have the copy of only the C drive and the data was saved in the D or any other drive.
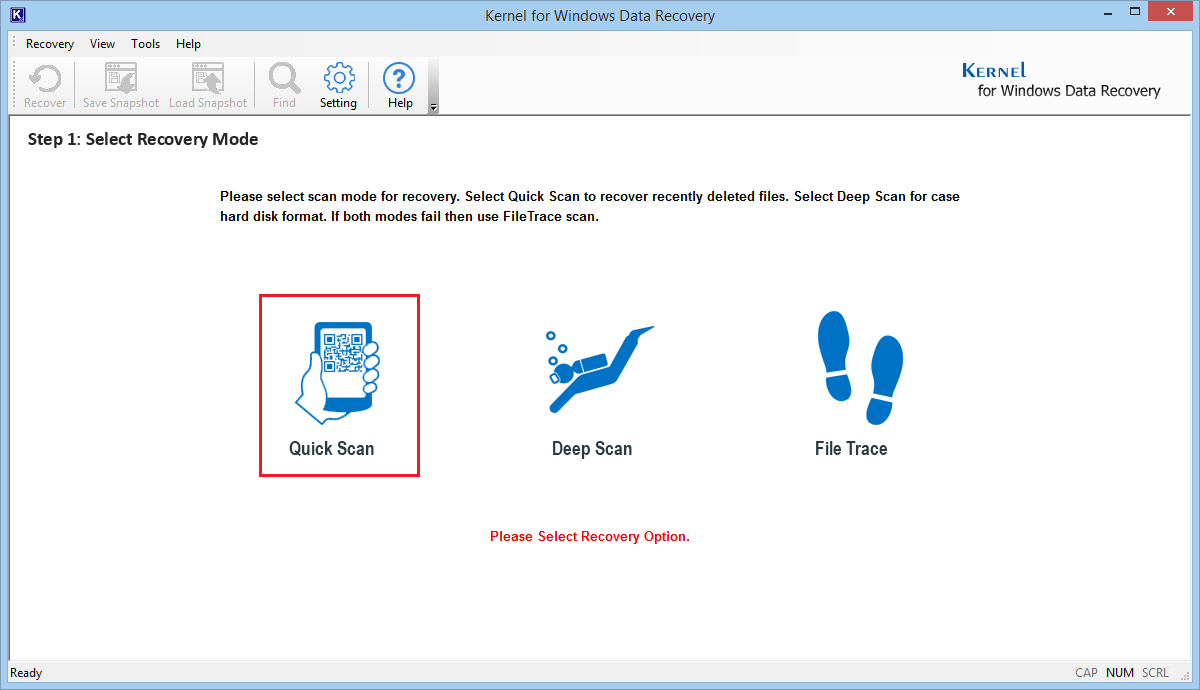
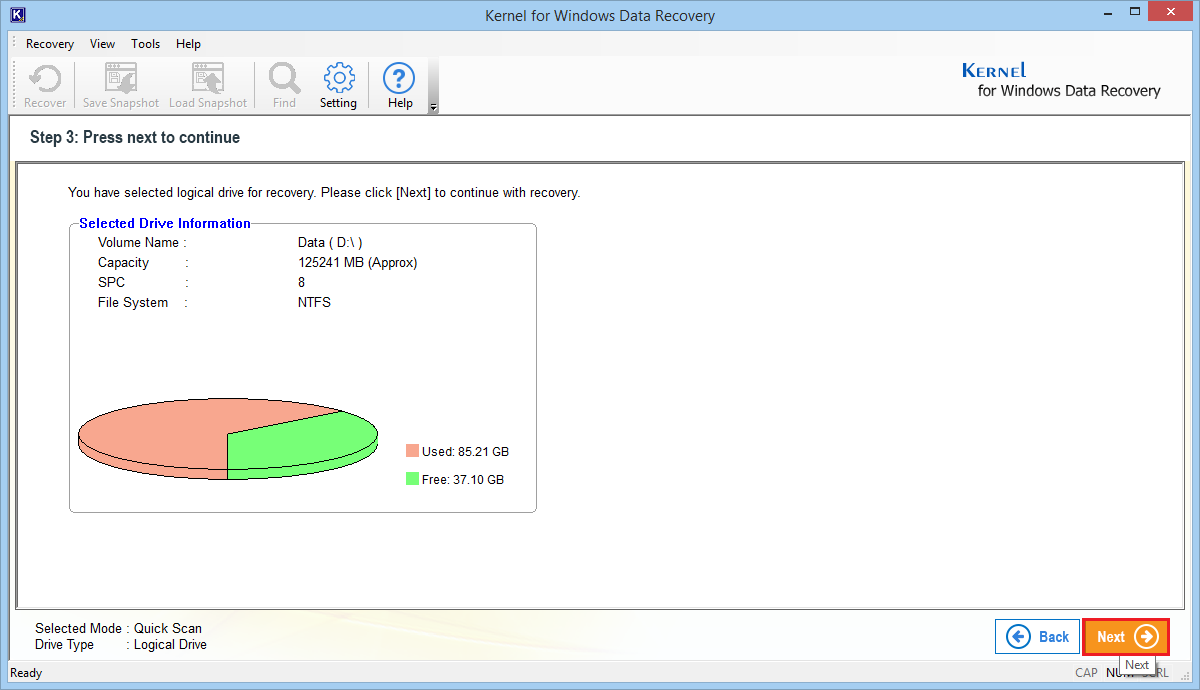
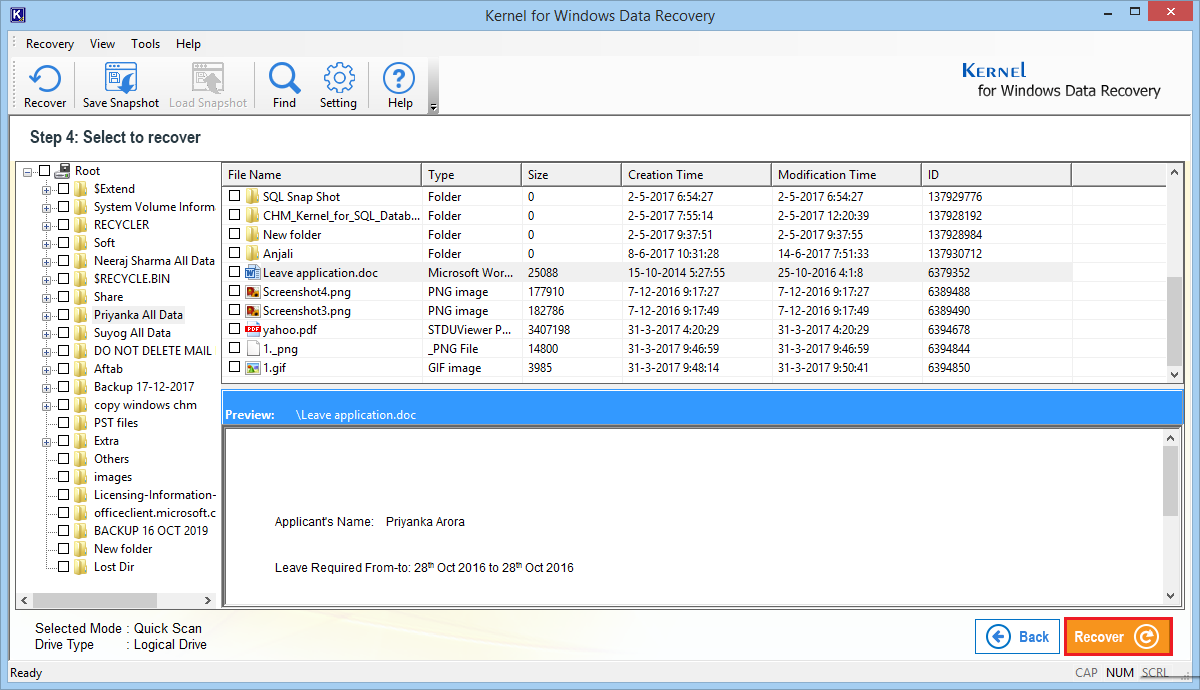
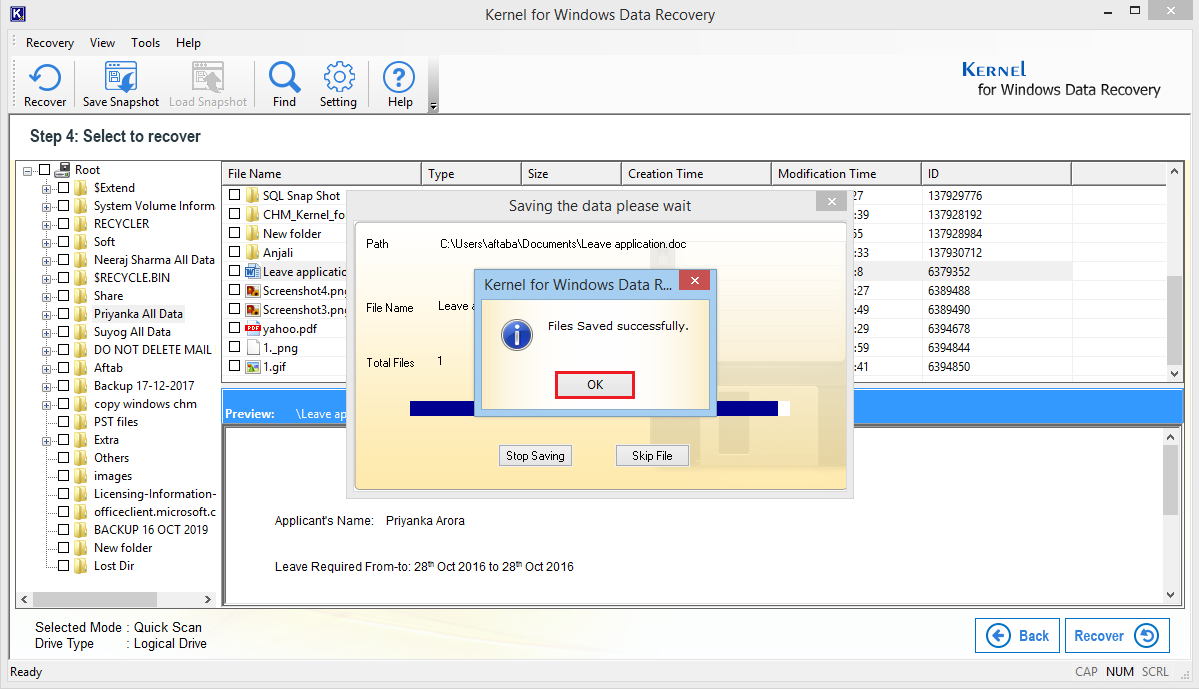
If you have lost some data due to Windows corruption and any manual method is not recovering the data, then you should use the Kernel Windows Data Recovery tool, which can recover the data from the physical and logical drives and retrieve the data. This tool is helpful, if you fail to fix and repair bad sectors in Windows. The process to use the software is simple and direct which takes the minimum time for the whole recovery;

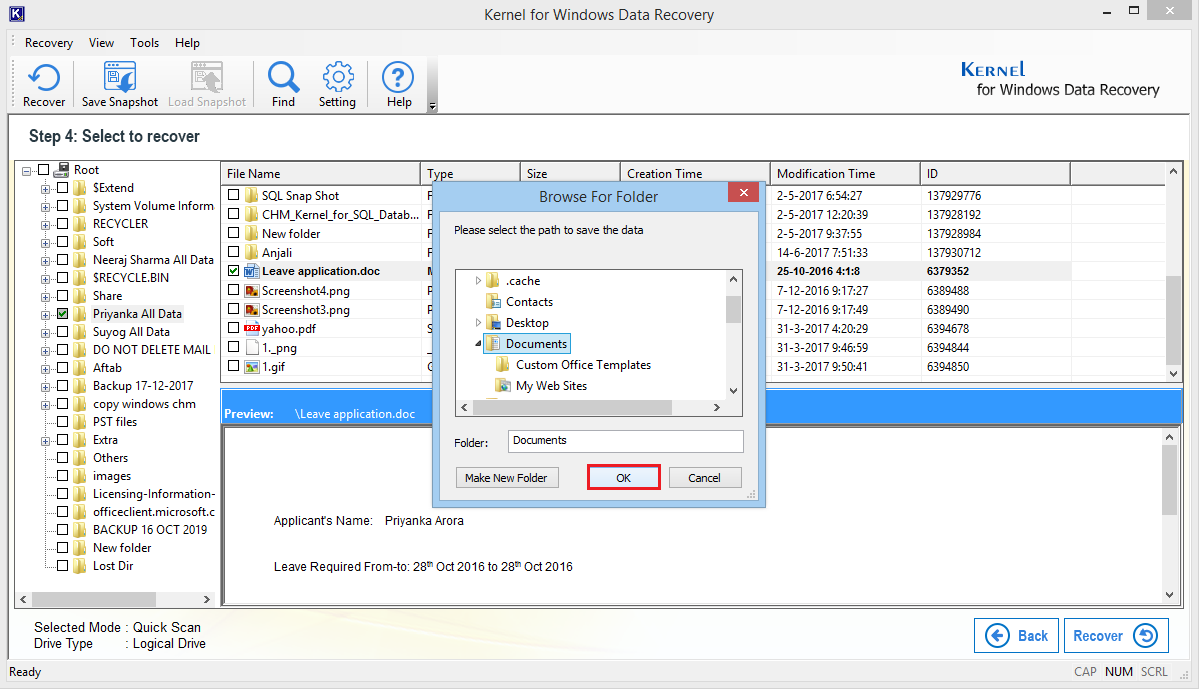
Windows faces several threats almost every time, and the features like system image help to keep the data safe and accessible. But when these features do not work in recovering the data, then you can use the Kernel for Windows Data Recovery tool, and you do not even need a backup file to recover the data. This tool helps you restore files from corrupt drives and also to recover deleted files. The whole drive’s files and folders are recovered to you in no time, and you can save the data at any convenient location.