Kernel VMDK Recovery is an efficient tool to recover data from corrupt or inaccessible VMDK files. The software has a simple user interface so that even a non-technical person can perform the recovery easily.
To recover VMDK file using Kernel VMDK Recovery software, follow the below-given steps carefully.
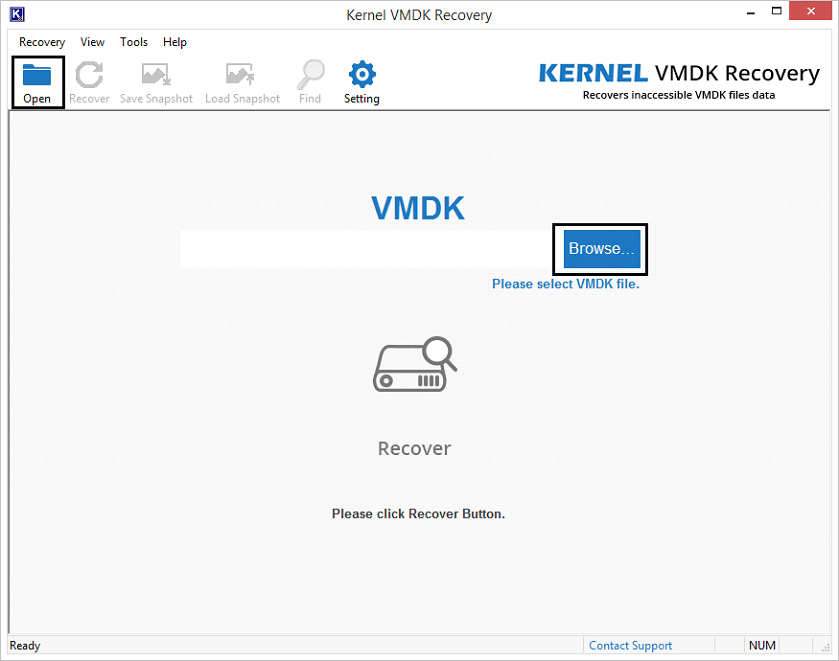
Step 1: On the welcome screen of VMDK Recovery tool, click Browse or Open to add VMDK file for recovery.
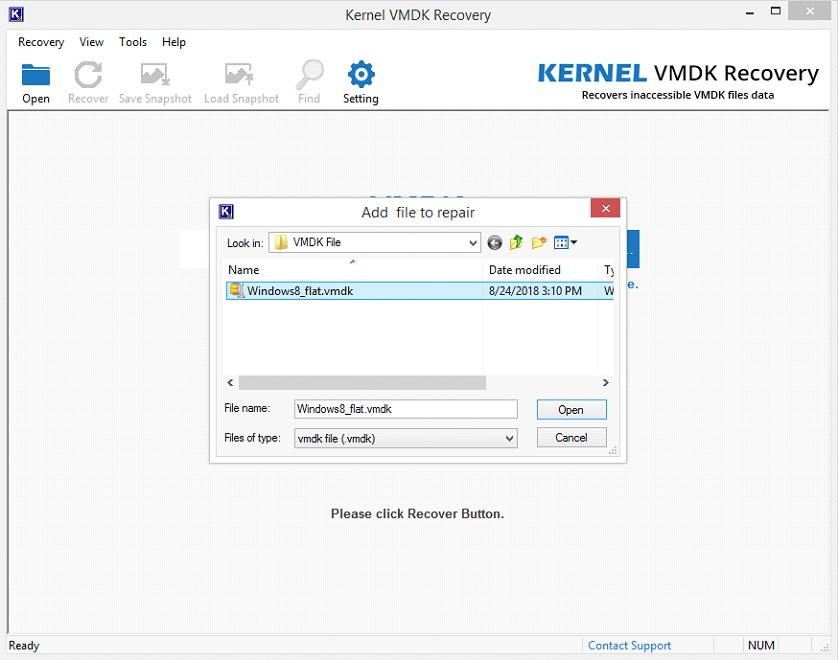
Step 2: Select the VMDK file from your system drive; click Open.
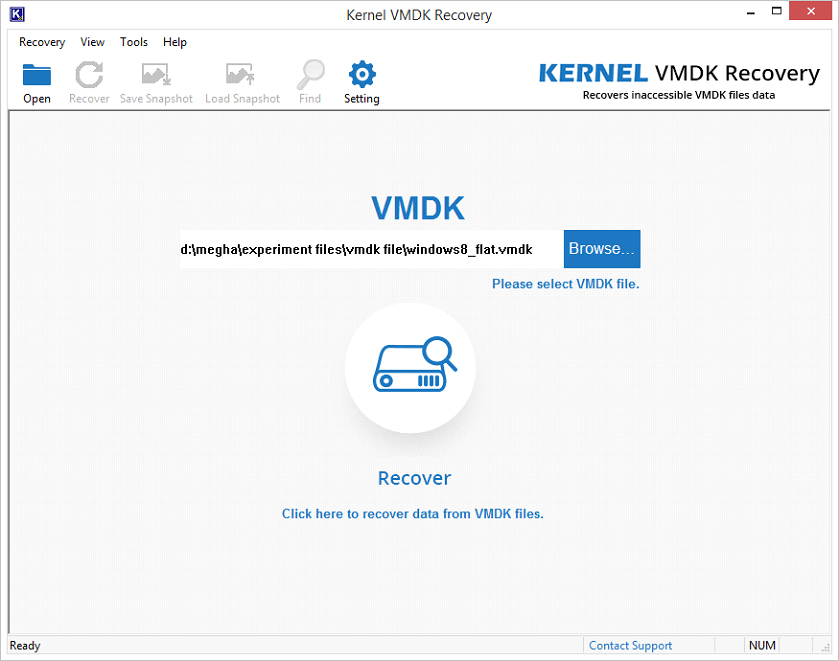
Step 3: Your VMDK file is selected. Click Recover to recover the data from VMDK file.
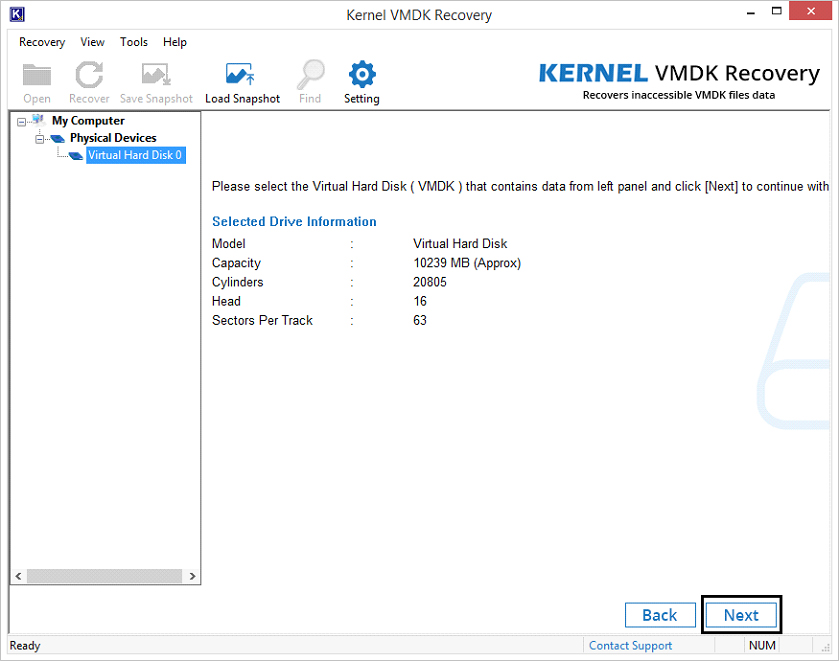
Step 4: The complete drive information (Model, Capacity, Cylinders, Head, Sectors Per Track) of the selected VMDK file is displayed. Select the drive with lost data and then click Next.
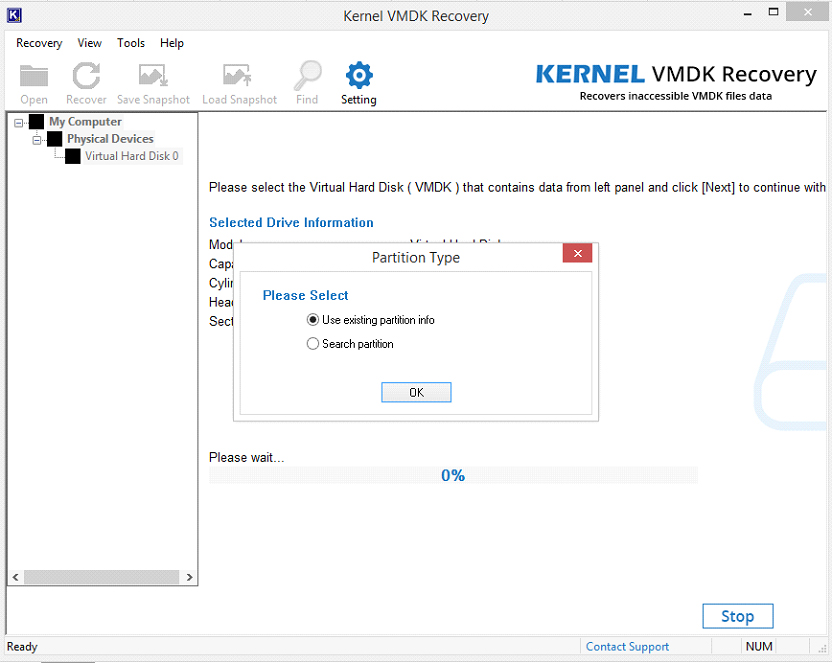
Step 5: Select one of the two options - Use existing partition info or Search partition. The first option is to select from the existing partitions and the second one is to search for partitions in your drive. Once selected, click OK.
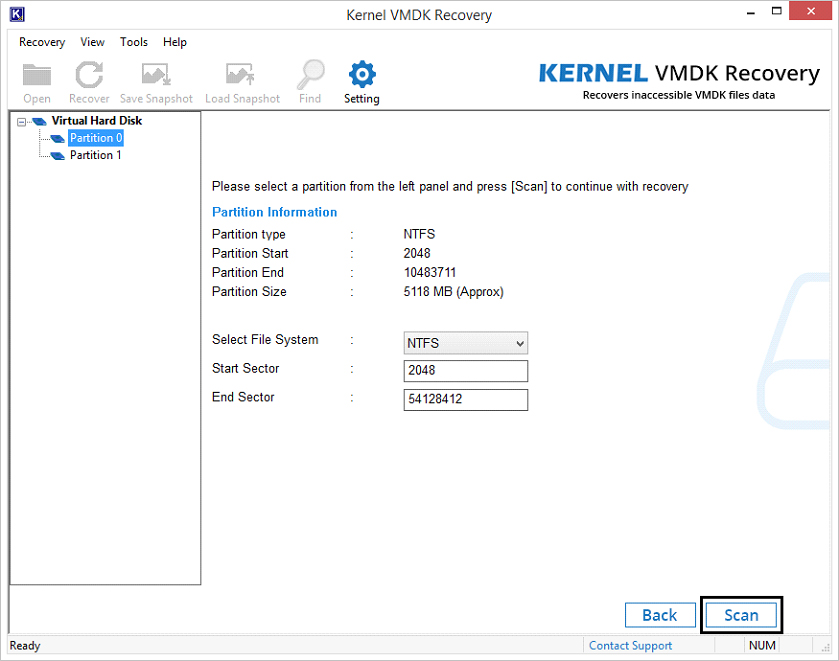
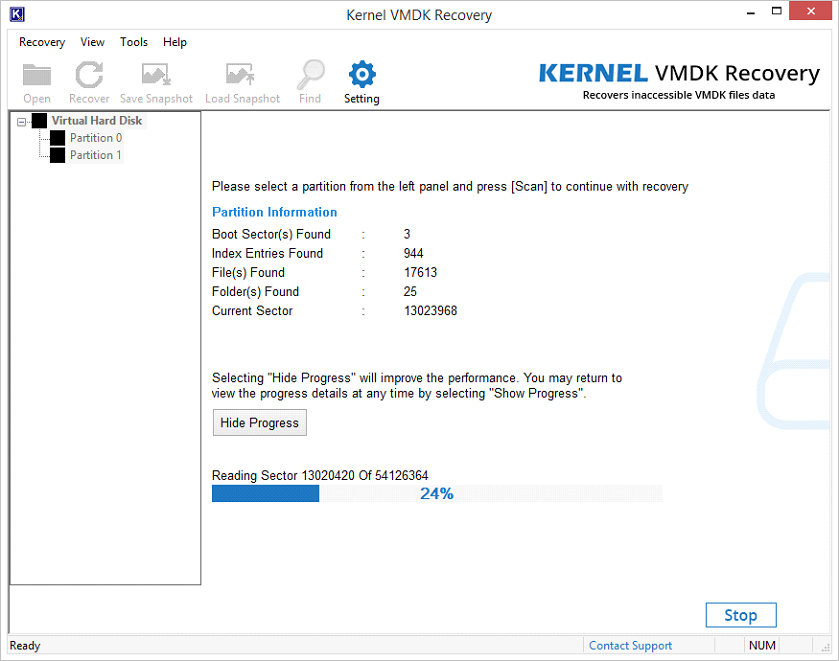
Step 6: Select the desired partition for recovery, select the file system, provide the Start Sector and End Sector, and click Scan to start scanning.
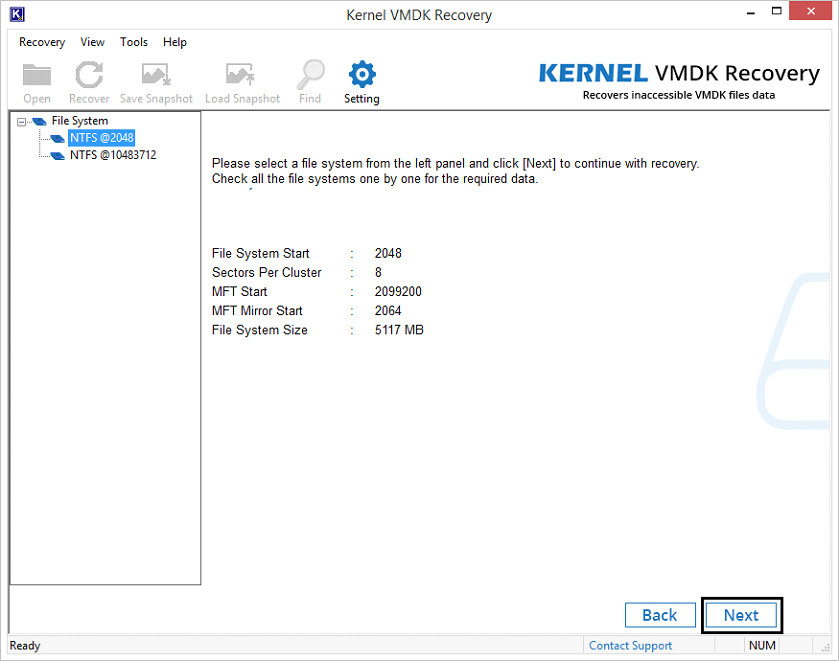
Step 7: Select the desired file system for recovery and click Next.
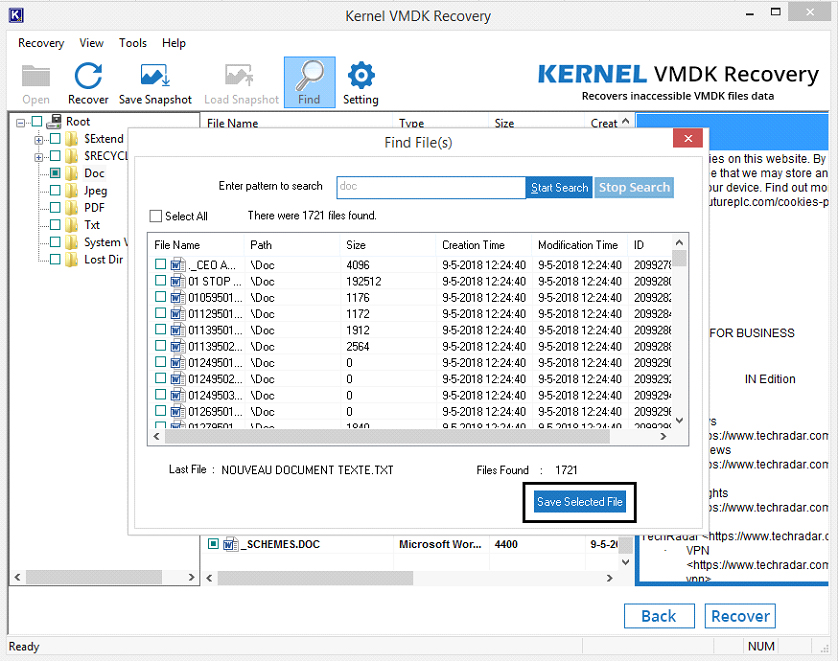
Step 8: Your data is now displayed for preview. Select any folder and a file to preview it.
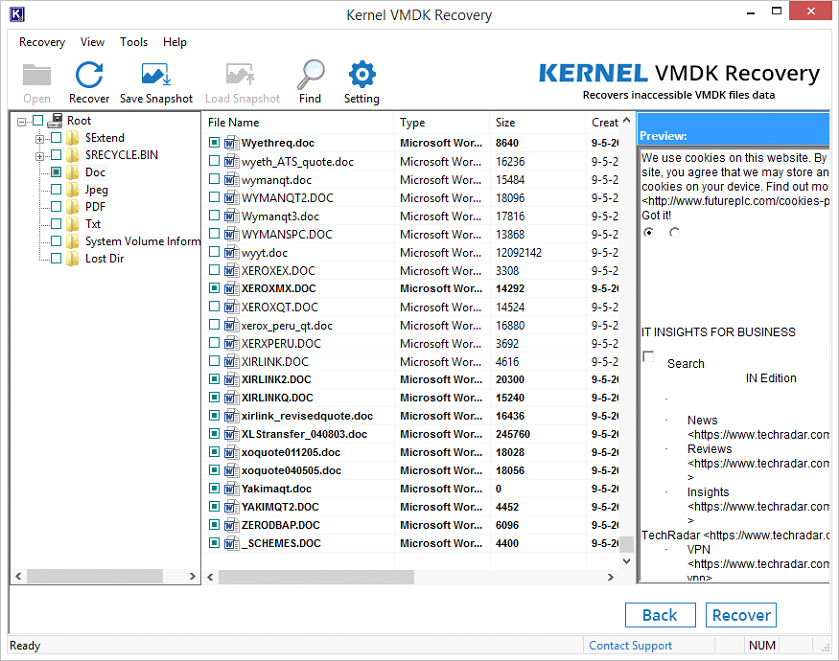
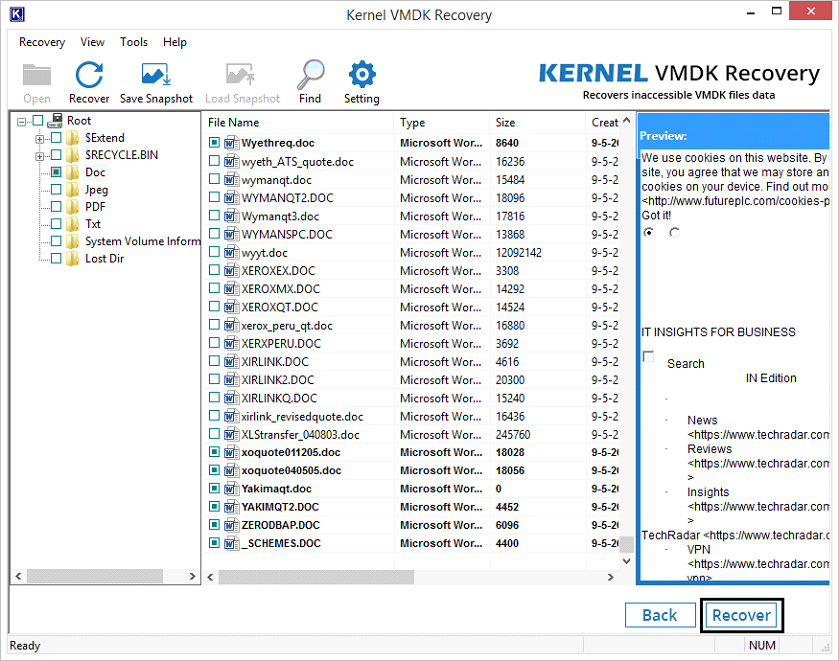
Step 9: Select the required folder(s) and files in the tree structure and click Recover to save these files to the system drive.
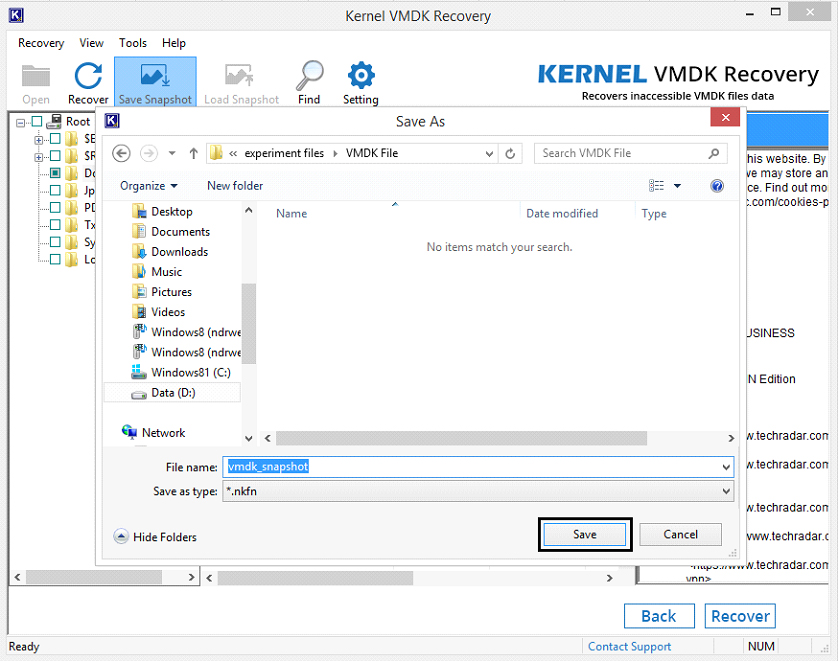
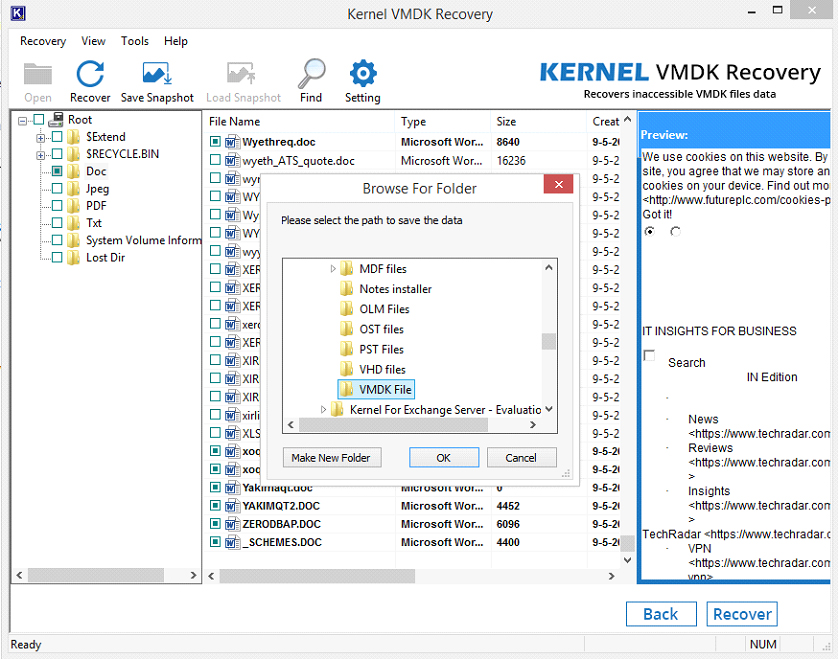
Step 10: Provide the saving path. Click OK to save the files.
Step 11: Finally, the software displays a message that Files Saved Successfully. Click OK.
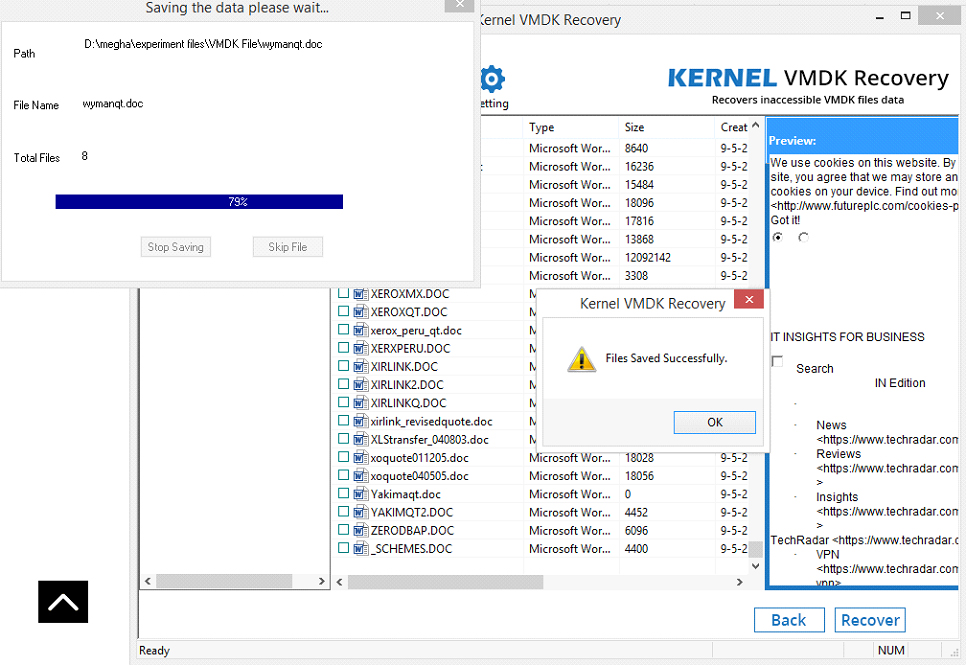
Thus, The tool has recovered VMDK file data.