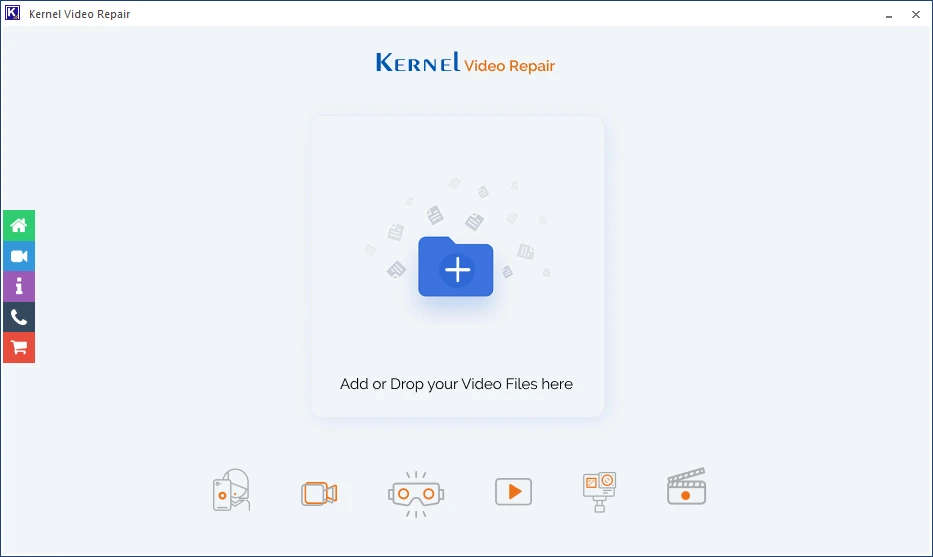
Step 1: Click on Add(+) button to browse corrupt videos or use drag/drop option directly.
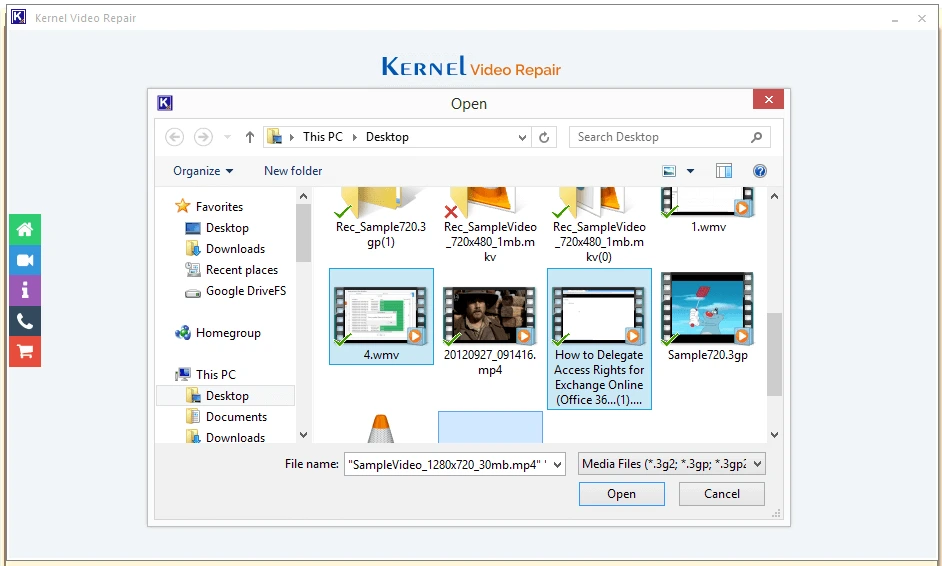
Step 2: Select corrupt video files from system location for repair.
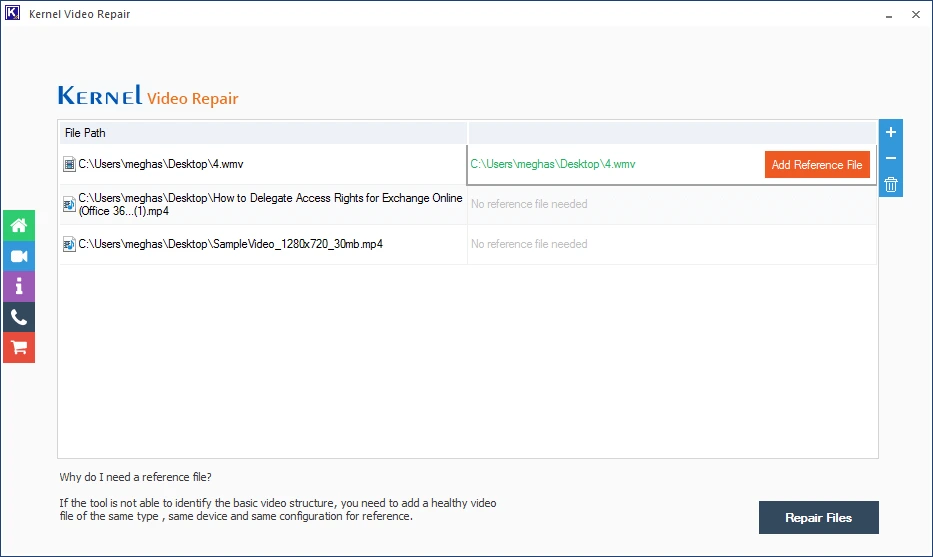
Step 3: Add Reference file (if asked) and click on Repair Files to start the process.
Step 4: Browse the destination location to save the repaired video files.
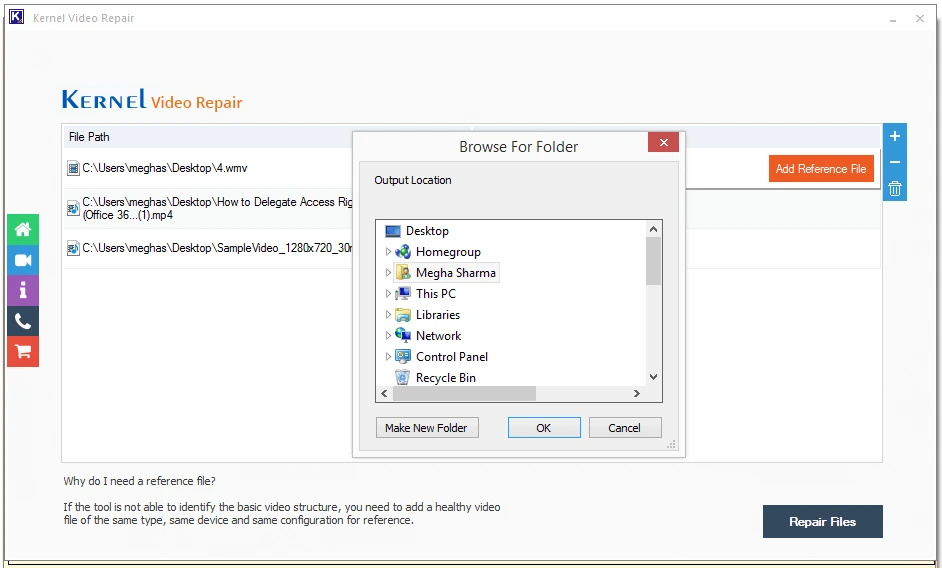
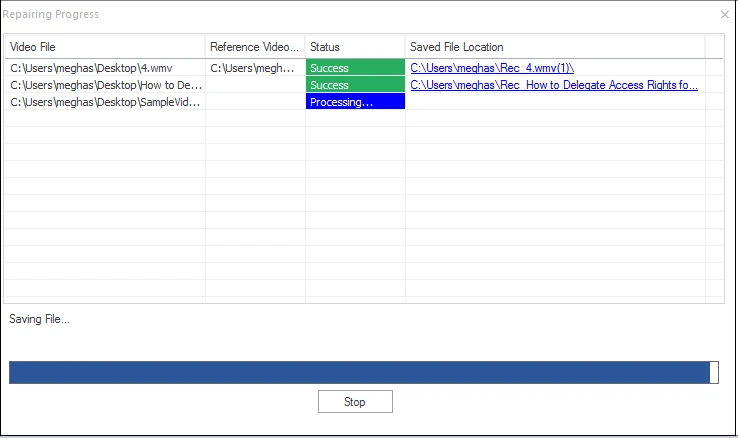
Step 5: Progress of the video files in queue for repair.
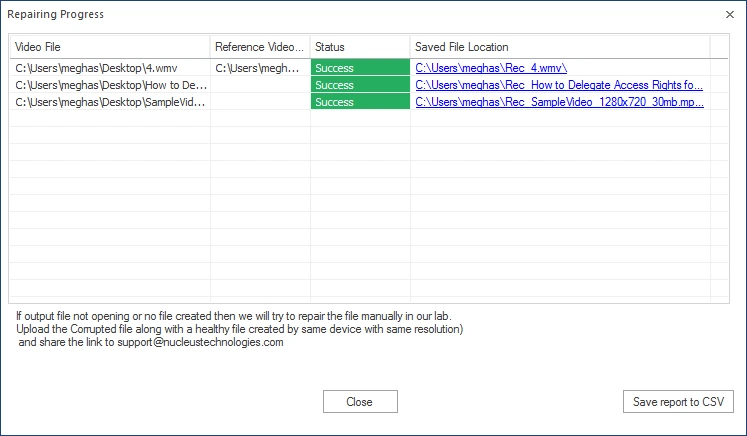
Step 6: Successful repair of the corrupted video files with status.
Repair corrupt and unplayable video files on your Mac with the following steps:
Step 1: Open the tool and click on the Add Video Files button.
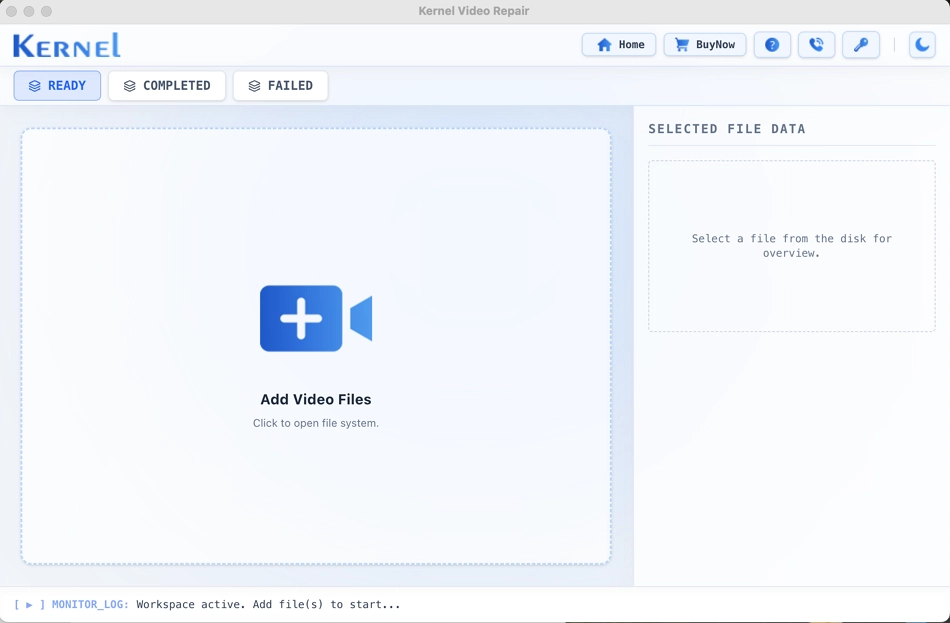
Step 2: Navigate to the location where the damaged video files are stored. Select the damaged videos and add them to the tool.
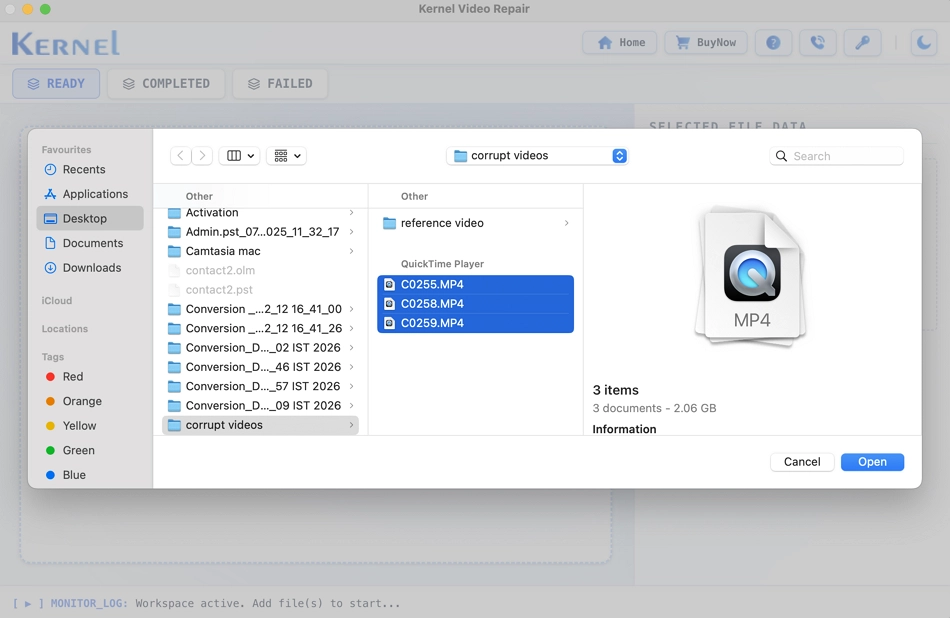
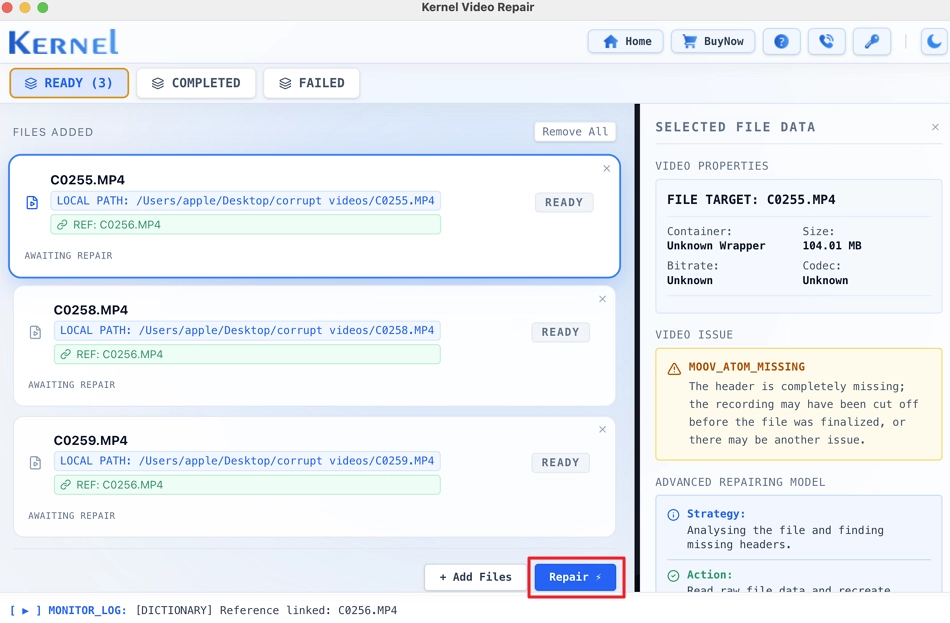
Step 3: All the added files will appear under the READY tab. Click the Repair button to start repairing.
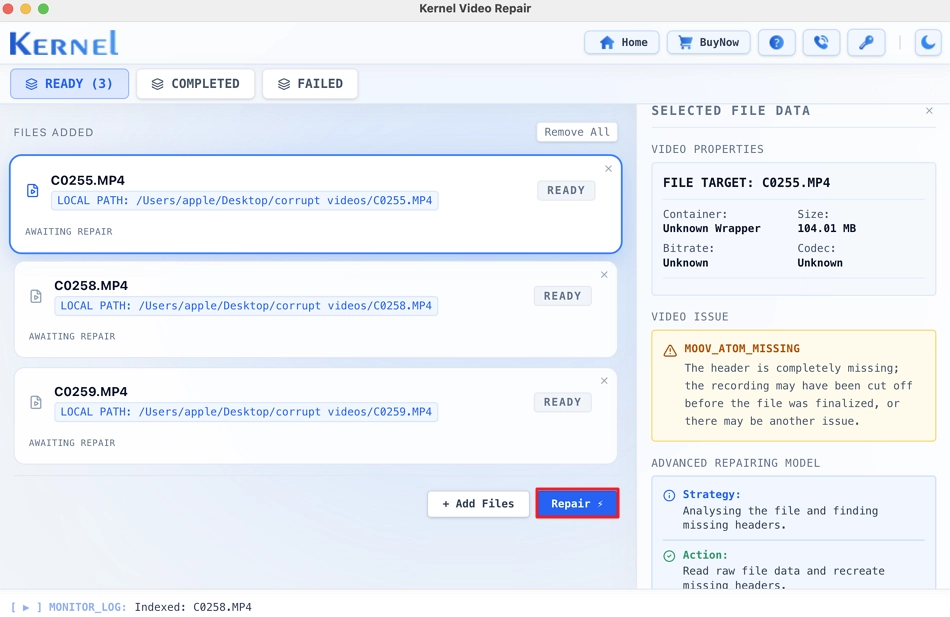
Step 4: The tool starts repairing the damaged video files.
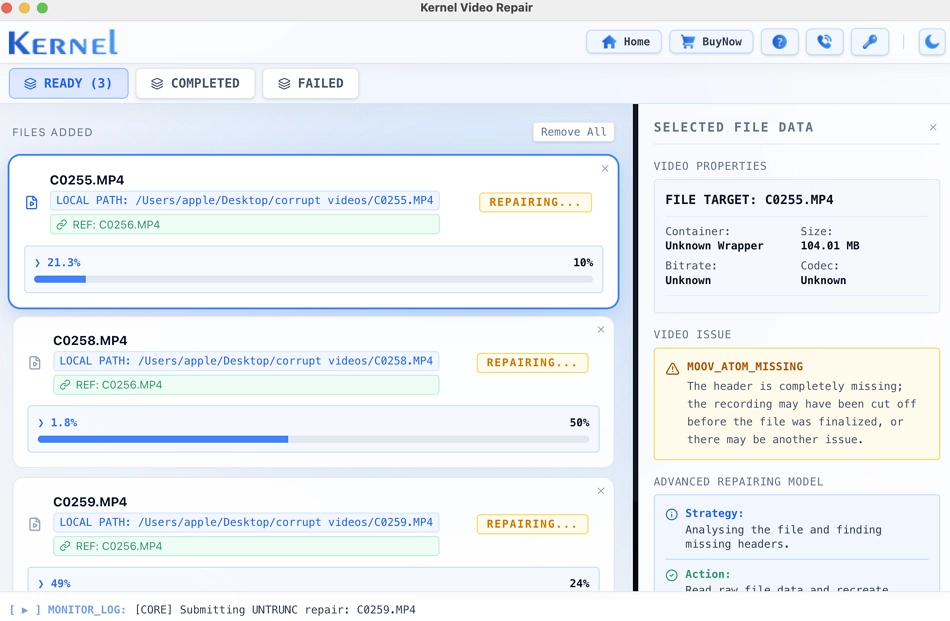
Step 4A: If the repair fails, click the Attach Reference button and add a healthy video file taken from the same device from which the damaged videos were taken. Add the reference file for each failed video.
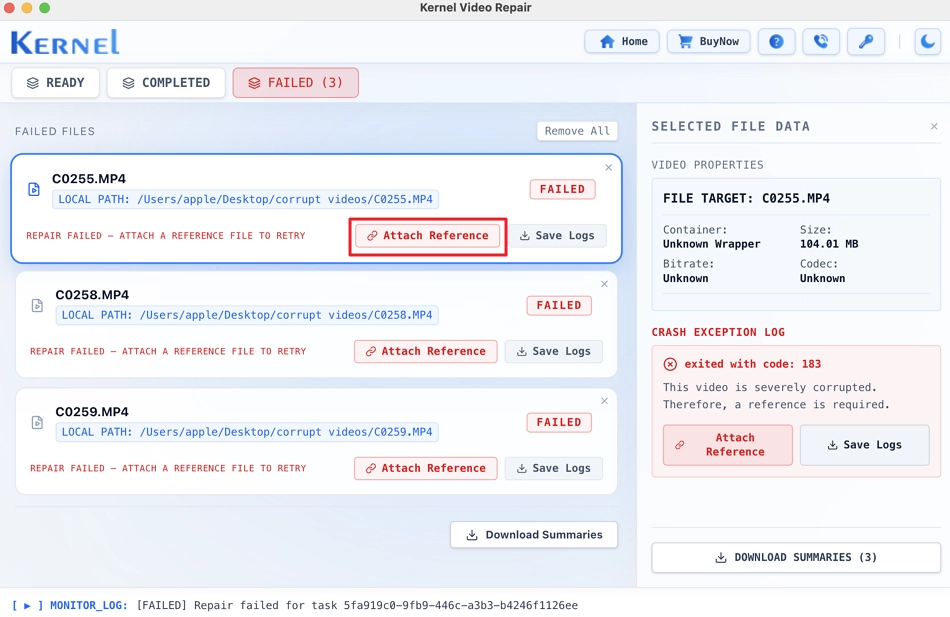
Step 4B: After adding the reference file, go to the READY tab and click Repair.
Step 5: Video repair is complete. Click the Play button to play the repaired video. Alternatively, click the Show in Folder button to open the location where the repaired video files are saved.
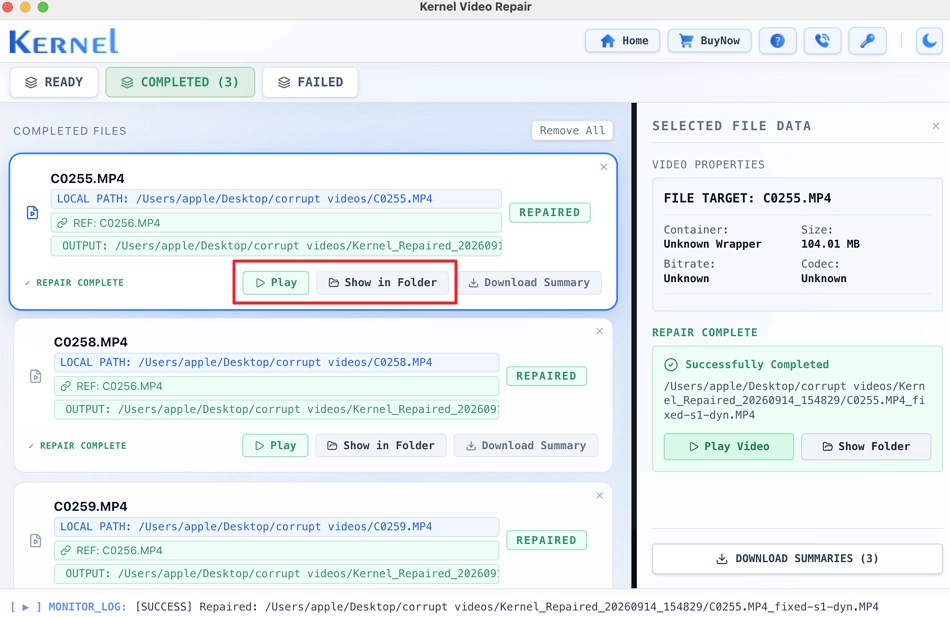
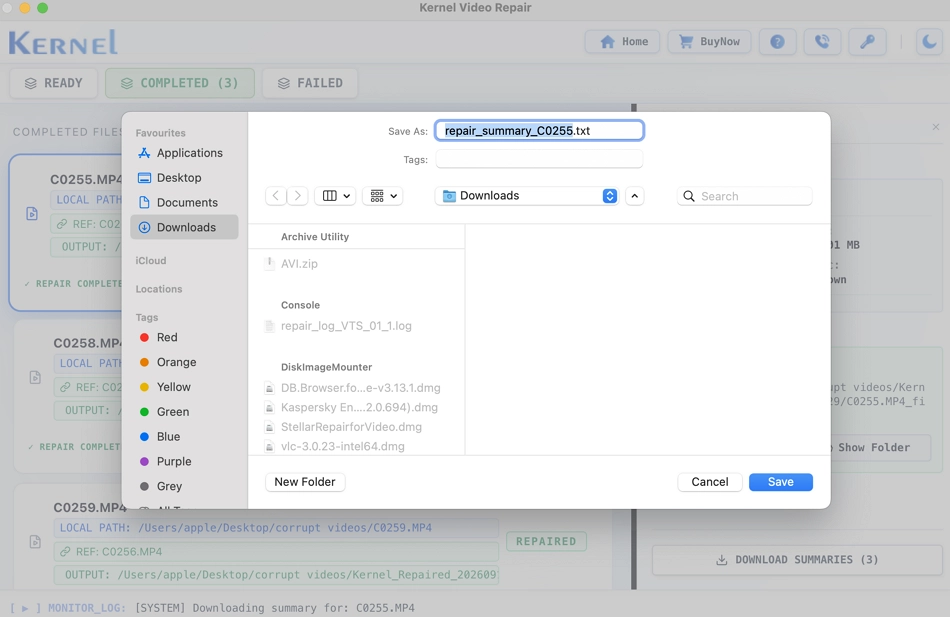
Step 6: To download the summary of the repair process in a TEXT file, click Download Summary. Enter the file name and specify a location to save the .txt file.