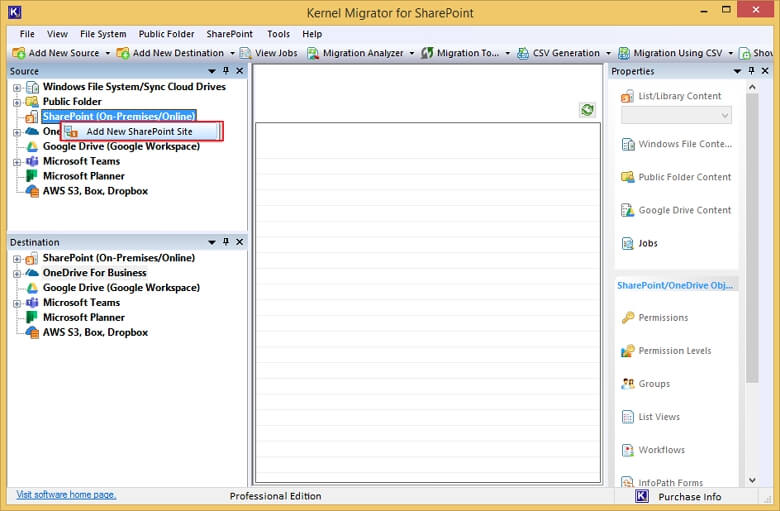
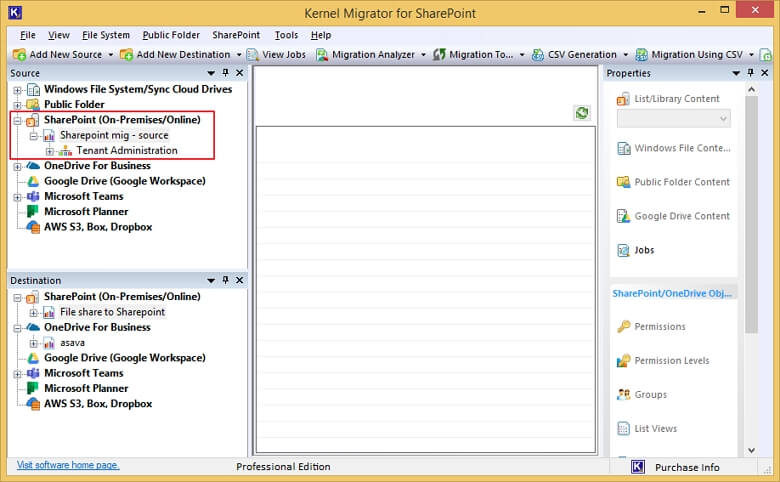
Step 1: Open the software, go to the source pane, and right-click SharePoint (on-premises/Online). Select Add New SharePoint Site.
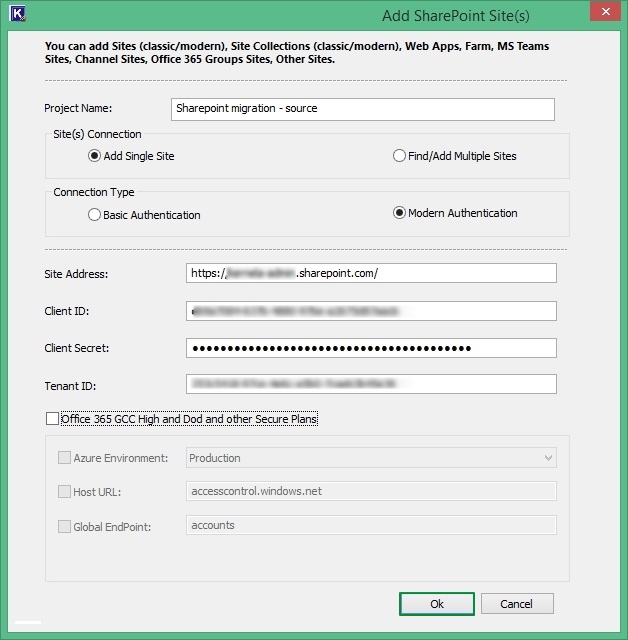
Step 2: In the wizard, input a Project Name and site (s) Connection, and then, based on the Connection Type (Basic Authentication or Modern Authentication), connect to the source.
Step 2(A): Basic Authentication: Provide the Site Address, Global admin User Name, and Password, and then click OK to connect.

Step 2(B): Modern Authentication: Requires Site Address, Client ID, Client Secret, and Tenant ID to connect, which is available in the App Registration in Azure Active Directory.
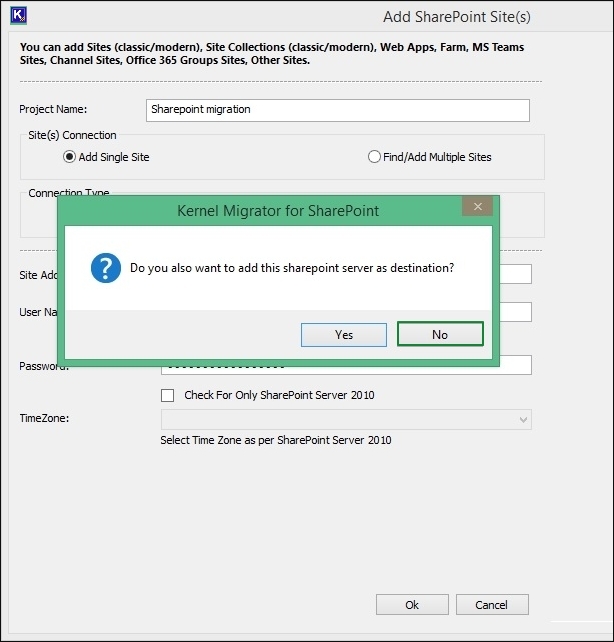
Step 3: The tool shows a prompt asking, “Do you also want to add this sharepoint server as a destination?” Click No.
Step 4: A new project is connected and added to the source list.
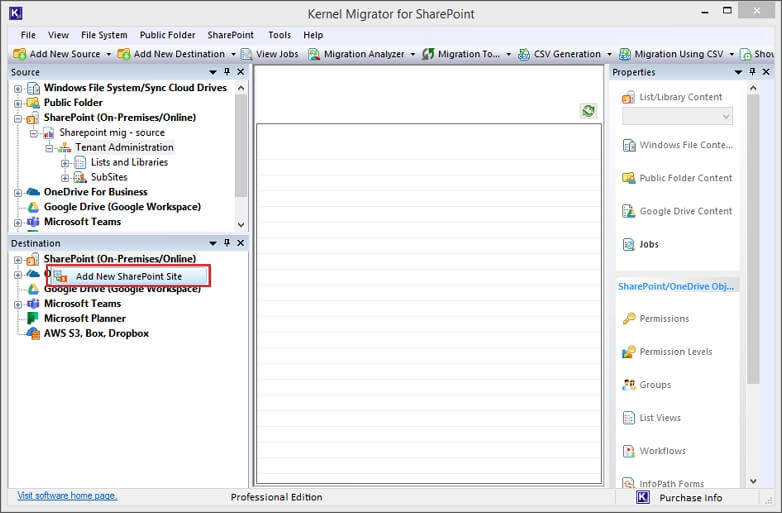
Step 5: Now, go to the destination section and right-click on SharePoint (on-premises/online). Choose the Add New SharePoint site option. Input the destination details just the way you provide for adding the source.
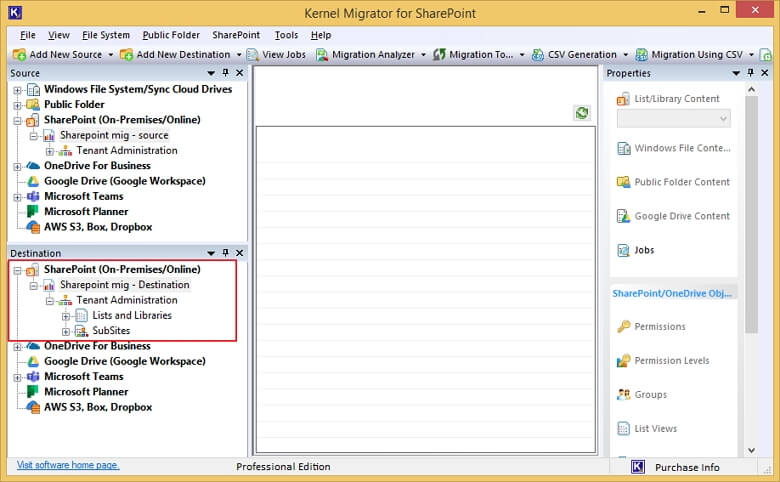
Step 6: The project is added to the destination, and you can check the items from both source and destination.
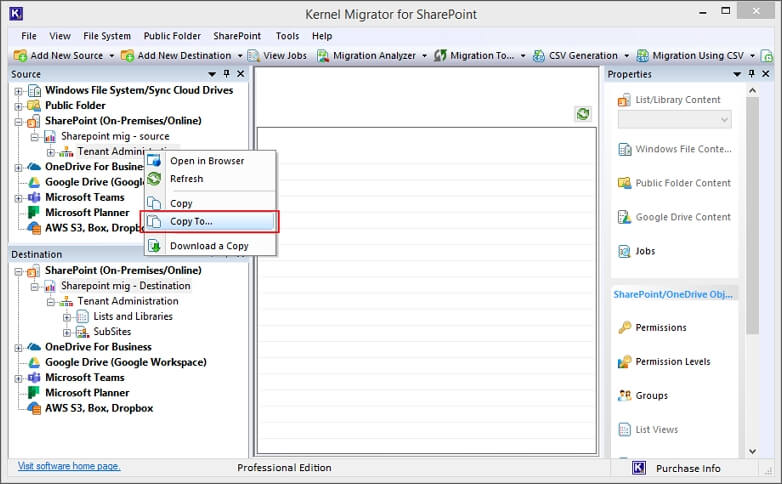
Step 7: Expand the project you added to the source and right-click to see options to move content to the destination. Now, select ‘Copy To.’
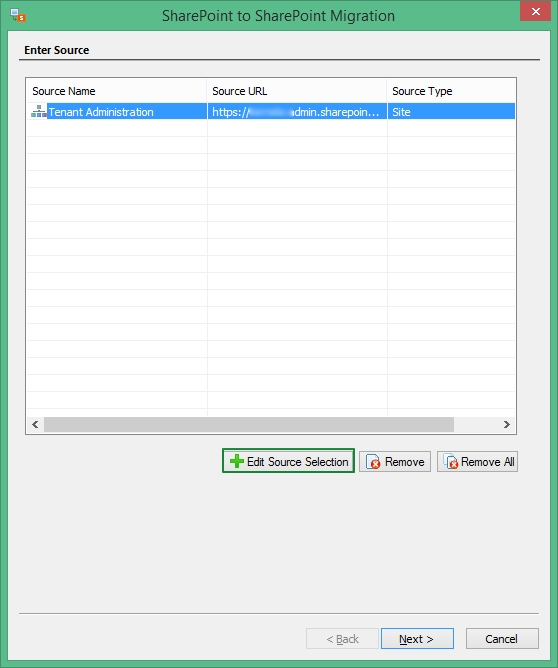
Step 8: This will open the Enter Source wizard, showing the Source Name, Source URL, and Source Type. Click Next.
- Edit Source Selection: Modify the Source Type selection using this button.
- Remove: Remove selected items from the list.
- Remove All: Remove all the source items you added for migration.
Step 9: Select a source from the available source type: Site, List/Library, or Item Level (Folders/Documents). Click Next to make a selection.

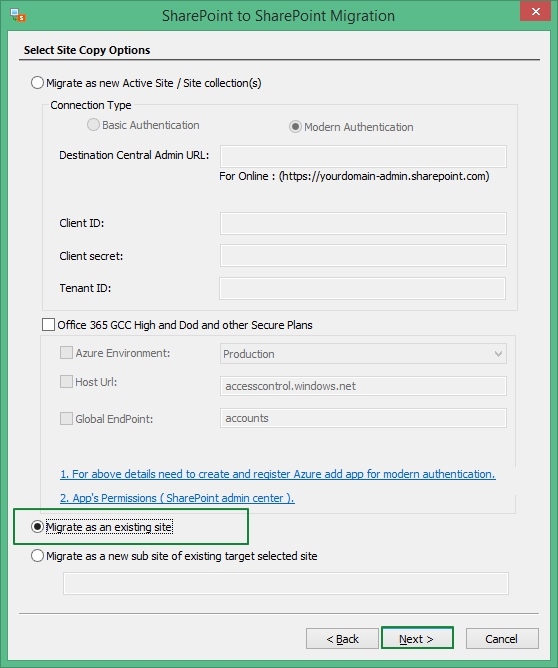
Step 10: There are three options for migrating to the site – Migrate as a new Active Site, Migrate as an existing site, or Migrate as a new subsite of the current site. Choose any one and click Next.
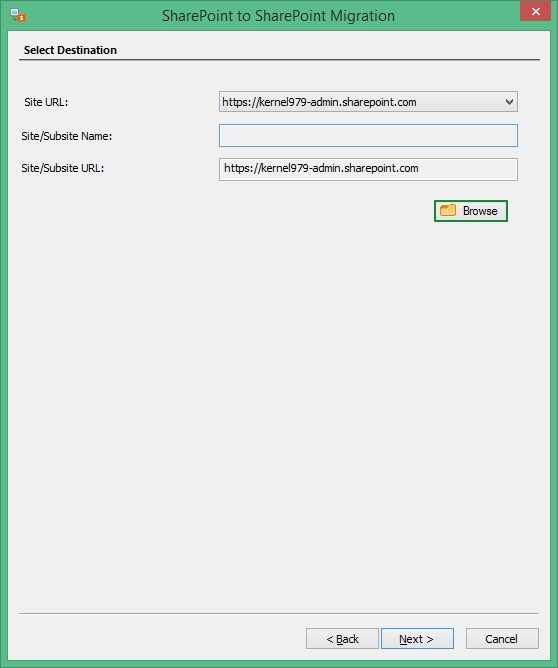
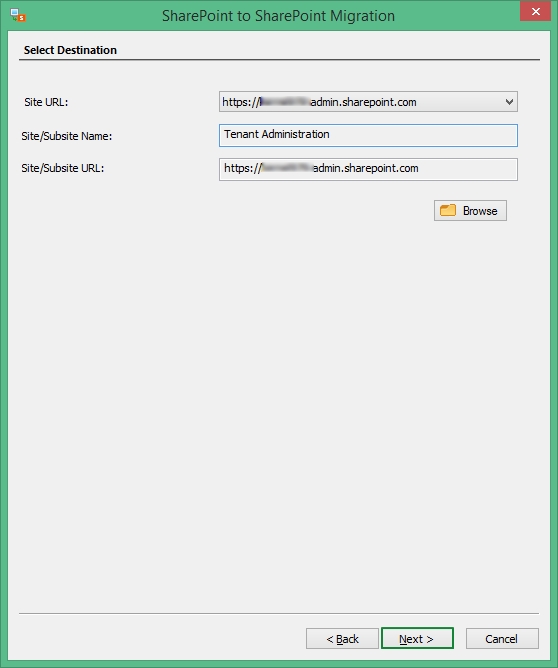
Step 11: First, use the Site URL dropdown to choose the destination site and then click the Browse button to select the subsites.
Step 12: Choose from the list of available sites and subsites in the destination.
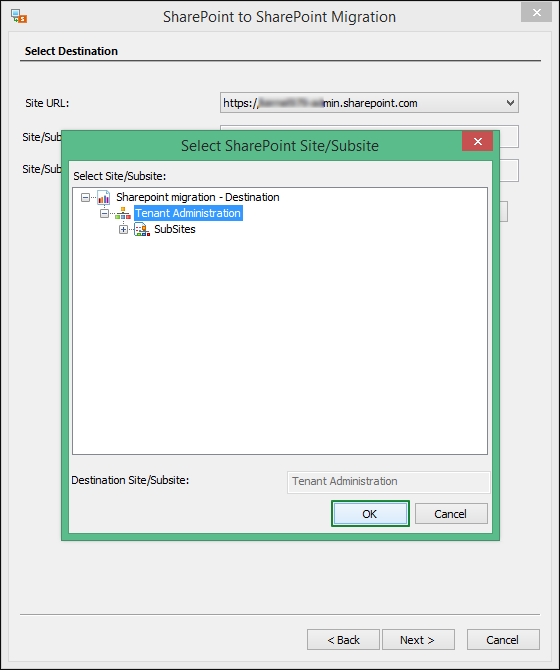
Step 13: Once the destination subsite is selected, click Next to move ahead.
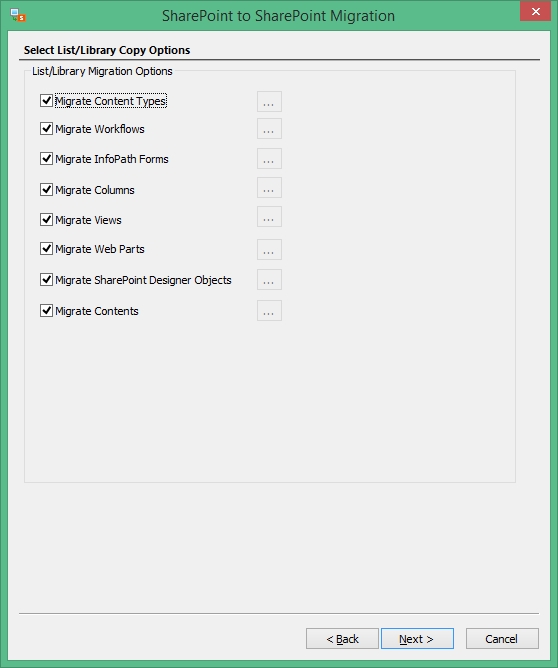
Step 14: There will be several properties and attributes that you can select to migrate along with the primary data from the SharePoint site. Click Next.

Step 15: Choose List/Library attributes and click Next.
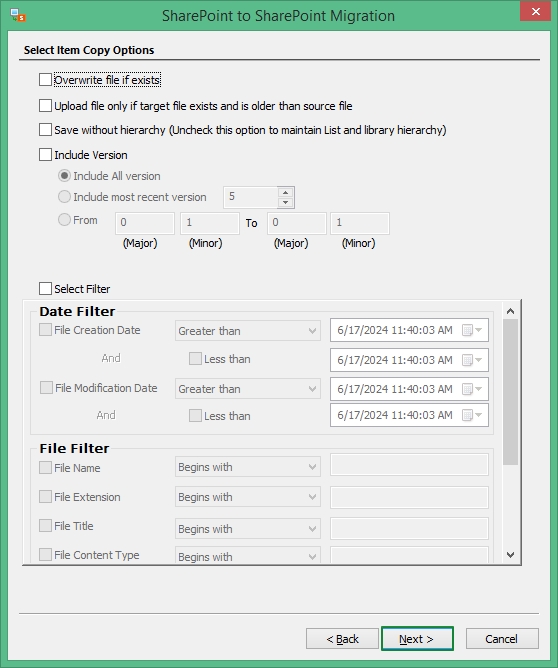
Step 16: Apply all the filters that will shorten the amount of data valid for migration so that you only migrate the required data. Then, click Next.
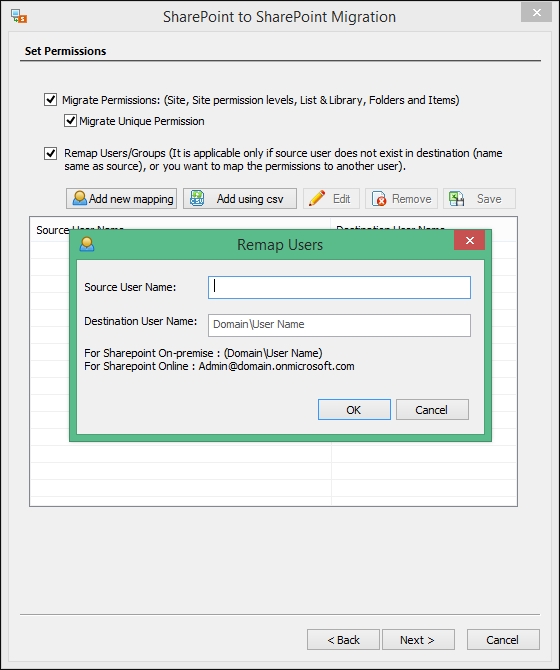
Step 17: Choose the option to Migrate Permissions related to all the items. You can also remap users and permissions by checking the box, selecting Add new mapping and then providing the details asked. Click Next.
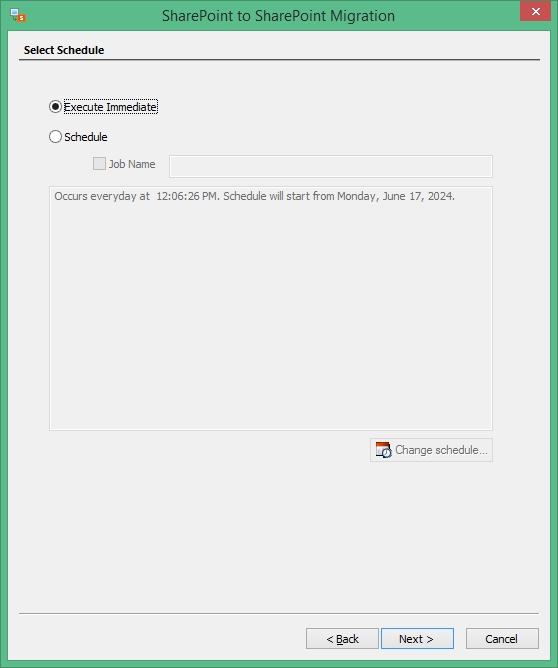
Step 18: Use the schedule feature to select a suitable timing to start the migration. Click Next.
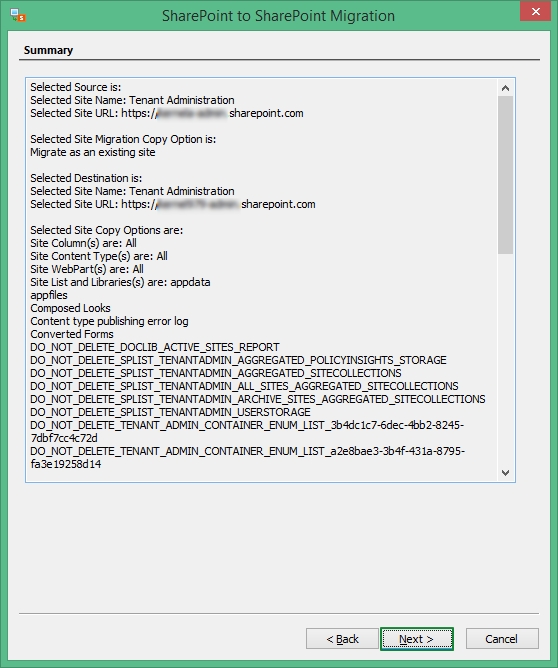
Step 19: A summary section shows the selected items for migration, desired destination, chosen features, filters, etc. Quickly go through it and click Next.
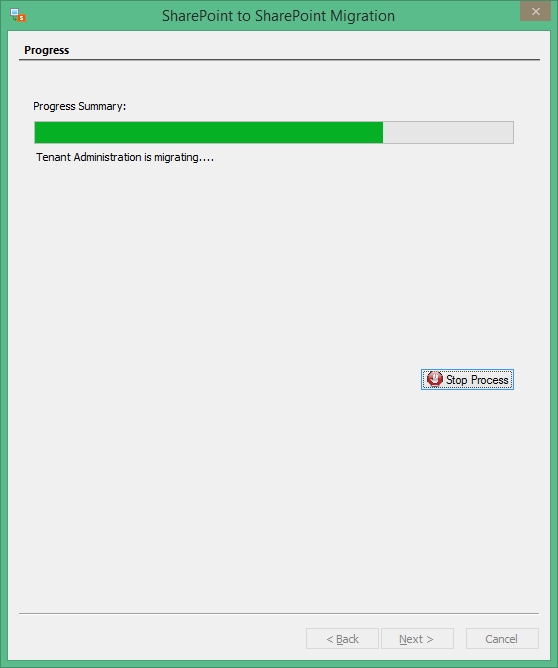
Step 20: The migration will start with a quick transfer of each item. You can stop or abort the process by using the Stop Process button.
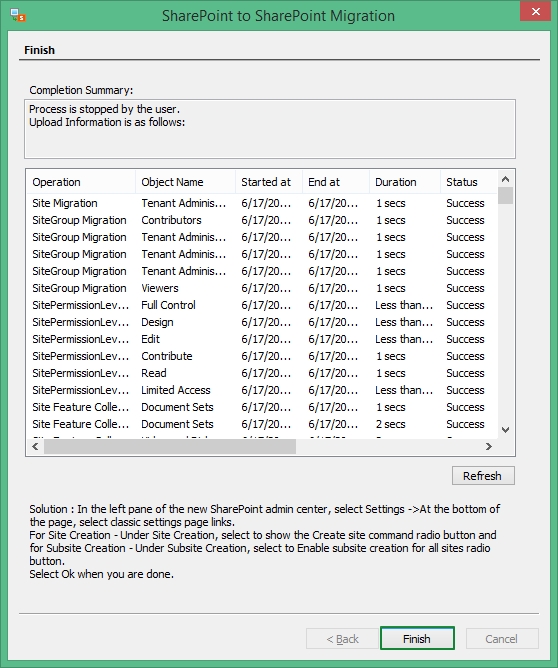
Step 21: As soon as the migration is complete, you can see a completion summary showing the status of each migrated item. Click Finish.