Kernel Migration for SharePoint tool allows easy backup of sites, subsites, lists, etc. Here’s a detailed process to help you backup the desired data from your SharePoint site:
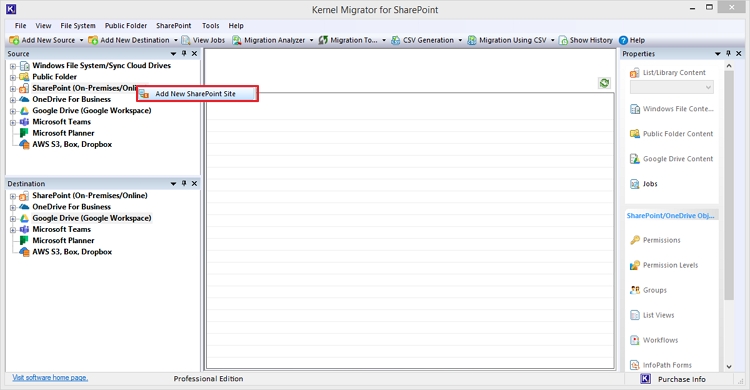
Step 1: Launch the software on your computer, go to the source pane, and right-click on SharePoint (On-premises/ Online).
Step 2: Tap on the Add New SharePoint site option to connect tool with the new site whose backup you are looking to save.
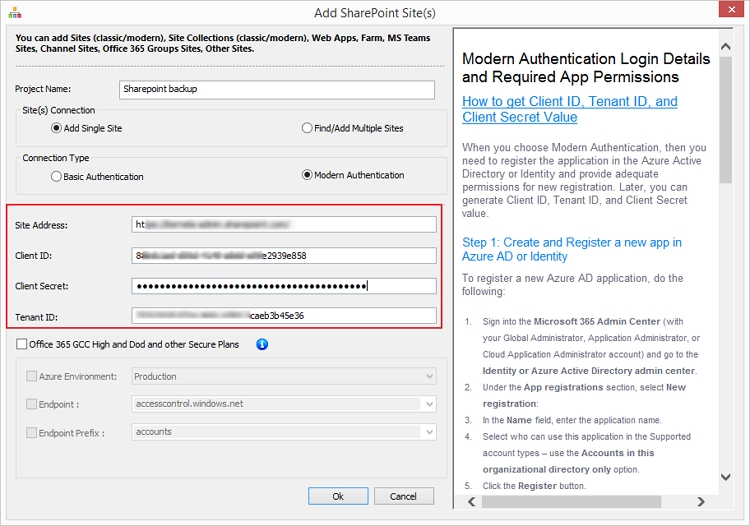
Step 3: Enter the Project name and required credentials (Site address, Client ID, Client Secret, and Tenant ID). Click Ok to connect the SharePoint tenant with the tool.
Step 4: After adding the site, expand the project name from source to see the site contents in the hierarchical structure.
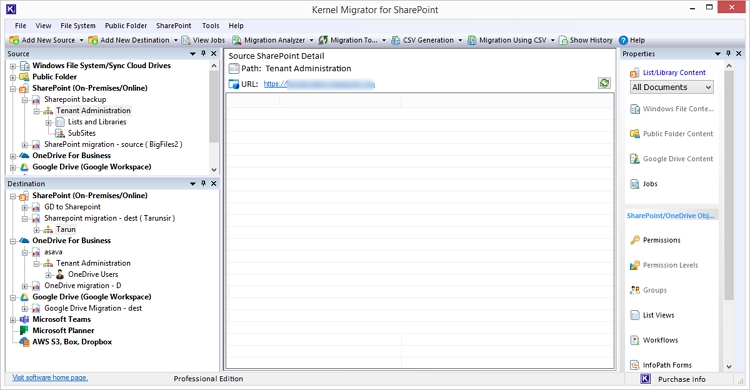
Step 5: Go to Tenant Administration and right-click to select Download a Copy to save backup of the complete site structure and content.
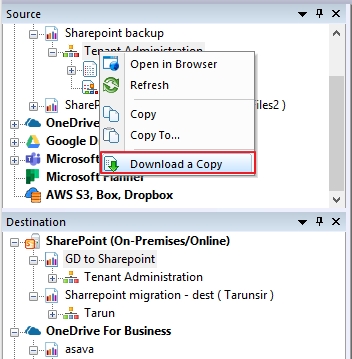
Note: To backup particular lists and libraries or subsite, expand the tab using + sign then right-click and select Download a Copy.
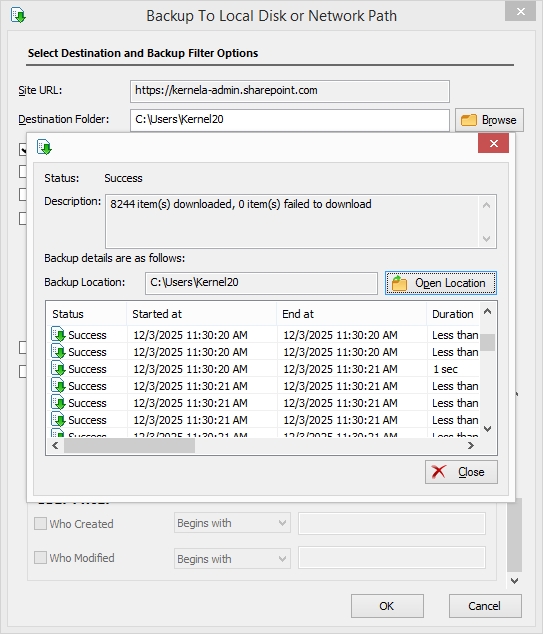
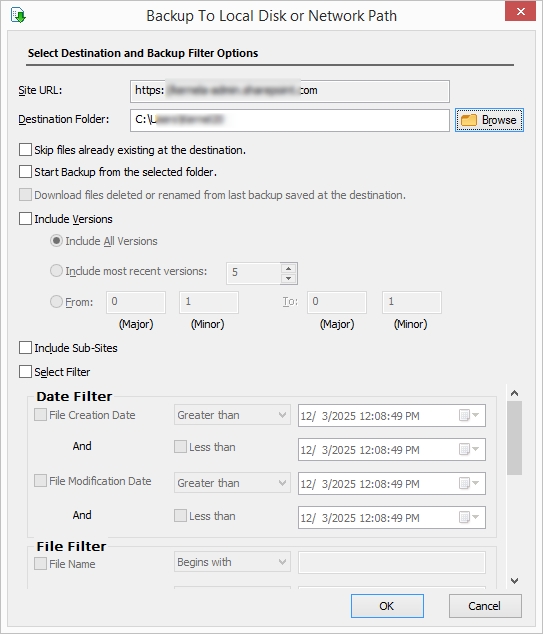
Step 6: Click Browse to select and provide a path from your local or network computer. Select the required options and apply filters, including date filter, file filter, and user filter for precise backup. Click Ok to proceed.
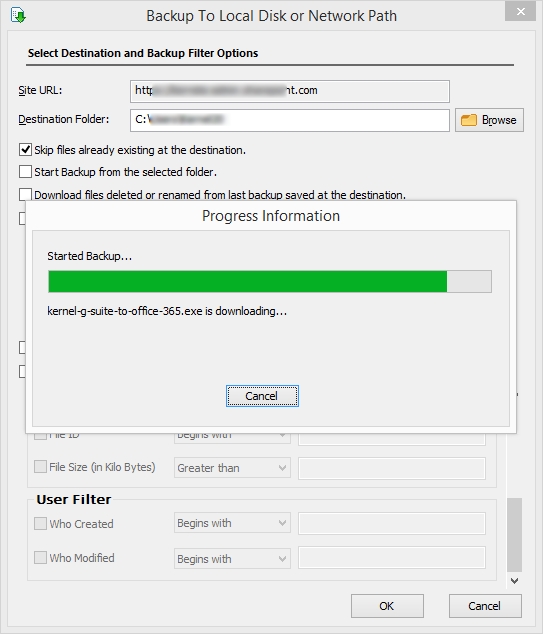
Step 7: The tool will show you the real-time progress of the ongoing SharePoint Online backup.
Step 8: Once the process is complete, the tool will show you the backup details with the status.
Step 9: Click on Open Location to view the saved backup file from the local computer.