Follow the steps given below to carry out an easy Word document repair process with Kernel for Word Repair tool.
Step 1: Download and install Kernel for Word Repair tool.
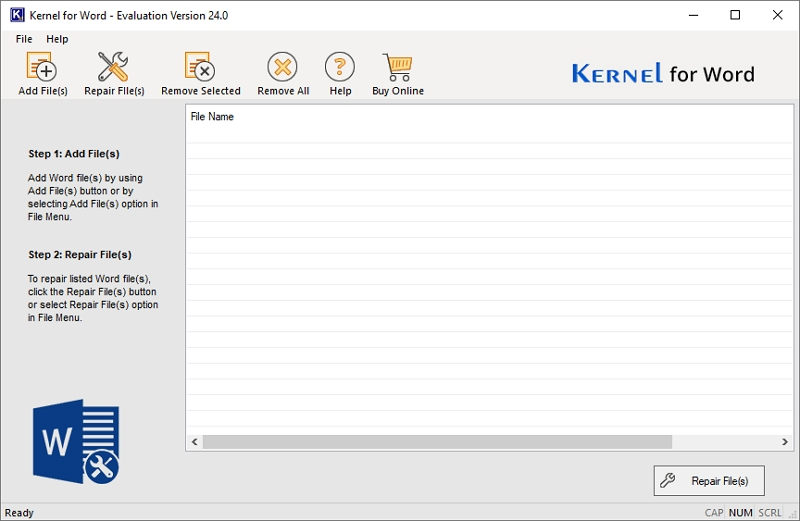
Step 2: Launch Kernel for Word repair application to initiate Word document recovery.
Step 3: For repairing Word files, click on Add File(s) button and navigate to the corrupt files. Select the file and click Open
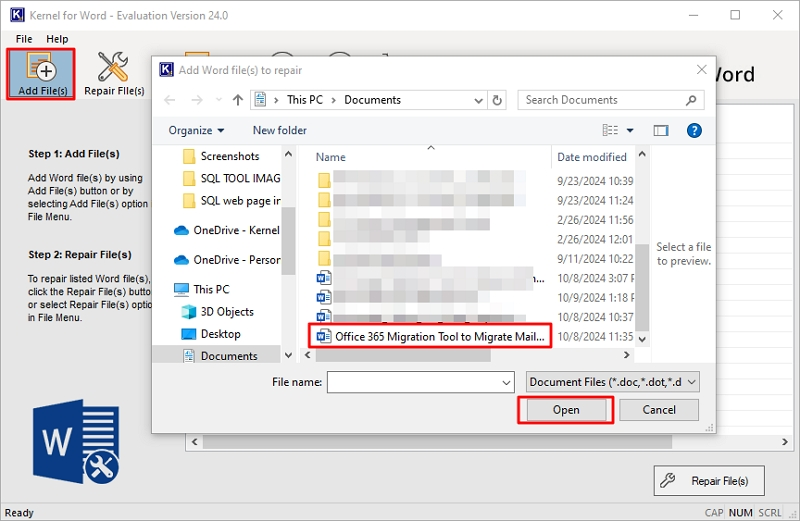
Note: You can add single or multiple files at once.
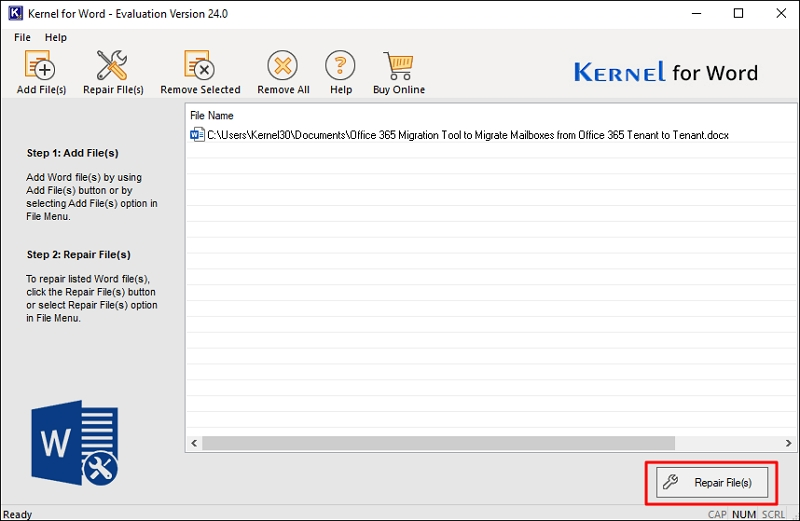
Step 4: After adding the corrupt file (s), click the Repair file(s) button.
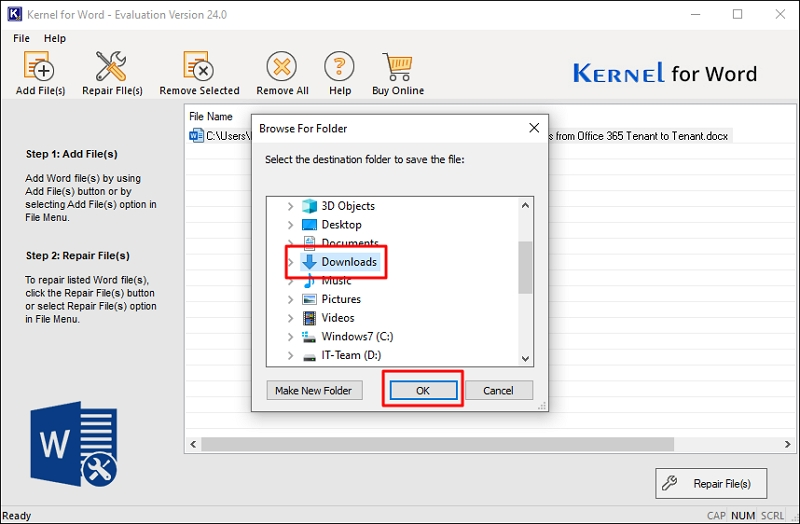
Step 5: Select the location for restoring the repaired files.
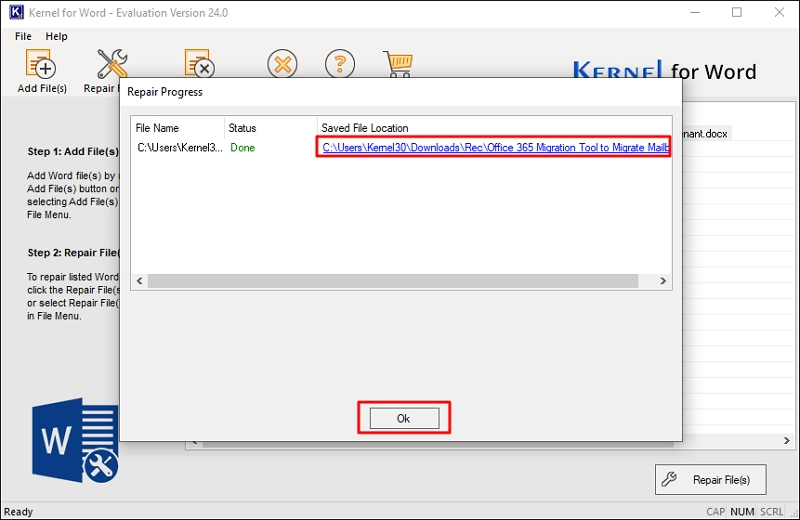
Step 6: After the repair process is done you will get a message pop up saying Saving process is complete. Click OK to close the pop-up
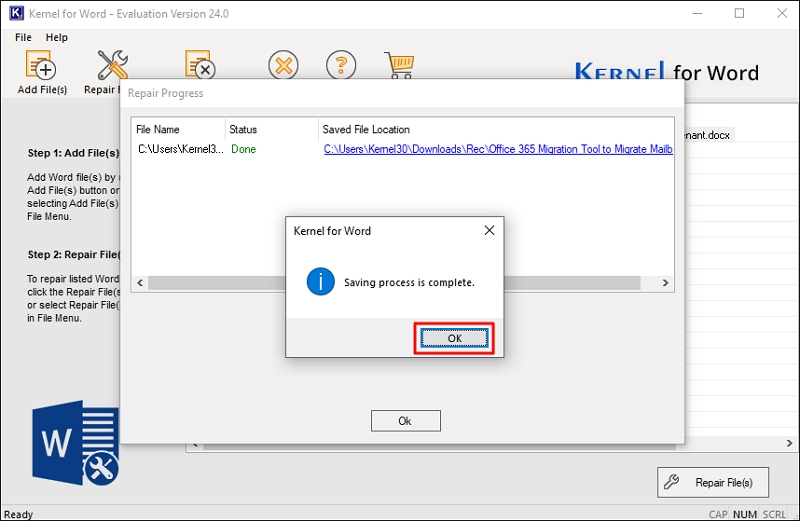
Step 7: The tool provides you with a link, click it to navigate to the repaired file location. Click Ok, to close the Repair Progress window.