Follow the detailed steps to repair a corrupted Outlook PST file with ease:
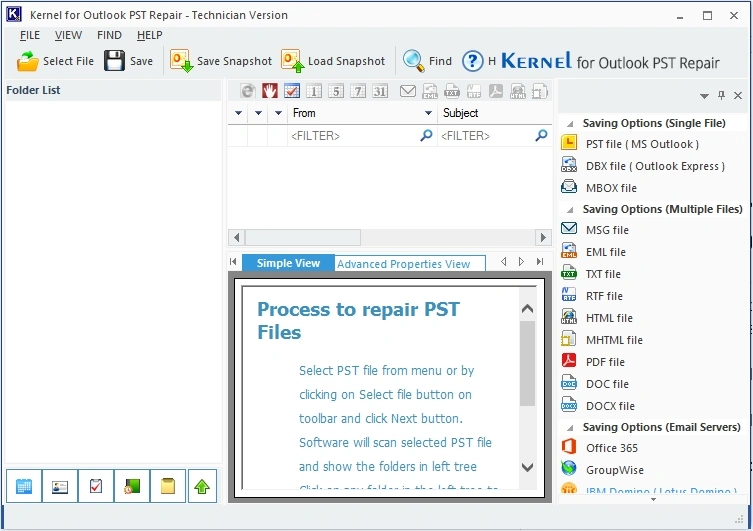
Step 1: Download, install, and launch the Kernel for Outlook PST Repair tool on your Windows system.
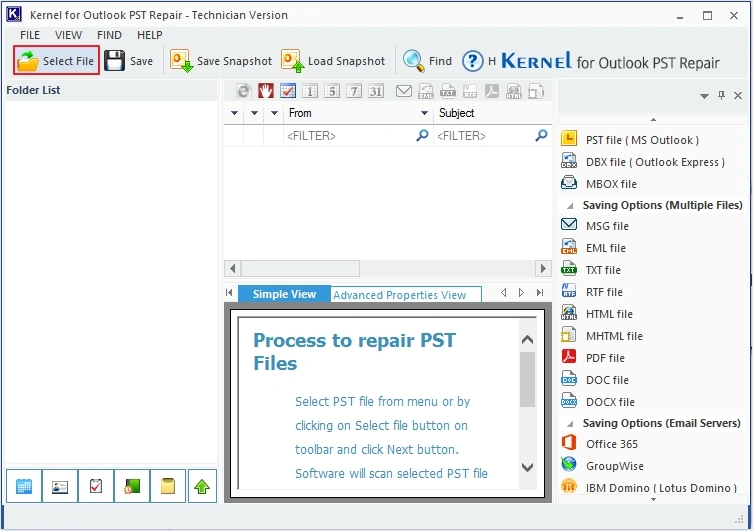
Step 2: Click on the Select File button to upload the corrupted PST file.
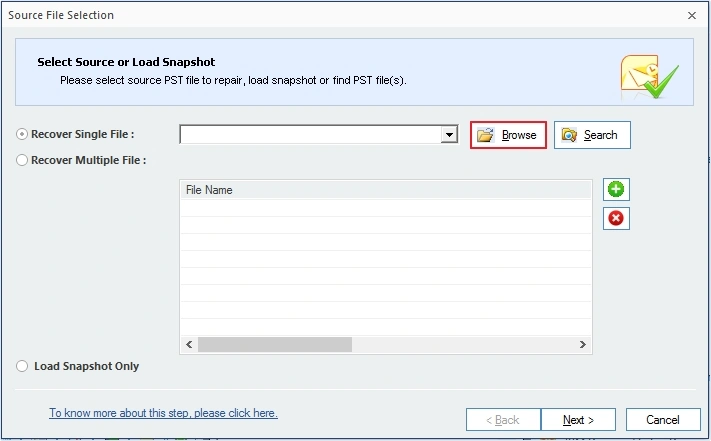
Step 3: Click on the Browse button to add the PST file(s).
Step 4: Select the corrupted PST file(s), then click Open.
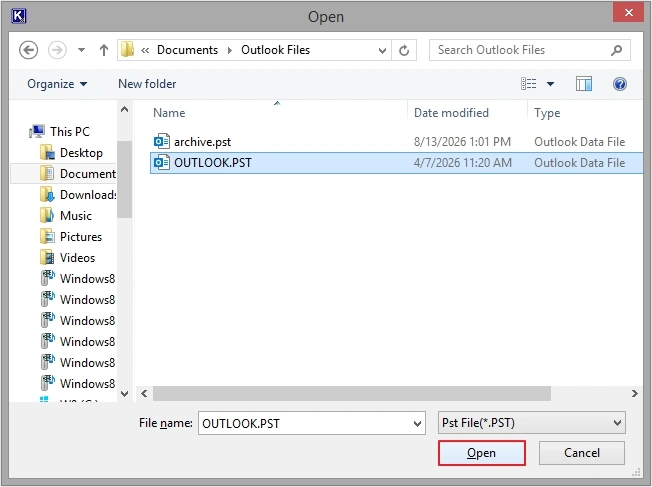
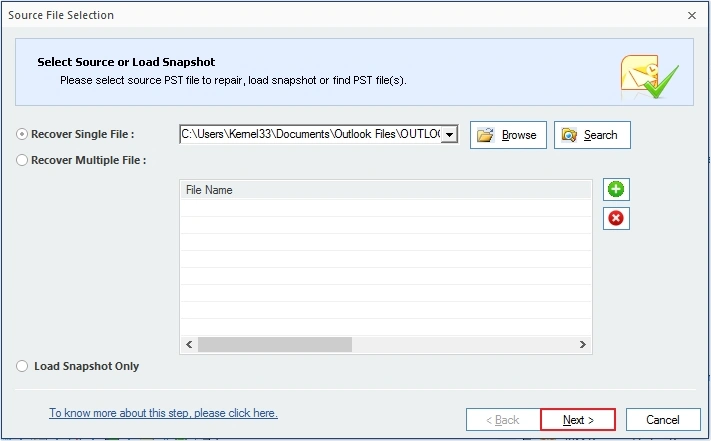
Step 5: Once the PST file is added, click on the Next button.
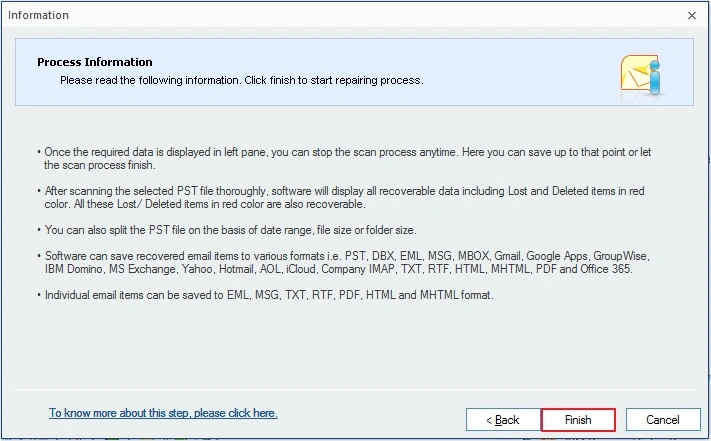
Step 6: Click on the Finish button to move forward.
Step 7: Get a detailed preview of all the PST mailbox items in the Simple View or Advanced Properties View pane.
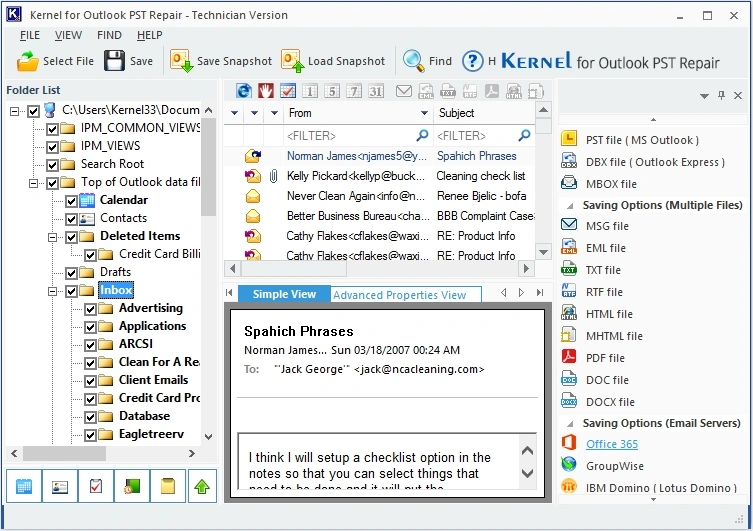
Step 8: Select which folder you want to save or select the entire PST file, then click on the Save button.
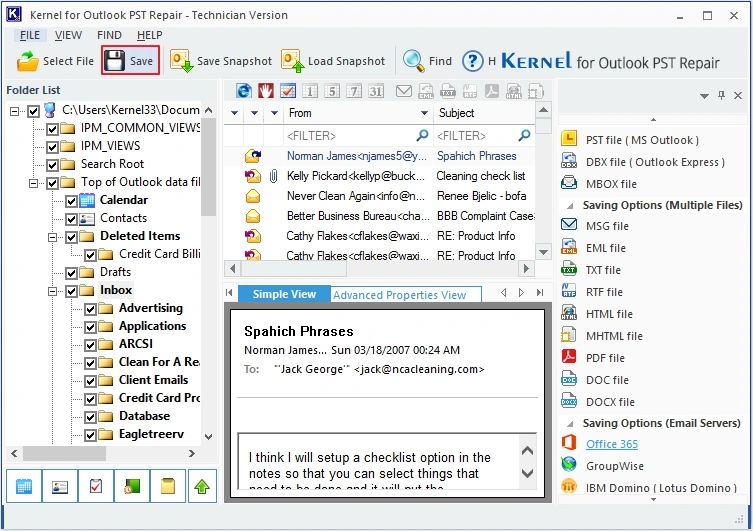
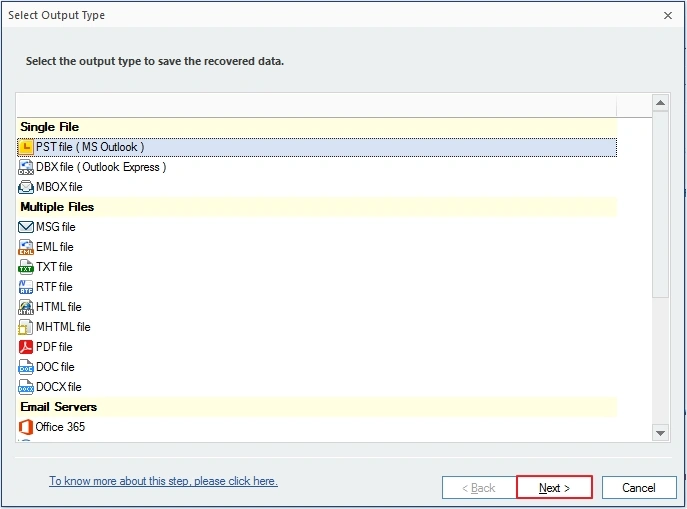
Step 9: Select any output format of your choice to save the repaired PST data, then click Next.
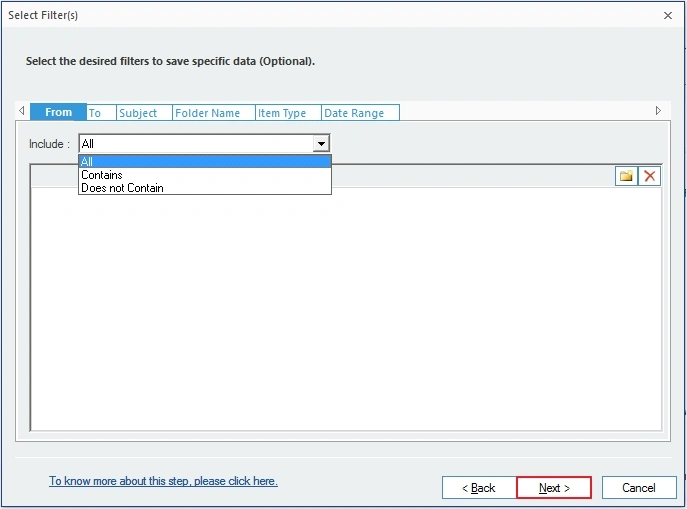
Step 10: Apply required filters to save data as per your choice, then click on the Next button.
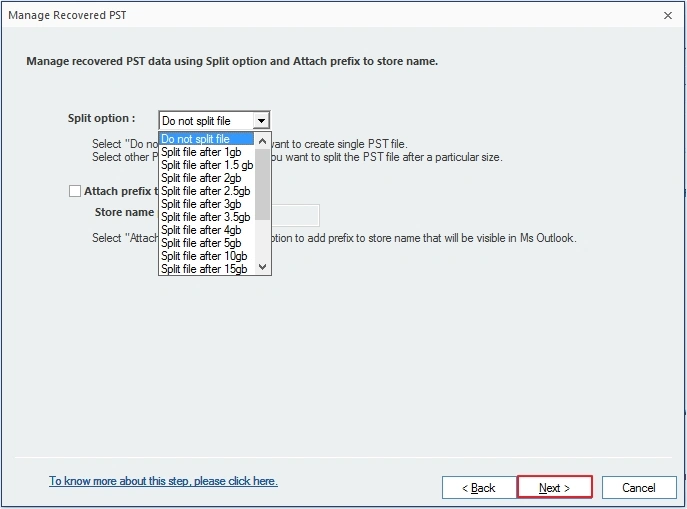
Step 11: Manage oversized or large PST files with the Split option, then click Next.
Step 12: Click on the Browse button to provide a saving path.
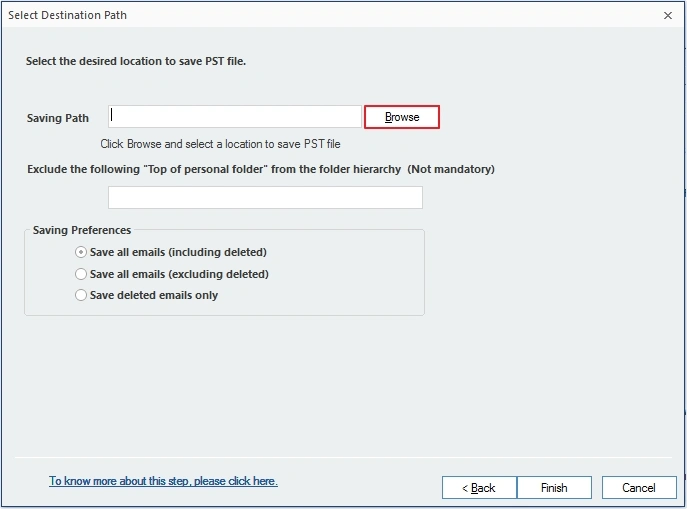
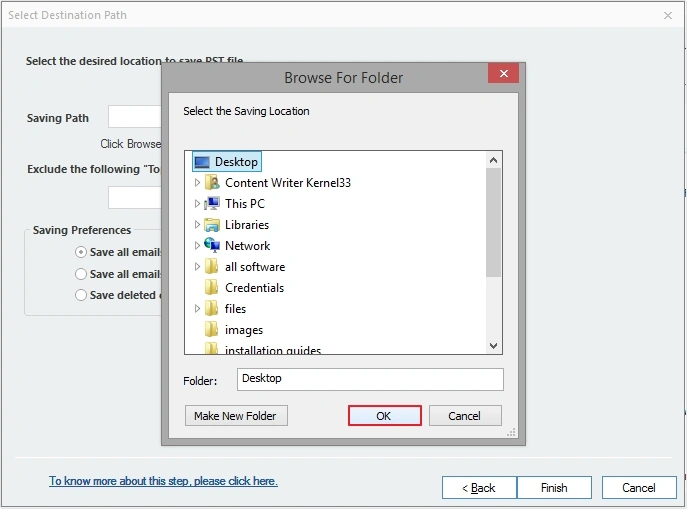
Step 13: Provide the saving location on a local or network drive, then click OK.
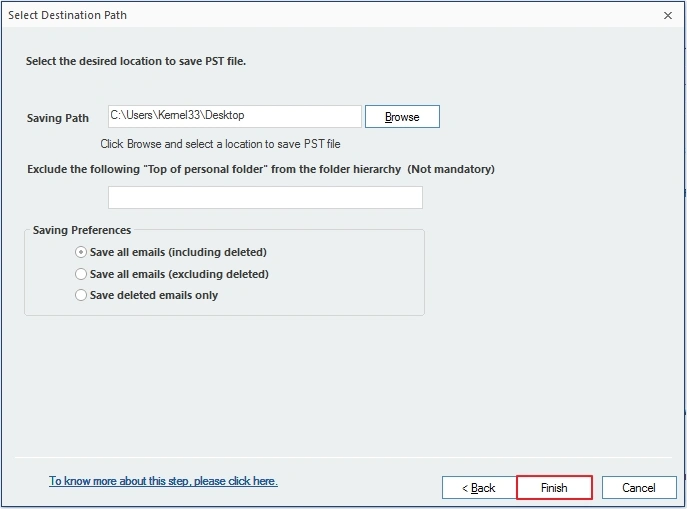
Step 14: Once done, click on the Finish button to start repairing corrupted PST file(s).
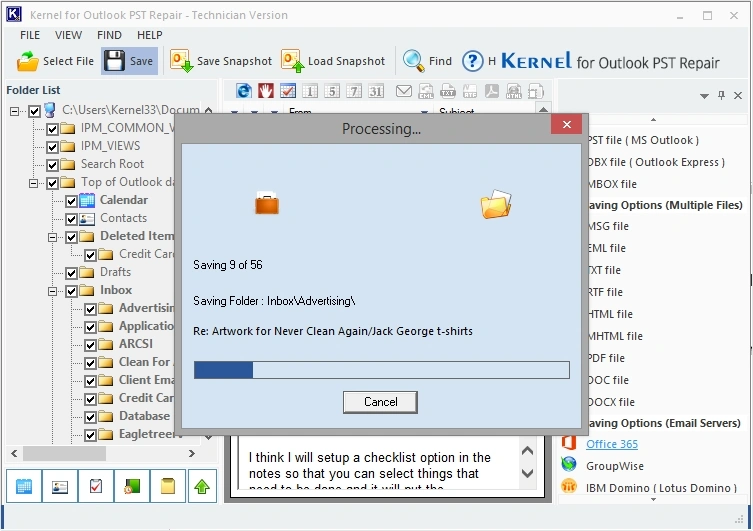
Step 15: The software will start the repairing process and show you live progress.
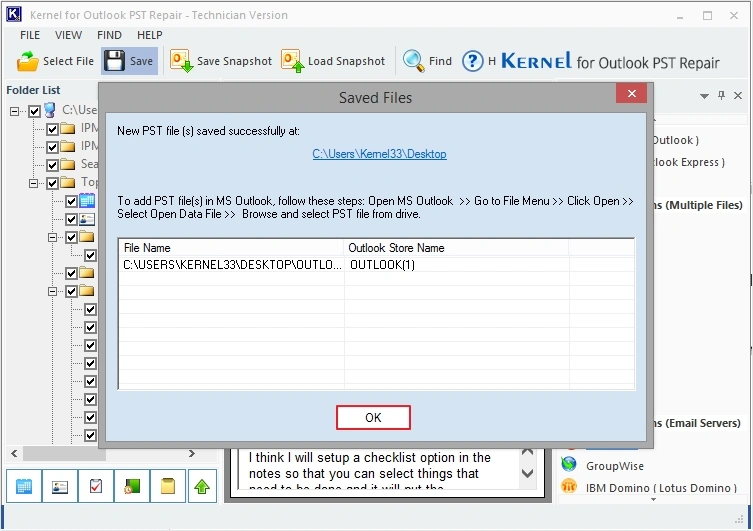
Step 16: Wait for a few moments, and the software will show you a success message saying "New PST file(s) saved successfully”, click OK to end the process.