How to use (PST to Single File)
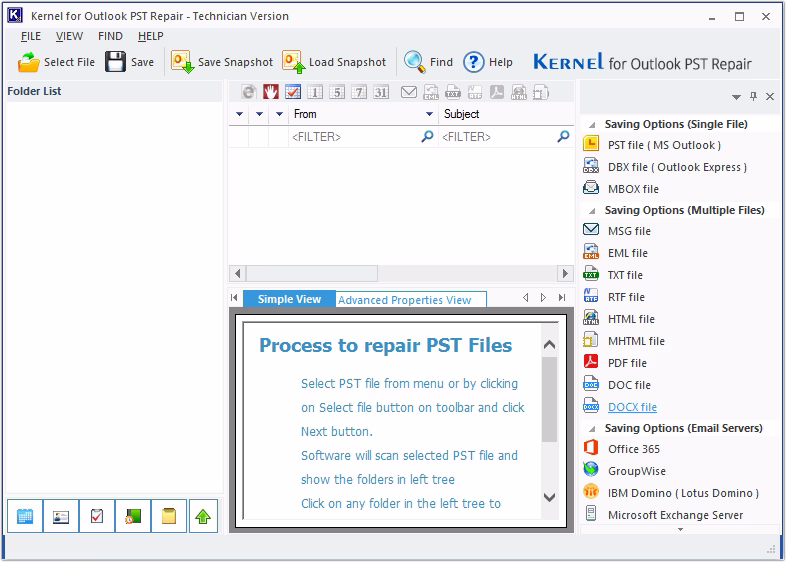
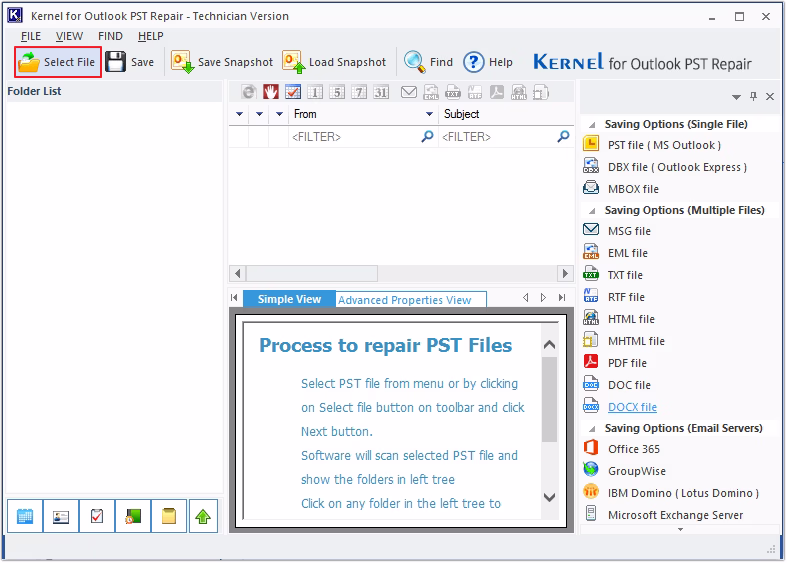
Step 1: The home screen of Kernel PST Converter Tool.

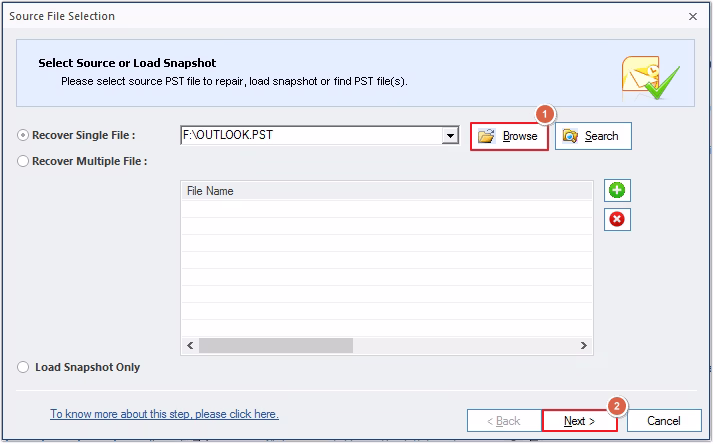
Step 2: Click on Select File to upload PST.

Step 3: Click on Browse to add a PST file, then click Next.
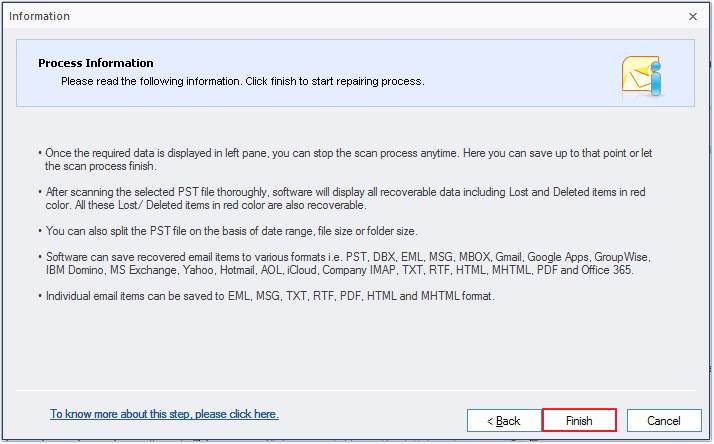
Step 4: Click on Finish to proceed.
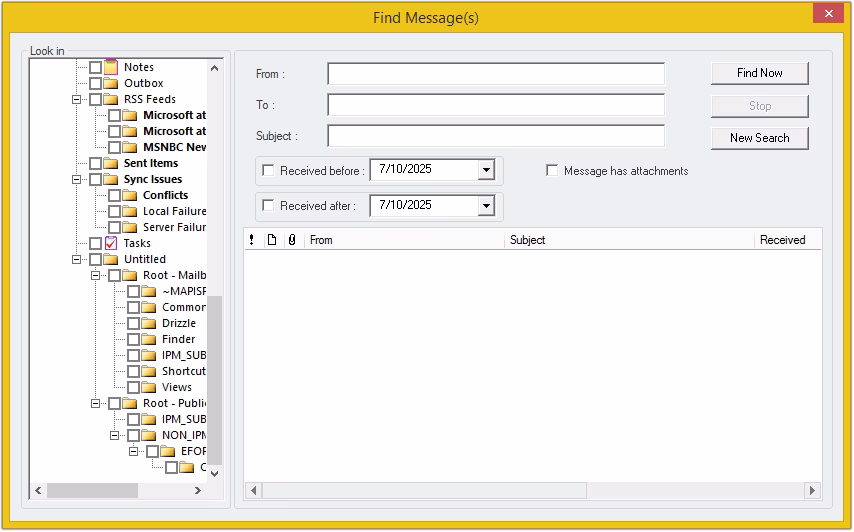
Step 5: Preview emails, then click Find to search for specific email message(s).

Step 6: Find Message(s) based on From, To, Subject, etc.
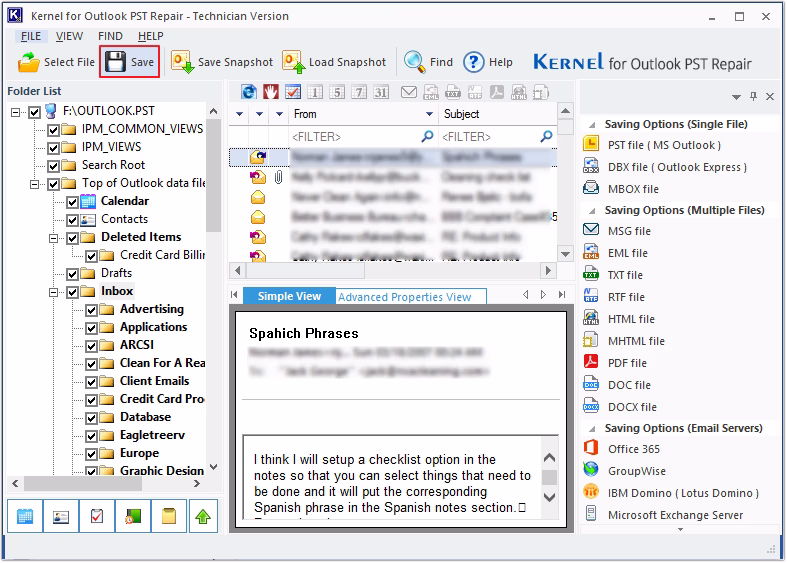
Step 7: Click on the Save button.

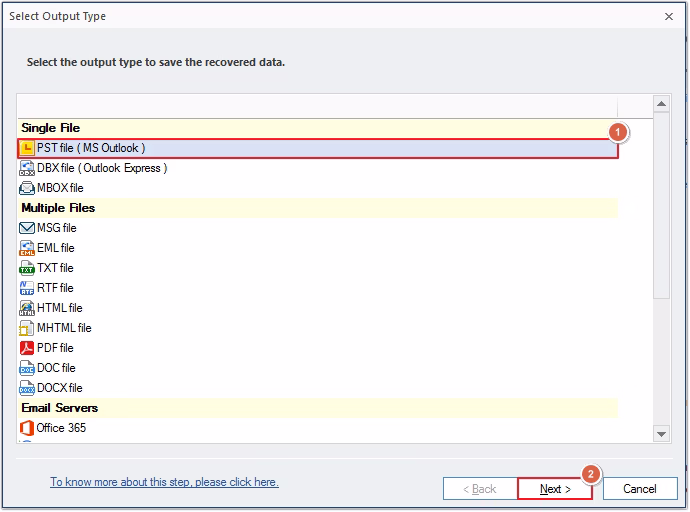
Step 8: Select any of the given format as output type from the Single File option and click Next.
Note: Here, we are selecting PST as output type.
Step 9: Apply desired filters for selective data migration, then click Next.

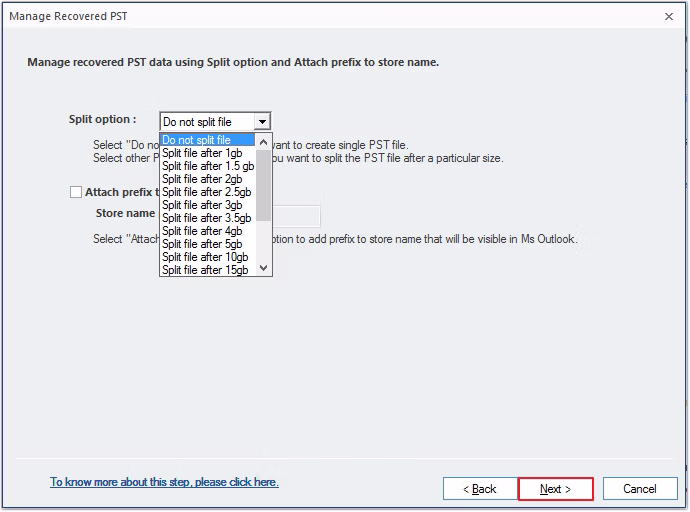
Step 10: Split the PST file for better management, then click Next.

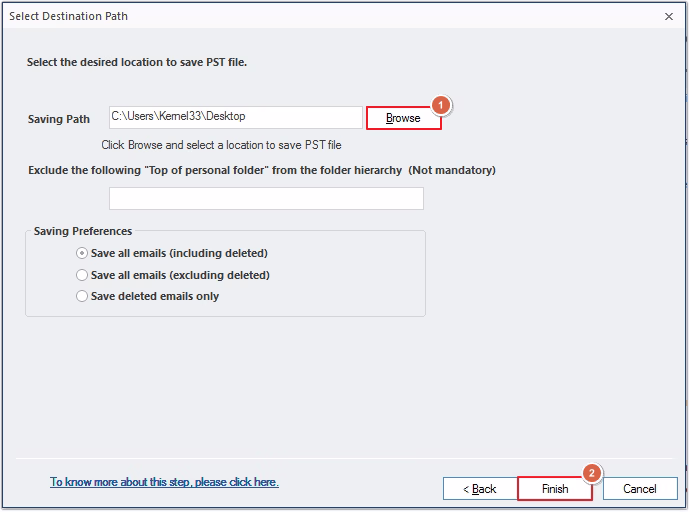
Step 11: Click Browse to provide a saving location, then click Next.
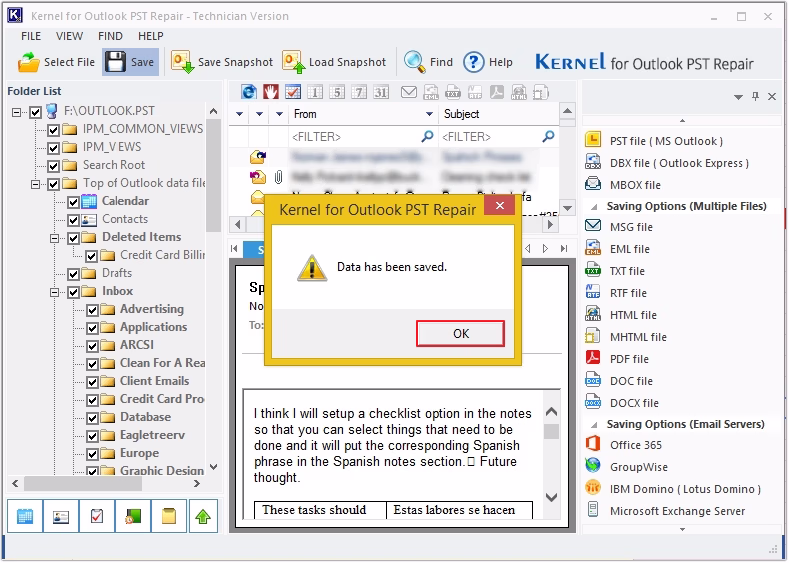
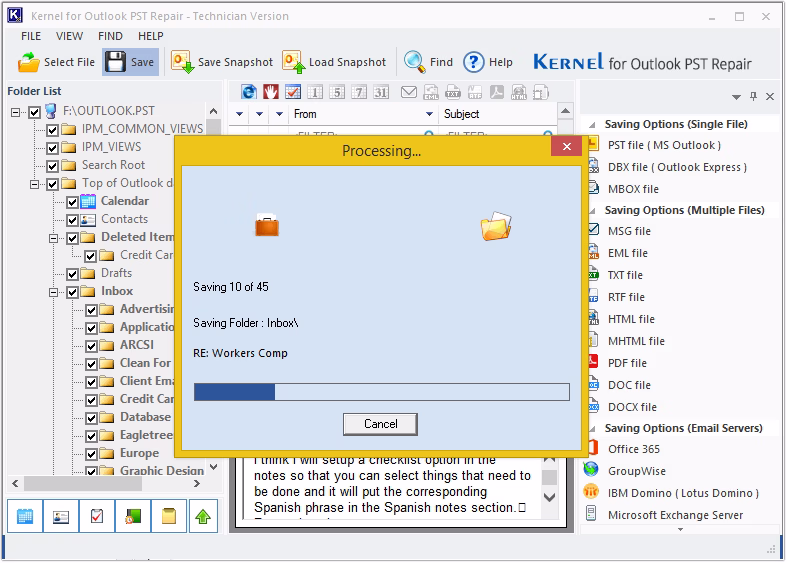
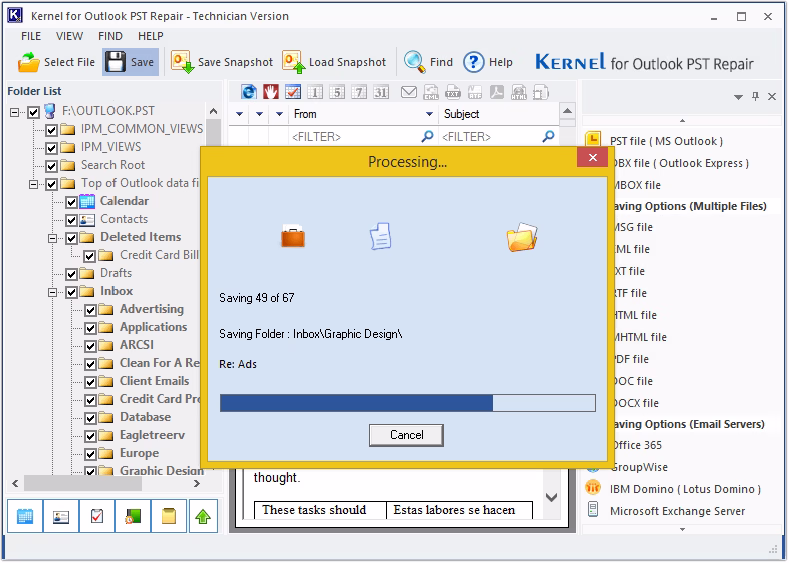
Step 12: The software will begin converting PST files.
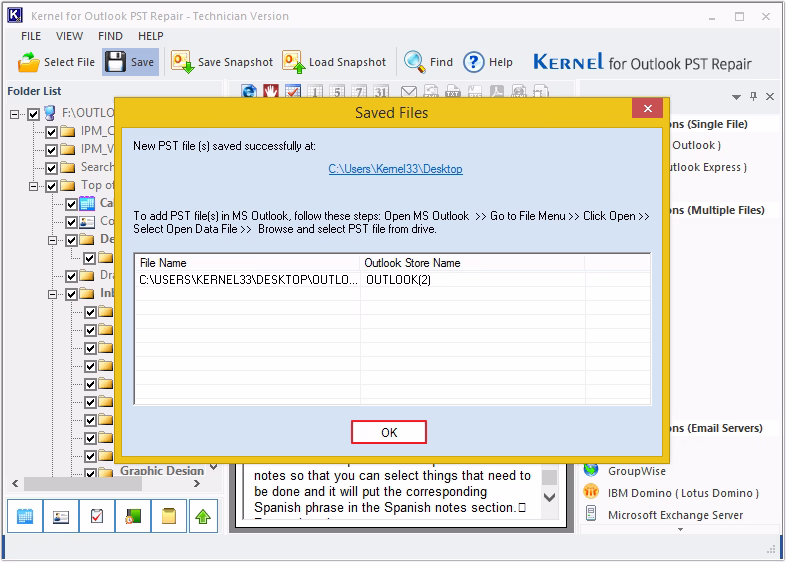
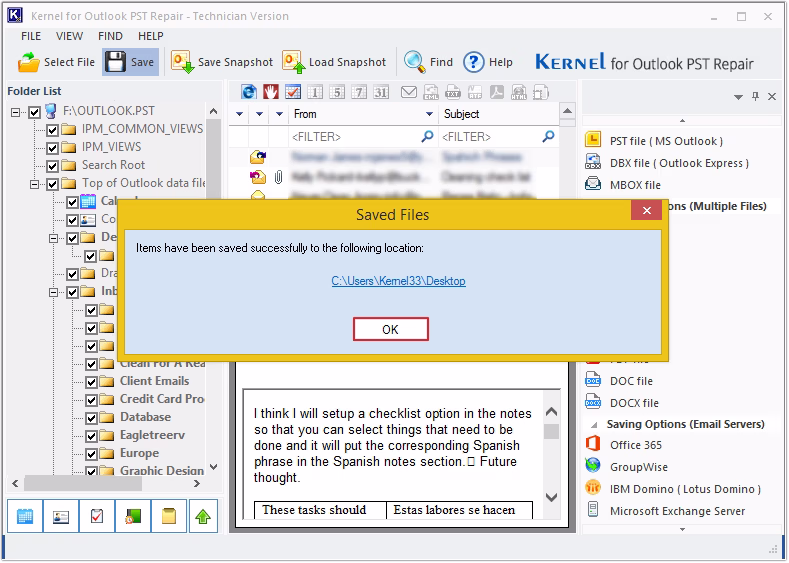
Step 13: PST file conversion completed, click Ok.
How to use (PST to Multiple Files)
Step 1. The main screen of the Kernel PST Converter Tool.
Step 2. Tap on the Select File option.

Step 3. Click on the Browse button and add the required file, then click on Next.

Step 4. Tap on Finish.

Step 5. Get a comprehensive preview of PST emails, click Find.

Step 6. Search for a specific message based on multiple criteria.

Step 7. Click on Save to convert PST file data.

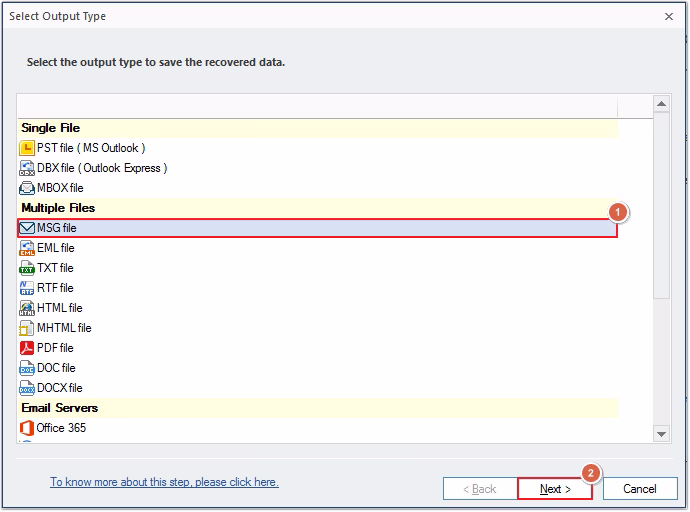
Step 8. Select any of the required output type from the Multiple Files option and click Next.
Note: Here, we are proceeding with MSG format.
Step 9. Use filters to save only the required data, then click Next.

Step 10. Use the Split option to manage oversized PSTs, then click Next.
Step 11. Provide a saving location by clicking on the Browse button, then click Finish.

Step 12. The PST file conversion will begin.
Step 13. You’ll receive a success message upon data conversion completion. Click OK.
How to use (PST to Web-based Email Client)
Step 1. The home screen of Kernel PST Converter Software.

Step 2. Click on the Select File option.
Step 3. Upload PST by clicking on the Browse button, then click Next.

Step 4. Click on the Finish button to move forward.

Step 5. Click on any email to preview its content, then click on the Find button to search for a specific email.
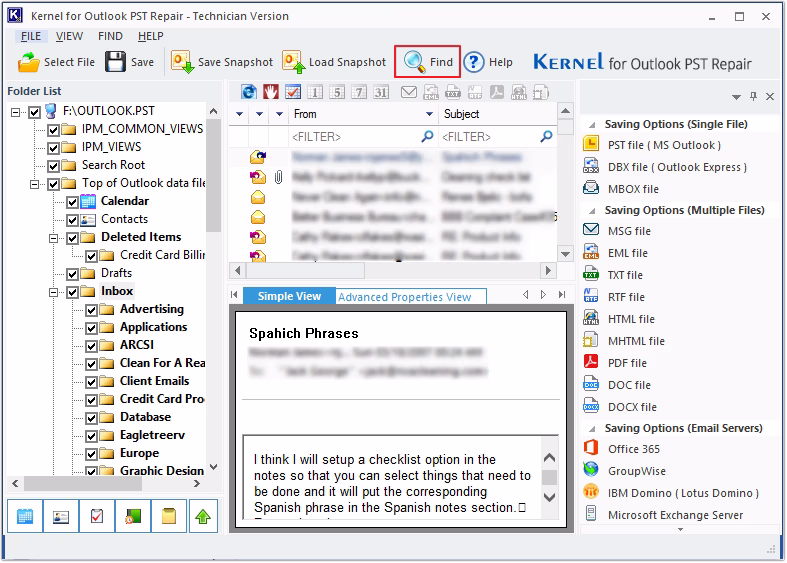
Step 6. Search message(s) based on From, To, Message has attachments, etc.

Step 7. Click on Save to move PST files.
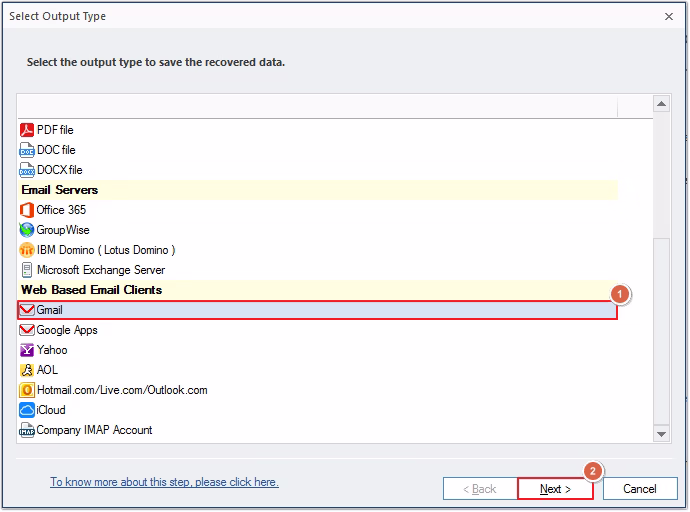
Step 8. From Web-Based Email Clients option, select any of the required output type, and click Next to proceed.
Note: Here we are choosing Gmail as output type.
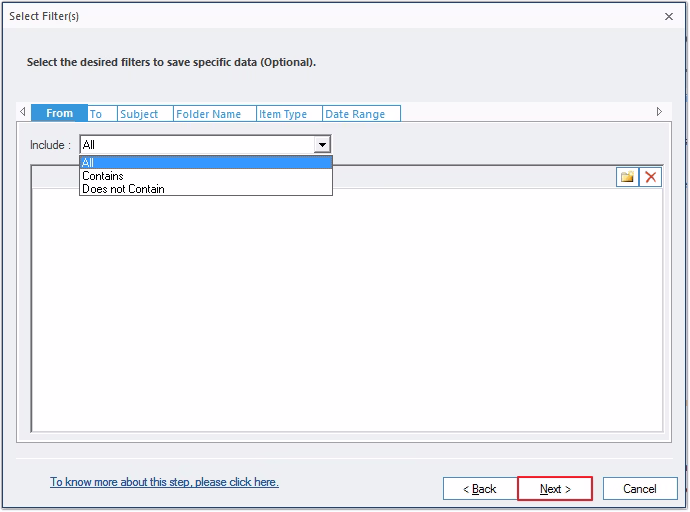
Step 9. Apply conditional filters for selective conversion. After that, click Next.
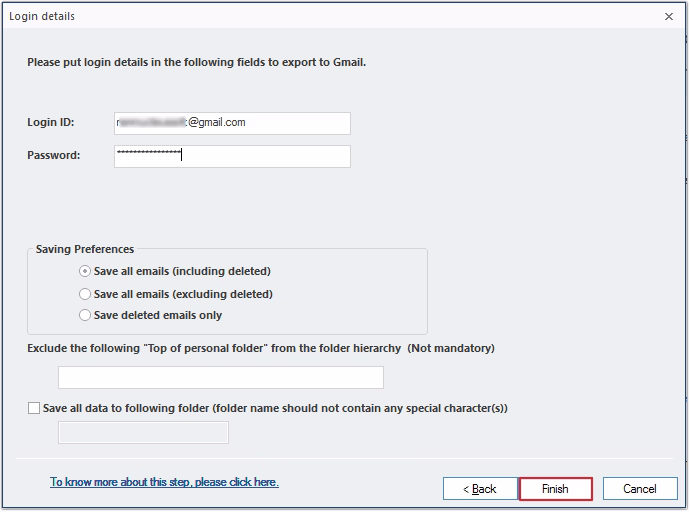
Step 10. Enter the Login ID and Password of your Gmail account and click Finish.
Note: You can also apply saving preferences and other given options for precise data migration.
Step 11. The conversion process will begin.

Step 12. PST data converted successfully. Click OK.