Using Kernel Photo Recovery software is very simple and straightforward. Users can follow the below steps to recover their photos with Kernel Photo Recovery.
After downloading and installing it on your system, double click the icon to launch it.
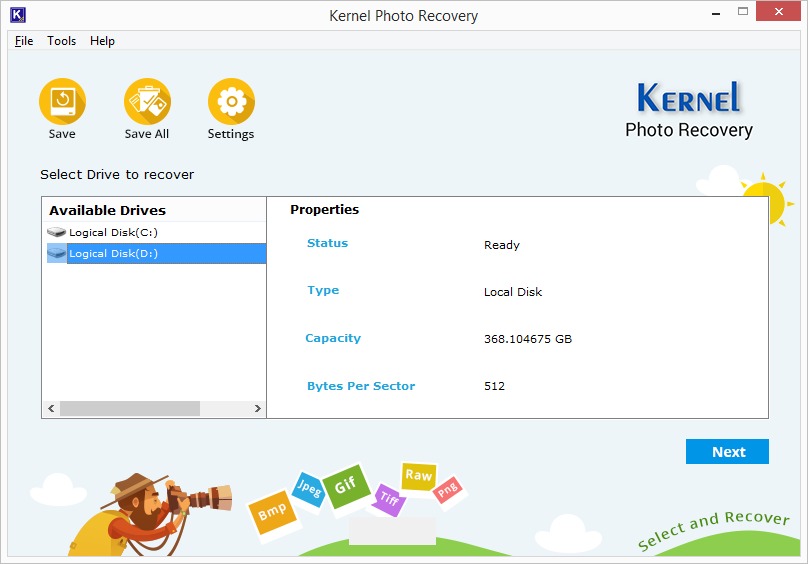
The Home Screen of the software will appear on the screen. Here you’ll see the drives that are available on your system. You can check the properties of the disk by selecting it. After choosing the specific disk, click Next
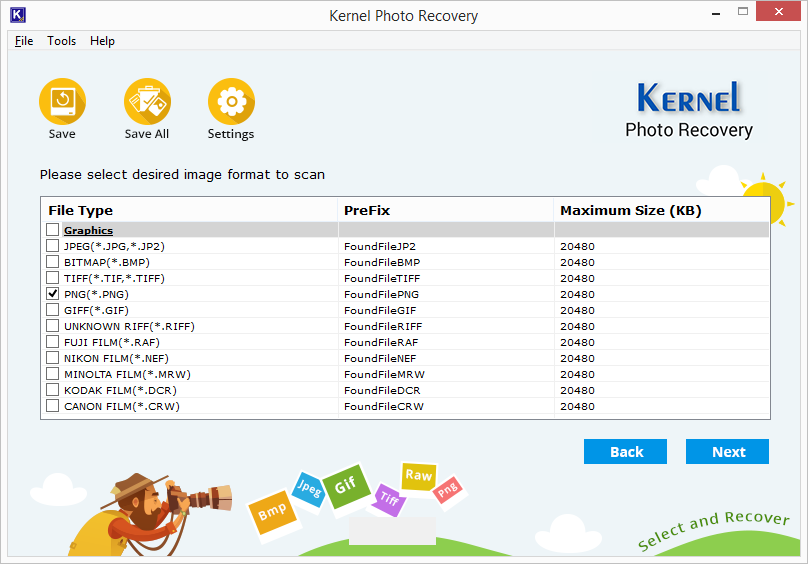
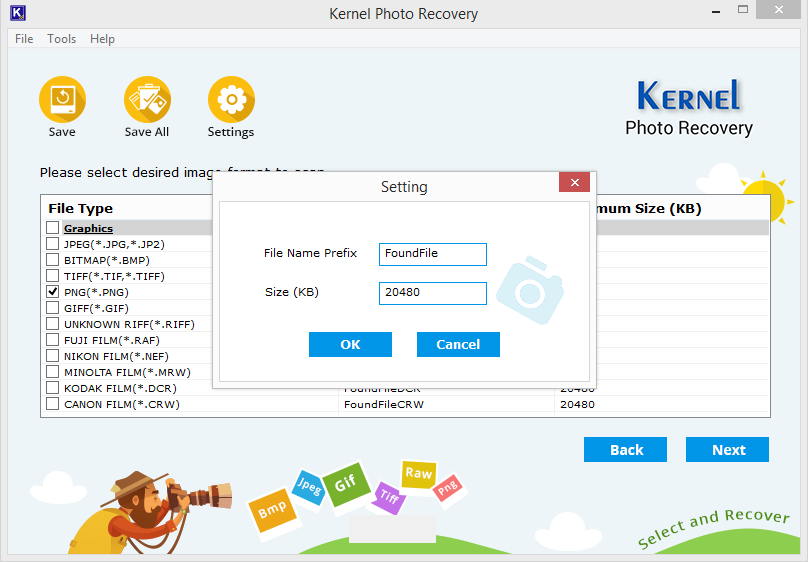
Select the type of pictures that you want to recover, such as jpeg, bitmaps, PNG, etc. and click Next.
The tool will start recovering the selected pictures. The process will take some time depending on the number of pictures.

Once the recovery process is complete, you can select the picture formats in the side tree to preview its images.
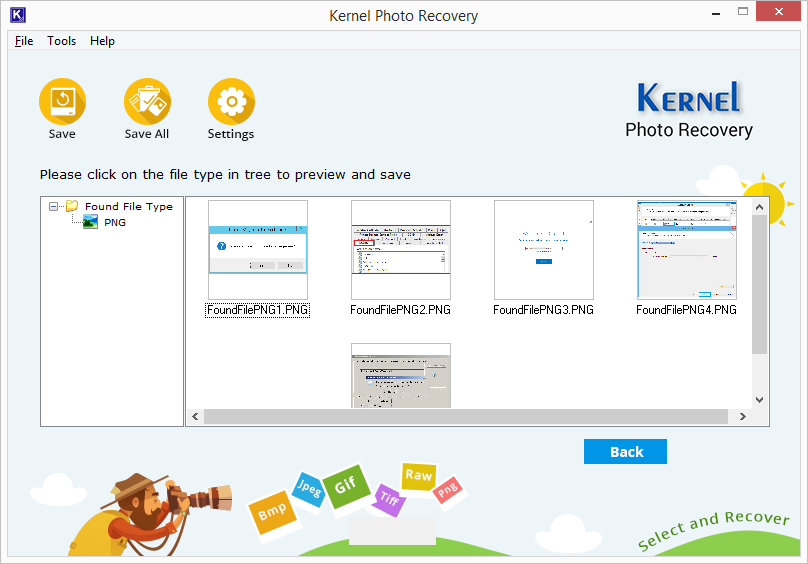
Now, select the specific photos that you want to recover and click Save.
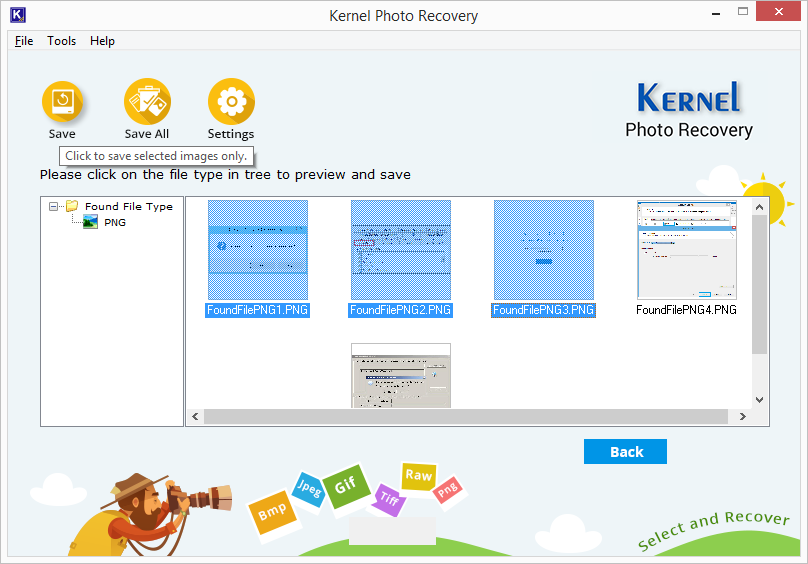
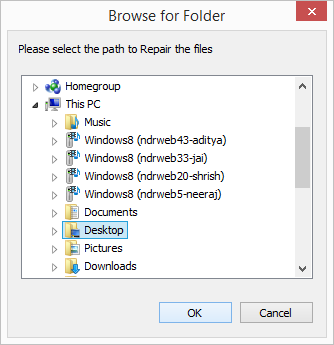
Select a location on your system to save the photos and click OK. The photos will be saved to the specified location.