How to Use Kernel Merge PST Tool?
Merging PST files with Kernel Merge PST tool is very simple and easy. Follow the below steps to understand its working process.
Step 1: Launch Kernel Merge PST on your system. The welcome window will appear on the screen.
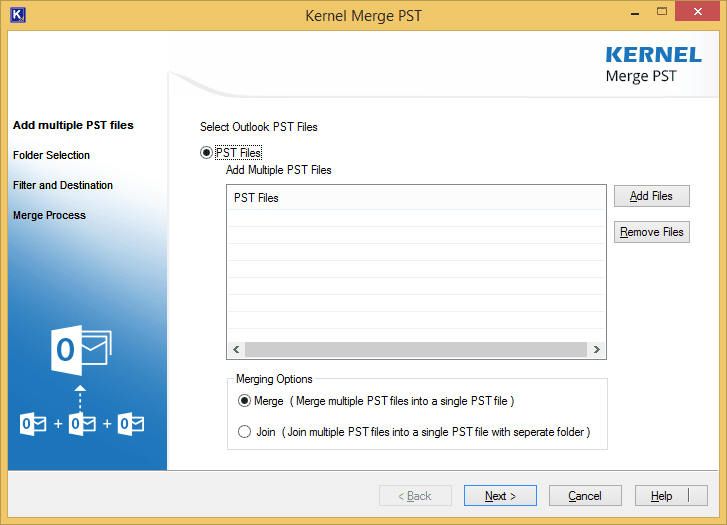
Step 2: Click “Add Files” to add PST files to the software and click “Next” after adding the files.

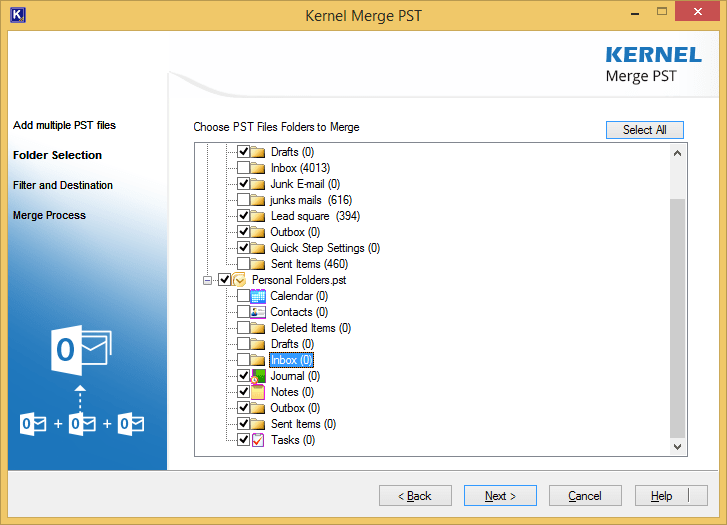
Step 3: In the next step, the folders of PST files will be shown. Select the folders that you want to merge. And if you want to merge all the folders, then click “Select All,” and then click “Next.”
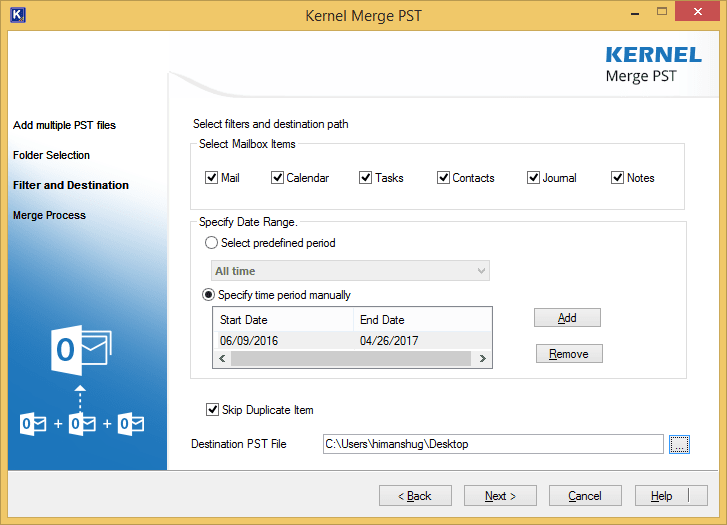
Step 4: Now, apply the filters that you want to apply to the PST files, such as selecting mailbox items, specifying a date range, and more. To skip the duplicate items, check the checkbox “Skip duplicate items.” Then, select the destination to save the merged file and click “Next.”
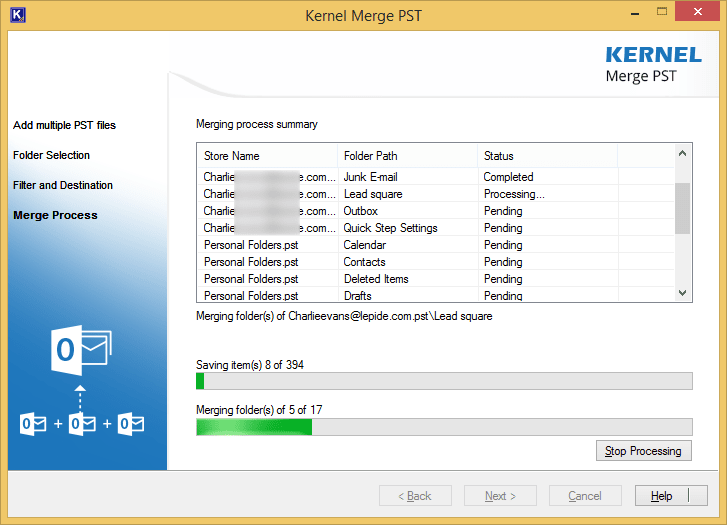
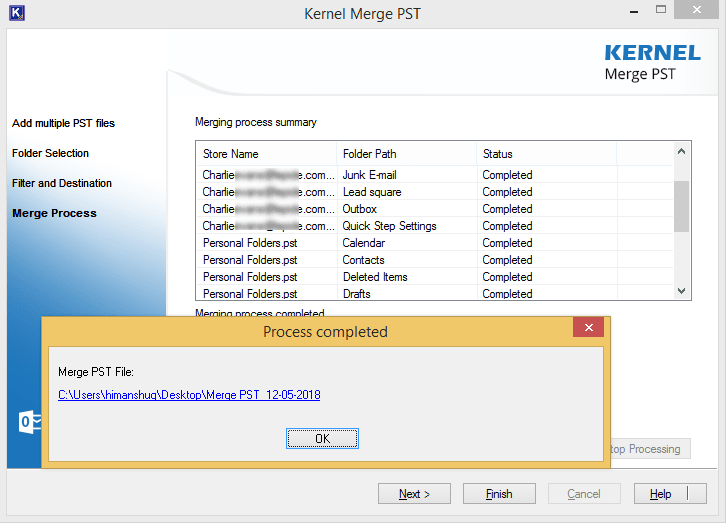
Step 5: The merging process will take some time depending on the size of the PST files. Meanwhile, you can see the merging process on screen.
Step 6: Once the process is complete, a notification will appear on the screen displaying “Process Completed” with the saving location. Click “Ok,” and then click “Finish” to end the process.
This way you can easily merge multiple PST files with the help of Kernel Merge PST software.