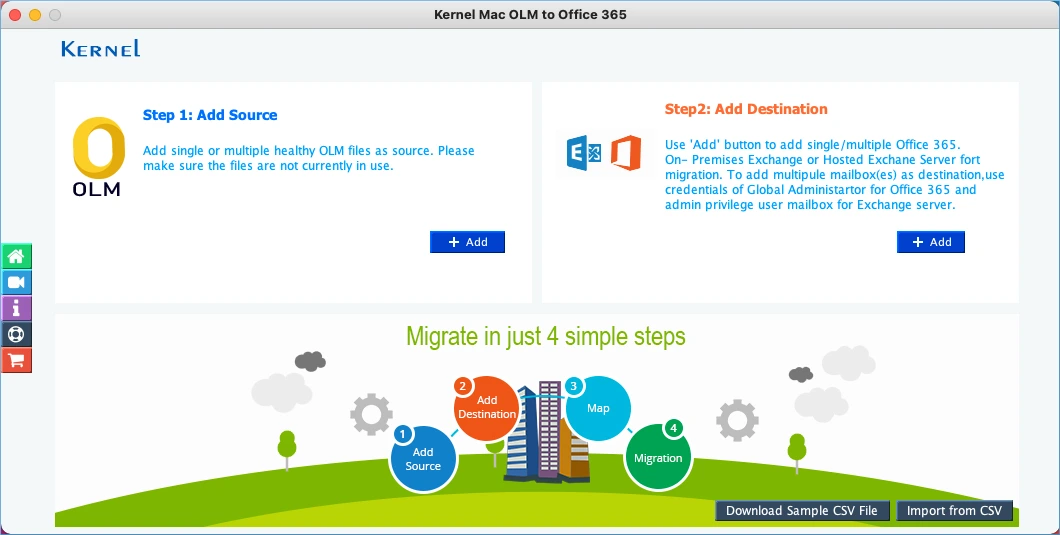
Star the software and click add on source.
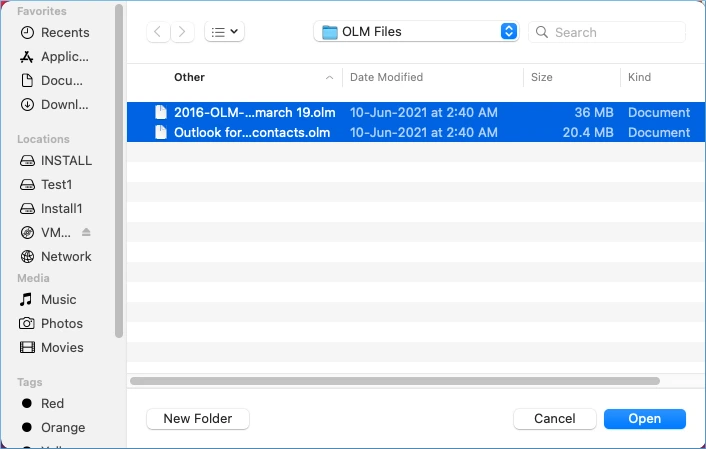
Select the OLM files from the folders where you have saved them. Choose Open.
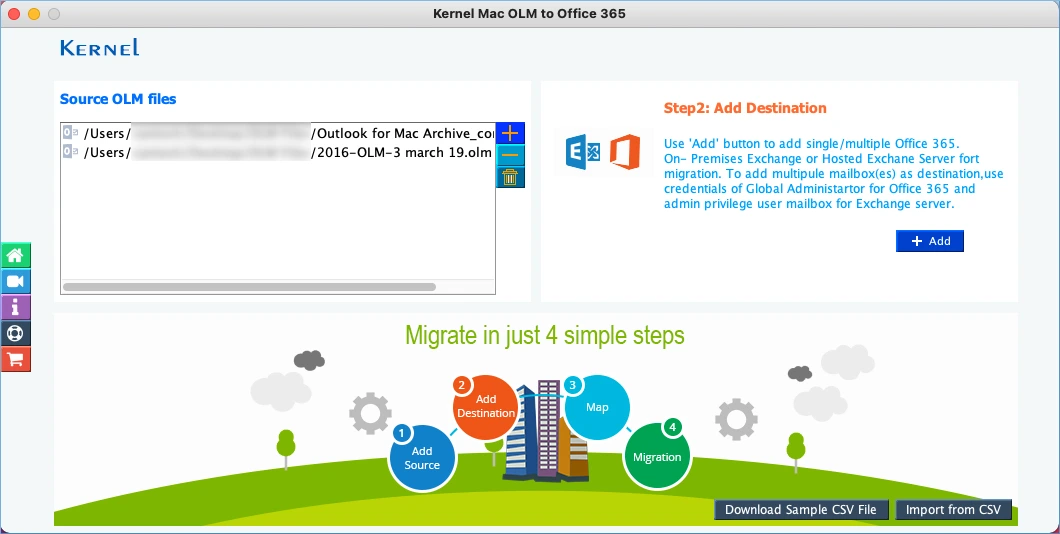
After selecting OLM files, choose Add in destination option.
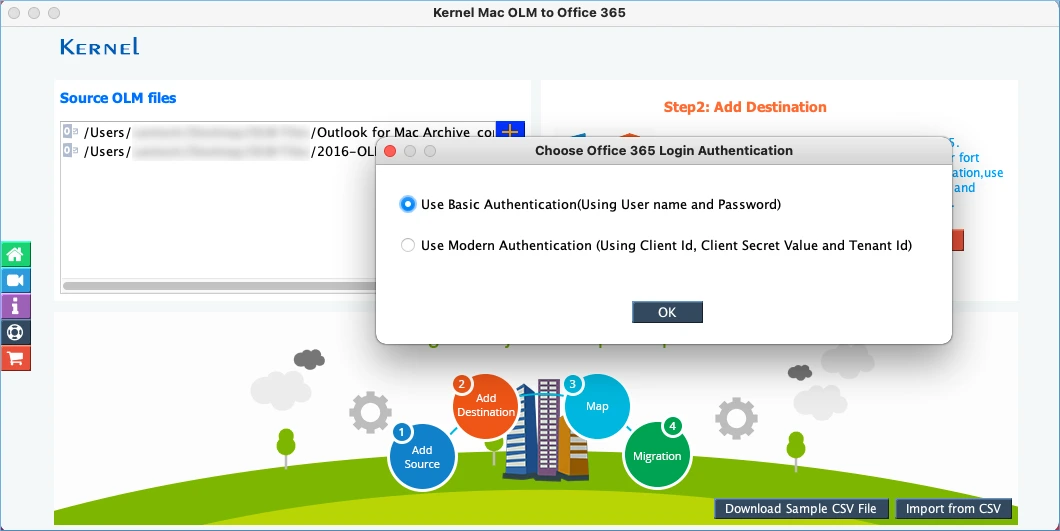
Choose the login methods between basic and modern authentication. Click OK.
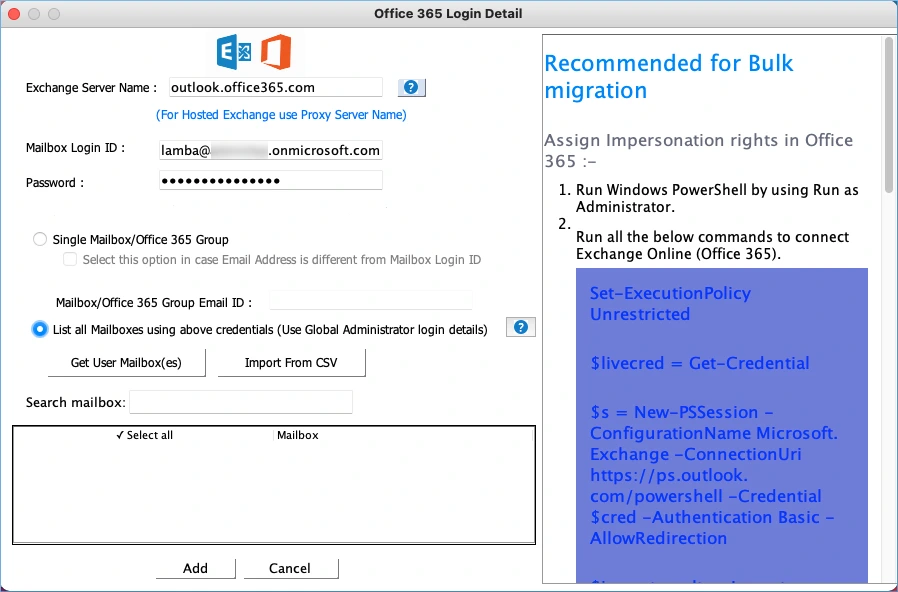
In basic authentication login, input Office 365 credentials and choose second option to select multiple mailboxes. Click Get user mailboxes.
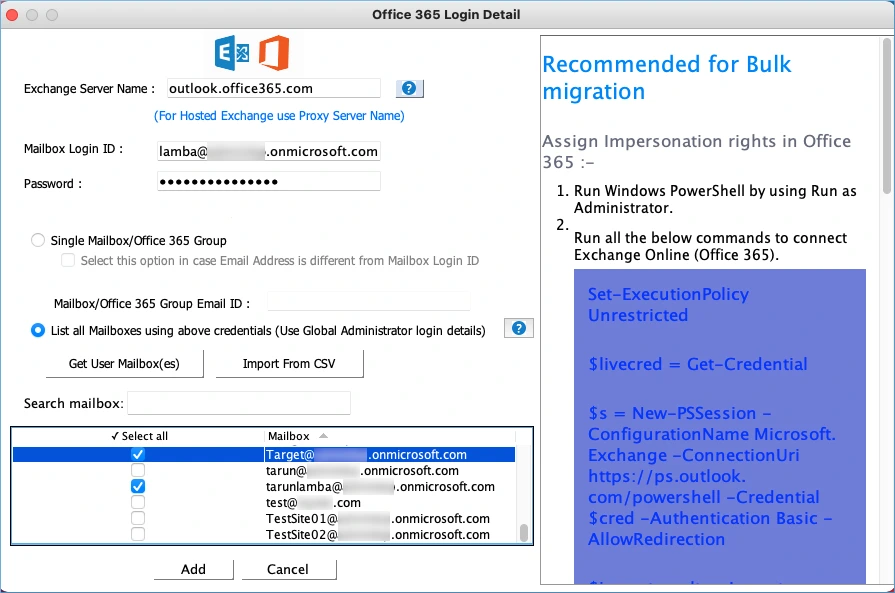
Select the useful mailboxes using checkbox and click Add button.
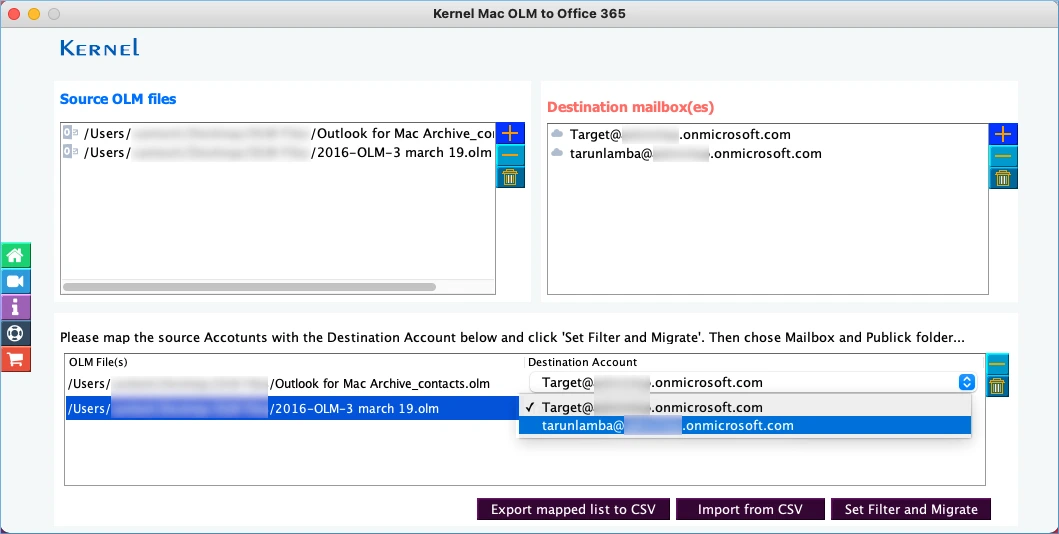
Map the source OLM file with the respective destination Office 365 account. Map them and click Set Filter and Migrate option.
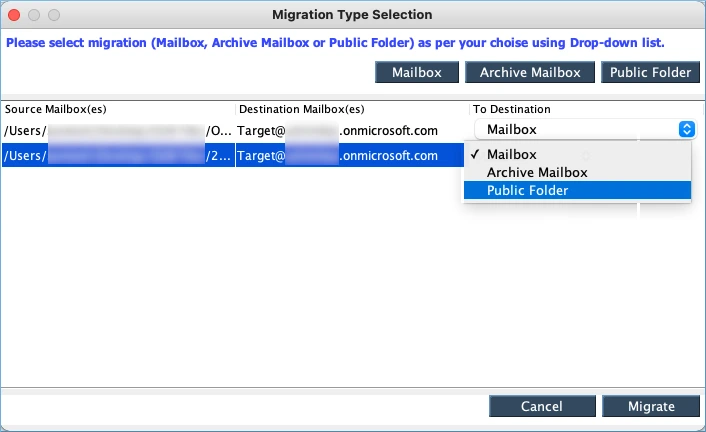
Choose the mailbox, archive mailbox, and public folder of Office 365 for migration. Click Migrate button.
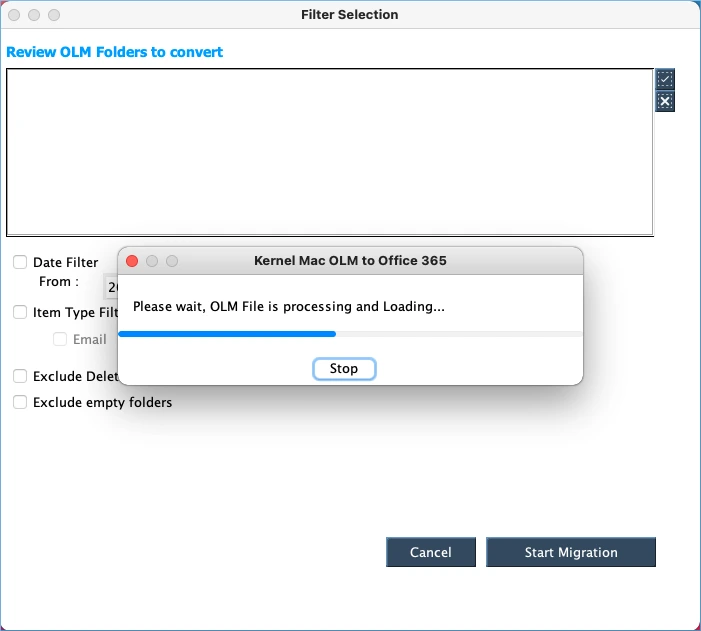
Tool is expanding the OLM files.
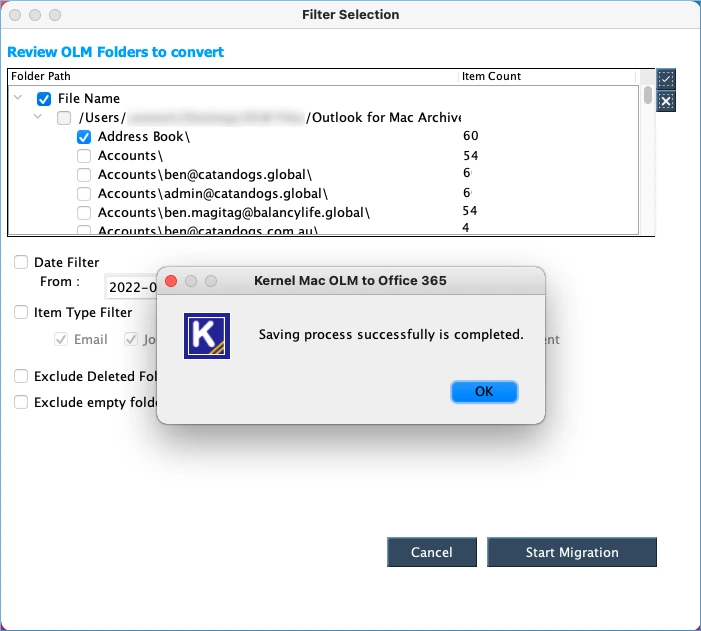
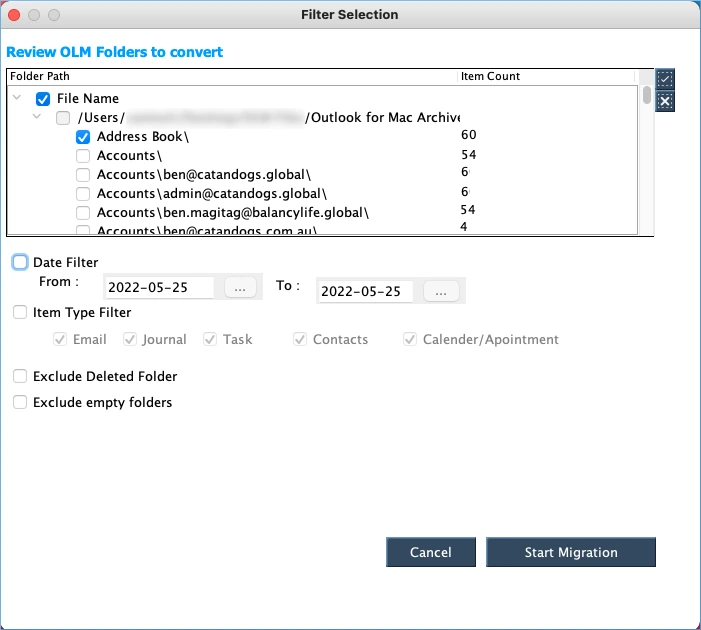
Apply the filters and Choose folders wisely. Click Start Migration.
OLM files are migrated successfully. Click OK.