Step 1: Download, install, and launch the Kernel Import PST to Office 365 tool.
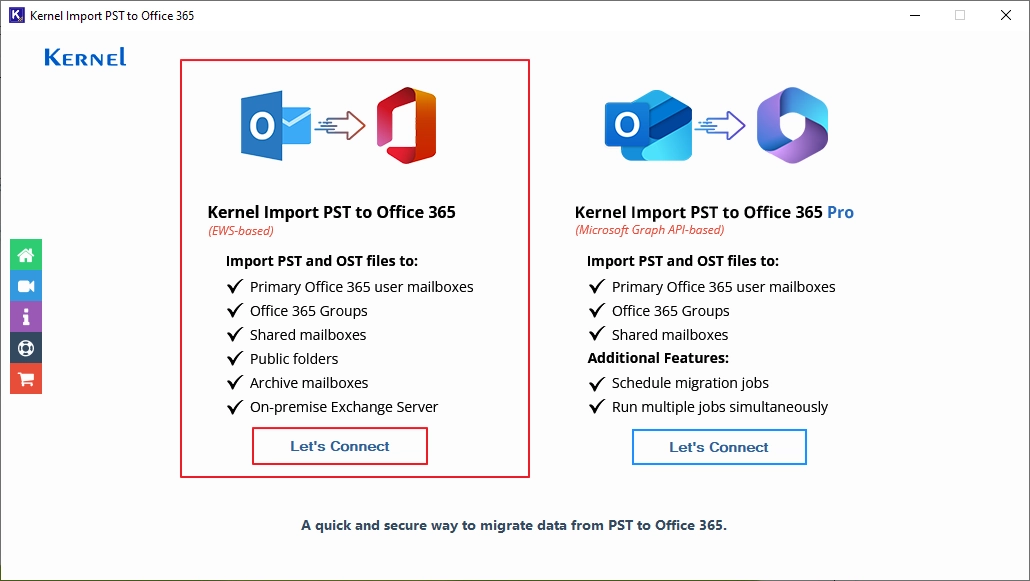
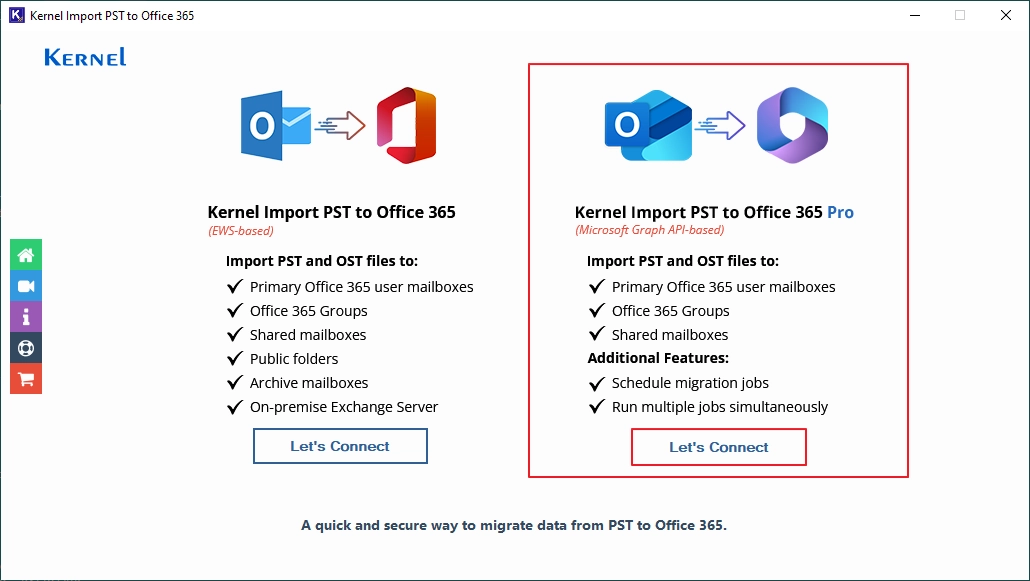
Step 2: Click on Let’s Connect on Kernel Import PST to Office 365 tile.
Step 3: Click on Add in the Add Source tile.
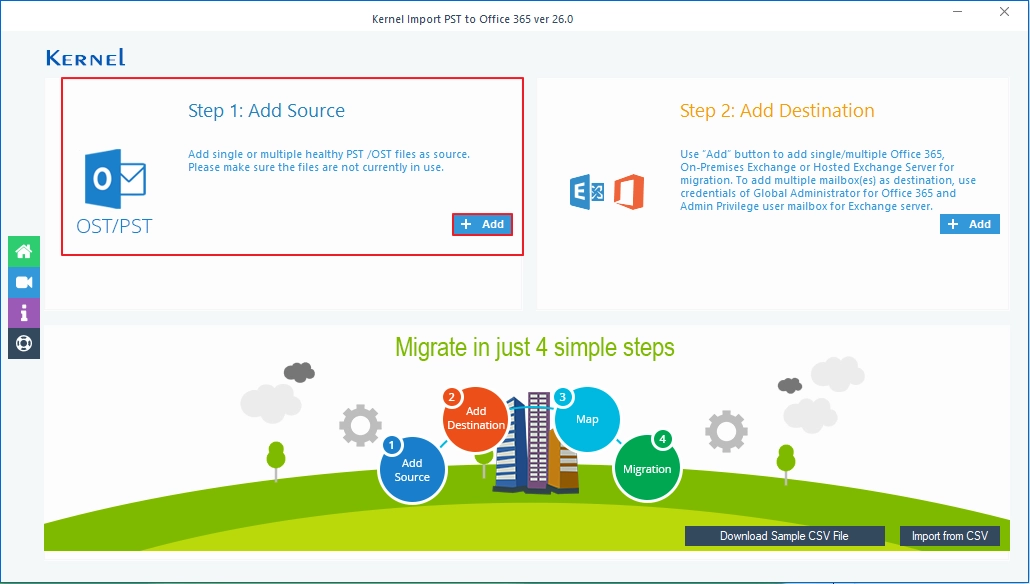
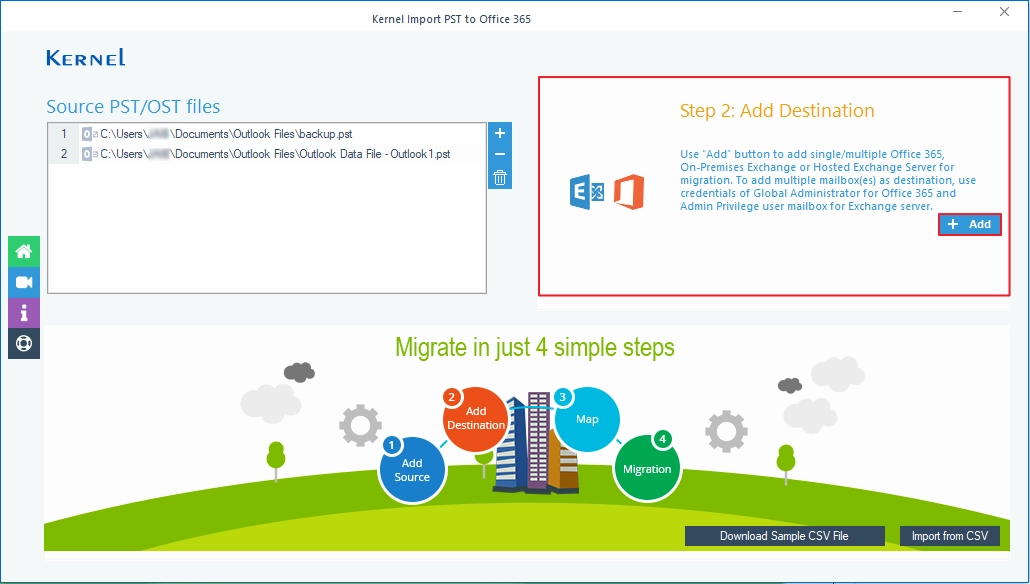
Step 4: Select PST files from your local storage and click Open.

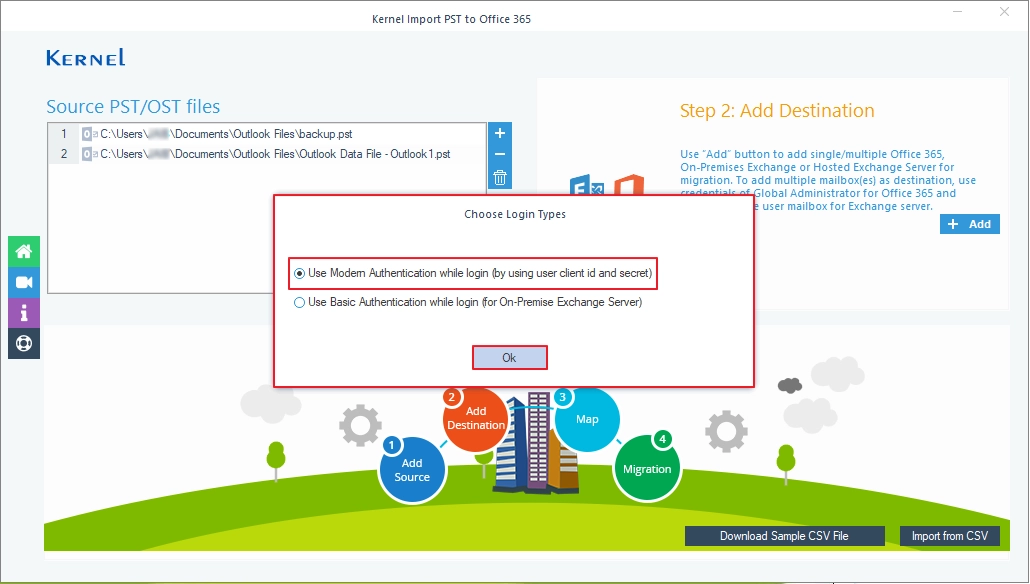
Step 5: Click on Add in the Add Destination tile.
Step 6: Use Modern Authentication in the Choose Login Types window
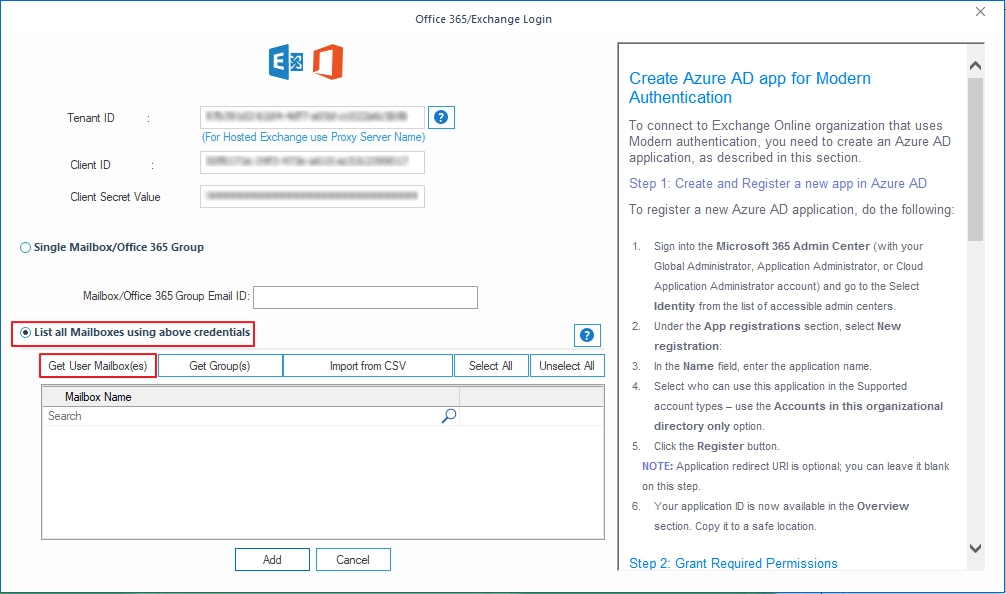
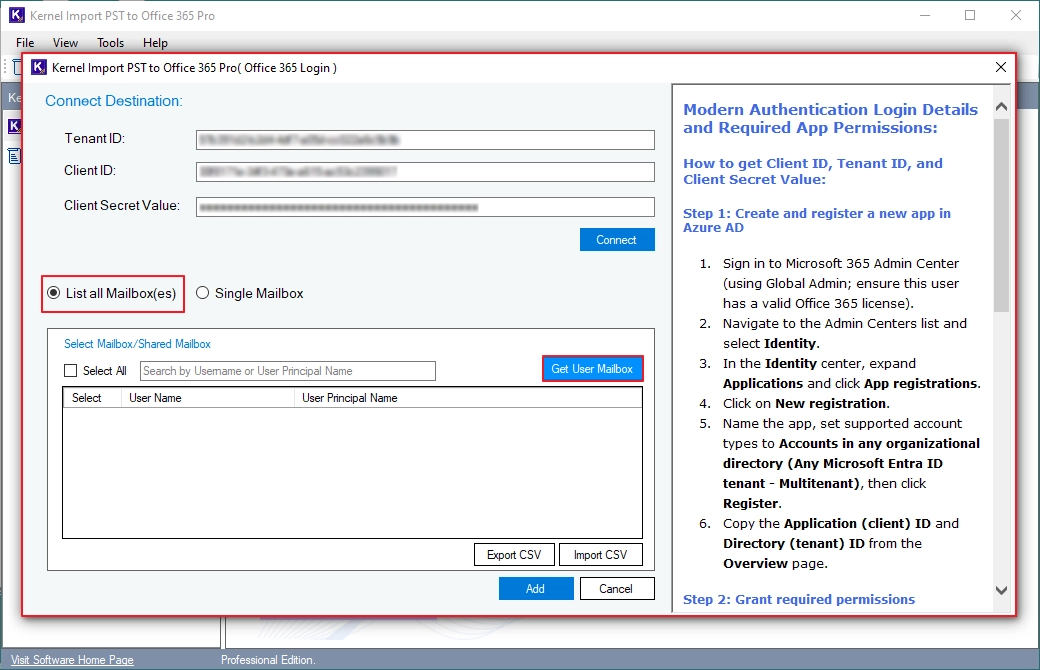
Step 7: Enter Office 365 admin login credentials, such as Tenant ID, Client ID, and Client Secret Value. Select List all Mailboxes using above credentials and click on Get User Mailbox(es).
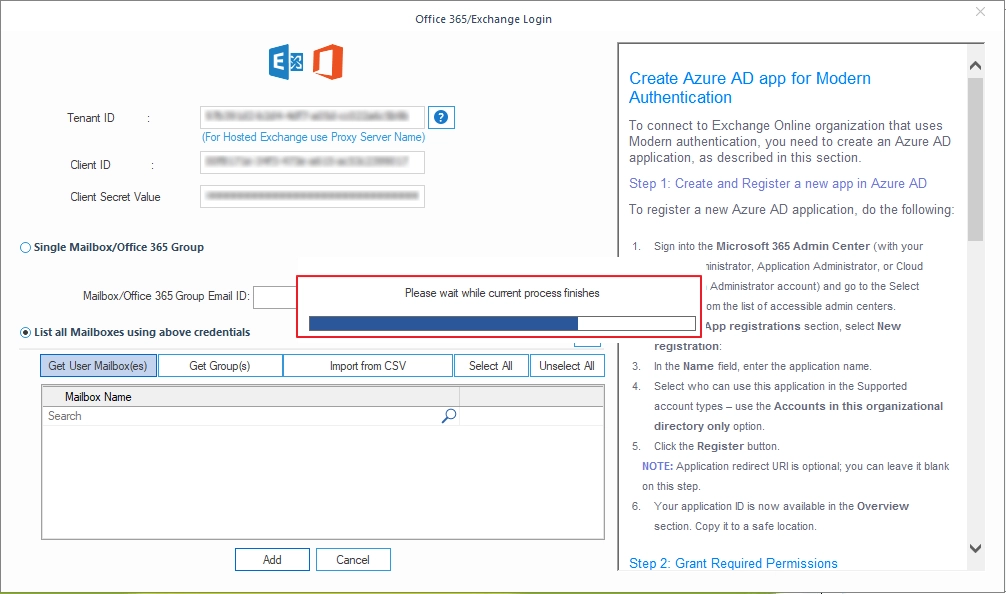
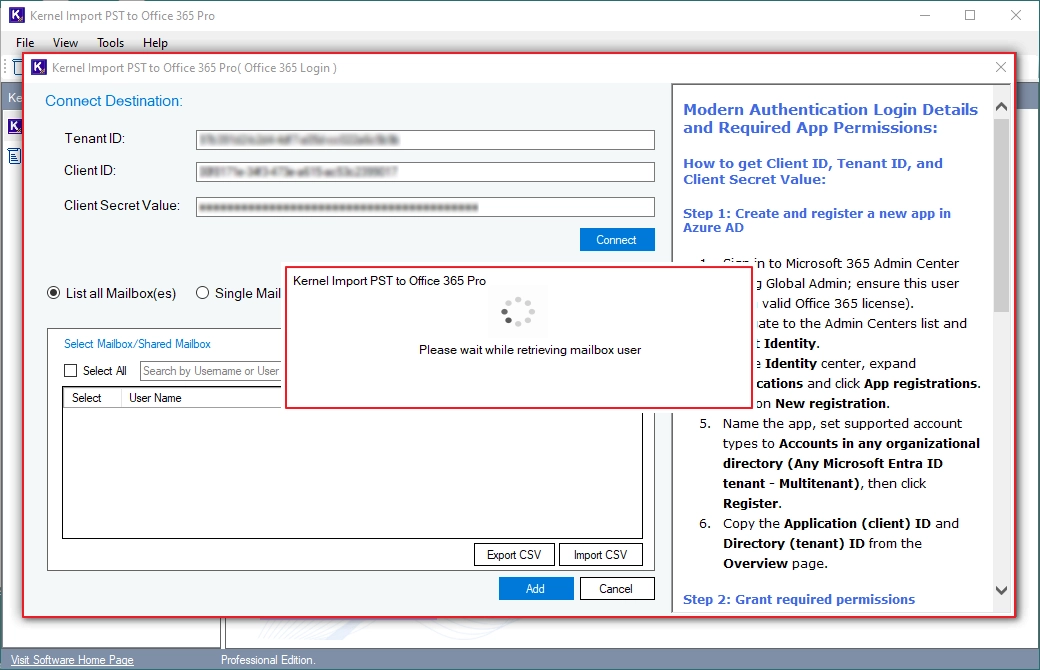
Step 8: The software will start fetching all the users' mailboxes and show Please wait while current process finishes message.
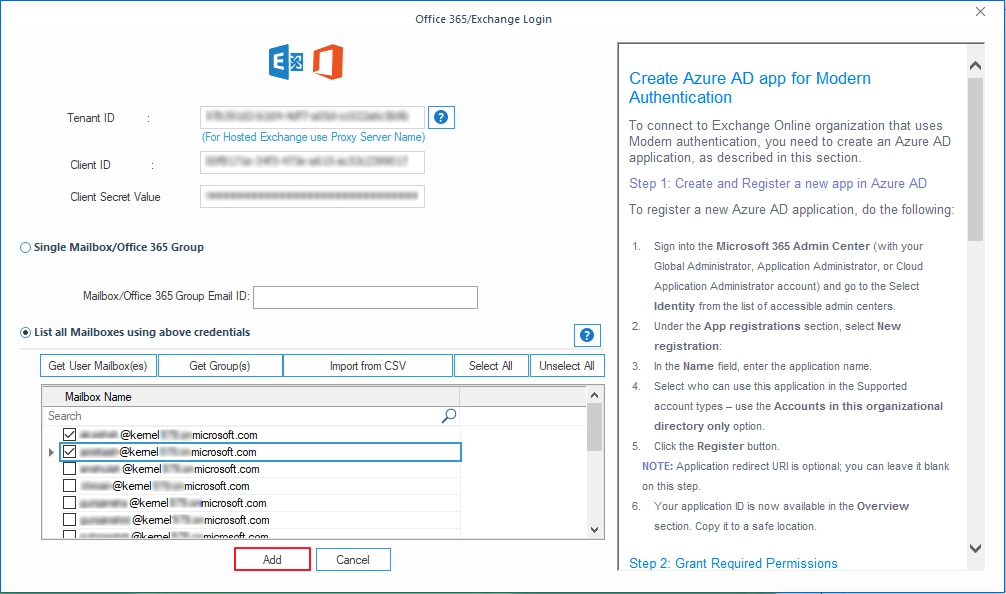
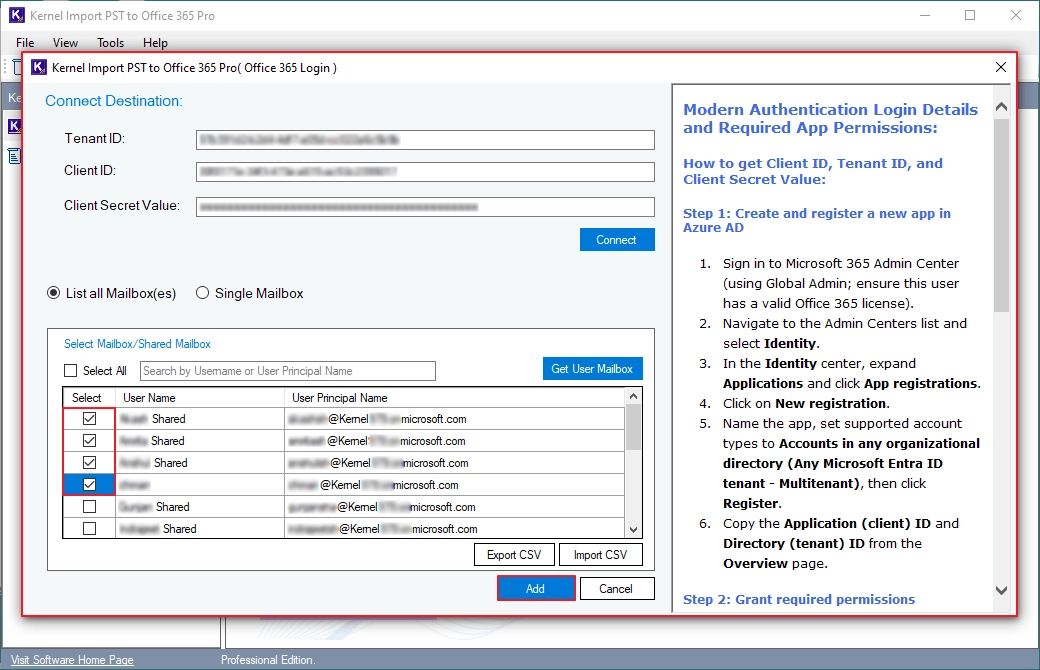
Step 9: The software will list all users' mailboxes, select the necessary user, and click Add.
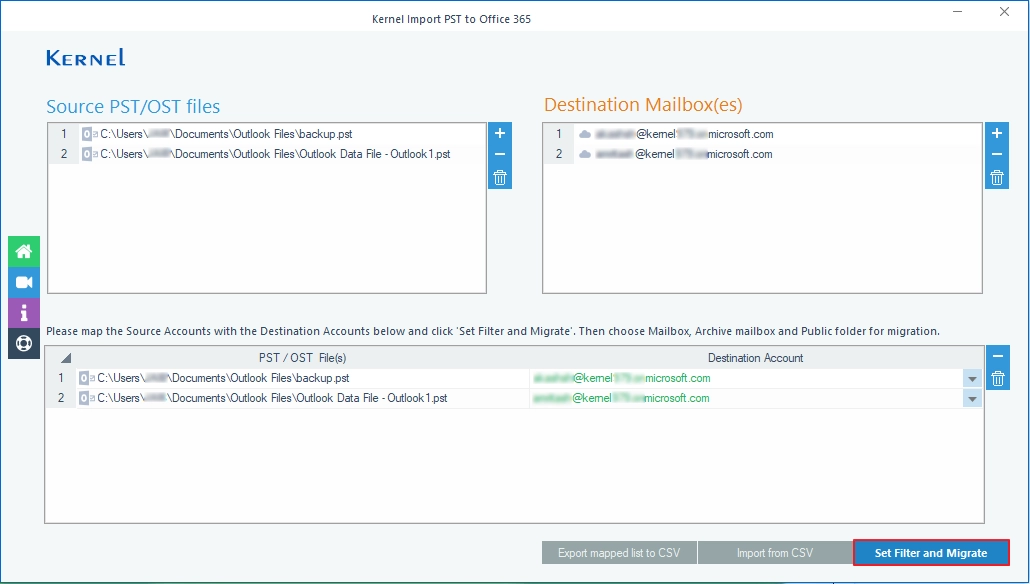
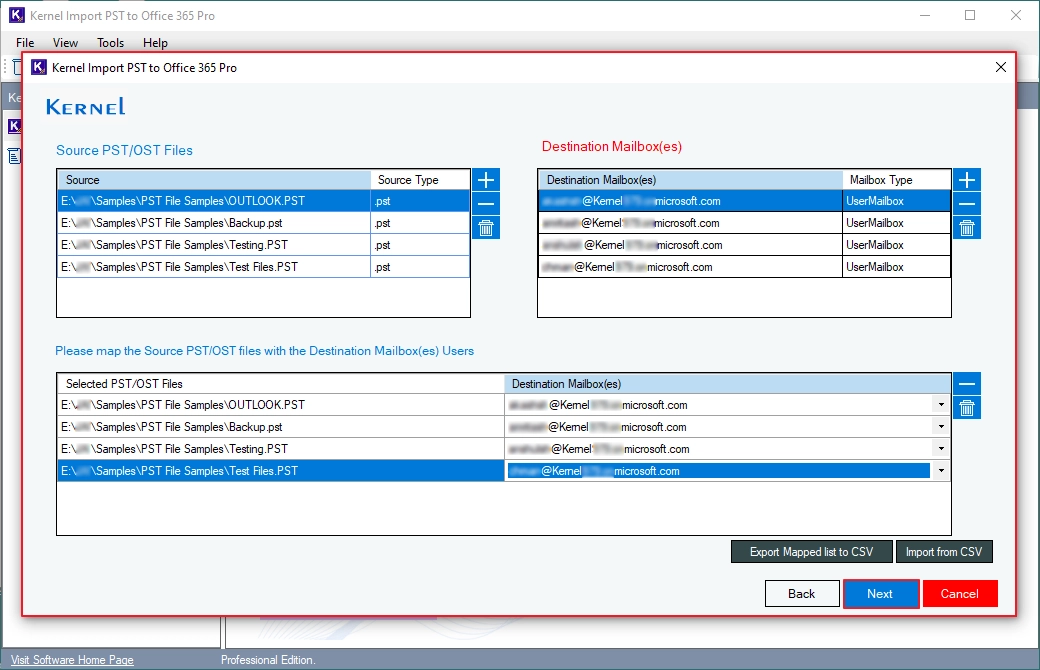
Step 10: Map PST files to the Office 365 accounts. Click Set Filter and Migrate.
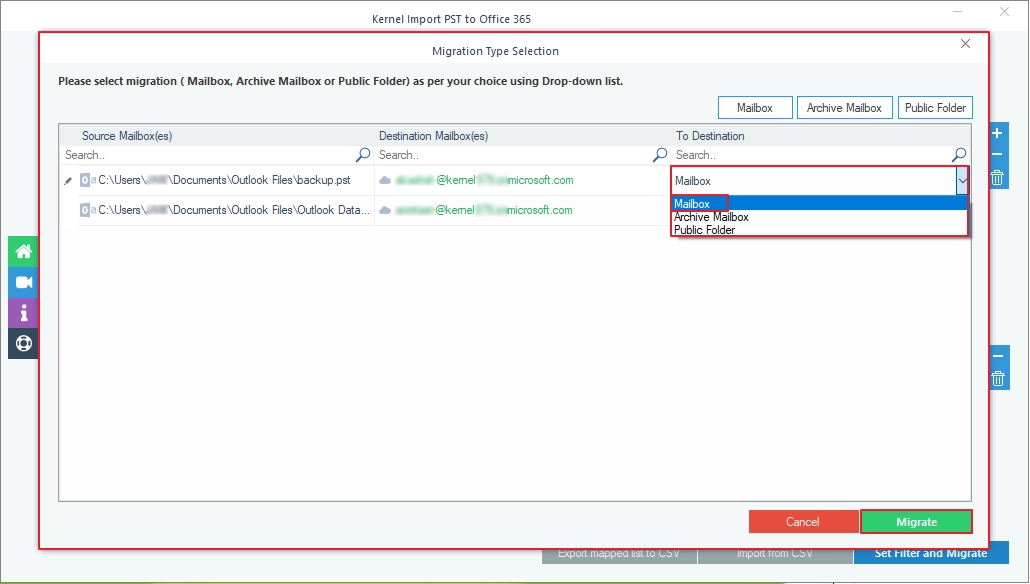
Step 11: In the Migration Type Selection window, select destination mailbox type and click Migrate.
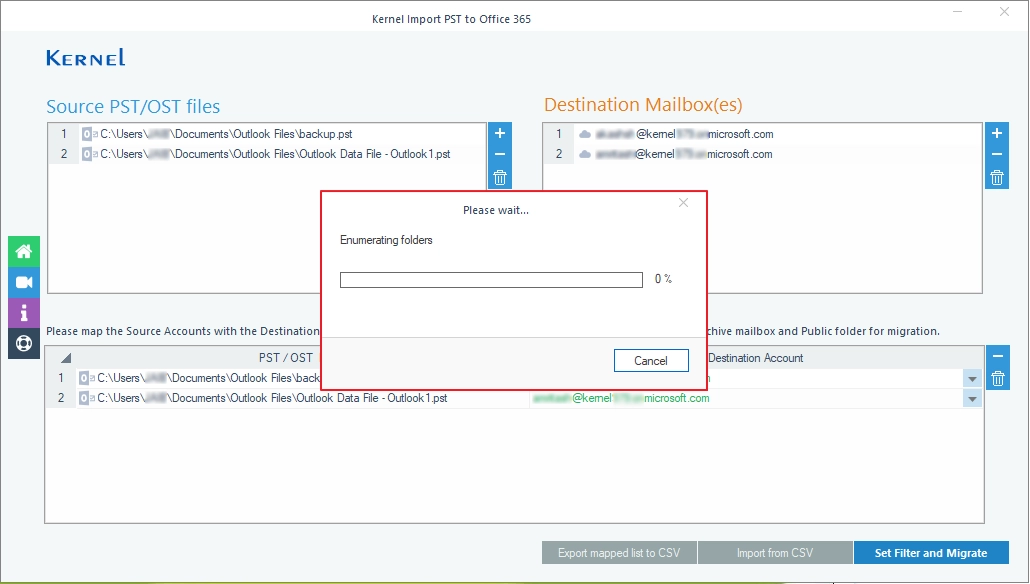
Step 12: The software will start Enumerating Folders from the selected PST files.
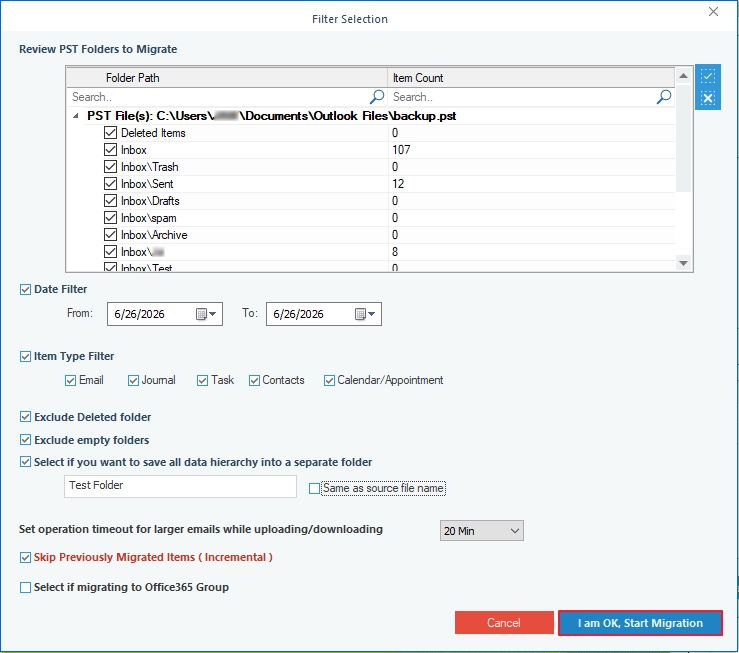
Step 13: In the following Filter Selection window, apply different options from:
- Review PST Folders to Migrate: Verify all your PST folders and select the necessary folders to import.
- Date Filter: Select From and To date range and import data of selected dates.
- Item type Filter: Import Email, Journal, Task, Contacts, and Calendar/Appointment
- Exclude Deleted folders: Skip importing deleted folders in the Office 365 account.
- Exclude empty folders: Eliminate importing empty folders in the target environment.
- Select if you want to save all data hierarchy into a separate folder: Enter a folder name and upload all the PST folders into that created folder in your Office 365 account.
- Set operational timeout for larger emails while uploading/downloading: Choose a timeline for larger files. If the file takes more time than selected, then the tool will skip that file and start uploading another file.
- Skip Previously Migrated Items (Incremental): Transfer only newly added data to the Office 365 in the regular import tasks.
- Select if migrating to Office 365 Groups: Upload PST data to Office 365 Groups.
Finally, click I am OK, Start Migration.
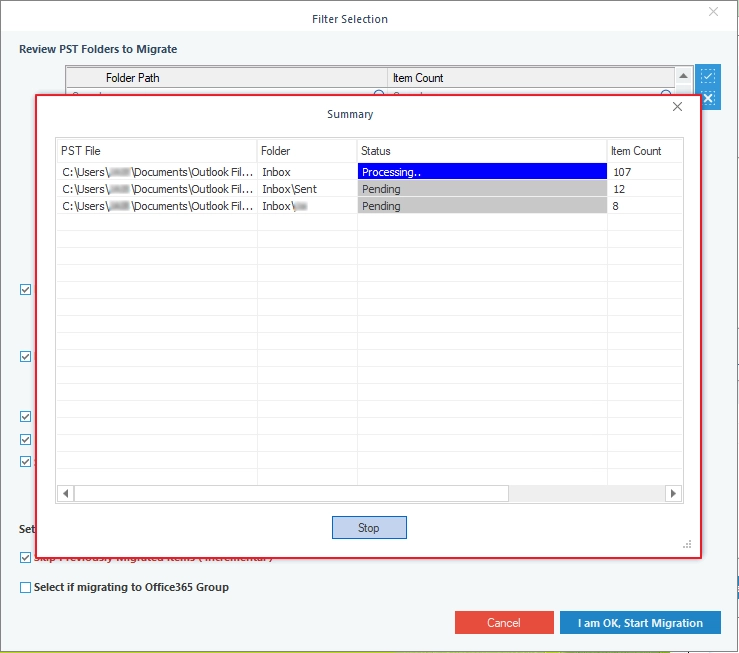
Step 14: The software will start importing PST folders to Office 365 account.
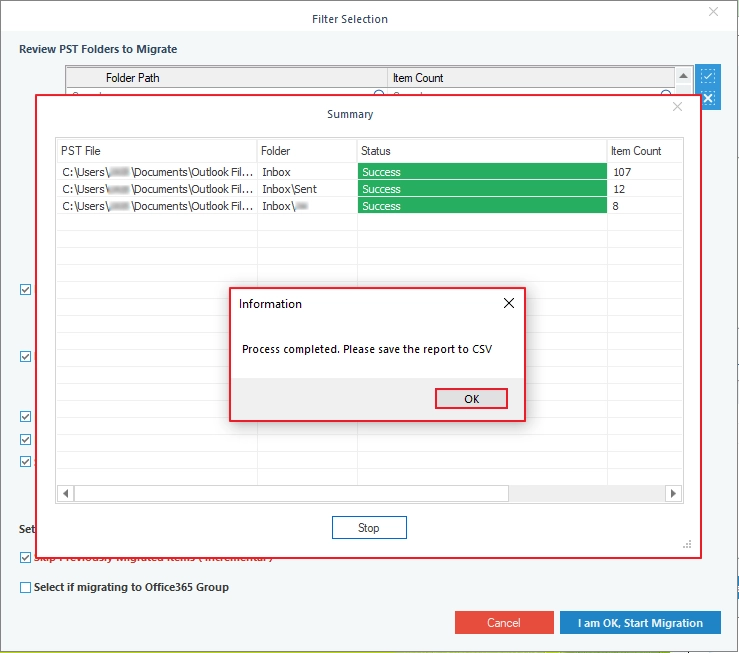
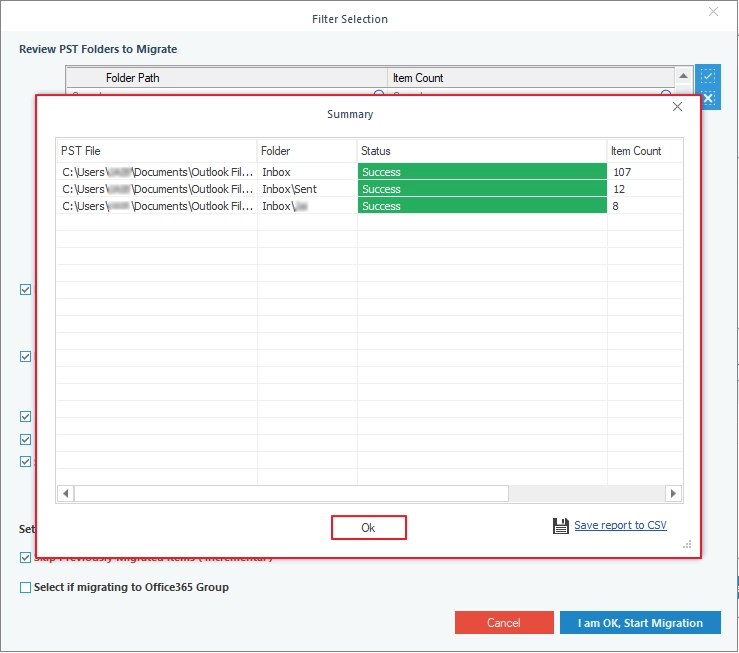
Step 15: After a successful import, the tool will show Process completed. Please save the report to CSV message. Click OK.
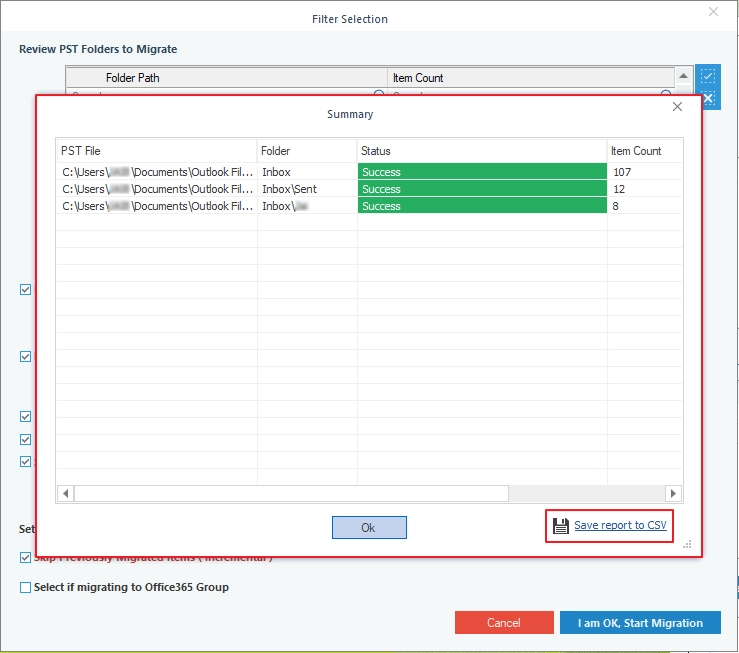
Step 16: Click on Save report to CSV to download the Summary report.
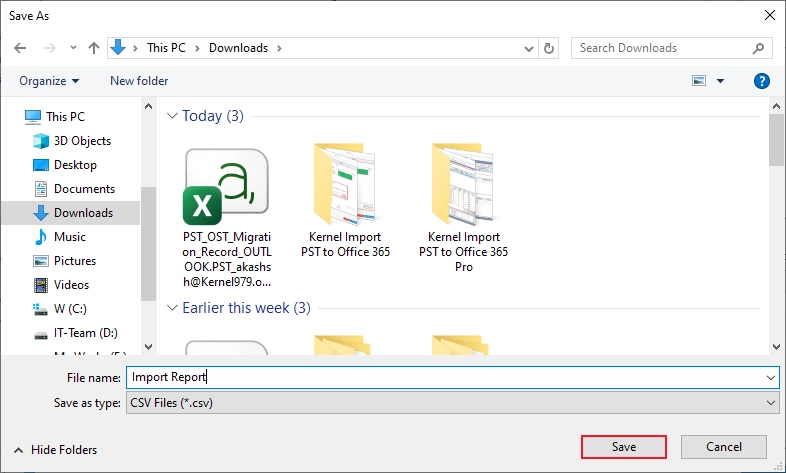
Step 17: Select any directory or folder, enter a name in the File name field, and click on Save.
Step 18: Finally, click on OK and close the software.
Step 1: Download, install, and launch the Kernel Import PST to Office 365 tool.
Step 2: Click on Let’s Connect in Kernel Import PST to Office 365 Pro tile.
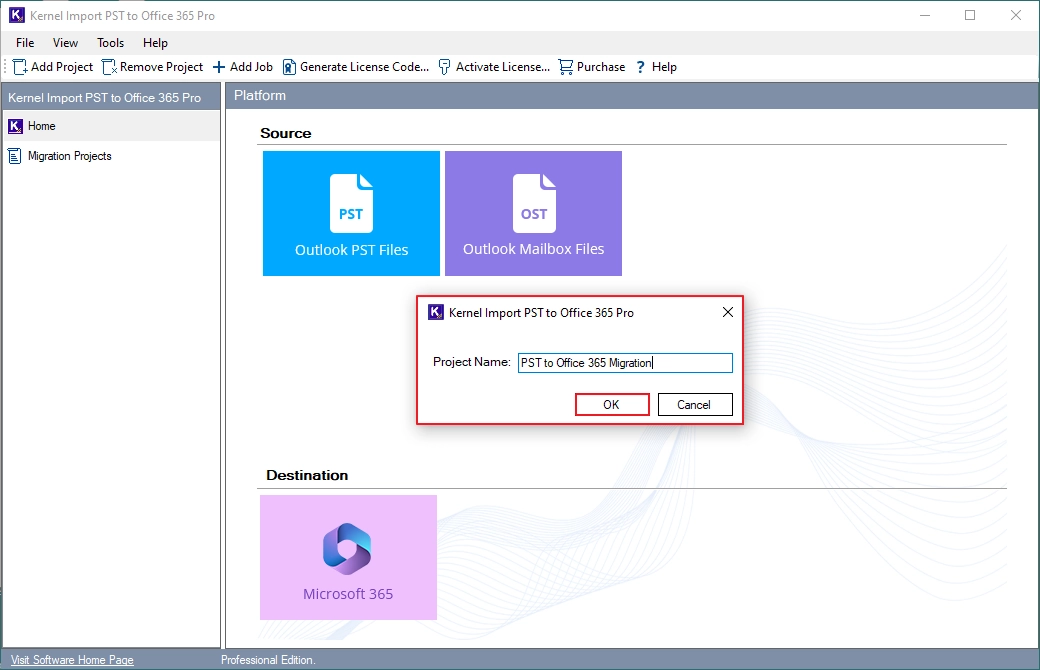
Step 3: In the following window, click on Add Project.

Step 4: Enter a Project Name and click OK.
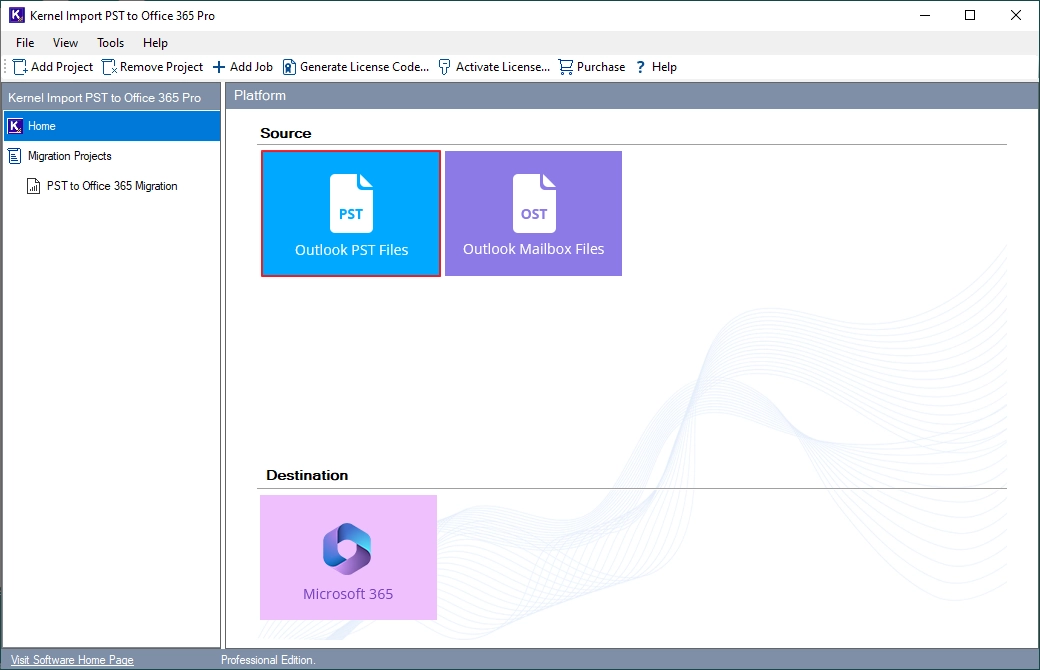
Step 5: Double-click on Outlook PST Files in the Source.
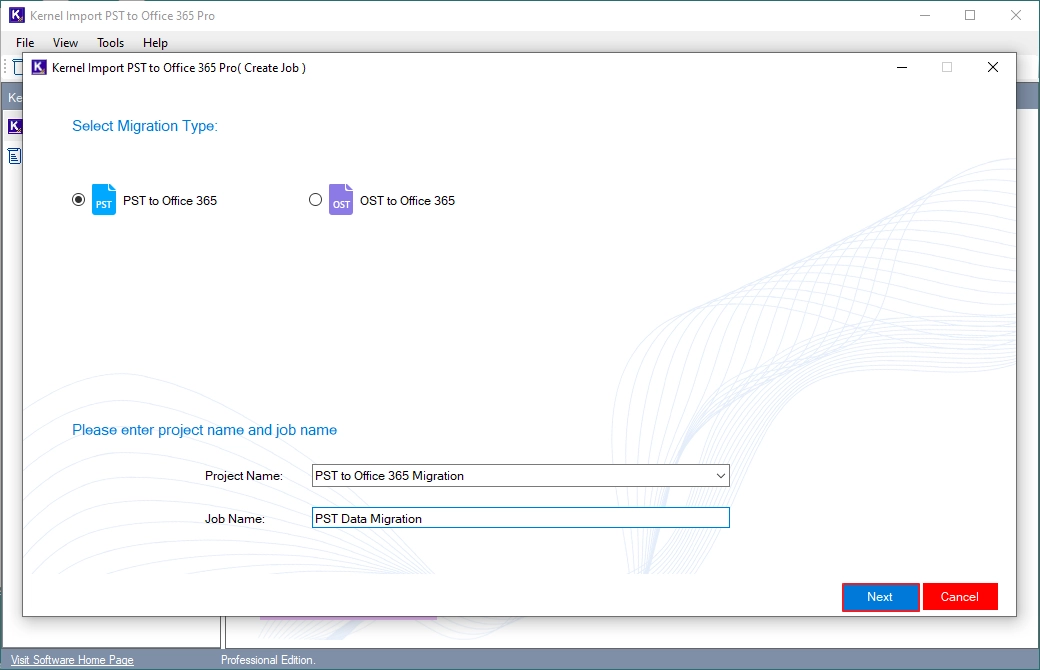
Step 6: In the Select Migration Type, select PST to Office 365 and enter a Job Name. Click Next.
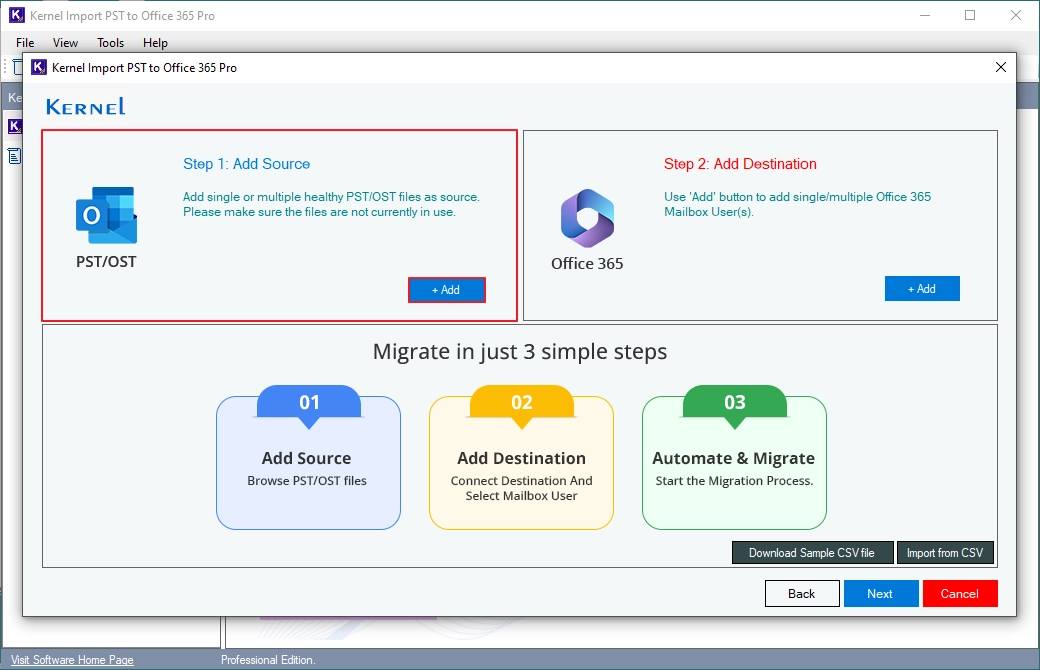
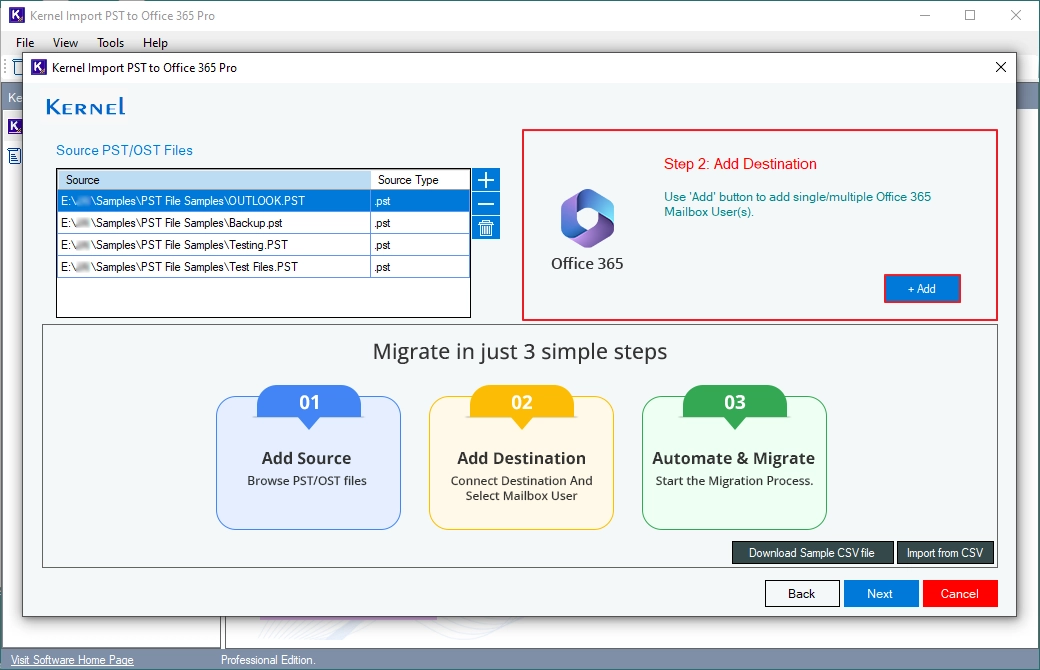
Step 7: Click on Add in the Add Source tile.
Step 8: Select PST files from your PC and click Open.

Step 9: Click on Add in the Add Destination tile.
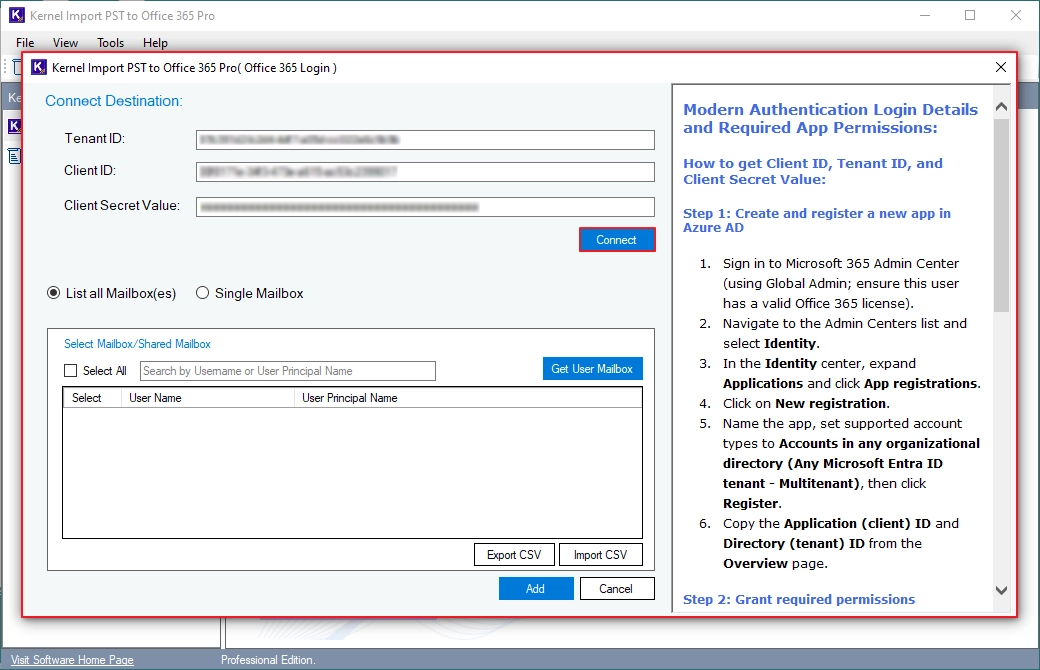
Step 10: Enter Office 365 admin credentials, like Tenant ID, Client ID, and Client Secret Value. Click on Connect.
Step 11: The software will connect to your account and show Connection created successfully message. Click OK.

Step 12: Select List all Mailbox(es) and click on Get User Mailbox to extract all users from your admin account.
Step 13: The software will start retrieving user mailboxes.
Step 14: Select the necessary Office 365 users and click on Add.
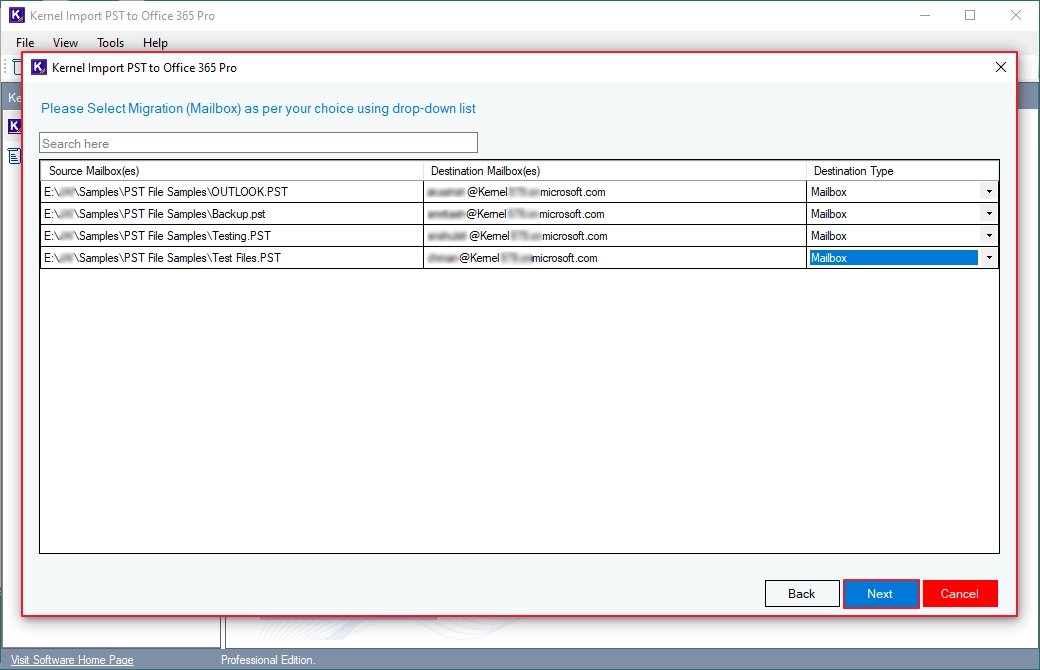
Step 15: Map your PST files to Office 365 accounts and click on Next.
Step 16: Select your Destination Mailbox Type and click Next.
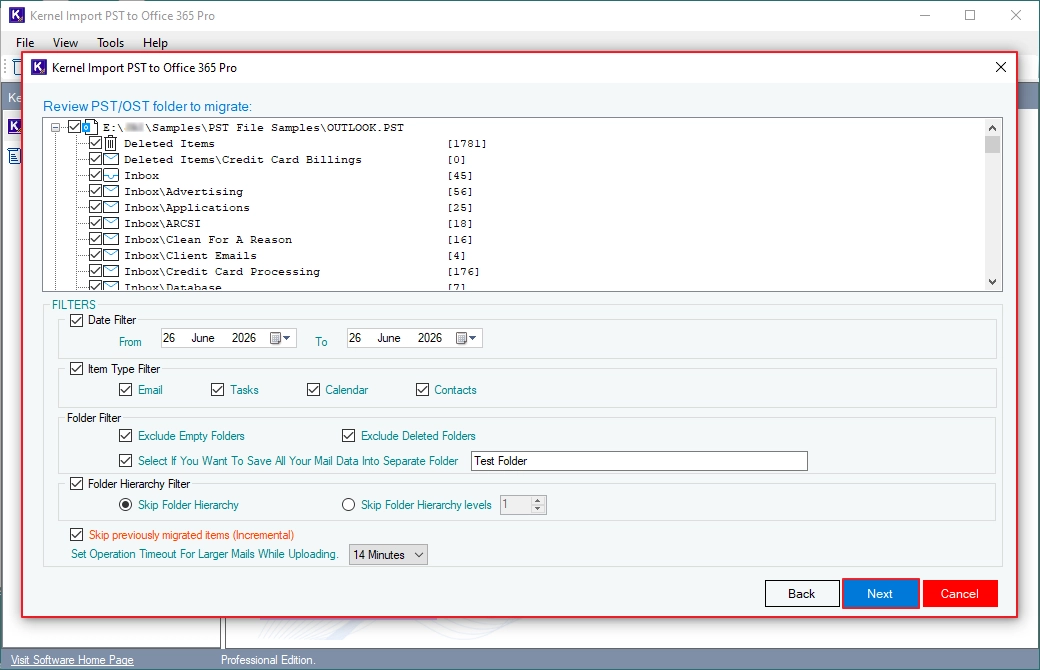
Step 17: In the following window, apply necessary options from:
- Review PST Folders to migrate: Verify all your folders and select the necessary folders to import.
- Date Filter: Apply the From and To date range and upload the selected dates data.
- Item Type Filter: Import only Email, Tasks, Calendar, and Contacts as per your choice.
- Folder Filter: Exclude empty and deleted folders in the Office 365 account. Save all the PST data in a specific folder in Office 365.
- Folder Hierarchy Filter: Include or Exclude Folders Hierarchy as per Levels.
- Skip previously migrated Items (Incremental): Import only newly added data to Office 365.
- Set Operation Timeout For Larger Mails While Uploading: Select a specific timeline for larger folders. If the folder takes more time, then the tool will skip that data and move to import another data.
Finally, click on Next.
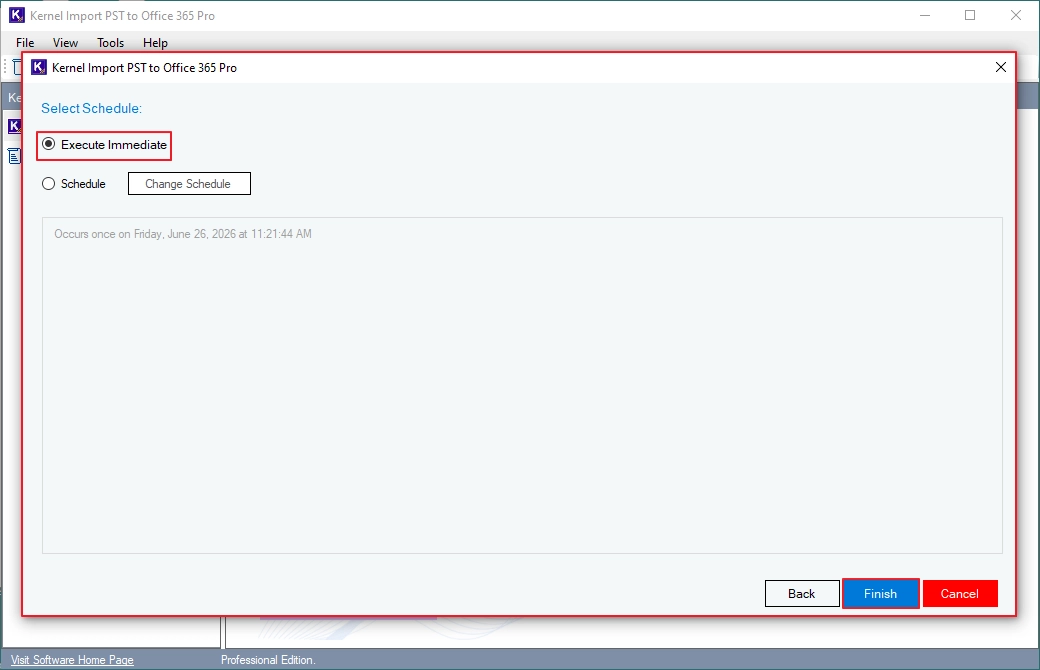
Step 18: Select Schedule as Execute Immediate or Schedule to start your migration instantly or on a specific day or time.
For now, we are going with Execute Immediate option. After that, click Finish.
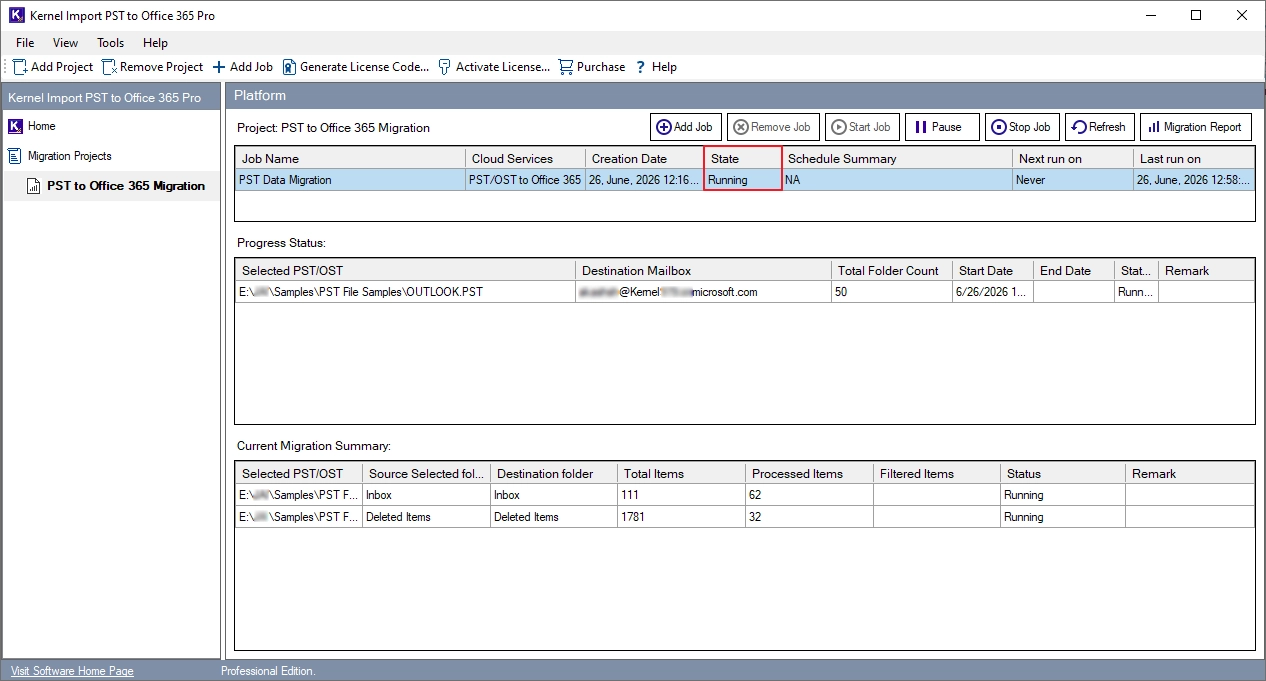
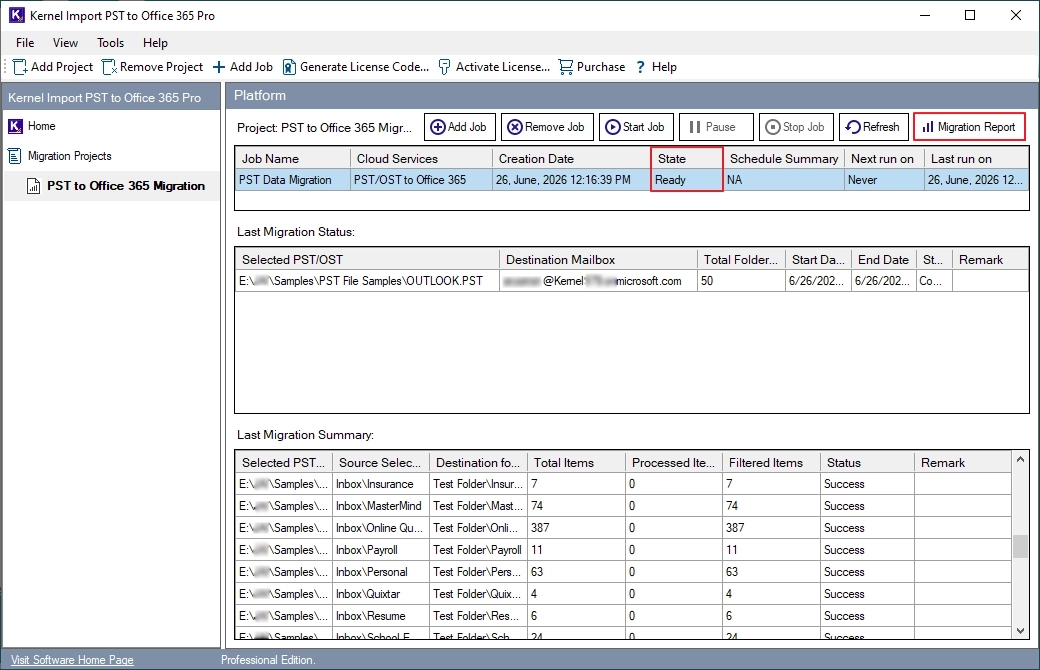
Step 19: The software will redirect you to the homepage. Click on your Job name to see your import process.

Step 20: The software will start uploading all your PST data in Office 365 account and show State as Running.
Step 21: After a successful import, the tool will show State as Ready.
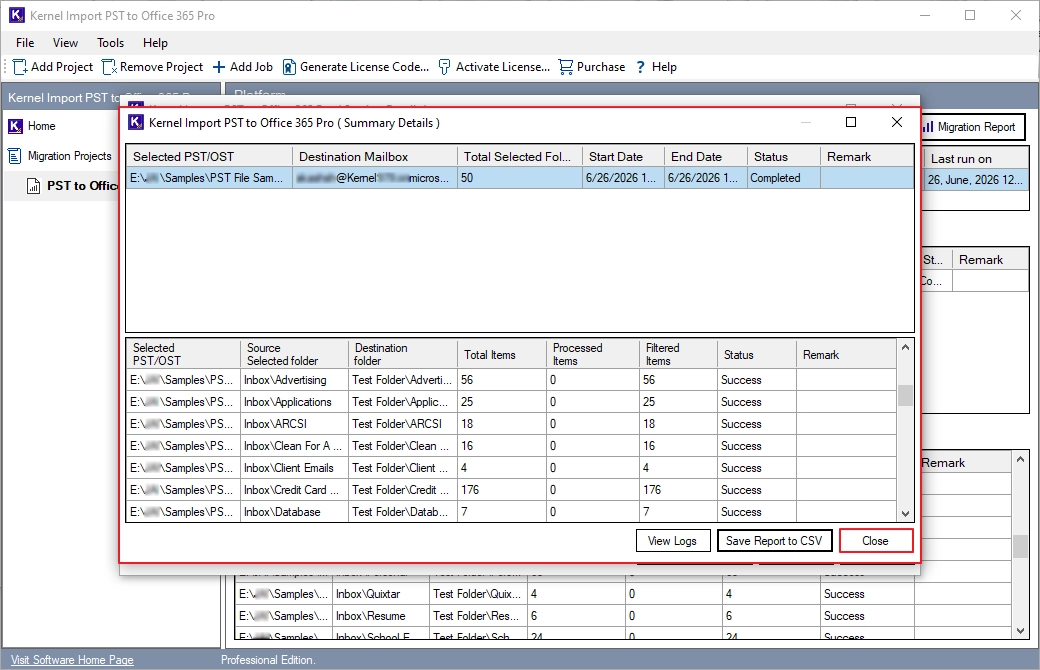
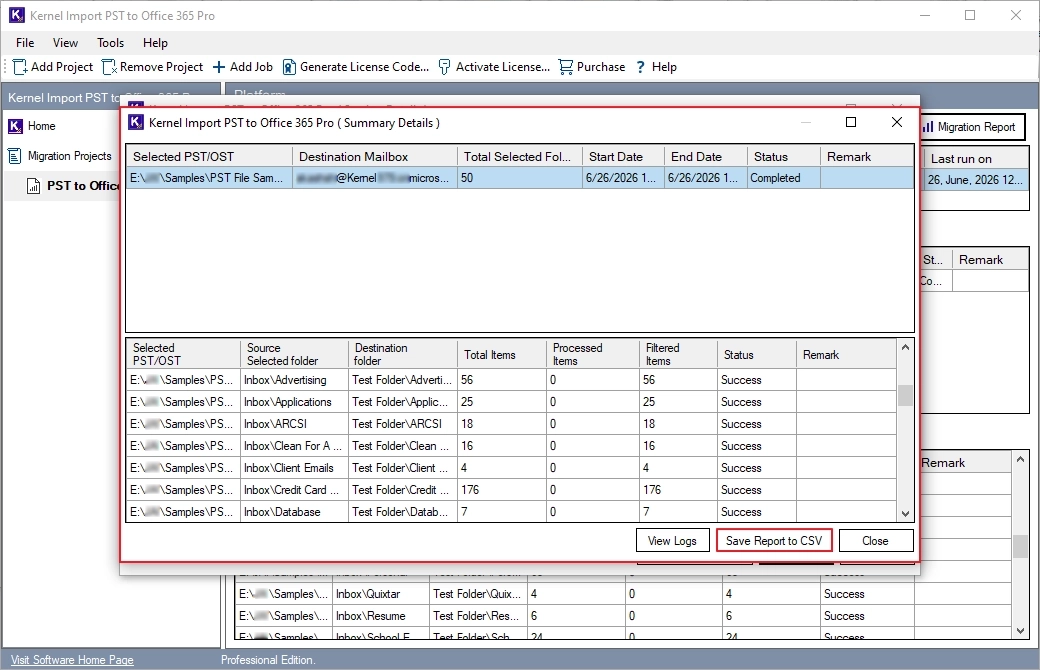
Step 22: The software will show a Summary Report; save it by clicking on Save report to CSV. For a detailed import report, click on View Details.
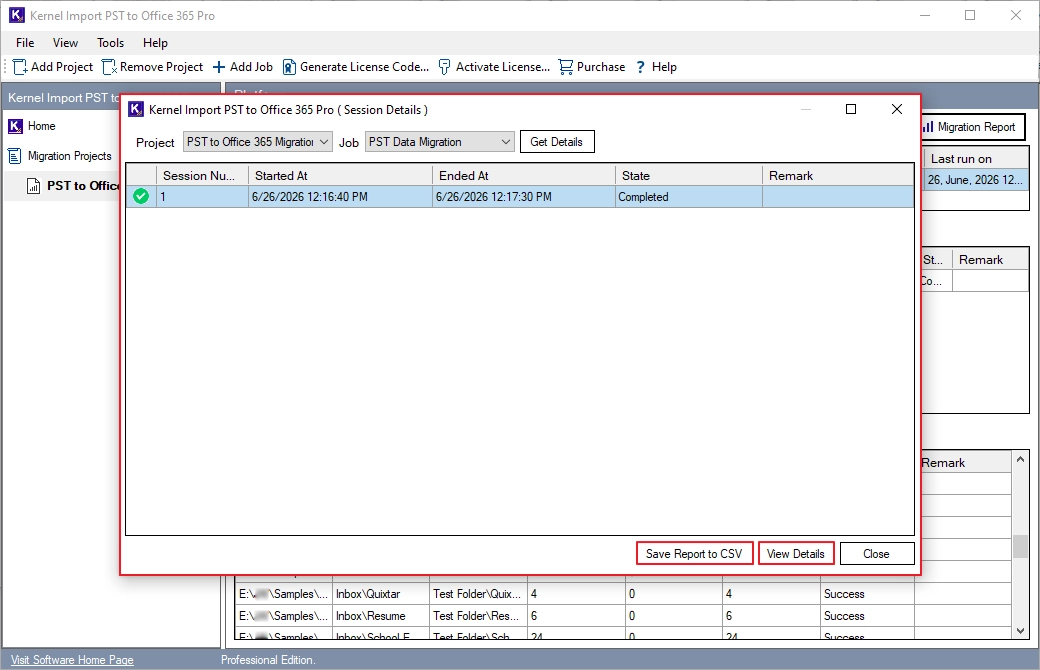
Step 23: Check out your detailed import report and save it by clicking on Save Report to CSV.
Step 24: Select the saving location and click on Save.
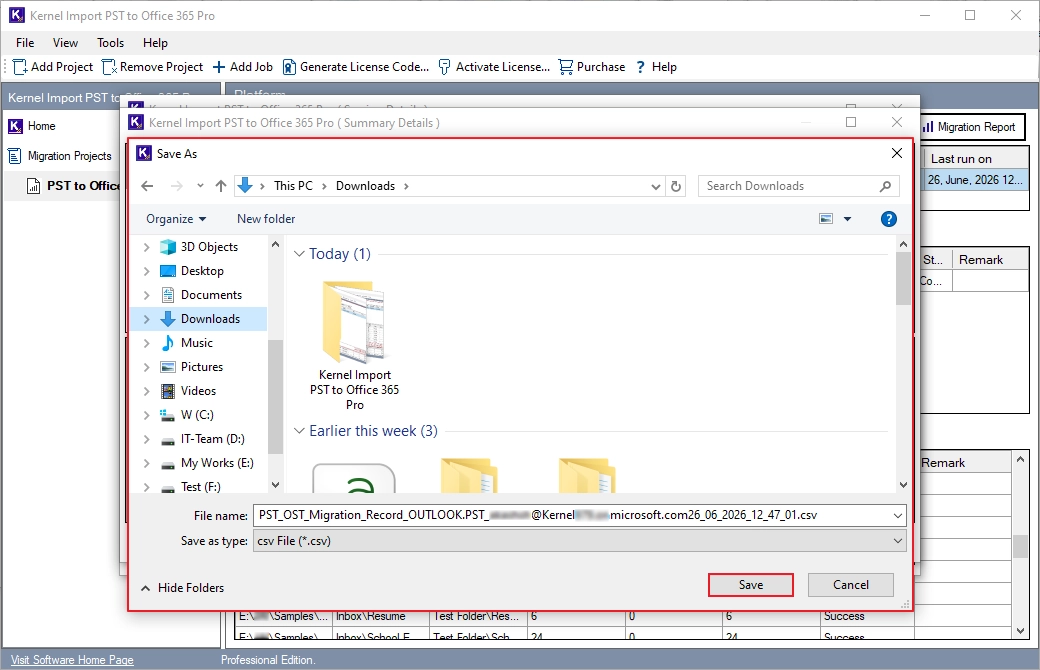
Step 25: After saving the import report, the tool will show CSV file saved successfully message. Click OK.
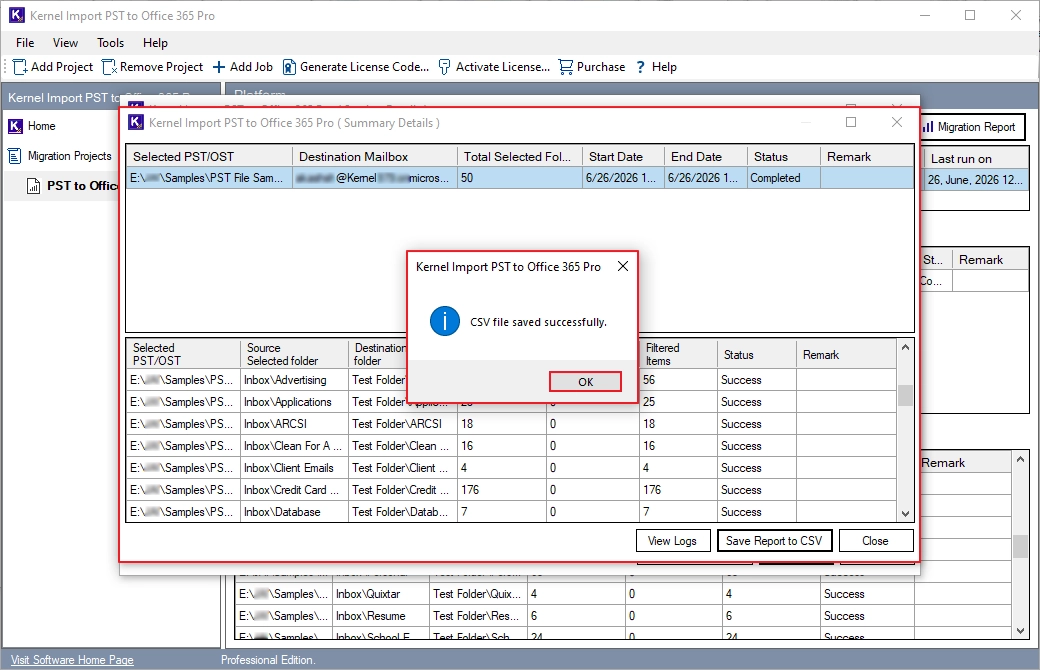
Step 26: Finally, click on Close to end the import process.