Migrate NSF files to Office 365 mailbox (Standard Mode)
Here, we will migrate NSF files to Office365 in Standard mode:
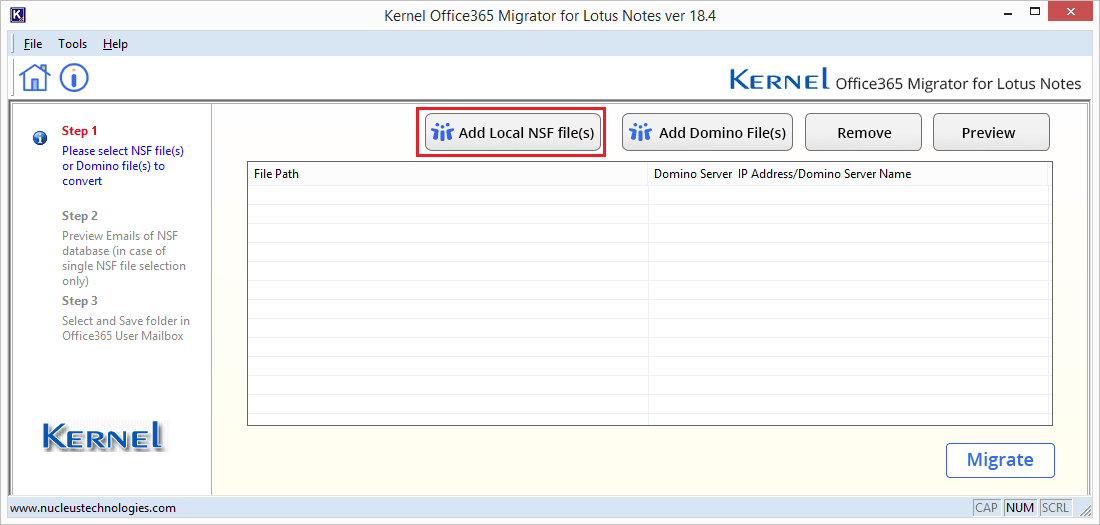
- Step - 1. Launch the Kernel Office 365 Migrator for Lotus Notes and click Add Local NSF File(s).
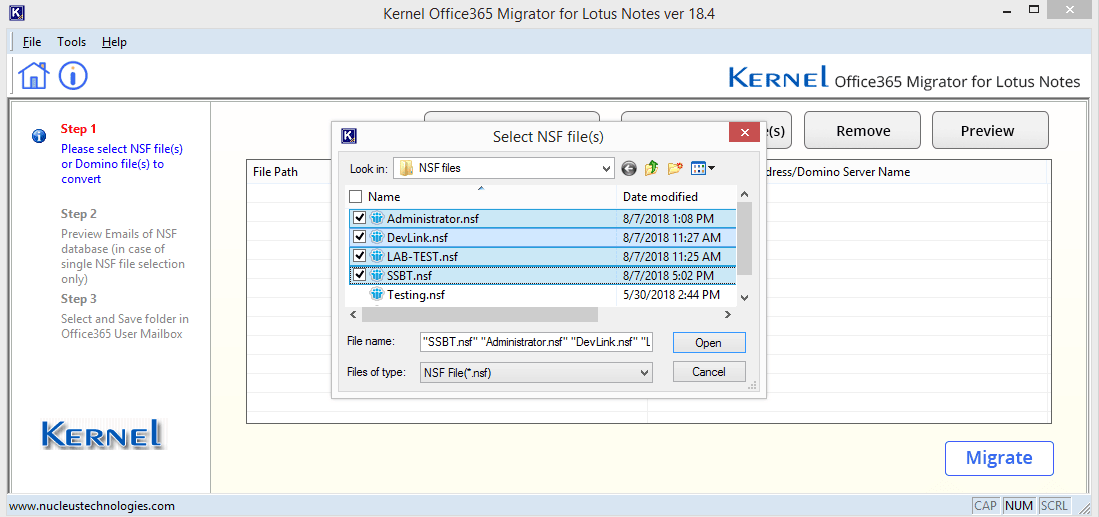
- Step - 2. Select any number of NSF files.
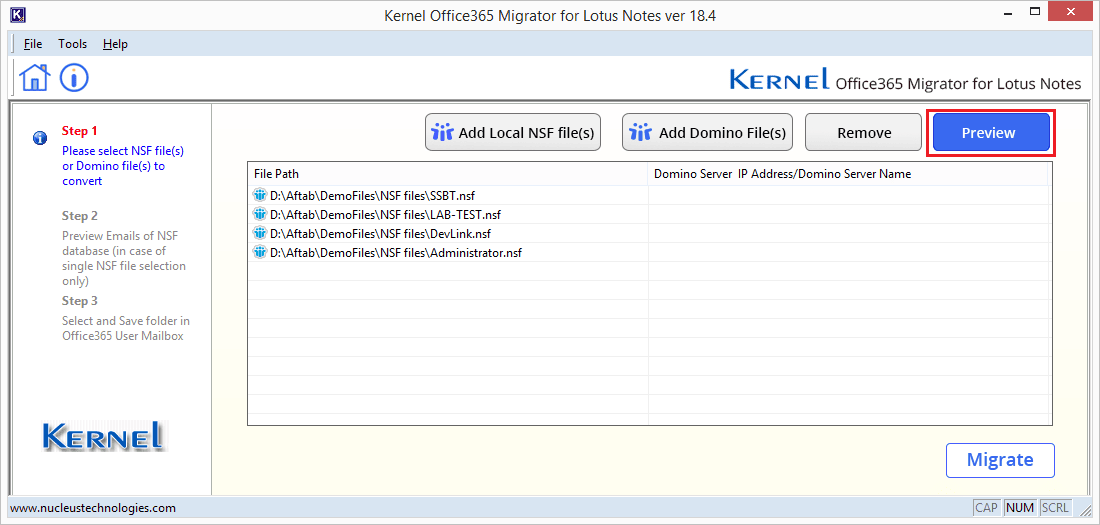
- Step - 3. After selecting the NSF files, you need to click Preview button to get a preview of NSF mailbox item
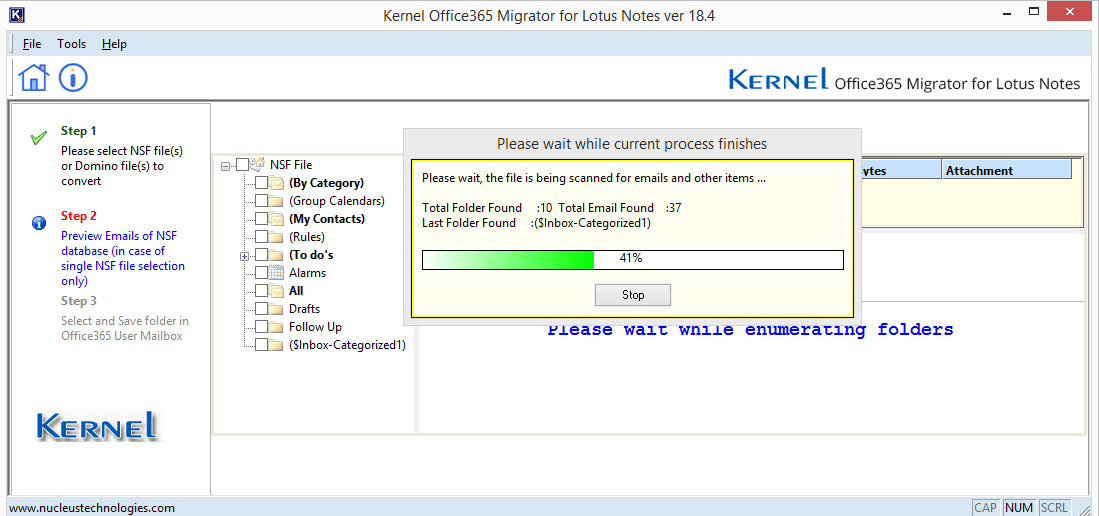
- Step - 4. The tool is retrieving the NSF mailbox content
- Step - 5. After retrieving the mailbox, you can choose to check the "Show View Folder" to view the View folder's content. The view folders are created by Lotus Notes itself.
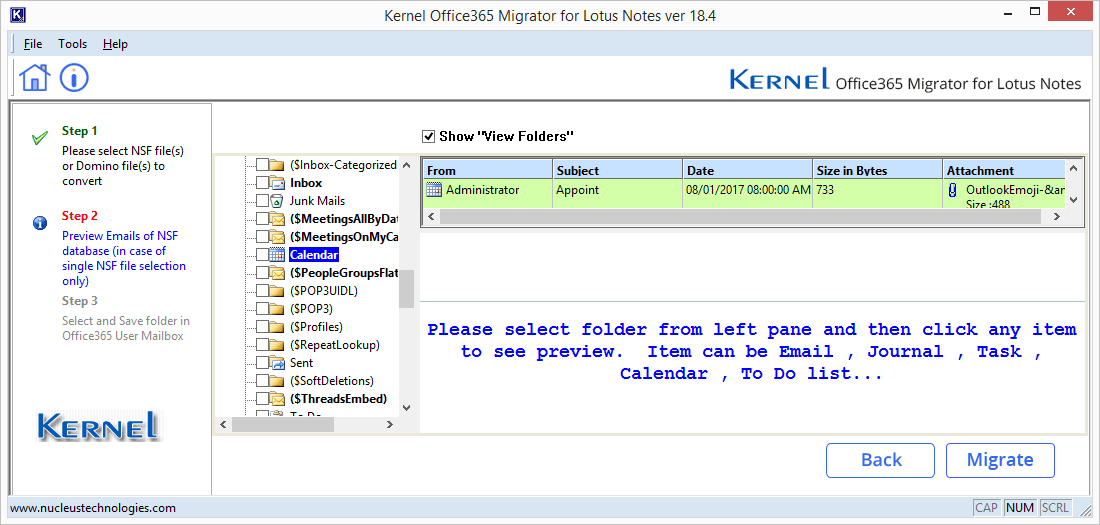
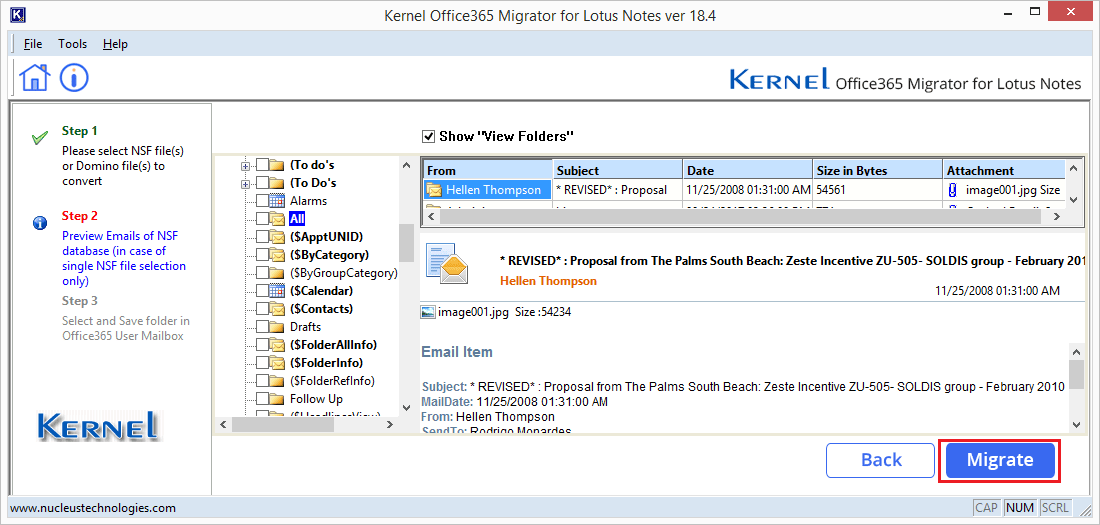
- Step - 6. To get a preview of any NSF file item, check the respective folder box and then select the item. Its preview will be displayed in the downside panel.

- Step - 7. To start migration of NSF file, click the Migrate button
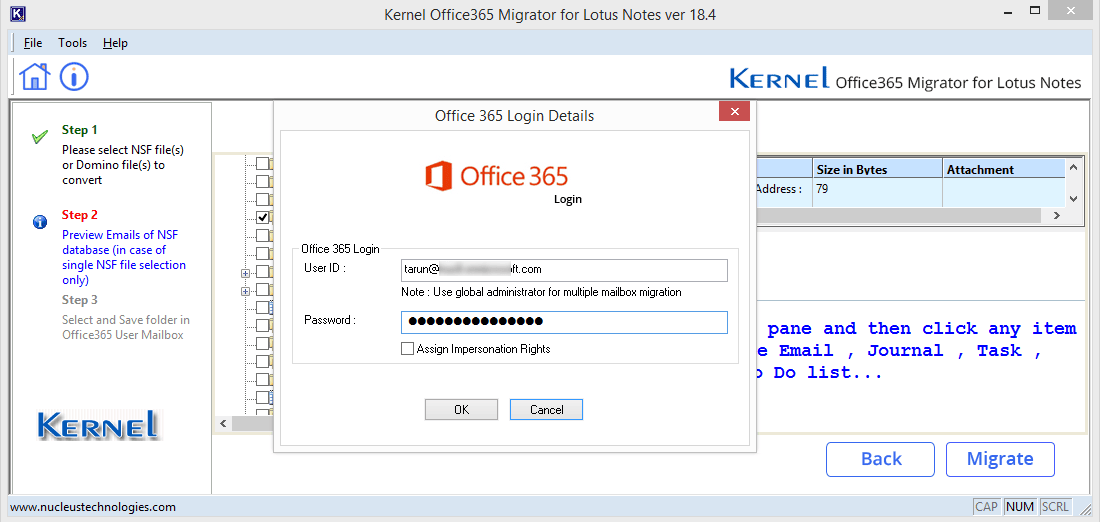
- Step - 8. Input the login credentials of Office 365 account.
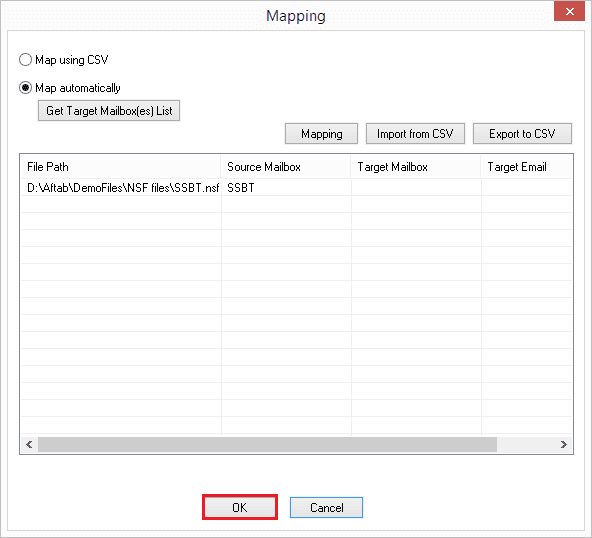
- Step - 9. Perform the automatic mapping to map the source NSF file to its respective Office 365 account.
- Step - 10. Select among the various filters to select only the desired data to migrate.
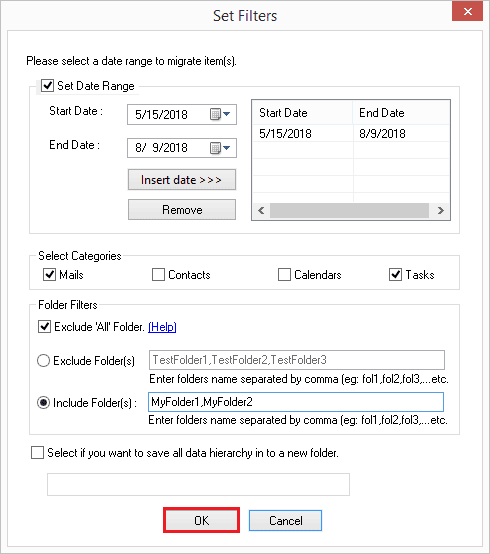
Set Date Range - Create a date range to migrate NSF files from a start date to end date.
Select categories - Select from various categories of Mails, Contacts, Calendars, and Tasks.
Exclude All Folders - Here "All" folder is a folder which is viewed as "All Documents" folder in Lotus Notes. All Documents folder contains all of your mail, drafts, calendar, to-do entries; etc. that means All folder contains all of your mail, calendar, to-do entries, etc. If you save complete NSF file(s) including All folder then software will save the two data times (first time in actual folders and second time in All folder).So here, we provide the facility to exclude All folder .If you do not want to save All folder then select check box in front of Exclude "All" folder and remaining unselect if you want to save All folder.
Exclude Folder(s) - Write name of the folder which you do not want to migrate.
Include Folder(s) - Write name of the folder which you want to migrate.
Select if you want to save all data hierarchy into a new folder - save complete NSF files in a single root folder.
After applying the filters click OK.
- Step - 11. Select the saving mode in which you want to migrate your data. Then click OK.

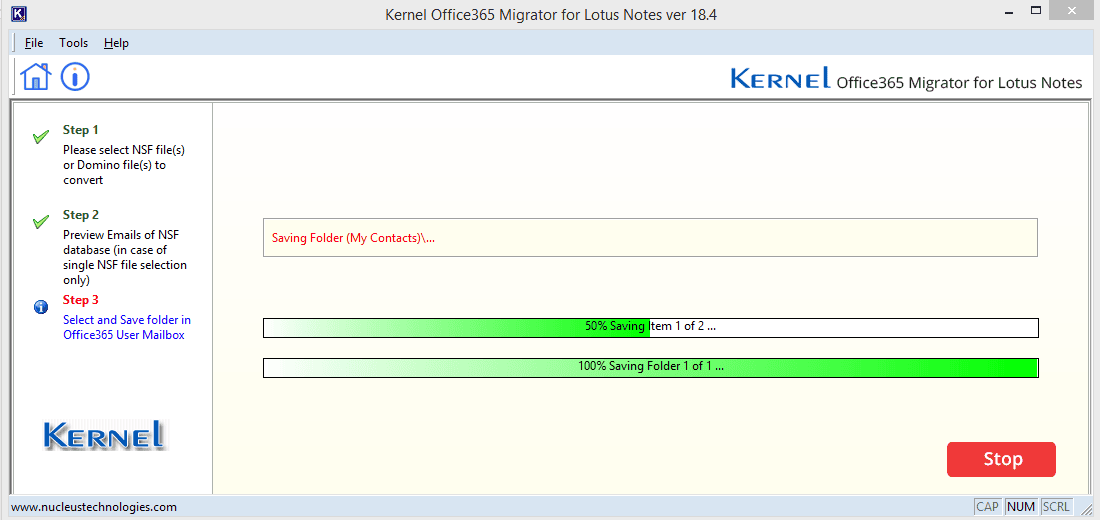
- Step - 12. Migration is started.
- Step - 13. A message will be displayed when a successful migration is complete.
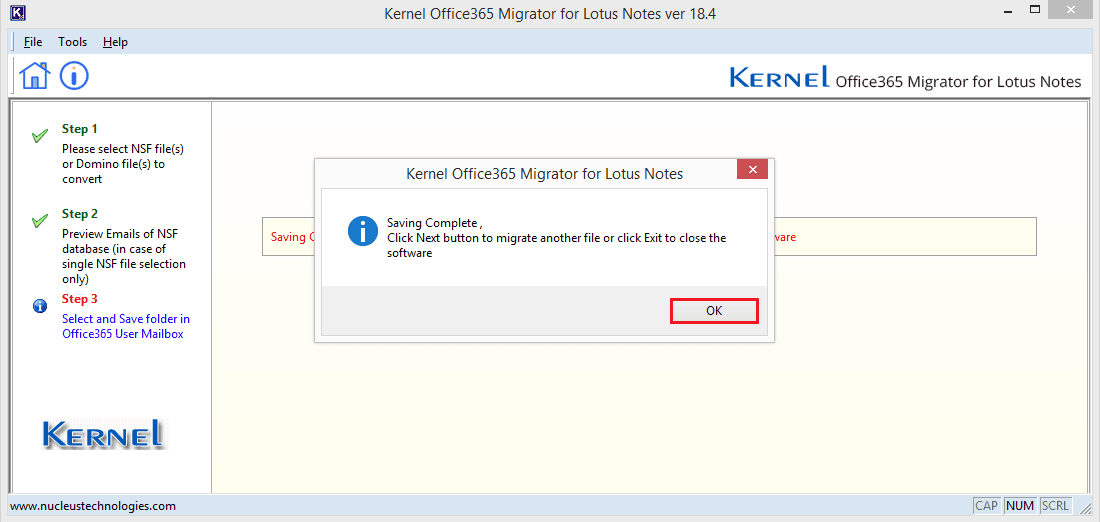
Hence, contents of NSF files are successfully migrated to Office365.
Quick and secure migration from Lotus Notes to Outlook