The IBM Lotus Notes is a scalable email platform which many users like for its fast workflow and the swift email communication. It has multiple applications which the user can use it for a variety of jobs like the following -
- Instant messaging, secure web browsing, calendar, etc.
- SMTP/MIME-based email messaging, automatic document to HTML conversion, NNTP-based news, etc.
But there are some shortcomings to the Lotus Notes like -
- The user interface of the Lotus Notes is complicated than that of the Outlook.
- You have to purchase Lotus Notes separately, but the Outlook comes integrated with Microsoft Office Suite.
When you have decided to move from Lotus Notes to Exchange Server, then you do not need to be confused about the migration method. There are some free methods to Convert NSF to PST, but they are not good for the migration of a large size data. So here you can use the Kernel for Lotus Notes to Outlook Converter. It is a unique migration tool which collects the NSF files locally from the computer and the live Domino Servers in the network. Let’s see the procedure of the tool step-by-step -
![]()


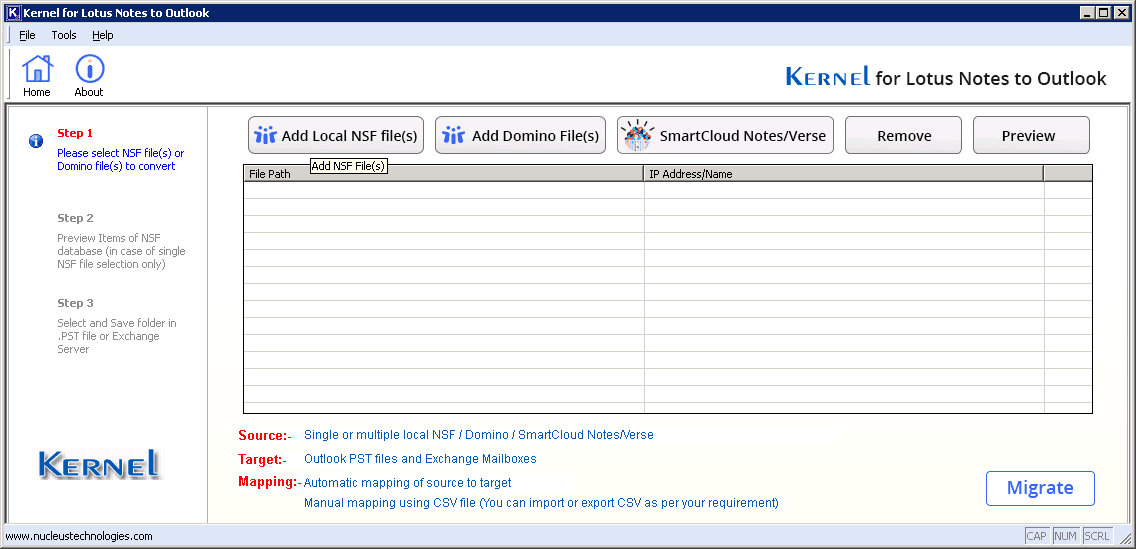
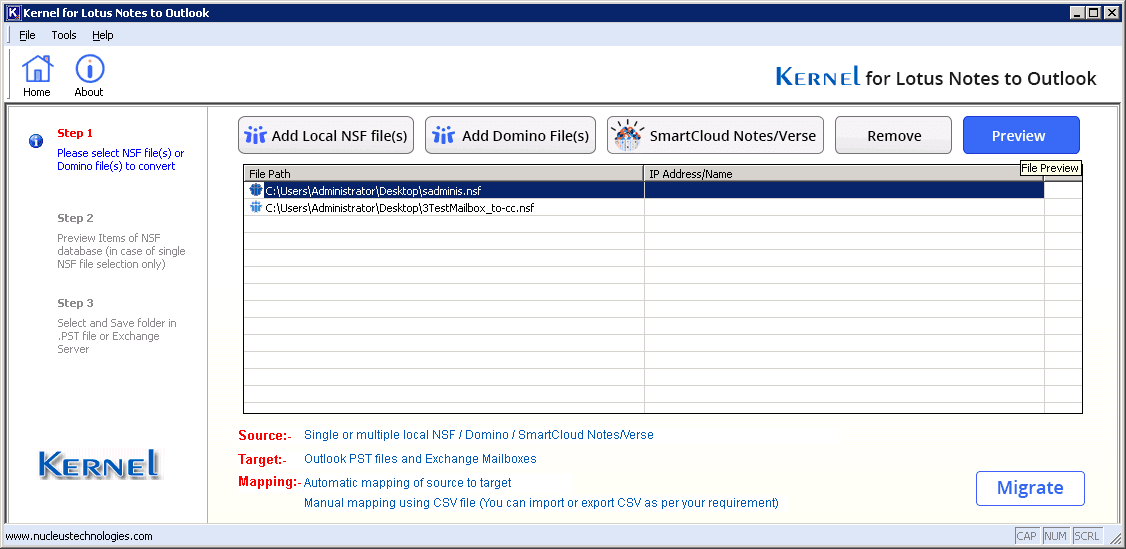
- Install and run the email converter software. Click the button ‘Add Local NSF File(s)
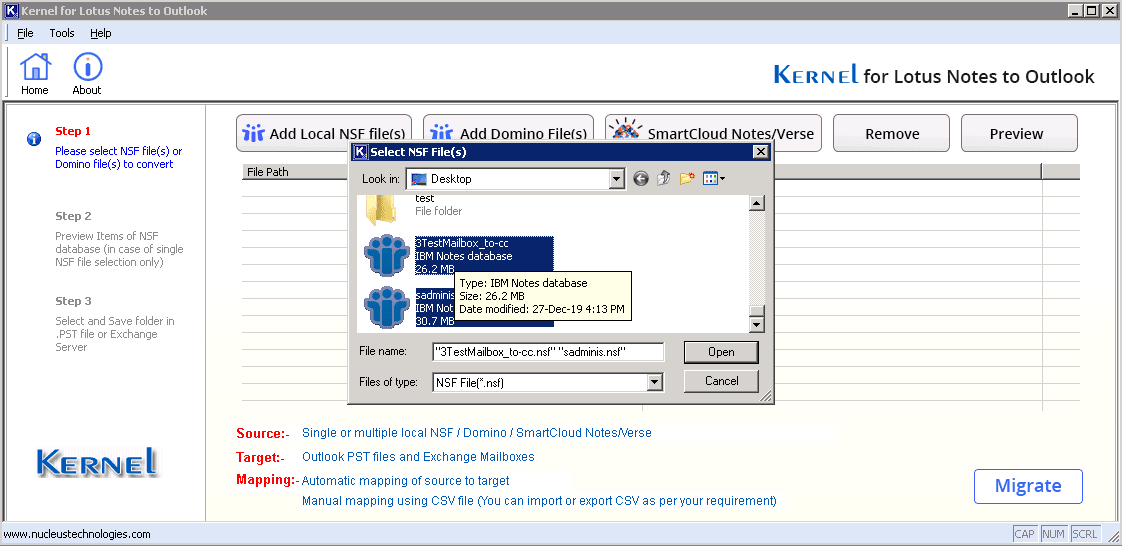
- Browse the NSF files which you want to migrate to Exchange. Click Open.
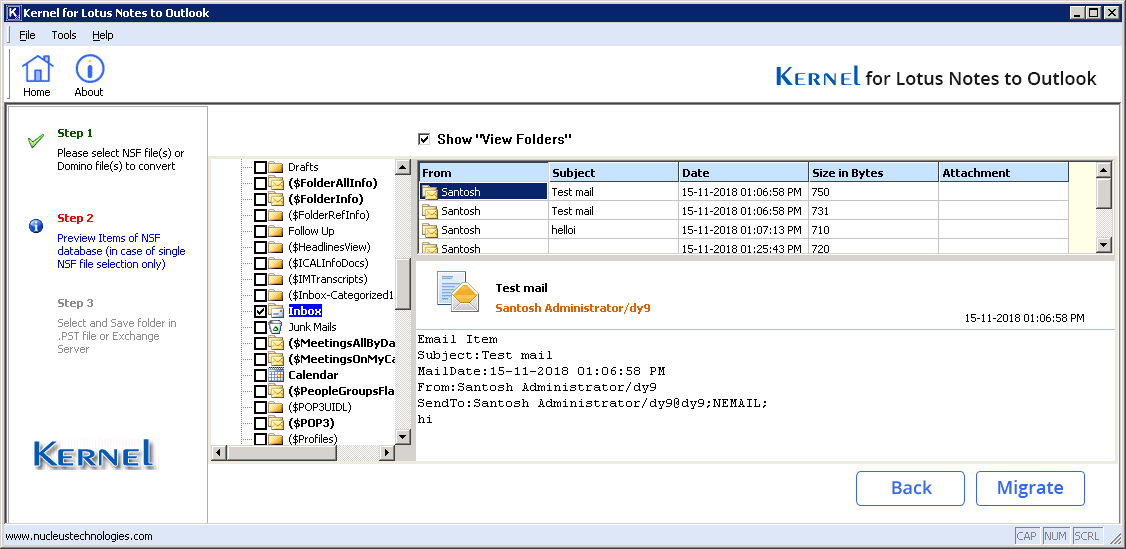
- After selecting the files, choose a file and click the Preview button to get a look of its contents.
- Browse between folders to check the content by preview and then click Back option. Next click Migrate.
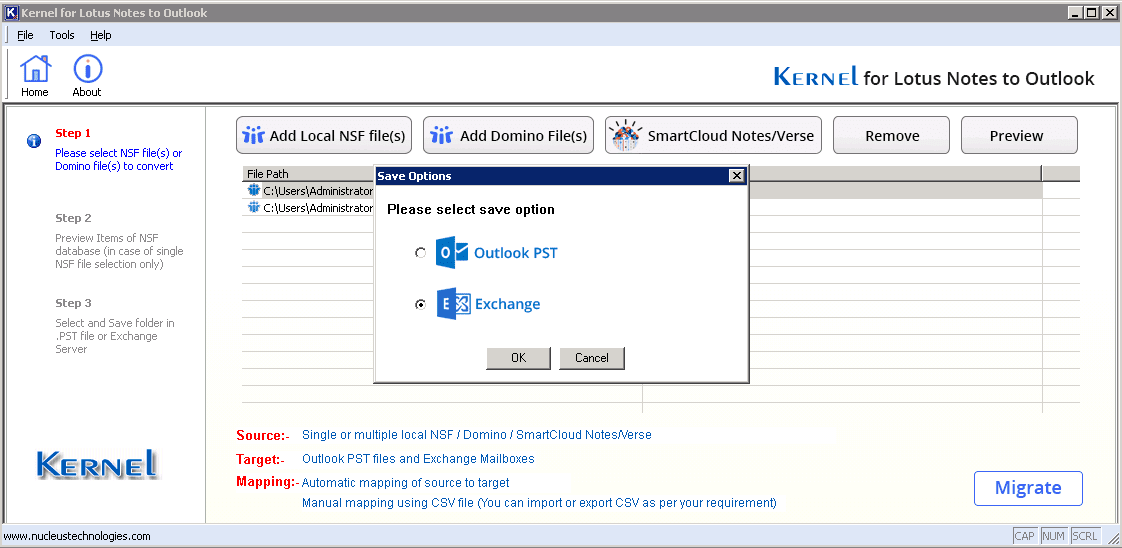
- Choose the second option of Exchange and click OK.
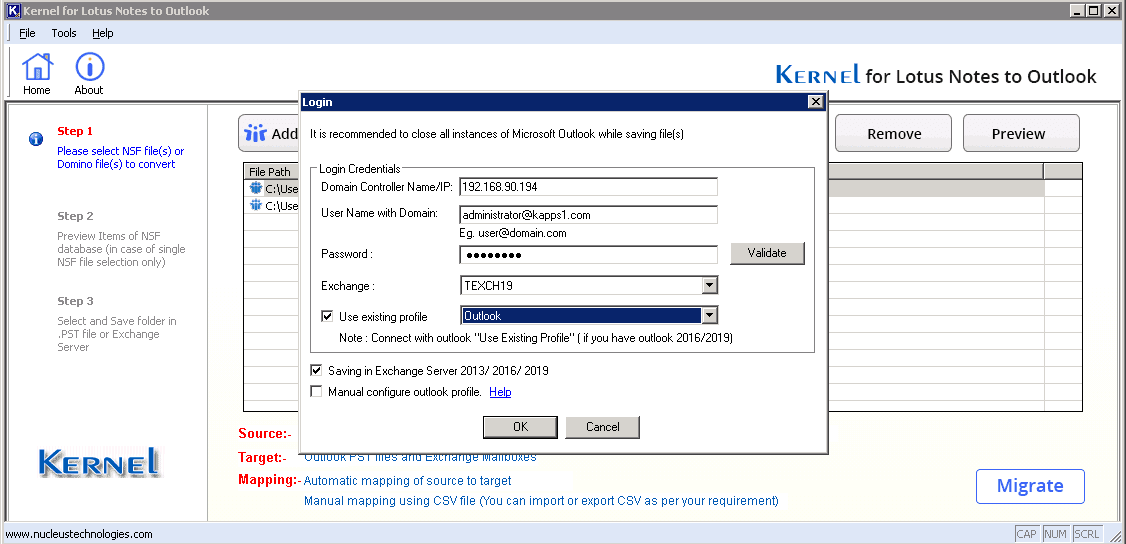
- Input the login credentials for the Exchange and then click Validate. Check the option ‘Use existing profile,’ if you have Outlook 2016/2019. Also, check the corresponding option if you want to migrate to Exchange Server 2013/2016/2019. Click OK.
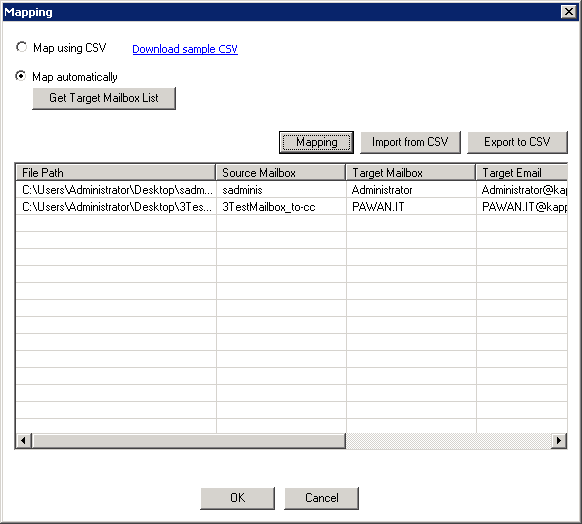
- Click the button ‘Get Target Mailbox List’ to map the source NSF files with the Exchange mailboxes.
- If any account remains unmapped, click the Mapping button and select the destination mailbox for NSF file, and click OK..
- The Date Range page brings multiple filter options to you like Date Range, Select Categories, exclude folders, include folders, skip hidden view, etc. After applying the selected filters, click, OK.
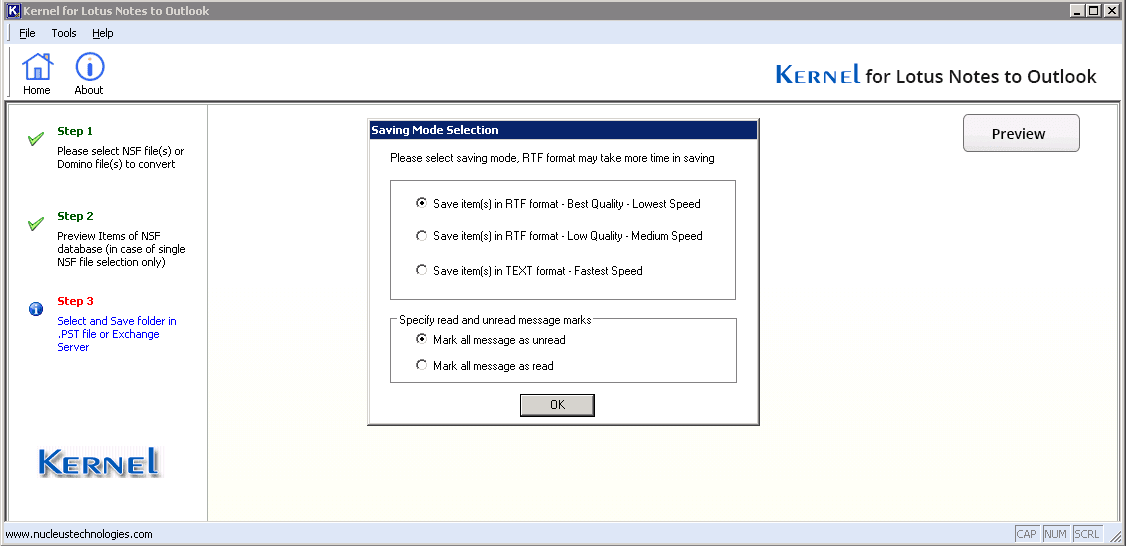
- Select the preferred saving format/quality. Then click, OK.
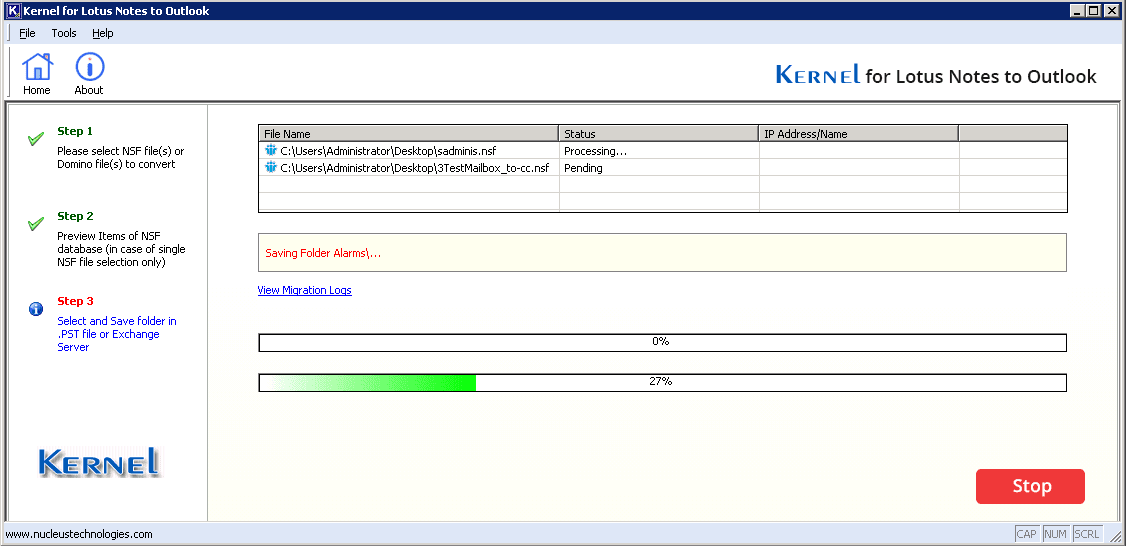
- The data starts migrating. You can click the Stop button to halt the migration at any point.
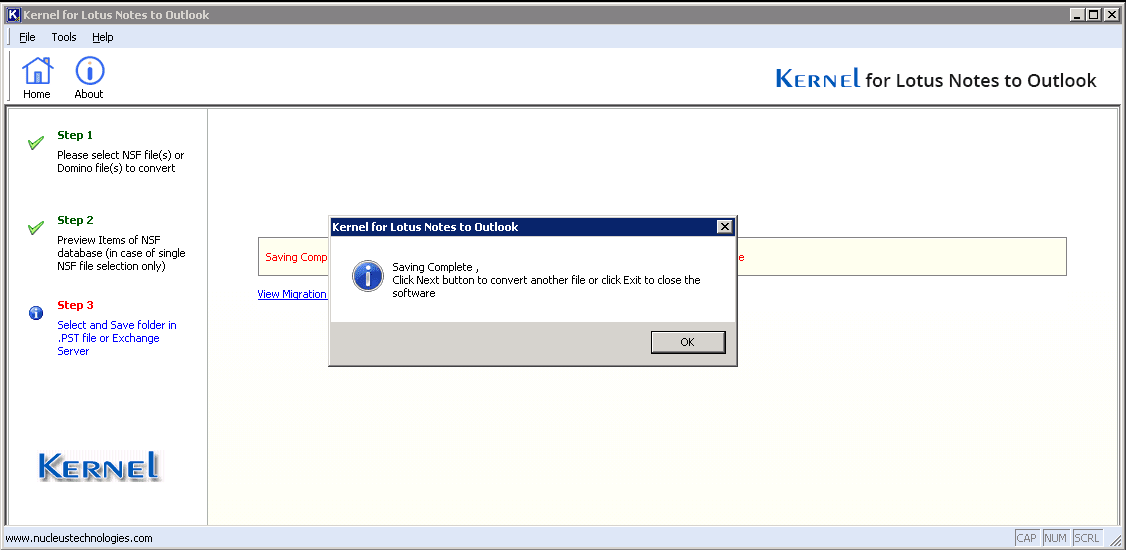
- After completing the migration. The tool gives a message ‘Saving Complete.’ Click OK.