To begin with the export Office 365 to PST process, launch the tool on your computer and follow the steps given below:
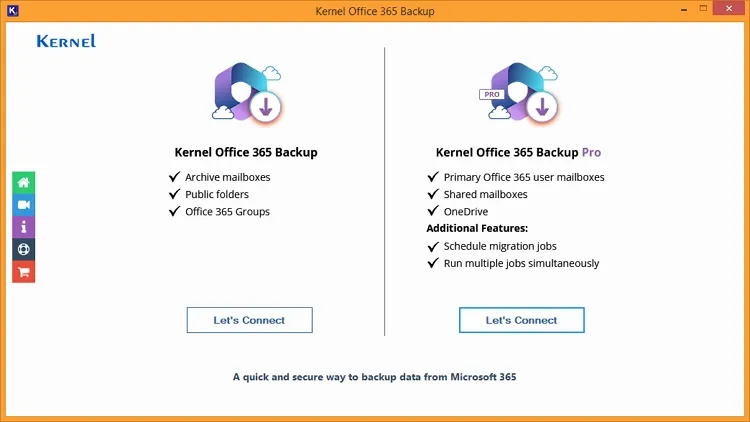
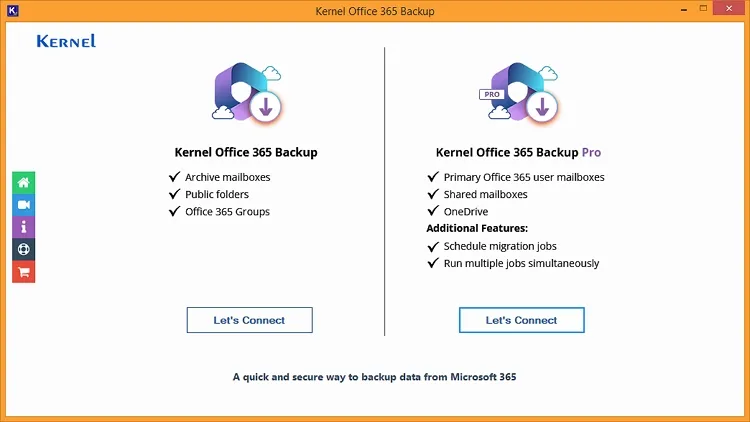
Step 1: Click on Let's Connect under Kernel Office 365 Backup section.
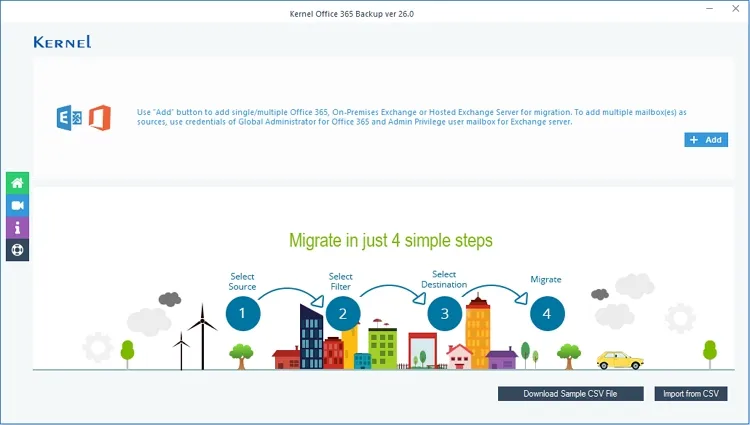
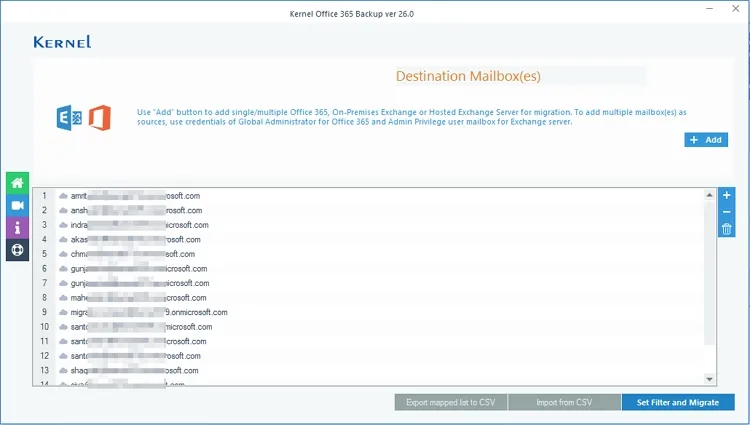
Step 2: From the home screen, click Add to connect the software with the Office 365 tenant.
Step 3: Provide the required Office 365 credentials: Tenant ID, Client ID, and Client Secret Value.
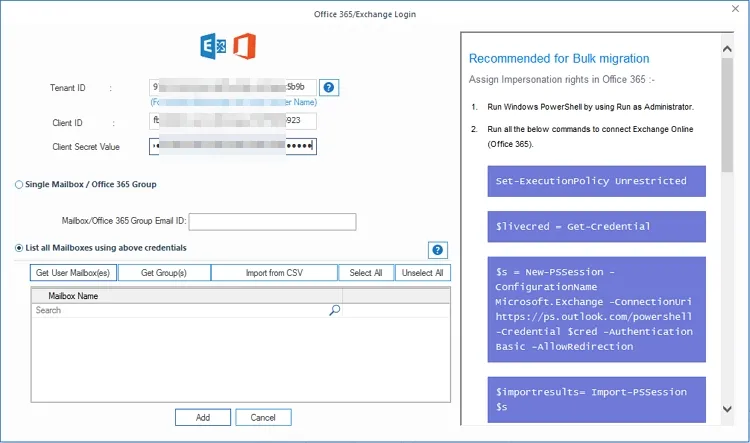
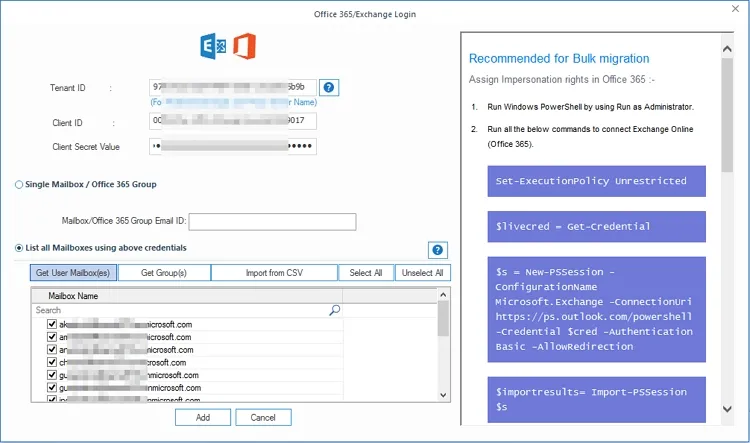
Step 4: Select List all Mailboxes using above credentials and click on Get User Mailbox (es). Now, select all the desired mailboxes from the list. Tap on the Add button.
Note: If you want to back up a single mailbox, select Single Mailbox/ Office 365 Group radio button.
Step 5: All the mailboxes are listed on the screen. Click Set Filter and Migrate to proceed.
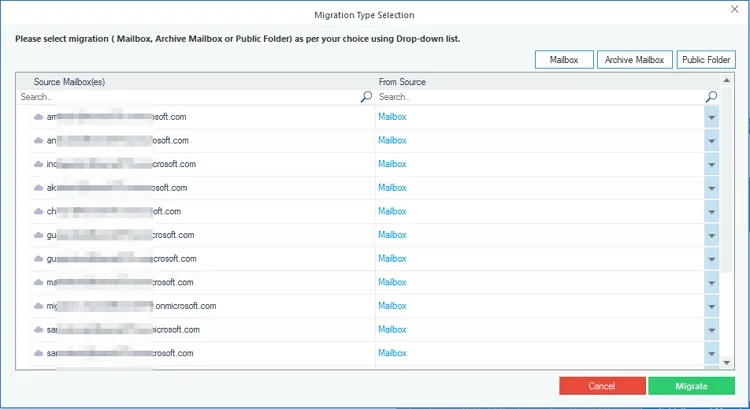
Step 6: Use the dropdown against each mailbox to select the type of data from source. Click Migrate.
Step 7: The tool will begin enumerating the folders and data from the selected mailboxes.
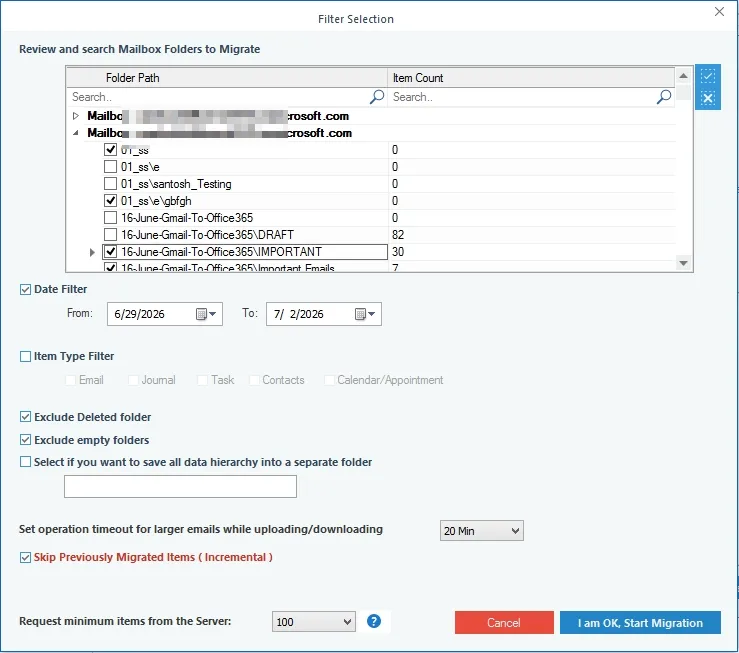
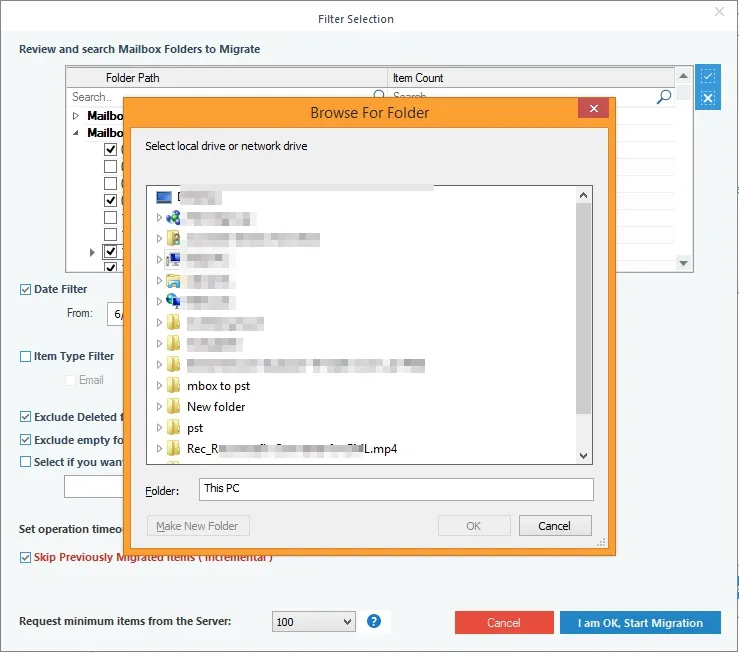
Step 8: Review the folder selection, apply data filters (Date and Item Type), and select other the desired options. Click I am OK, Start Migration.
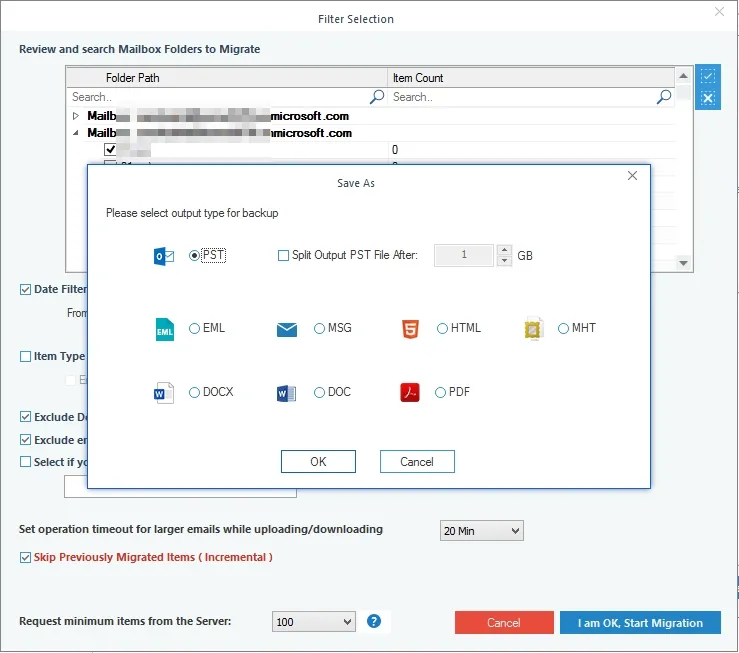
Step 9: Select PST file as the output file type. If the mailboxes are huge, choose Split Output PST File After option and provide the specific data size to manage them into multiple small PST files.
Step 10: Provide a location to save the resultant backup file and click OK.
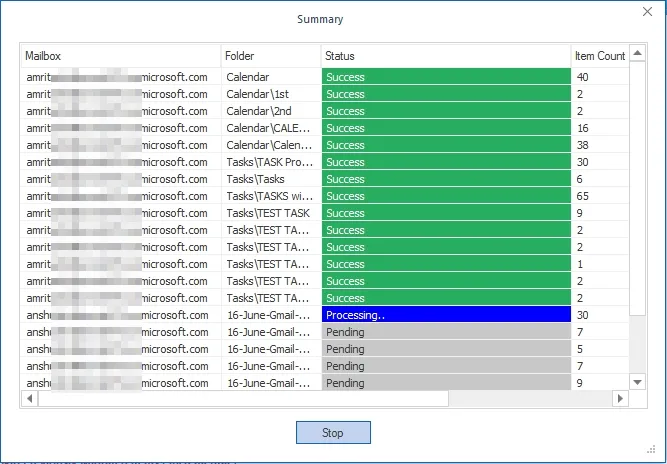
Step 11: The tool will begin the process to export Office 365 data to PST format with real-time progress update on the screen.
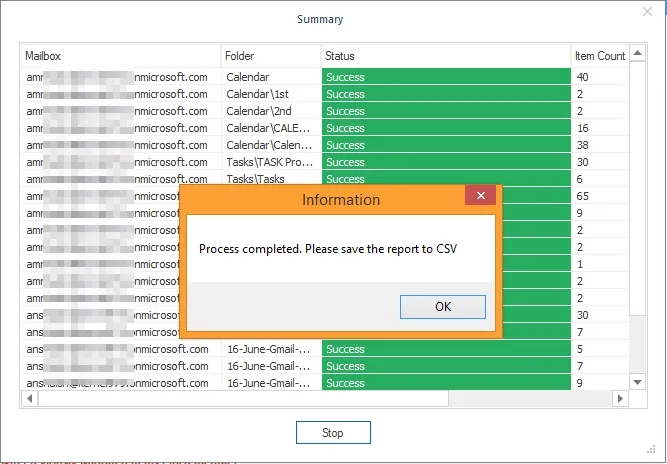
Step 12: Once completed, the tool will show a pop-up with messages, saying process is completed. Click OK.
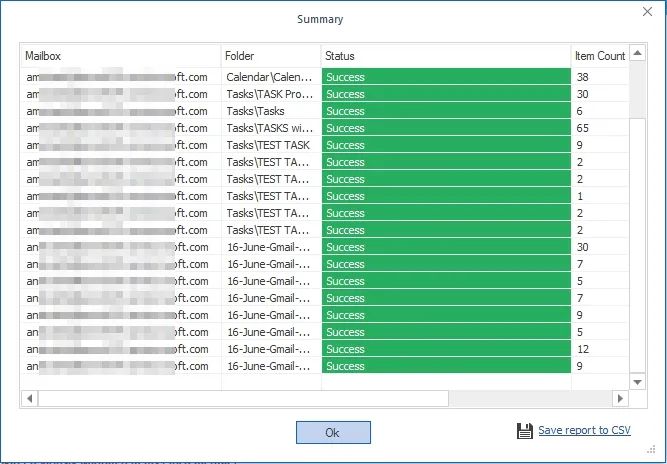
You can also save the process insights with Save report to CSV option and store it on your local or NAS drive.
Launch Kernel Office 365 Backup tool on your PC and follow the instructions as defined below to export Office 365 to PST:
Step 1: Click on the Let's Connect button under Kernel Office 365 Backup Pro.
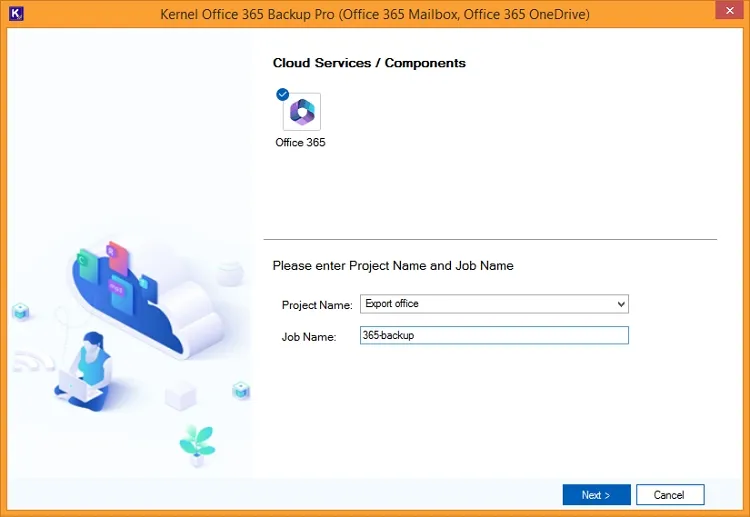
Step 2: Tap on Microsoft 365 (Mailboxes + OneDrive) tab to begin with the process.
Step 3: Enter a Project Name followed by a new Job Name and hit the Next button.
Step 4: Provide the Office 365 credentials (Tenant ID, Client ID, and Client Secret Value). Click Next.
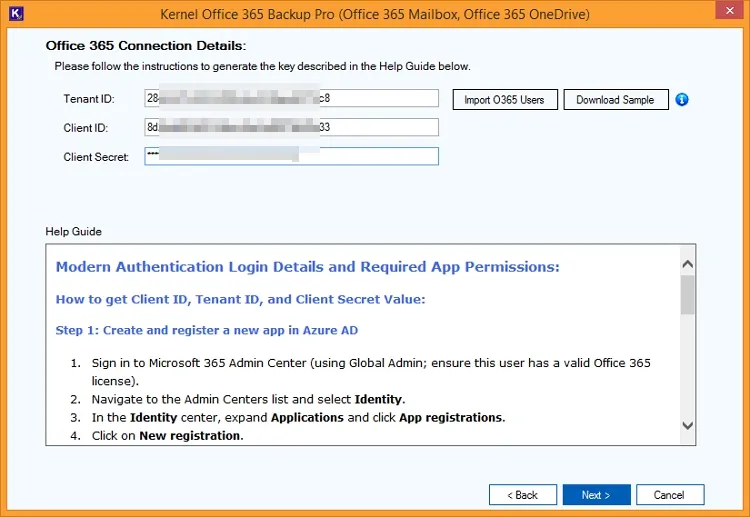
Note: If you have a list of Office 365 users, click Download Sample to download the CSV file and enter the users in the file. Next use Import O365 Users to import the list.
Step 5: Select the Office 365 Mailbox Backup as the Office 365 component that you want to backup.
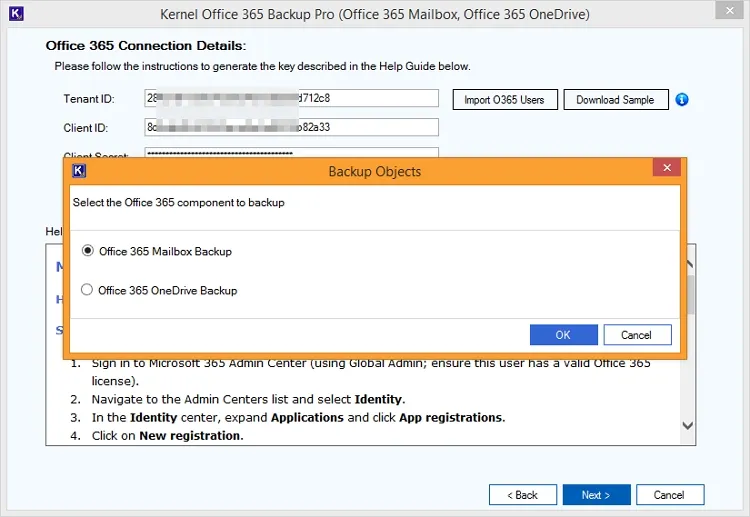
Note: If you’re running this tool to backup OneDrive data, select Office 365 OneDrive Backup.
Step 6: All the mailbox users will be listed. Select the desired ones and click Next.

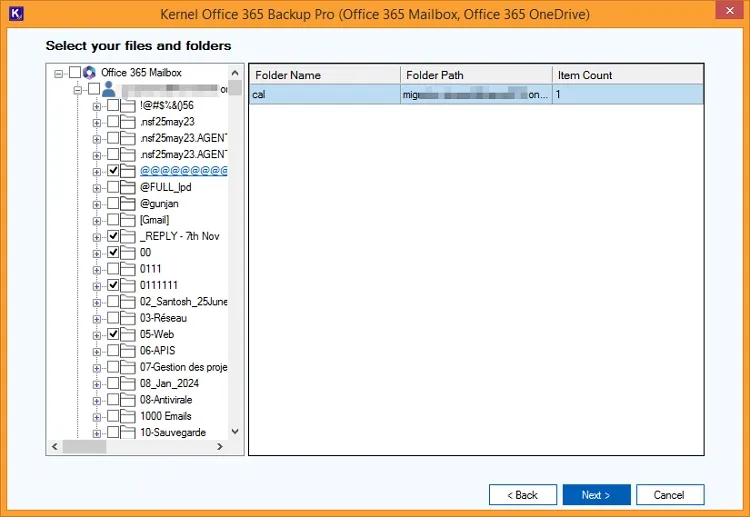
Step 7: Now, expand the mailboxes to select the desired files and folders from the hierarchical representation. Click Next.
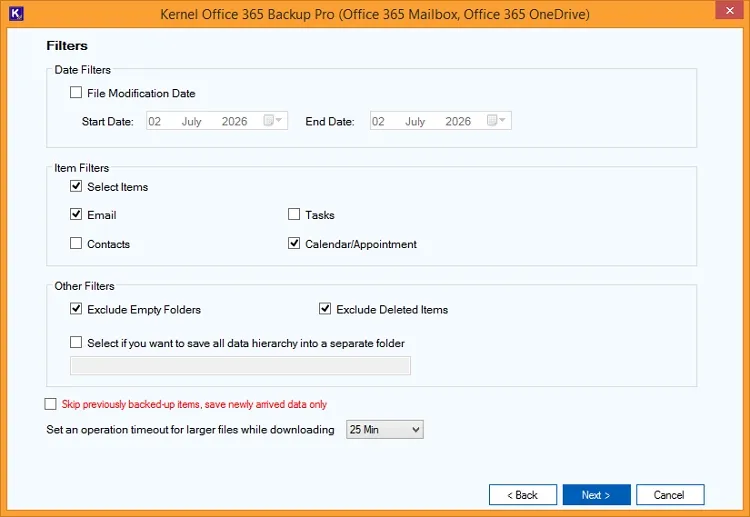
Step 8: Apply the desired filters from Date Filters, Item Filters, Other Filters, and select the suitable options. Click Next.
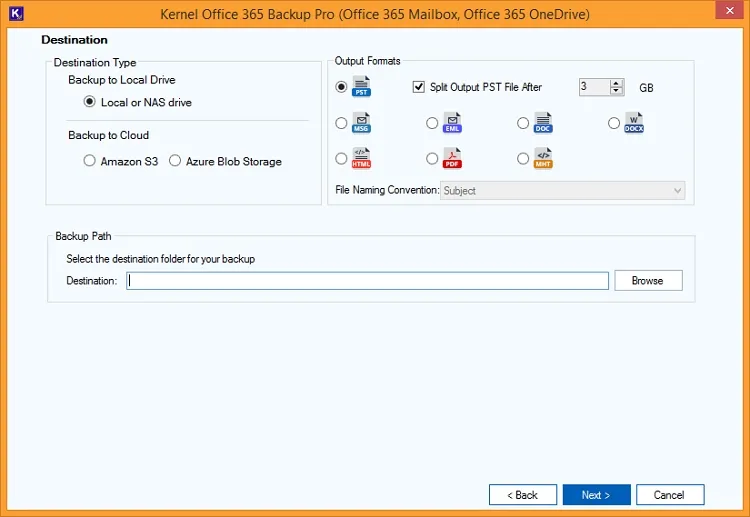
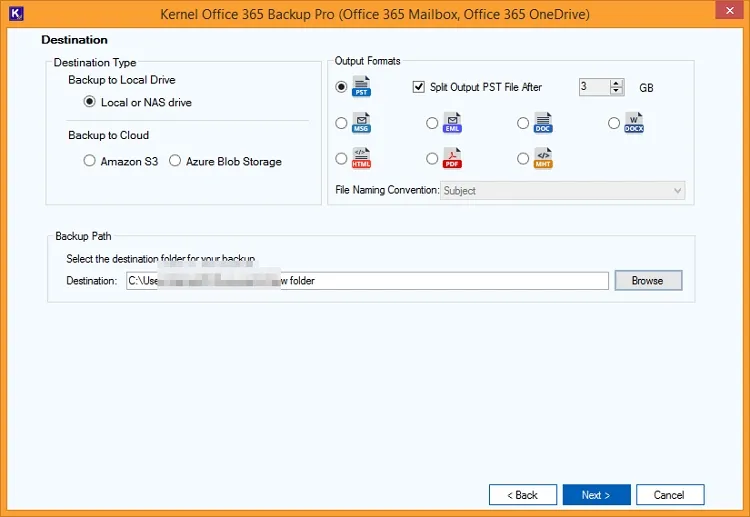
Step 9: In the next screen, select the Destination Type (here we’ve selected Local or NAS drive), Output Formats (PST), and Split PST if the mailbox is large in size.
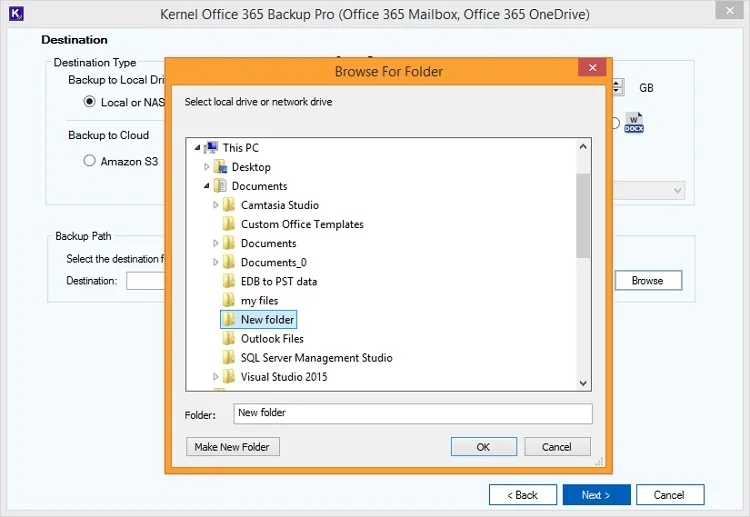
Step 10: Click on Browse and select the folder from the selected drive to backup. Click OK.
Step 11: After adding the backup path, click Next.
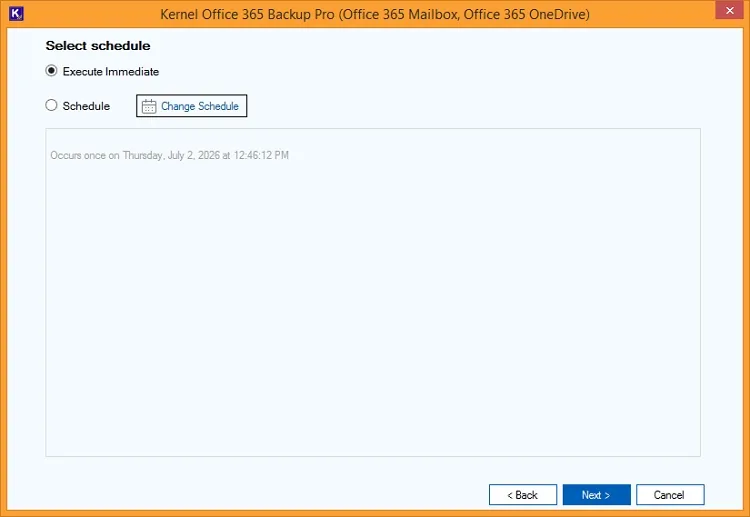
Step 12: Select if you want to Execute Immediate or Schedule the export process to run at a convenient time.
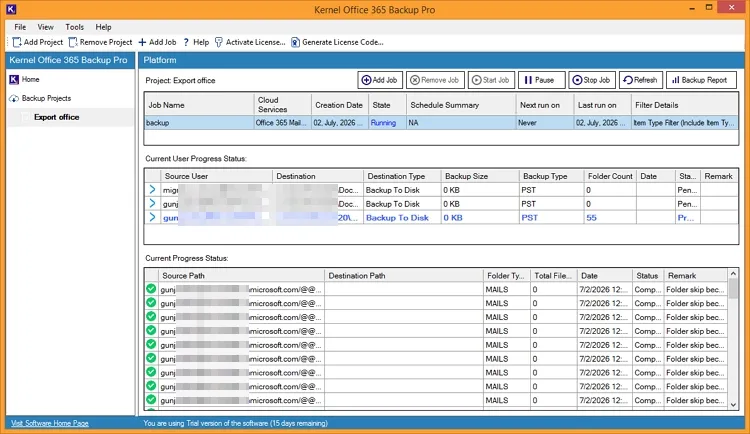
Step 13: The backup process will begin showing the real-time backup progress and Status as Running on the screen. Click on the Job Name to view the progress status.
Step 14: Once done, the process state will turn from Running to Ready and the complete backup status will be available for review.
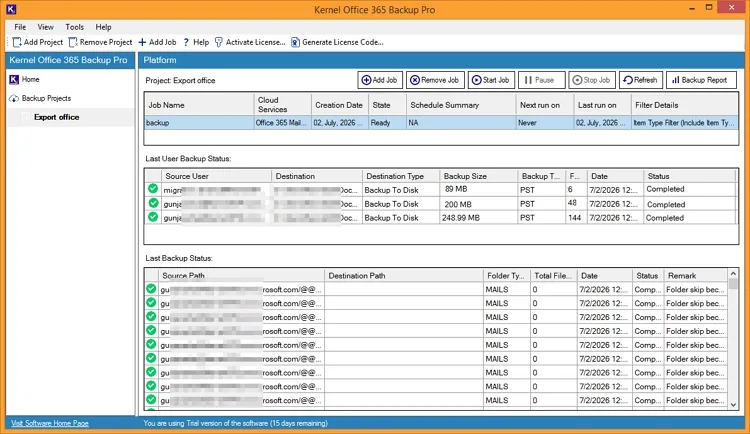
From the top right-corner, click on Backup Report and you can save it to a CSV file within your local or NAS storage.