Here is a step-by-step process to backup Dropbox data with this user-friendly and easy-to-use software:
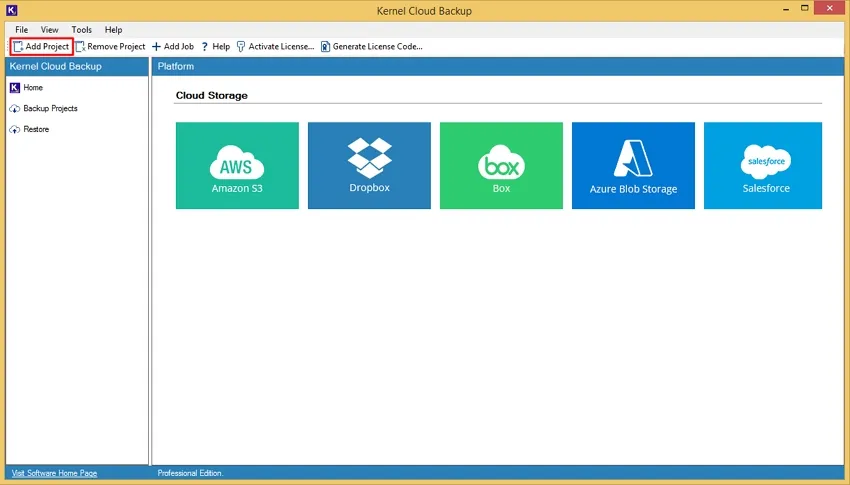
Step 1: Launch Kernel Dropbox backup software and click Add Projects on the software’s Homepage.
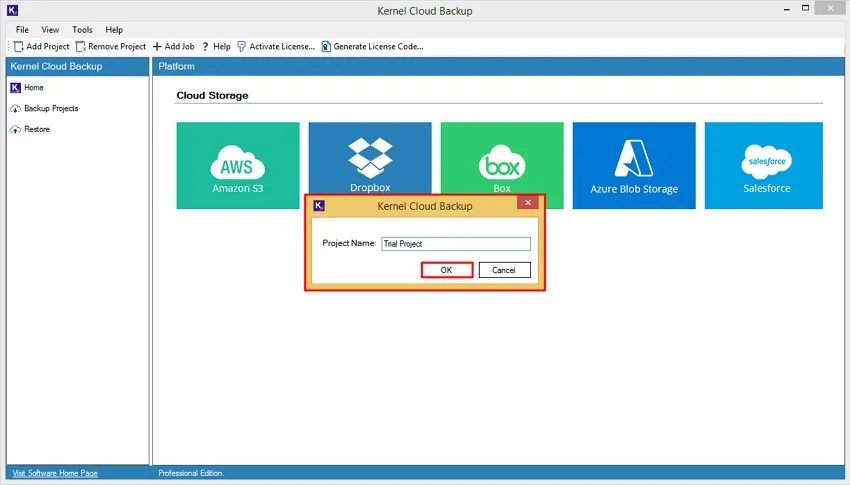
Step 2: Enter the Project Name and click OK in the following wizard.
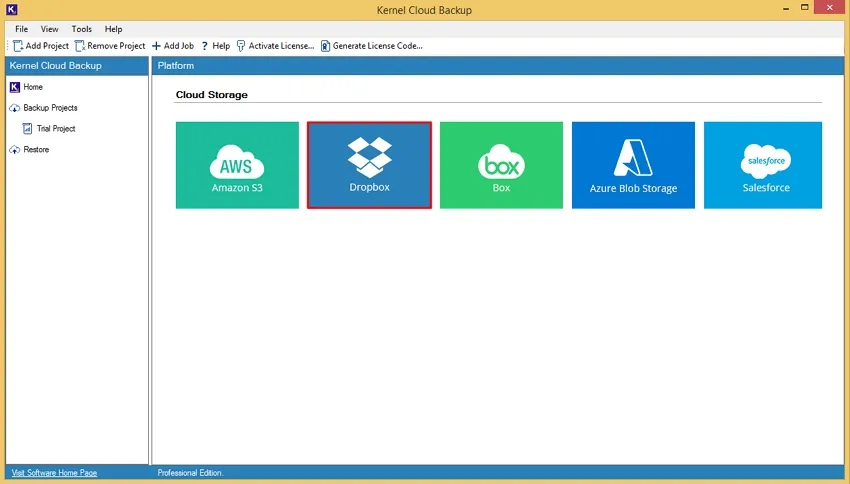
Step 3: Double-click on Dropbox module from the given Cloud Storage platforms.
Step 4: Enter Job Name under Project Name and click Next.

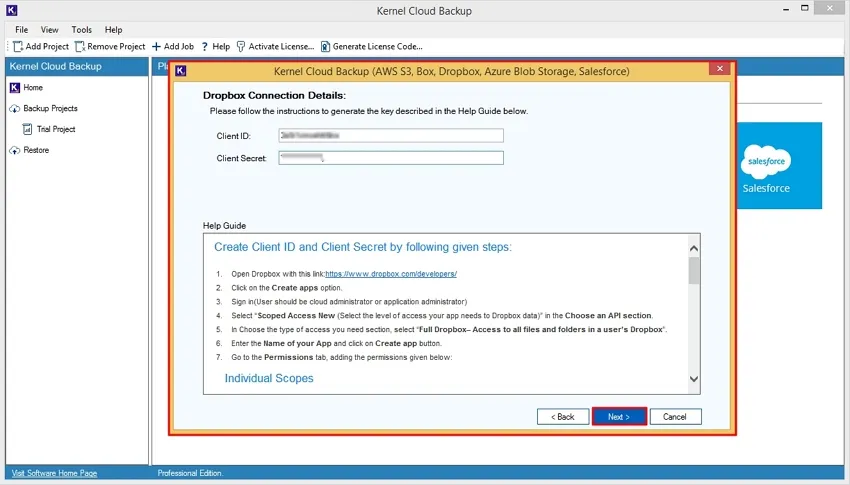
Step 5: In the Dropbox Connection Details, enter Client ID and Client Secret to map Dropbox account with software.
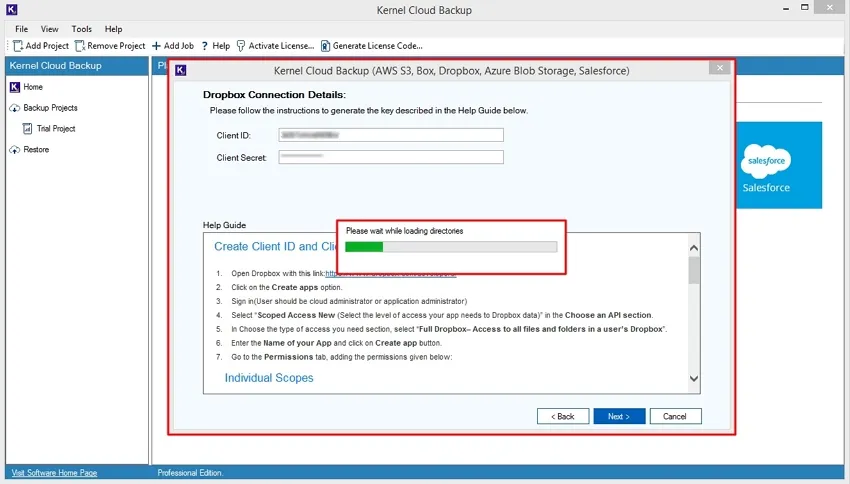
Step 6: The software will start loading directories and show Please wait while loading directories message.
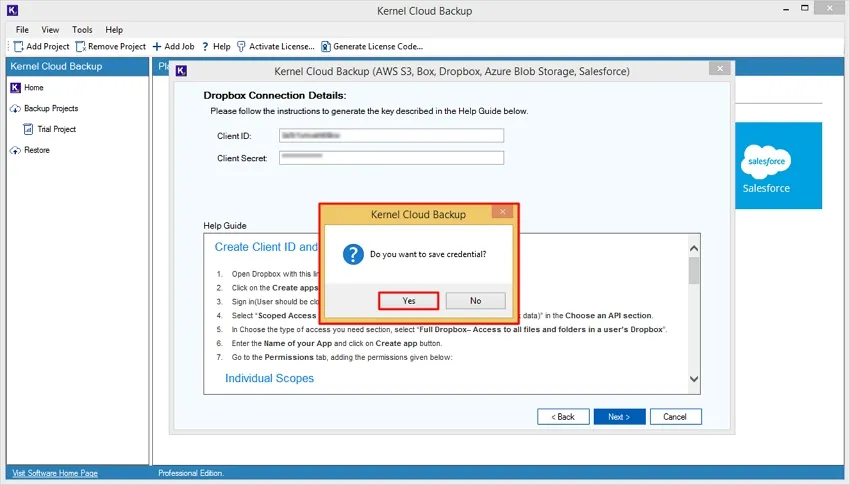
Step 7: The software will ask you to save the credentials for future use. Click Yes to save or No to proceed without saving password.
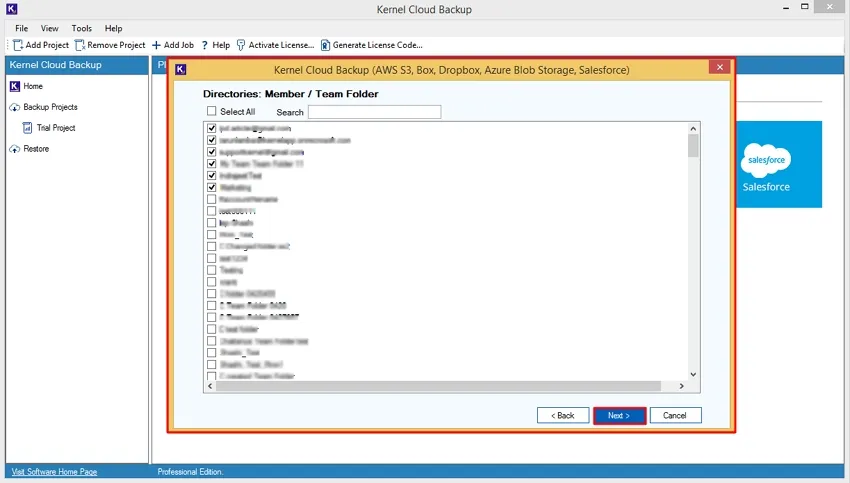
Step 8: The software will show Directories: Member/Team Folder in the toolbar. Click on Select All the members and team folders. Also, you can use Search option to find specific members or team folders accordingly. After that, click Next.
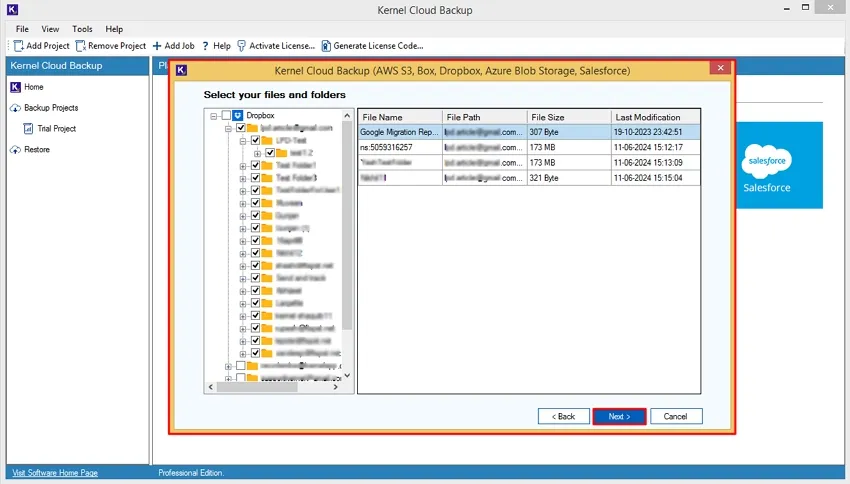
Step 9: In Select your files and folders wizard, double click on specific member or team folders to view its data in a tree-like structure. Tick the checkboxes to view the data format of the specific folder and click Next.
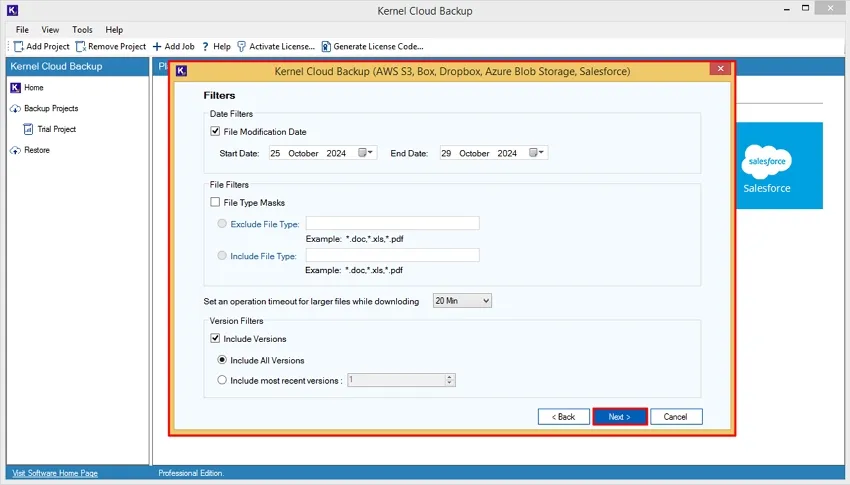
Step 10: In the Filters wizard, select necessary filters from:
- Date Filters: Select a date range from Start Date to End Date to extract data between these dates.
Note: Tick File Modification Date to select modified data according to date range. - File Filters: It allows you to extract specific files from the database.
- Exclude File Type: Enter File type names, such as .doc, .xls, .pdf, etc., that you don’t want to back up from the selected account.
- Include File Type: Enter specific File types, including .doc, .xls, .pdf, and many more that you want to backup.
- Set an operation timeout for larger files while downloading: Select a time to extract larger files in the selected time.
- Version Filters: It will help you back up data of specific or different versions.
- Include All Versions: It will back up all the versions of the specific files in the backup file.
- Include most recent versions: select the version numbers so the software can backup those recent versions and provide specific results.
After applying all the filters, click Next to proceed with the backup process.
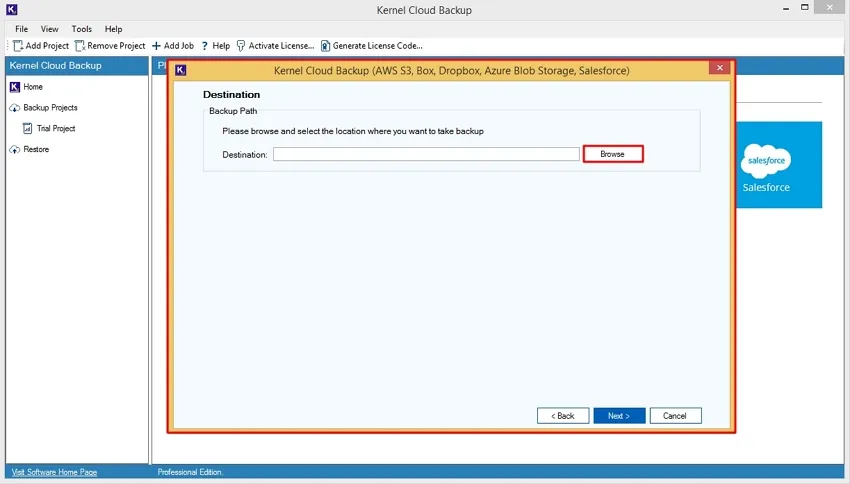
Step 11: Click on Browse in the Destination section.
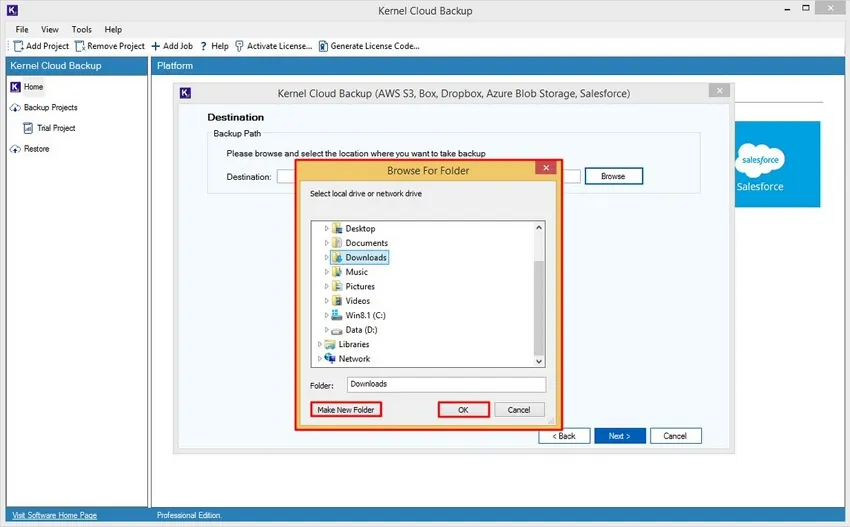
Step 12: In the Browse For Folder wizard, select specific folder where you want to save backed-up files and click OK. The software facilitates Make New Folder option to create a new folder to save backed-up files.
Step 13: Again, in the Destination section, click Next to initiate backup process.

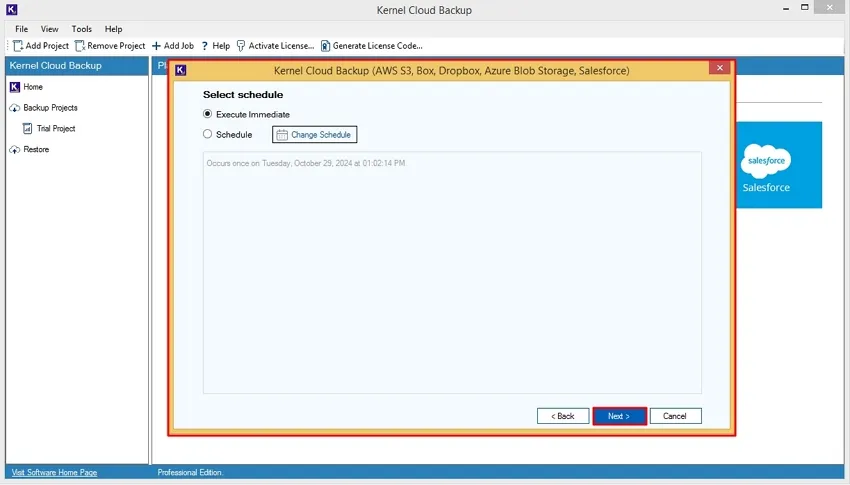
Step 14: Select Execute Immediate and Schedule to set a timer for backup in the Select schedule wizard.
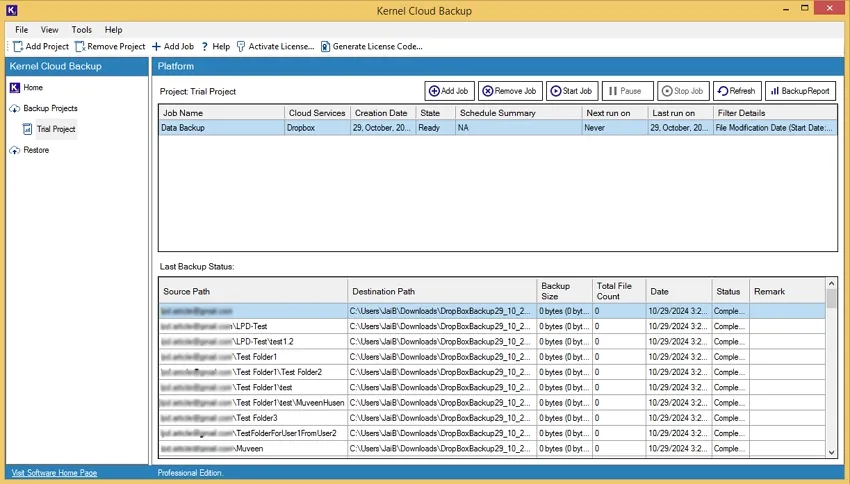
Step 15: Click on Project Name and Job Name to view the backup process.
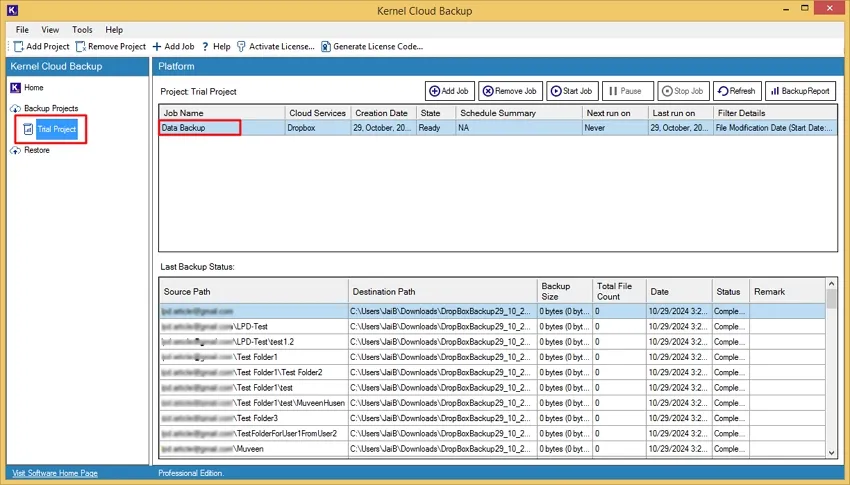
Step 16: The software shows Ready status in the toolbar once the job backup is done.
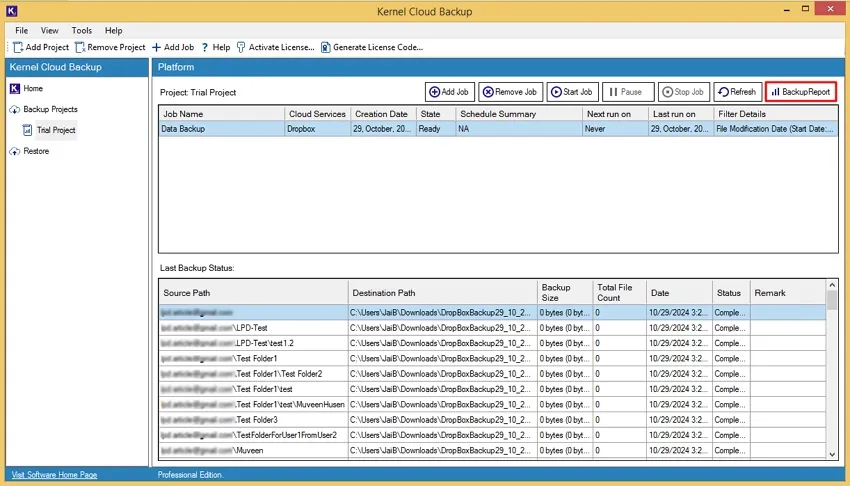
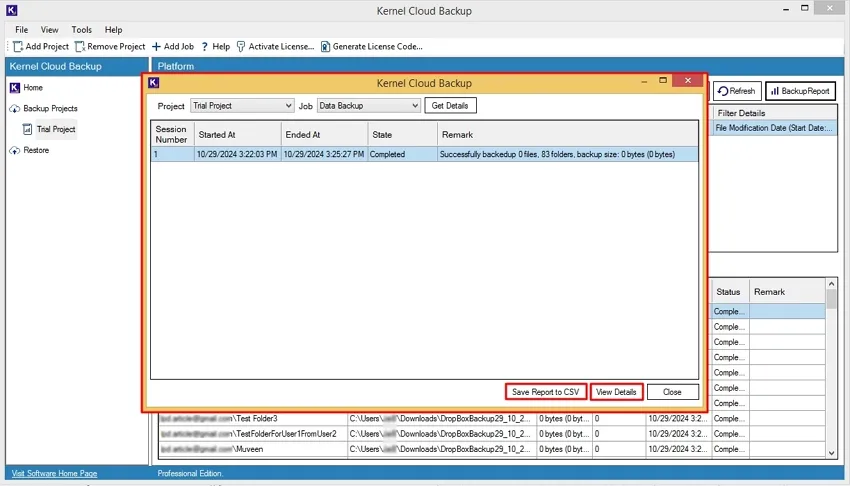
Step 17: Click on Backup Report to generate detailed reports.
Step 18: The software shows Job details such as Session Number, Started At, Ended At, State, and Remark. You can download this report by clicking on Save report to CSV. Click on Get Details to view the detailed files and folders backup report.
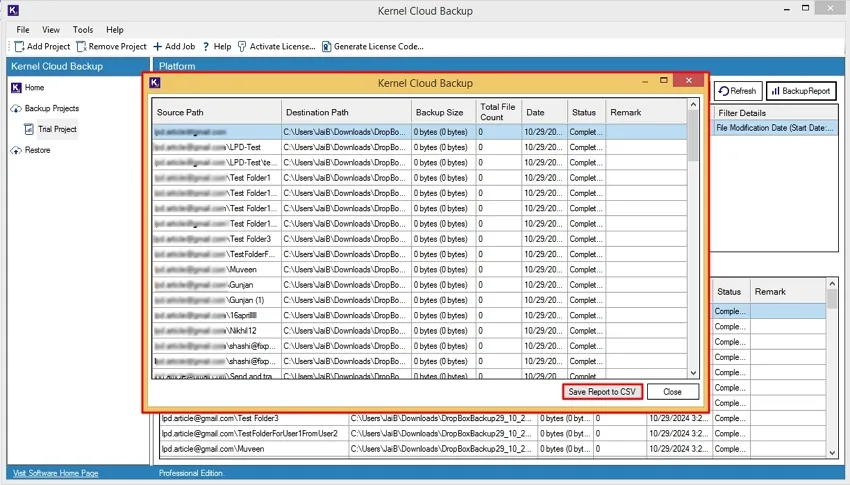
Step 19: After viewing files or folders, click Save Report to CSV to download this report to your local drive.
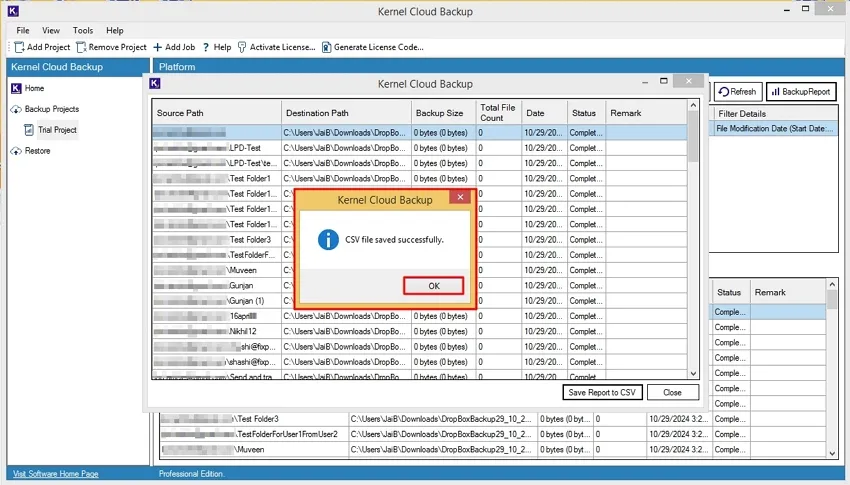
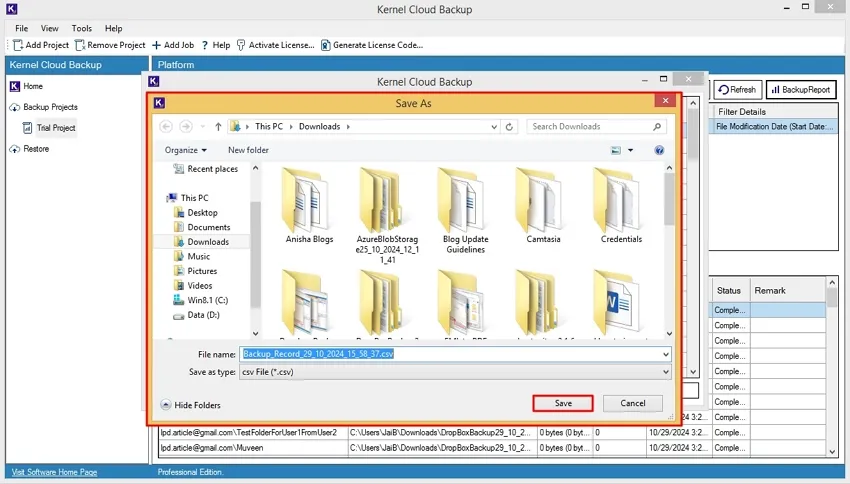
Step 20: Select a specific location, enter CSV file name, and click Save.
Step 21: Once the CSV file is saved, the software will pop up CSV file saved successfully message. Click OK to finalize the backup process.