Read time 11 minutes
“In our organization, we deal with lots of customer data and analyze their behavior patterns to suggest them suitable products for their businesses. However, after analyzing the data, we want to store them in the SharePoint lists as we need to share them with other departments or analyze them again. The data is present in large-sized Excel sheets. How can we accommodate these sheets in SharePoint? We don’t want to disrupt the arrangement of the columns as they are important for the analysis and results.”
The above statement is from my friend, who is a Data analyst and works on Excel sheets consistently. Yet, he is not aware of the SharePoint environment and how does it support the import of Excel Sheets to SharePoint. So, in the current article, we will go through the various methods which allow you to import MS Excel to the SharePoint list.
Methods to import Excel to SharePoint List
Organizations rely on the powerful combination of Microsoft Excel and SharePoint Lists to optimize their operational processes. This article offers a step-by-step guide on importing and exporting Excel data to SharePoint lists, providing valuable insights for decision-makers seeking to improve their data-driven processes.
Method 1. Quick edit on the List
In the quick edit option in the SharePoint list, input the data from the Excel spreadsheet directly to the list you created earlier. Here, create the columns similar to the columns of the spreadsheet.
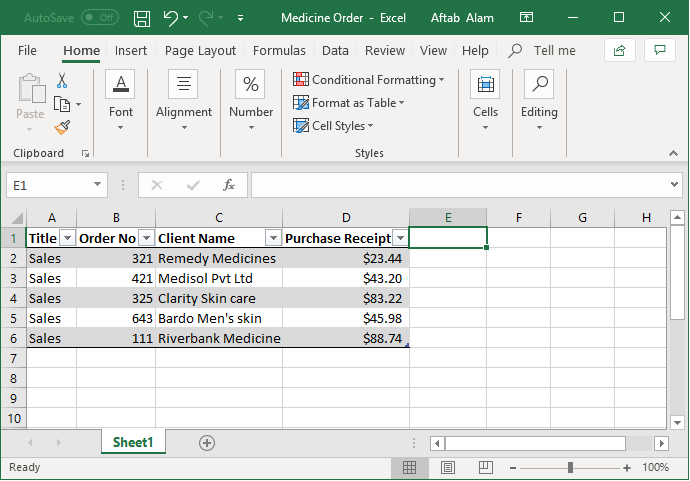
- Log in to your SharePoint site and create a list (or select an existing list). Create columns in the same manner as in your spreadsheet. Because you will copy the whole rows to the list, and any mismatched data will create a problem for you.
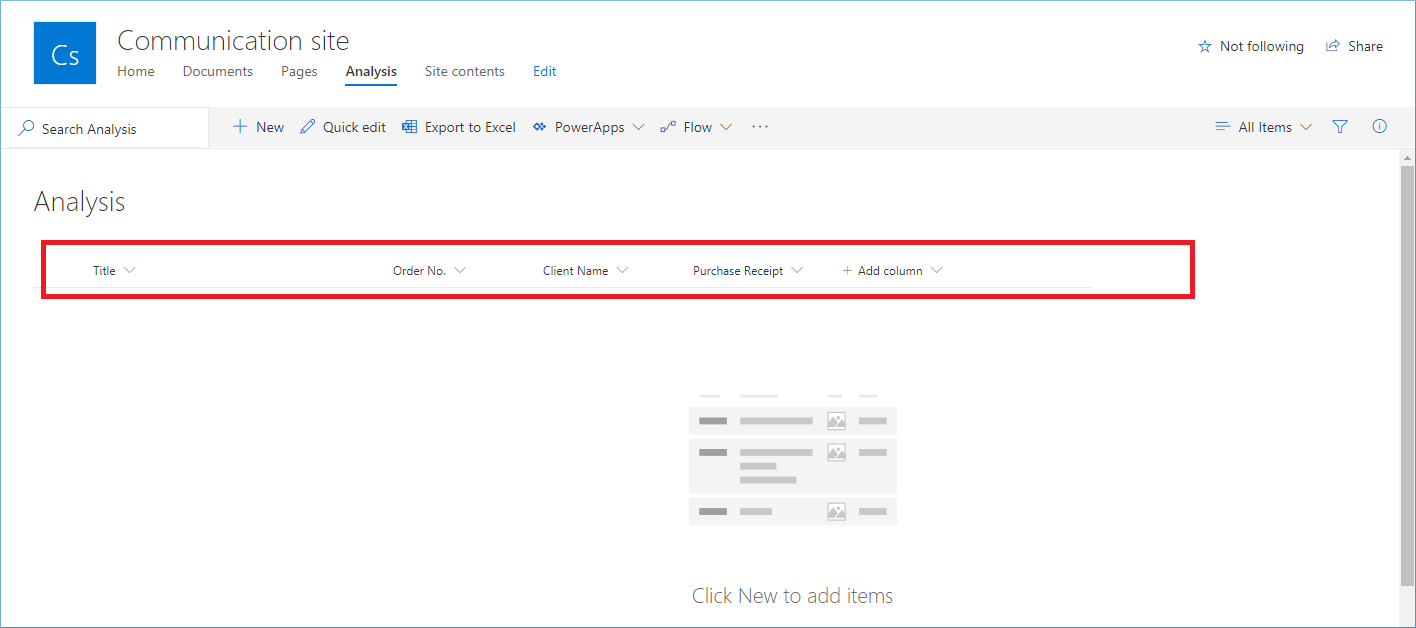
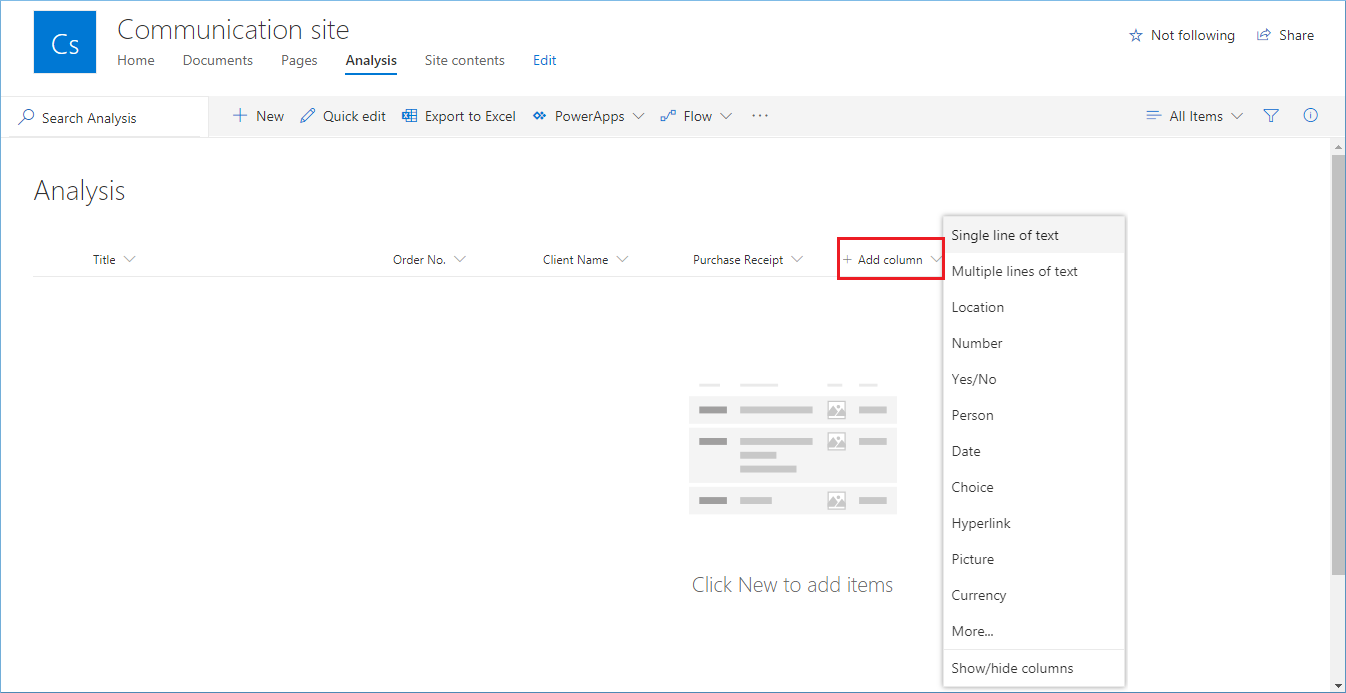
- You can click ‘Add Column’ and choose among the options to create a suitable column.
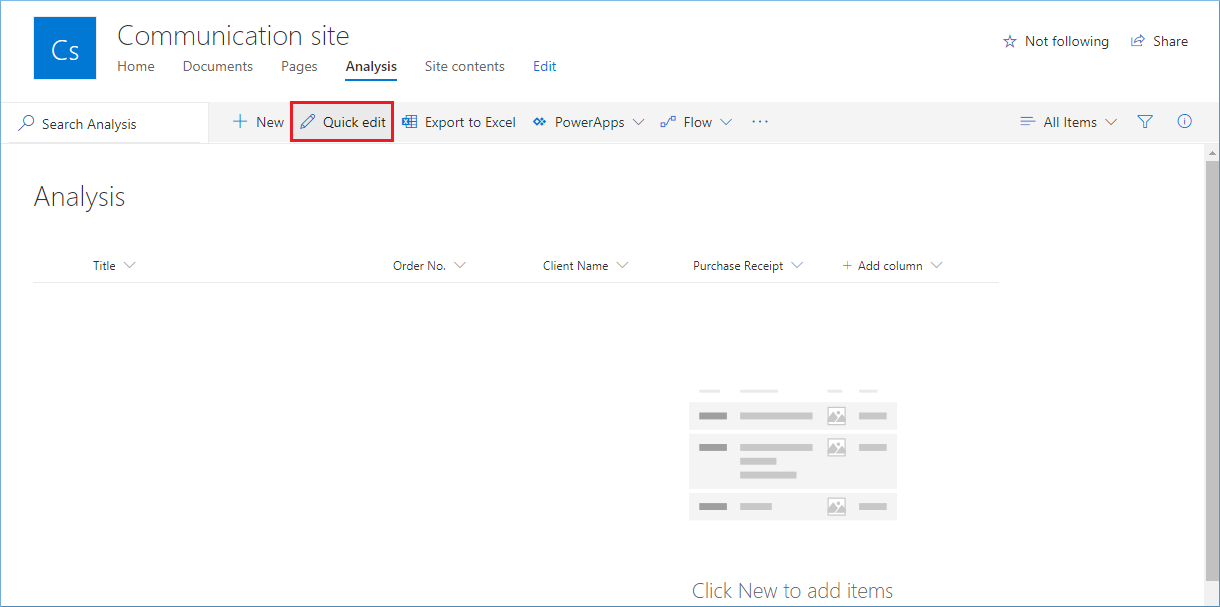
- After creating the column, click the ‘Quick edit’ option.
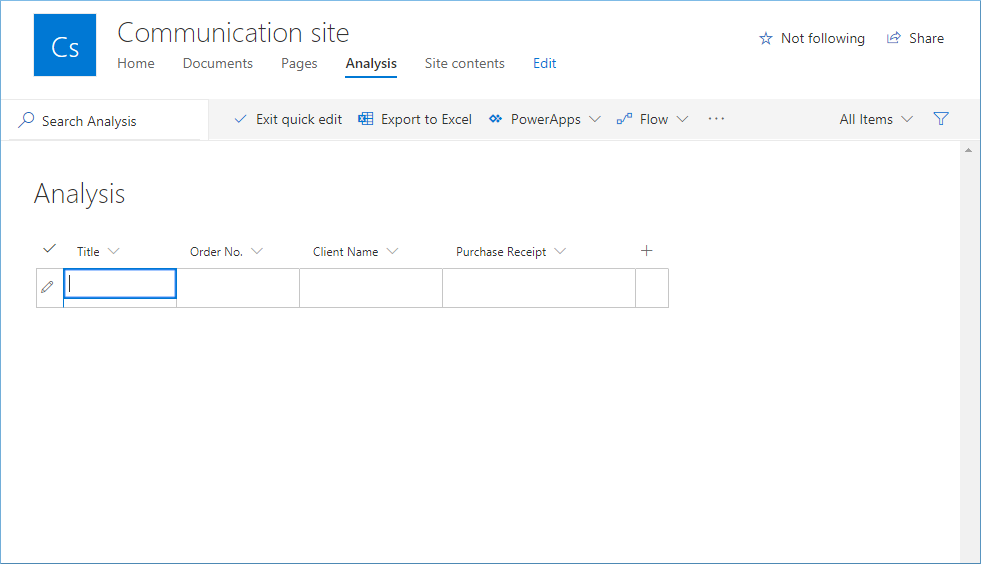
- The list columns are open to receive the data. Copy the row from excel and paste it into the list row.
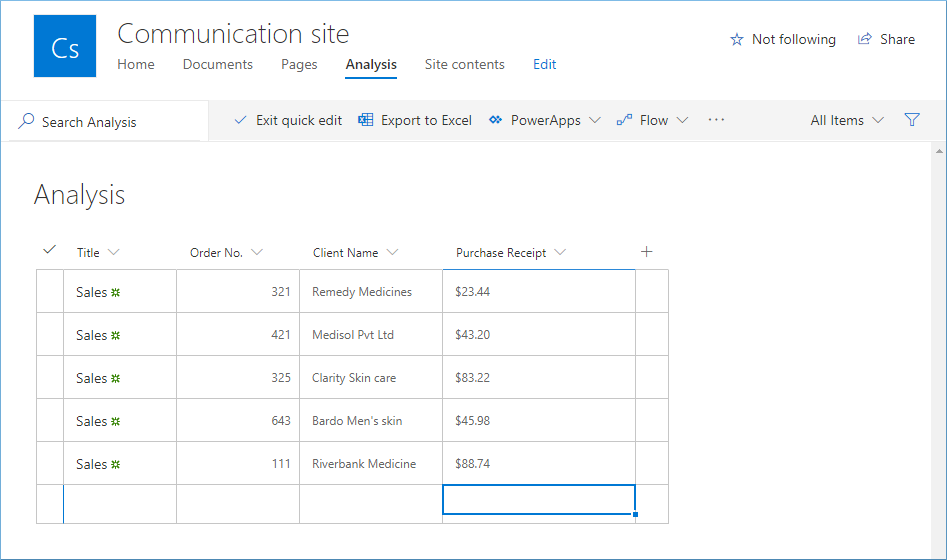
- The simple copy-paste process will bring the whole data to the SharePoint list.
NOTE:
- It is a time-consuming process as you need to copy-paste whole rows from your spreadsheets. If the size of the spreadsheet is large and has numerous rows, the process may take a lot of time.
- If you copy any row incorrectly, then it will be harder to find out the error.
- There is a high risk of missing out on data when you copy-paste rows in SharePoint list. It can lead to data loss and finding out the missing one will be a big task.
Read Also: SharePoint Document Management Best Practices
Method 2. Using the Import Spreadsheet option
There is another method that involves using the ‘Import spreadsheet’ web part option, where you can directly import the Excel sheet to the site. Here is the process:
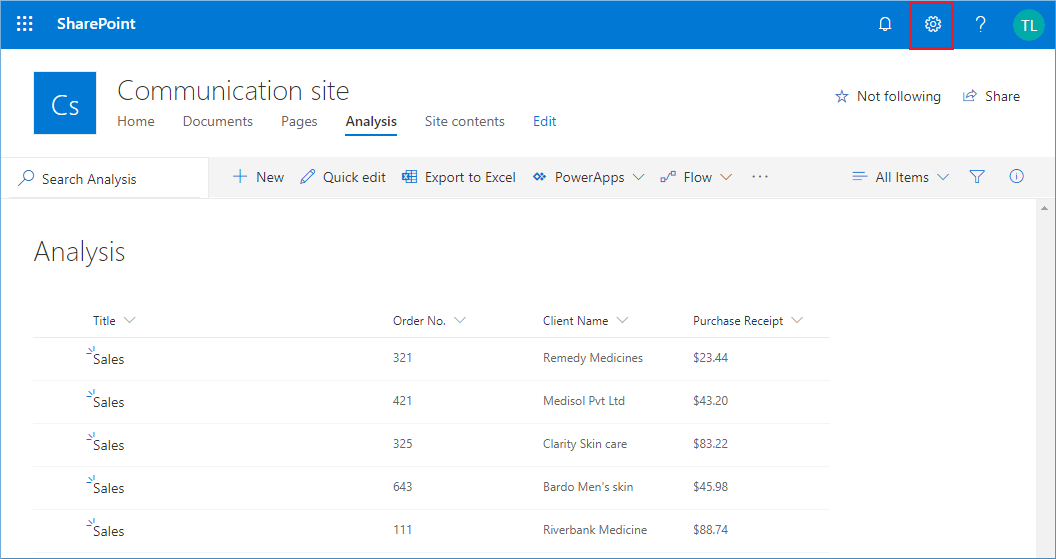
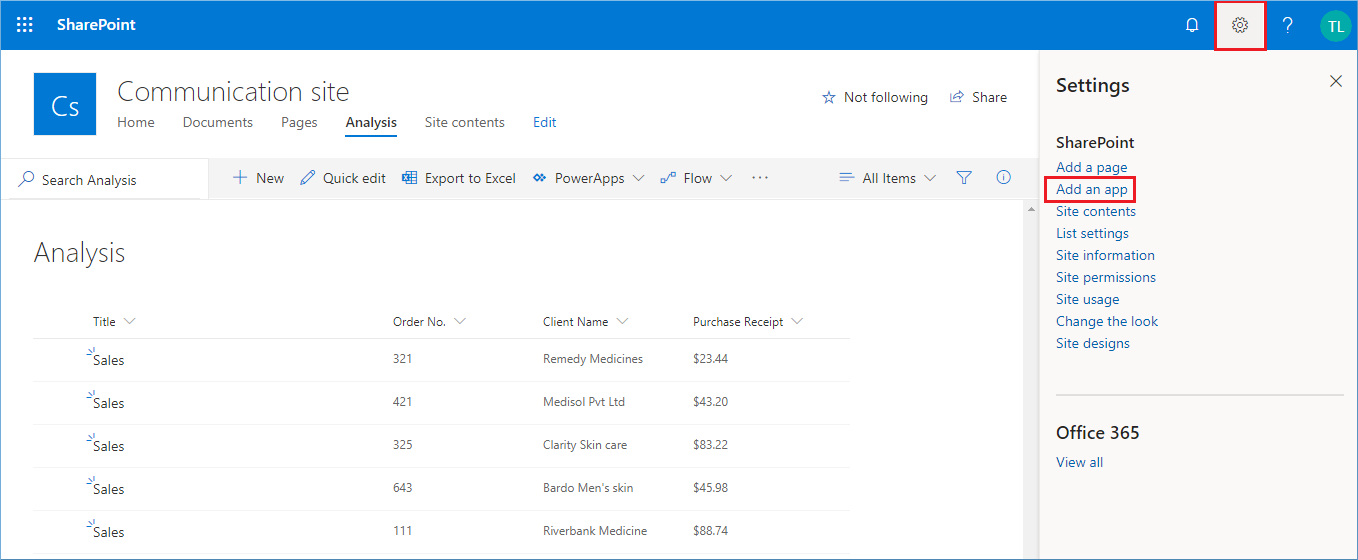
- Click the Settings gear option on the site page.
- Select the option ‘Add an App.’
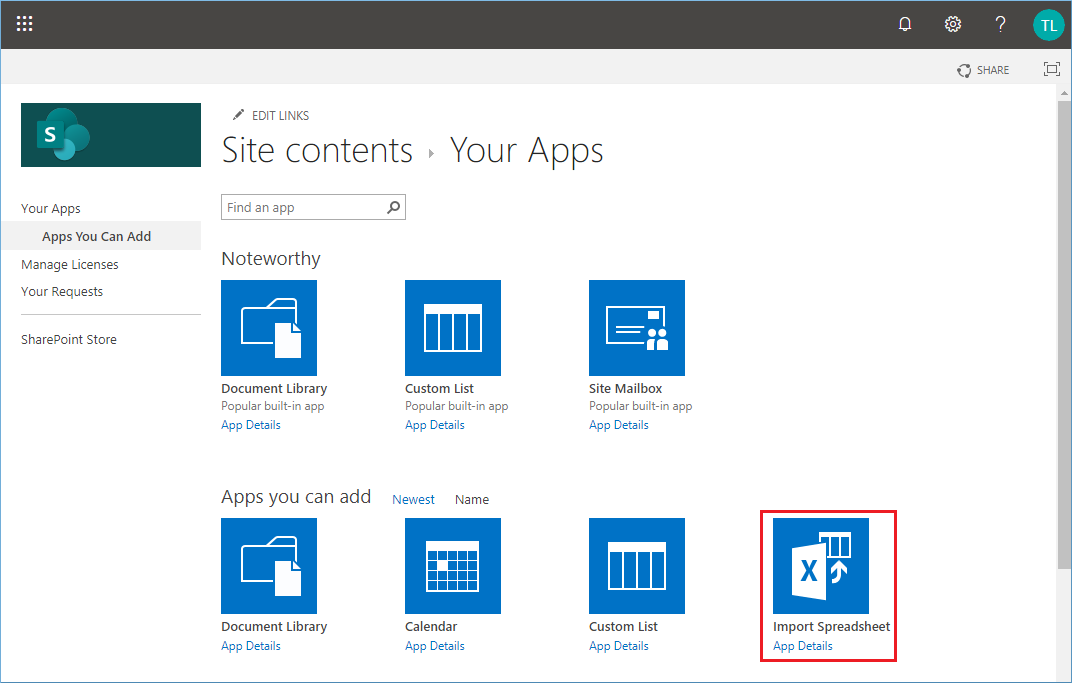
- Choose ‘Import Spreadsheet’ in the App list.
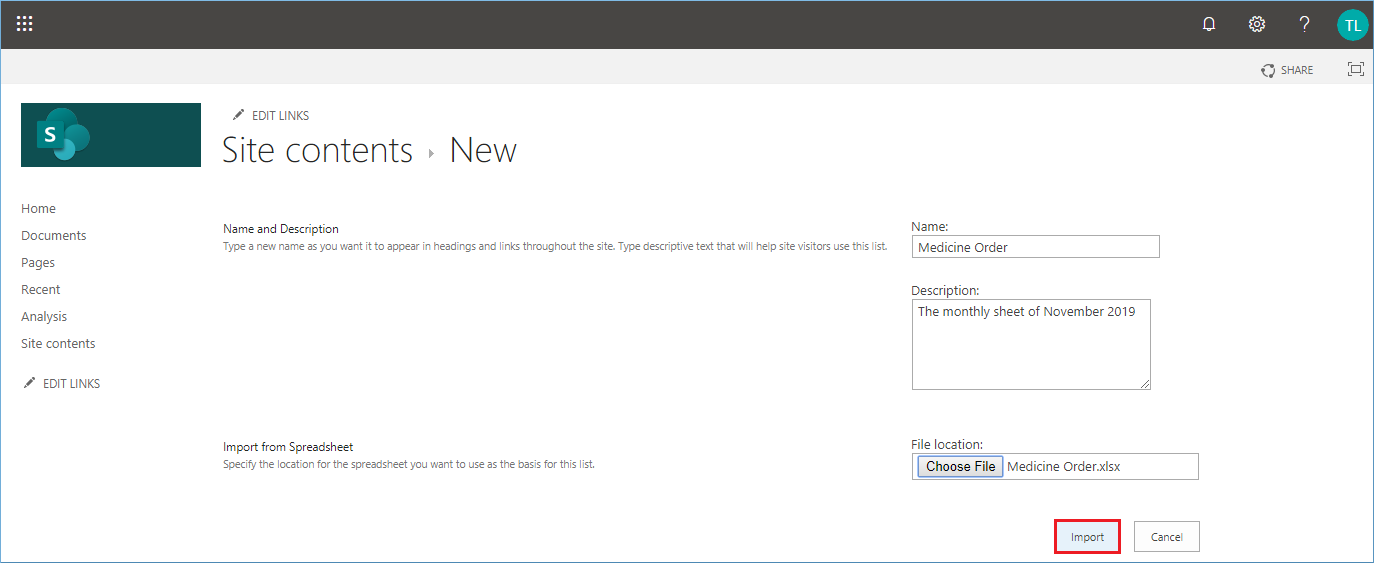
- Provide a name to the spreadsheet, a small description, and the File location. Browse the file from its location and click Import.
- The Excel file will open up where you need to select the range of cells that you want to import. Select them and click Import.
- The table will be copied to the SharePoint site list. The table will have proper columns and rows as it was saved in the Excel.
NOTE:
- The process works only with Internet Explorer, and if you are using any other web browser, then it will give an error message that ‘This feature requires a browser that supports ActiveX controls.’ So, you can perform this method only in Internet Explorer.
- If there is a drop-down list, then its entire content will be copied as the text. So, the method may disrupt the arrangement of your data.
Read Also: How to Migrate SharePoint On-premises Content to Microsoft 365
Method 3. Direct export from MS Excel
In the third method, you can directly export the table to the SharePoint list without any external assistance.
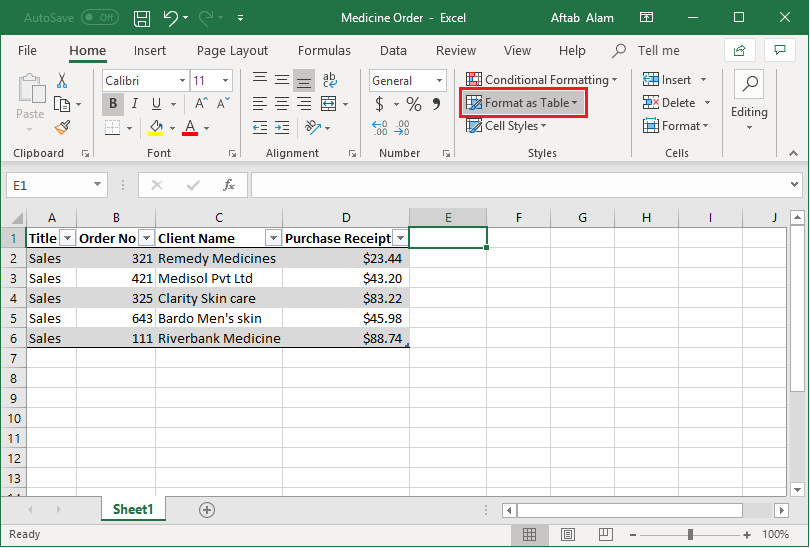
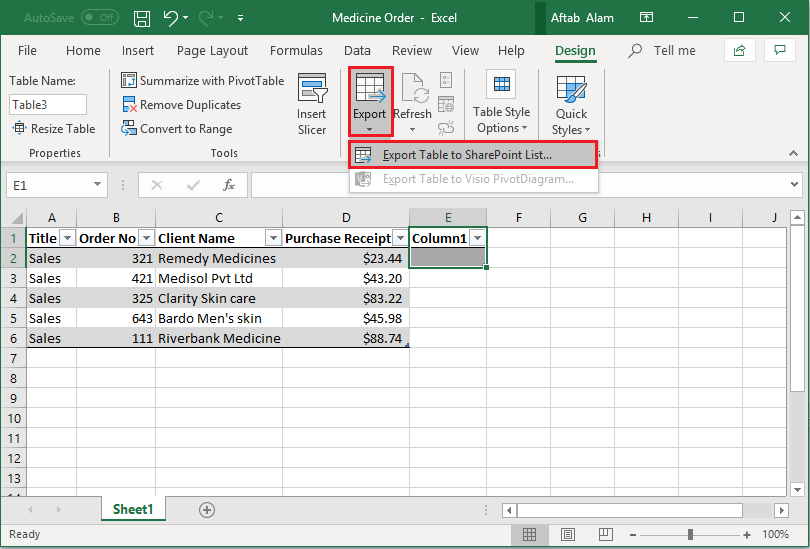
- Open the MS Excel sheet which you want to see in the SharePoint list, then choose the option ‘Format it as a table.’
- While the table is highlighted, go to the Export option and select the ‘Export table to SharePoint list.’
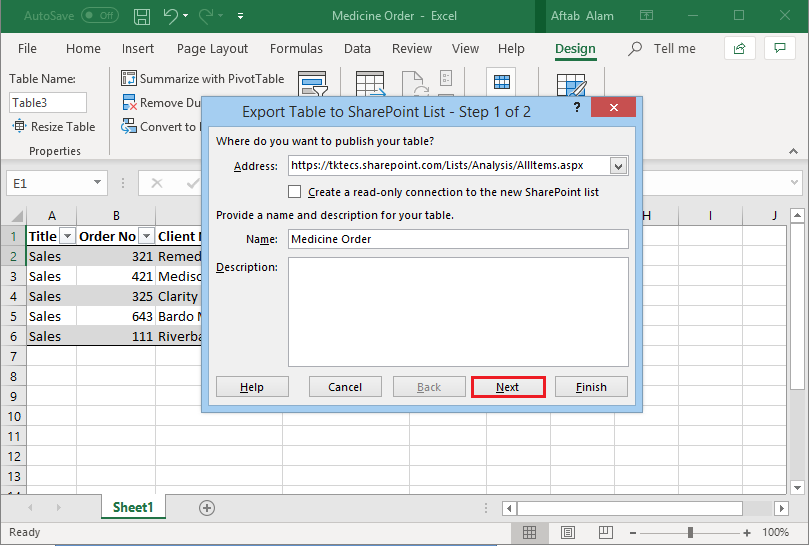
- In the Address field, input the link to the SharePoint list. Provide a Name and description to the sheet and click Next.
- The next screen will present all the columns and their respective data types. Click Finish.
- A message will appear showing that the table was successfully published and the link where you can view the table in the SharePoint list.
The table is presented in the Datasheet view. So, to see a normal list, you will need to click the Stop Editing option. Also, note that a classical list is created rather than a modern one. And if you have a drop-down list, it will be saved as text only.
| Sr no. | Method | Pros | Cons |
| 1 | Quick Edit on the List |
|
|
| 2 | Import Spreadsheet option |
|
|
| 3 | Direct Export from MS Excel |
|
|
Best practices for data integrity and security
When importing data from Excel to SharePoint, data integrity and security are important. Data integrity involves maintaining the accuracy and consistency of data over its lifecycle, while security focuses on protecting data from unauthorized access or alterations. Here are some best practices to consider:
- Validate data before import: Prior to importing, validate your Excel data for accuracy and completeness. Use Excel’s data validation features to check for data types, ranges, and consistency. This step helps prevent errors and inconsistencies in your SharePoint list, ensuring that only valid data is imported.
- Use SharePoint permissions: SharePoint offers granular permissions that control access to sites, lists, and individual items. Apply the principle of least privilege by granting users only the access levels they need to perform their tasks. Regularly review and adjust permissions to reflect changes in roles or responsibilities.
- Secure sensitive data: If your Excel files contain sensitive information, use SharePoint’s Information Rights Management (IRM) to protect documents from unauthorized access or distribution. IRM allows you to restrict actions such as editing or printing, adding an extra layer of security to your data.
- Monitor and audit: Enable auditing in SharePoint to track how data is accessed, edited, and deleted. Auditing helps you monitor user activities, detect unauthorized access, and ensure compliance with data protection regulations.
Regular backups: Regularly back up your SharePoint data to recover from data loss incidents. While SharePoint Online offers built-in data protection features, having a backup strategy ensures you can restore data to a specific point in time if needed.
By adhering to these practices, organizations can maintain the integrity and security of their data when importing from Excel to SharePoint so that data remains accurate, consistent, and protected against unauthorized access.
Advanced data management and automation in SharePoint
Here are some strategies and tools for advanced data management and automation in SharePoint:
- Custom Views and Metadata
Utilize SharePoint’s ability to create custom views and leverage metadata to organize and categorize data effectively. Custom views allow users to filter, sort, and display data based on specific criteria, making it easier to manage large datasets. Metadata, on the other hand, adds rich information to items in your lists and libraries, enhancing searchability and categorization.
- Integration with Power BI
Integrate SharePoint with Power BI for advance data analysis and visualization. This powerful tool allows you to create interactive reports and dashboards using data stored in SharePoint lists and libraries. Power BI’s deep integration with SharePoint enables real-time data updates, ensuring that your reports always reflect the latest information.
- Workflow Automation with Power Automate
Automate repetitive tasks and workflows using Power Automate (formerly Microsoft Flow). Power Automate easily integrates with SharePoint, allowing you to create automated workflows for tasks such as document approvals, notifications, and data synchronization between SharePoint and other applications. This reduces manual effort and streamlines business processes.
Tips to manage imported Excel items into SharePoint lists
Once you import columns from the Excel spreadsheet to SharePoint lists, you can access the data instantly and analyze them to retrieve desired results. We are mentioning to you some important tips that you should use to alleviate the performance of the list’s data-
- Enable versioning in the list – Version control lets you check all the versions of a file. It means if you have imported some columns mistakenly, you can restore them to a previous version of the list.
- Approve list items – The SharePoint list items remain pending until the administrator approves them. You can control the users who can access the imported data.
- Manage the permission levels – The Administrator can change the permission levels of the user as to who can only view the items and who can edit them.
- Create a different view of the same list – You can change the view of the same list for different users. The contents of the list will remain the same, but the view will be organized differently for different users.
It is evident that all three methods to import Excel sheet works for a single list or an Excel file. When you have multiple spreadsheets that are required in different SharePoint lists, then you will have to run each method multiple times. Use a professional software that import excel files to SharePoint lists and manage all the properties, permissions, and versioning too. It will be helpful in saving time when you need to import a spreadsheet with loads of data. Kernel Migration for SharePoint will import unlimited data empowered by several helpful features.
Why get our SharePoint Migration solution?
You must checkout the following benefits of Kernel Migration for SharePoint that make it a worthy candidate of importing MS Excel data into SharePoint lists-
- Its user-interface is direct and easier enough to import larger datasheets.
- It supports all kinds of Excel formats including the CSV.
- It can import attachments too.
- With the date filter, you can select the data from the Excel files that you actually need to import.
- It provides several filters to choose only the important spreadsheets.
- It checks and removes already migrated items.
- It can schedule the import at a comfortable time.
- It can import excel lists to single or multiple SharePoint accounts and groups.
Conclusion
Using these methods, you can easily import Excel to SharePoint list when you do not want to migrate data in bulk. However, this is not a feasible solution when you’re transferring massive Excel sheets. There is no surety of data integrity and security when you rely on these manual methods. Kernel Migration for SharePoint is the best solution for these scenarios as it helps in transferring any amount of data smoothly.