Read time 8 minutes
If you have hidden some files in the past and now you are unable to unhide them, then we are listing a few solutions with which you can show the hidden files.
Listing a few solutions to overcome the issue
Solution 1: Enable Viewing Hidden Files
If you are a Windows 10 user, follow the below-mentioned steps to unhide the hidden files:
- At the lower-left corner of the screen, click on the Windows icon.
- Type Folder and select Show hidden files and folders from the results.
- Now locate the Advanced Settings category, select “Show hidden files, folders, and drives” and then click on the Apply button.
- Or go to the View menu on the top of your Windows Explorer and select the checkbox saying “Hidden items” to enable viewing the hidden items on your system.
Solution 2: Uninstall the Antivirus Program from your system!
Antivirus can interfere with a lot of activities on your system, so sometimes deactivating or uninstalling it, may work for you. Check if it worked, and if it didn’t, then move to the next solution.
Solution 3: Use Command Prompt
The next option to make the hidden files visible is to add a command prompt. For this, you need to click on the Start menu and type “cmd” in the search box, right-click on the “cmd.exe” and click on Run as Administrator. Now, type “attrib –s –h –r /s /d” and click on the Enter button.
If the message “Access denied – <drive>:\System Volume Information,” this doesn’t mean that you can’t show hidden files, this has happened because this folder stores Windows System Restore points. Now, you need to enter the drive from which you want to show the files, so type the drive’s name, and press Enter. After this, all your hidden files should be visible, go and check them. If it doesn’t work, then move to the next method.
Solution 4: Run File Checker tool
This method contains showing files with the help of file checker tool. File checker tool helps with the corruption issues with the file. Let’s know how to do that:
- Click on the Start Button
- Type CMD in the search bar.
- In the search results, right-click on the CMD option and click on Run as Administrator.
- Now type DISM.exe /Online /Cleanup-image /Restorehealthsfc /scannow and press the Enter Key.
- After performing it successfully, check if the problem is solved or still there.
Solution 5: Modify Registry
Modifying the registry may lead you towards the solution, but while performing it, the user should be careful as it may cause some serious system errors.
- Start with pressing Windows+R and in the Run dialogue box type Regedit and click on the OK button.
- Locate
HKEY_LOCAL_MACHINE\SOFTWARE\Microsoft\Windows\CurrentVersion\Explorer\Advanced\Folder\Hidden\SHOWALL
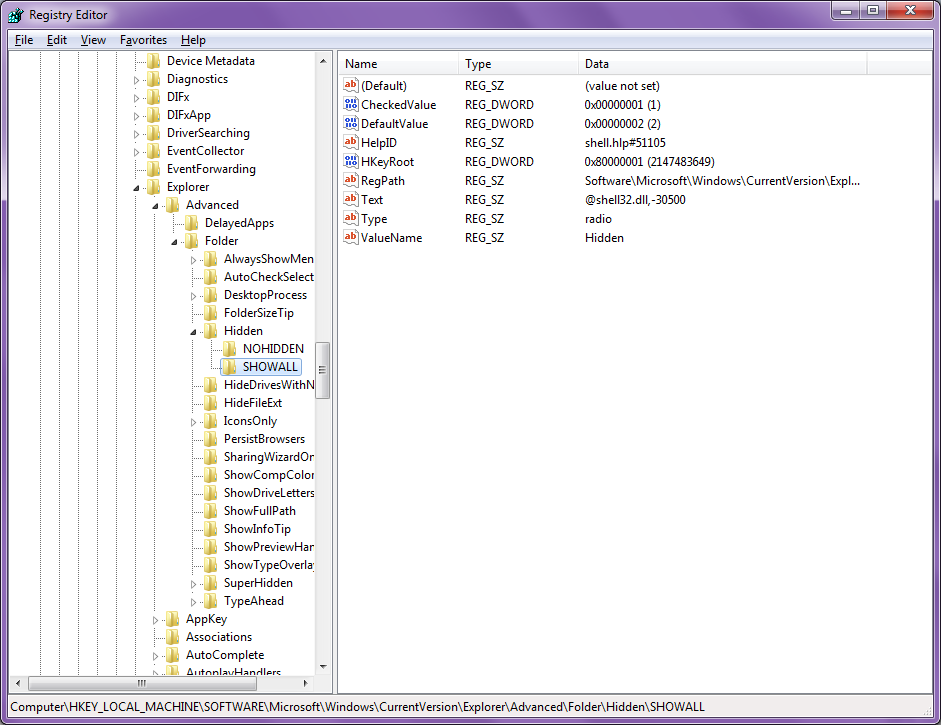
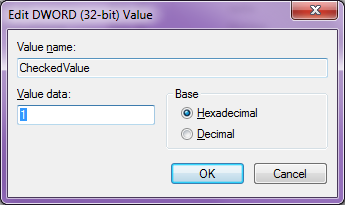
- Now look for the “CheckedValue” and double-click on it.
- Now, set the Value Data as 1.
- Reboot the system, and check if the files are there.
Recover Hard Disk with a professional tool
Manual methods come in handy, but they have their own drawbacks, one of which is data loss. So, if you have lost data, or the hidden files are actually not hidden but are deleted, then you can recover it with Kernel for Windows Data Recovery Software. It is a third-party tool and an automated method with which you can recover lost or deleted data from system drive partition sectors deeply using three scanning modes and let users preview the recovered content (including permanently deleted files) before saving desired content to any system location, let’s see how:
- Run the tool, and you will see three recovery modes right there on the home page of the tool. Click on the preferable mode; here we are going for the Quick Scan recovery Mode.
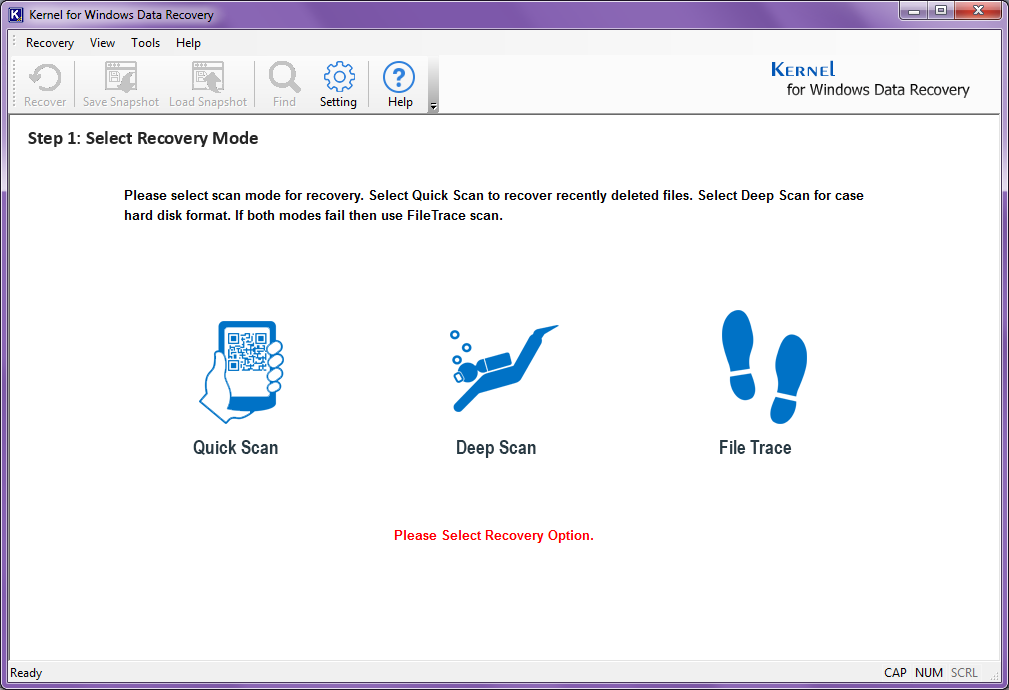 Note: If the changes/losses are recent, then go for the Quick Scan mode, if the loss is major and a bit older go for the Deep Scan recovery mode, and if you want some intense recovery, then go for File trace recovery mode.
 - After the recovery mode selection, select a drive from which you want to recover the data. Once decided, click on the Next button.
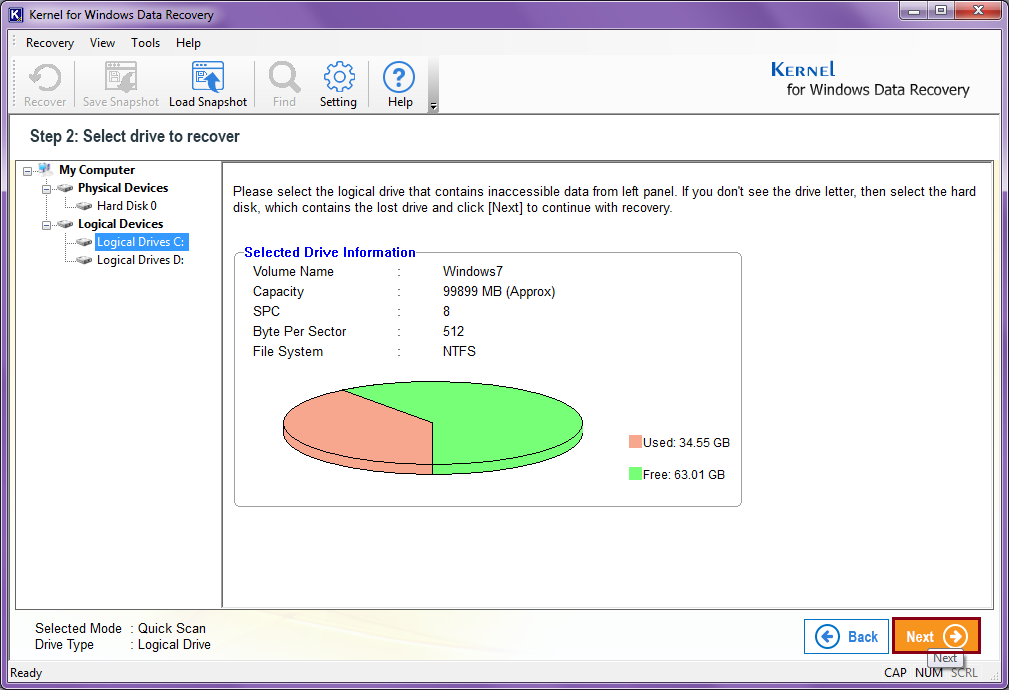 Note: Here, we have selected a logical drive; you can go for either of them as per your requirement.
 - Here, you can have all the information related to the drive, read it, and click on the Next button.

- In the next step, the scanning process will start, and the progress of the scan will be shown on the screen. You can click Stop anytime to discard the whole process.
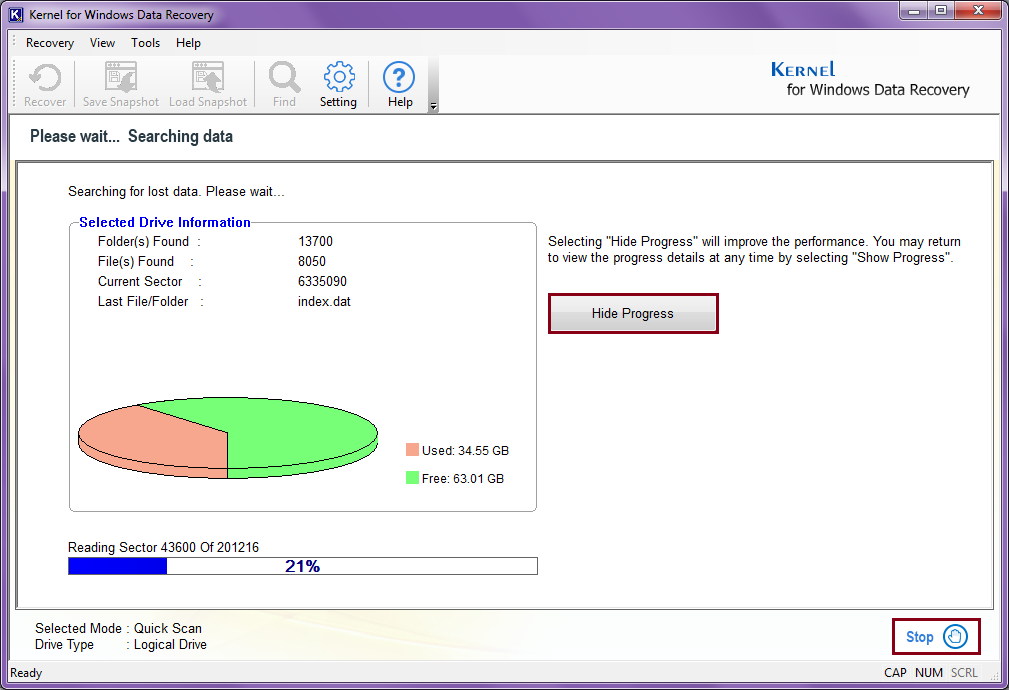 Note: If you wish to make the process a bit faster, click on the Hide progress button, similarly, if you want to see the progress info, click on the Show Progress option.
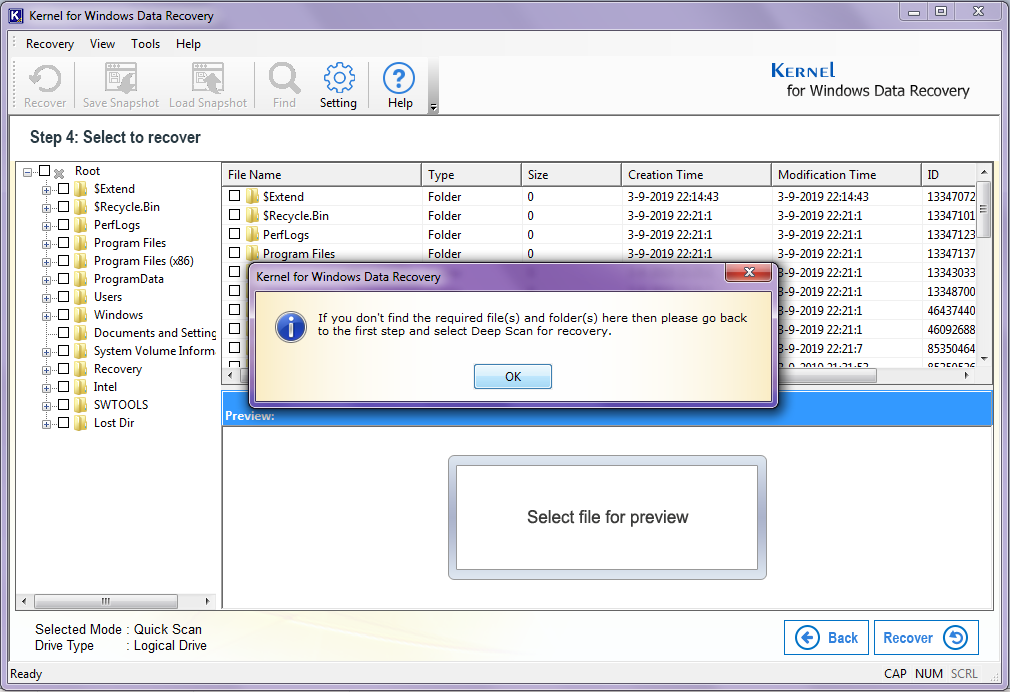
 - Once the scan process is over, the tool will show you this notification “If you don’t find the required file(s) and folders(s) here then please go back to the first step and select Deep Scan for Recovery.” So, if all the data is not recovered, then you can switch the mode, otherwise, click OK and proceed.
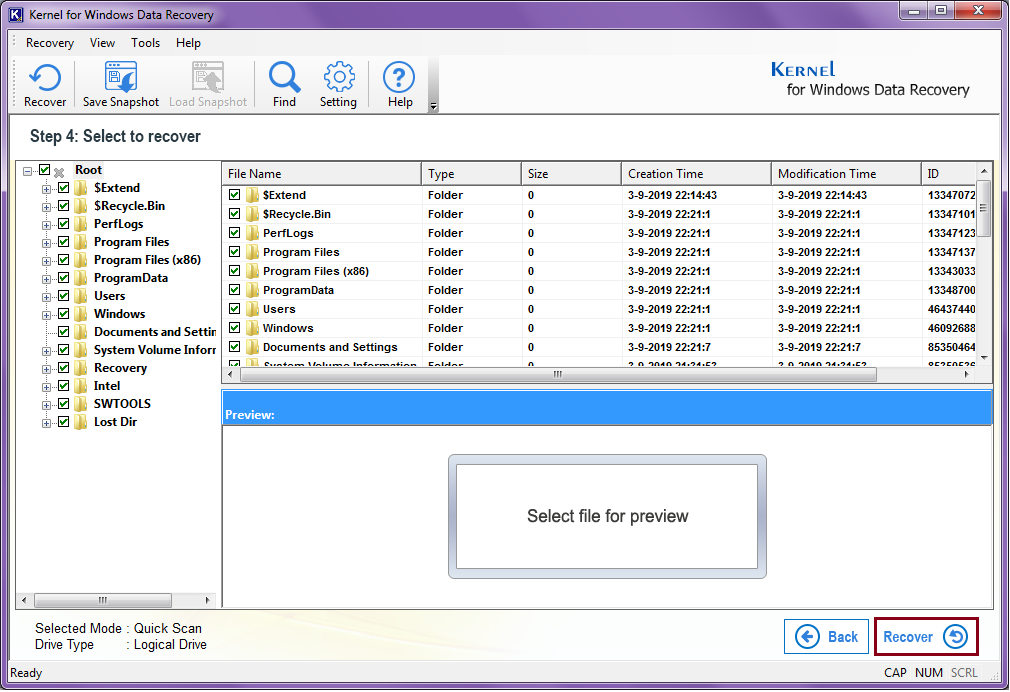
- Now, you can have a preview of the content of the files by clicking on them individually. As you click on the files, the content will be displayed on the screen below.
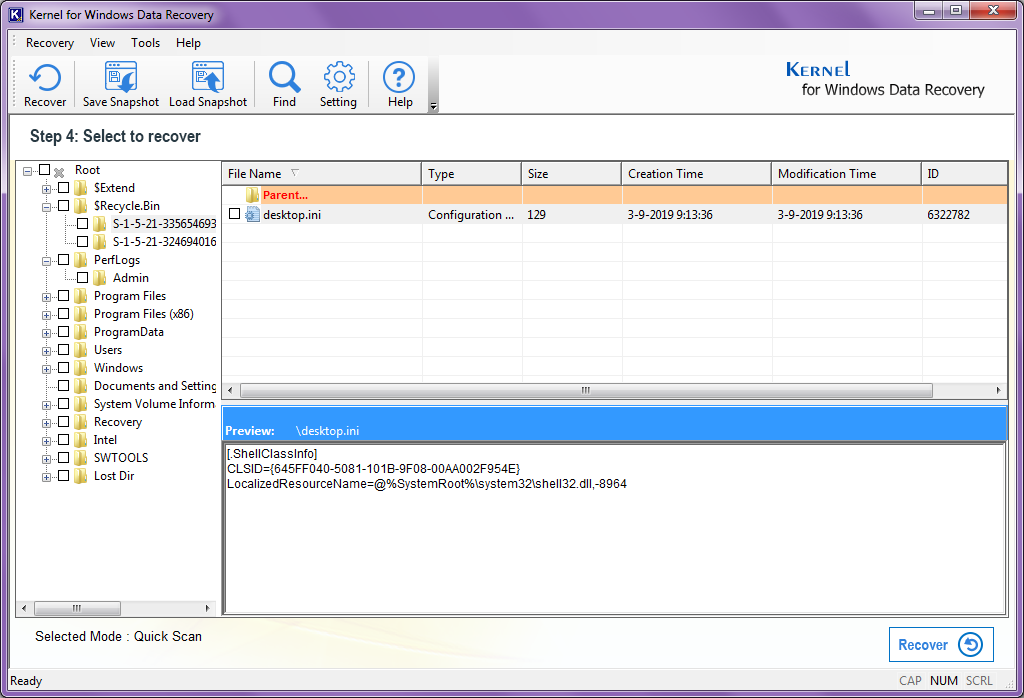
- Once you have had the preview of the files, click on the Recover button to start the process.
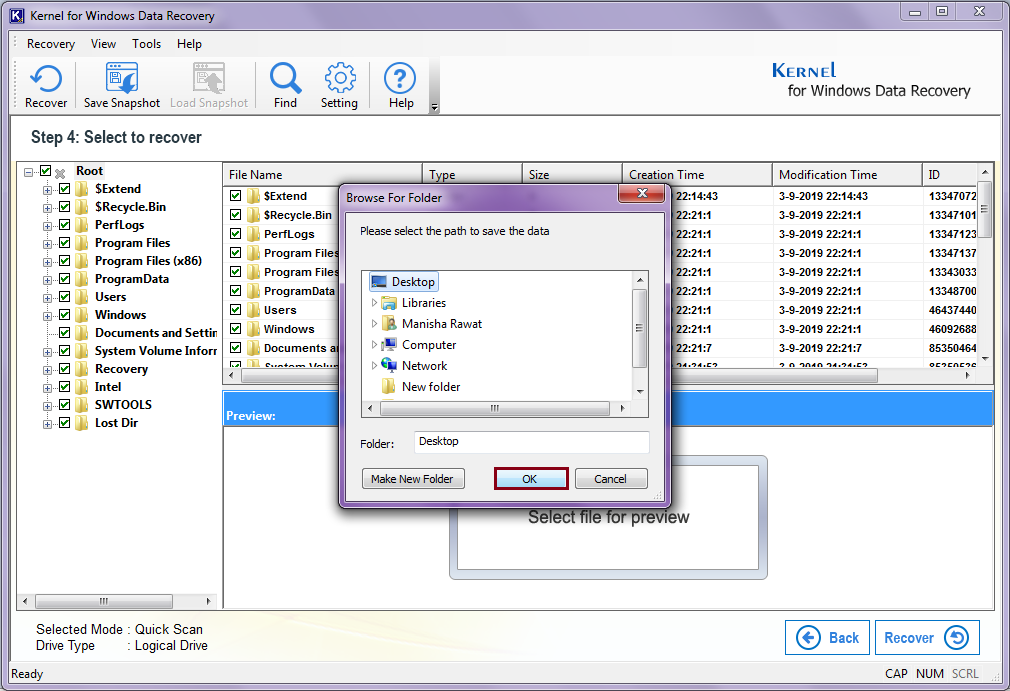
- Now, this is the time when the tool will prompt you to provide a destination to the recovered file. Provide one and click on the OK button.
- At this stage, the process of saving will take place. Wait for the process to finish. If you want to discard the saving process, you can click on the Stop Saving button anytime.
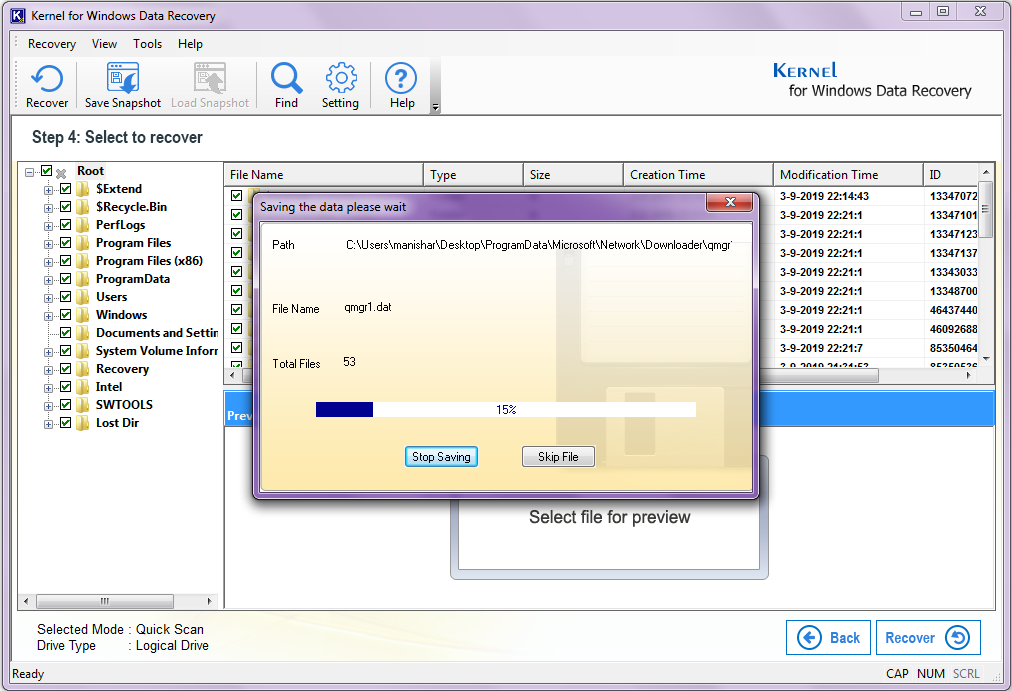 Note: You can skip some files by clicking on the Skip File option.
 - Click on OK, once it is over.
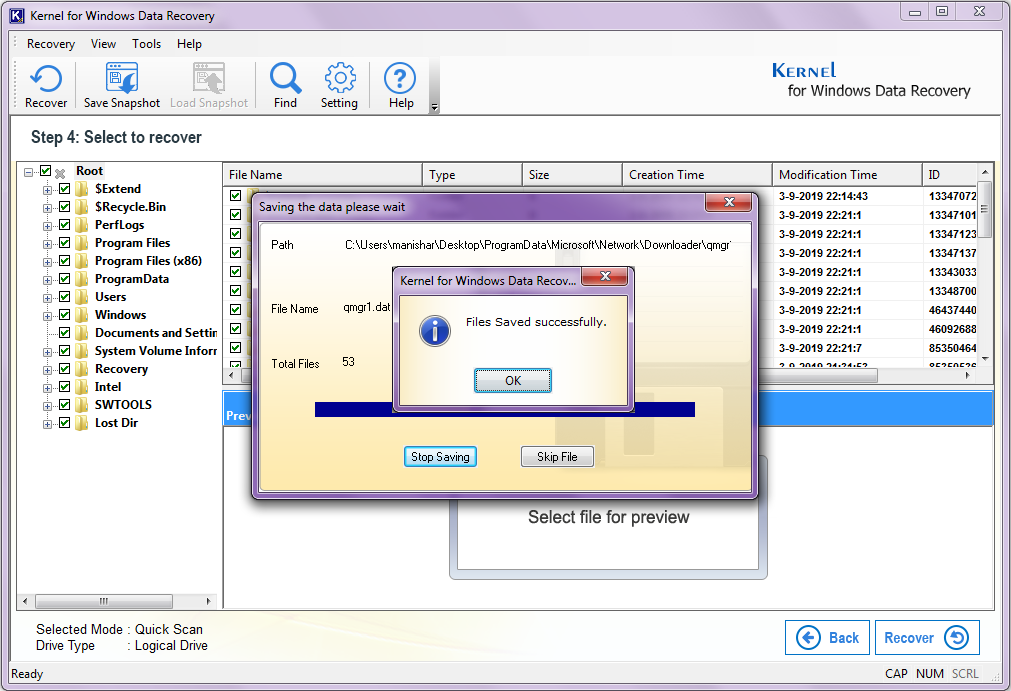 Once everything is done successfully, you can locate the recovered data at the saved location.
Final words
Hidden files stop showing even after enabling the Show hidden files and folders feature as some user has already deleted them from the system in the past. Though assuming other causes, some manual tricks like using the File checker tool, running command in Command Prompt, disabling Antivirus application, and modifying Windows registry are explained. And to recover lost, inaccessible, or deleted Windows data, a perfect third-party Windows Data Recovery tool is explained with its features and functioning.


![Android Videos Not Playing on Windows System [FIXED]](https://www.nucleustechnologies.com/blog/wp-content/uploads/2022/04/900x416-22.jpg)