Read time 13 minutes
Try automated tool Kernel Import OST to Gmail to import multiple OST files to Gmail account. It supports OST files from all Exchange Server versions.
MS Outlook is the most trusted and widely used email client worldwide. Outlook saves all its data in the PST and OST, which are the two prominent file formats with POP and IMAP accounts. In Outlook, OST stores a copy of all the data files that you can access offline without having a server connection. You can even use Outlook offline and when Outlook connects with the server, it will apply all the changes you have worked on. However, OST files get corrupted for many reasons. So, migrating OST files to Gmail is a better and more convenient way for users. In this post, we will be looking for ways to import OST files to Gmail.
Why import OST files to Gmail?
Outlook is the most significant email client nowadays, but many users use Gmail instead of Outlook because of its advanced features. Here, we have mentioned some reasons to import OST files to Gmail:
- When you want to switch your email client from Outlook to Gmail.
- When users want to take a backup of their OST files in Gmail.
- OST files are prone to corruption.
- Everyone can easily access Gmail in remote areas.
- Outlook has a technical UI, whereas Gmail has a friendly UI.
Manual methods to convert OST files to Gmail
Outlook has a built-in method to migrate OST files to PST and then synchronize that PST file to Gmail. Let’s dive into the conversion of OST files to PST:
Method 1. Import OST to Gmail manually
It is not possible to import OST files to Gmail directly; hence, converting them to PST format is considered better. To start the initial process, you have to locate your OST files.
Step 1. Locate your OST files
It’s the most important thing to start the importing process. Most of the time, OST files are not at that location. So, knowing the accurate location of OST files is essential to import them into PST format.
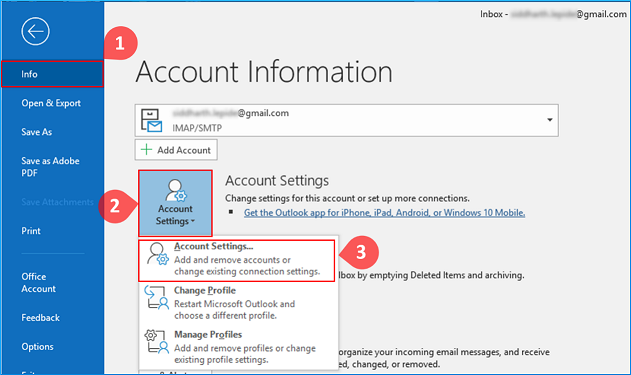
- Click File > Account Settings > Account Settings.
- Click on the Data Files tab, select any OST file, and click on Open File Location option.
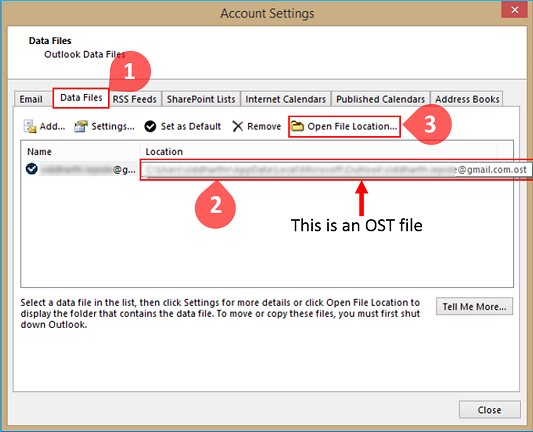
Note: Generally, OST files can be found here irrespective of the Outlook version- C:\Users\user\AppData\Local\Microsoft\Outlook.
Step 2. Export your OST file as to PST
Now, when you know your OST file location, it’s easy to export them in PST files. PST files are accessible for migrating, sharing, and backing up. Let’s dive into the straightforward steps to export OST files to PST.
- Open MS Outlook, click on the File tab > Open & Export > Import/Export.
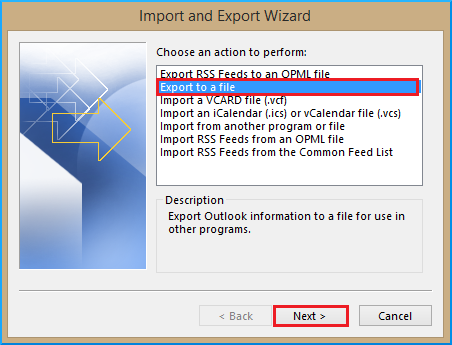
- In Import and Export Wizard, select the Export to a file option and hit Next.
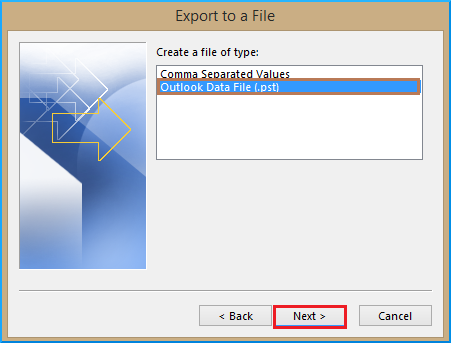
- The Export to a File dialog will pop up, select Outlook Data File (.pst) option and tap on Next.
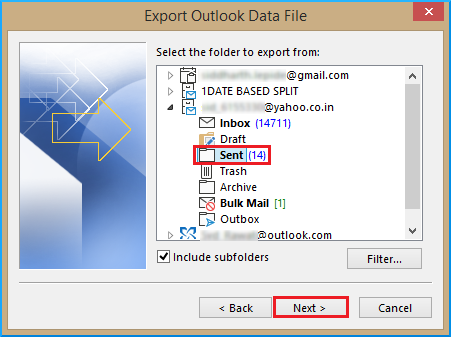
- Select the email account and it’s item that you want to export as a PST file and hit Next.
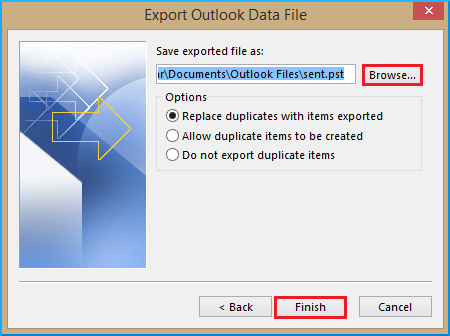
- Click on the Browse option to select the destination folder where you want to save the PST file and hit Finish.
Congratulations! You have successfully converted an OST file to PST. Now we will explore ways to import this file to Gmail.
Step 3. Import PST to Gmail via. G Suite Migration for Microsoft Outlook (GSMMO) tool
G Suite Migration for Microsoft Outlook (GSMMO) is a desktop tool developed by Google that allows you to import all your Outlook data into Gmail. With this tool, you can effectively migrate the PST file in just a few steps.
Note: In some migration cases, users first need to import OST file to Outlook before converting or exporting the data into PST format for Gmail.
- Search for G Suite Migration for Microsoft Outlook in any browser and download the application.
- Launch the G Suite Migration for Microsoft Outlook application
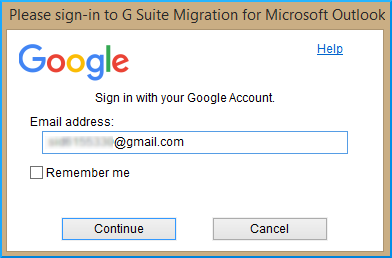
- Enter the login credential and proceed to Continue.
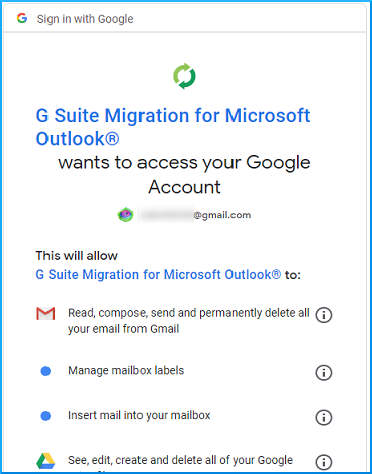
- Next, you will be asked with a message that GSMMO wants to access your Google account. Scroll down and click on the Allow button.
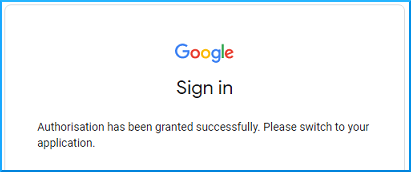
- If everything goes well, then you should see a confirmation message as shown below:
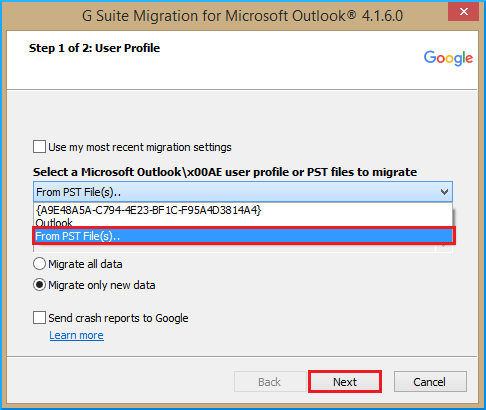
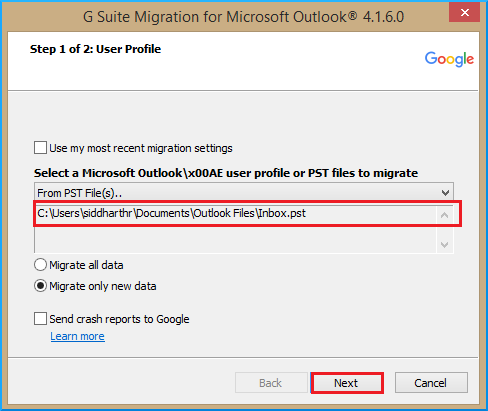
- It will open a new dialog window. Select From the PST file(s) option from the drop-down menu and click Next.
- You will be taken to where all outlook PST files are saved. In step 1, if you have saved your converted PST file to a different location, paste that location’s file path in the Address bar.
- The file is now imported, click Next to proceed.
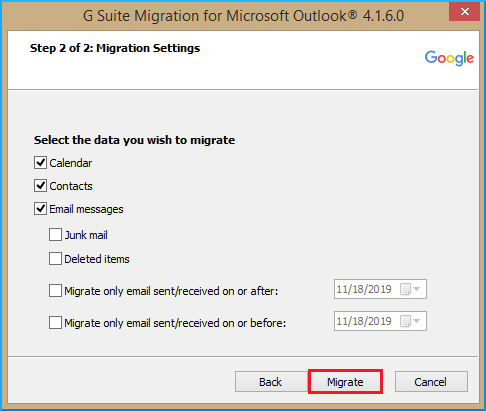
- Adjust the migration settings as required. Once done, click on Migrate.
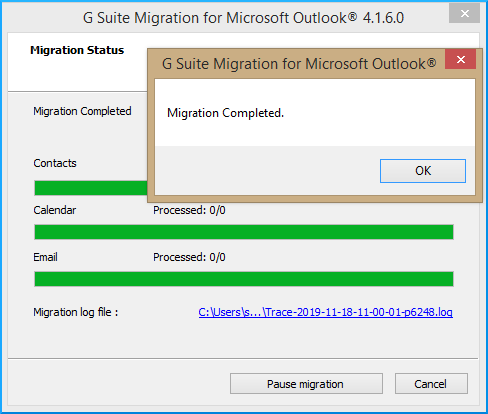
- It will initiate the migration process. Depending on the size of your PST file, the process might take a while. Once done, you will be prompted with a message of successful migration.
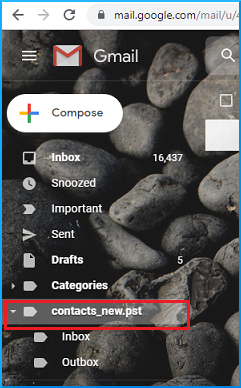
- Log-in to your Gmail account and look for the newly imported PST file in the left pane.
Congratulations! You have successfully migrated your Outlook PST file to Gmail.
Method 2. Professional tool to import OST files to Gmail
The best way to directly import OST files to Gmail would be a third-party tool. Kernel Import OST to Gmail is an excellent tool for this kind of migration. It is an all-in-one tool that can recover permanently deleted Outlook mailbox items, maintaining the hierarchy during migration. It is also possible to save the OST to PST, MBOX, PDF, DBX, EML/MSG, and more. One important feature is that it can directly export the OST data to live Exchange Server and webmail clients such as Gmail, Yahoo, AOL, and more. Additionally, it can easily repair corrupt OST files that have become inaccessible, conversion.
Conclusion
We have discussed all the possible ways to import OST files to Gmail. The manual method is time-consuming, and only technical experts can do this. So, to save time and effort, we have also mentioned Kernel Import OST to Gmail utility. This tool has various useful features that set it apart from its counterparts. Hence, we recommend the user to try it for smooth migration experience.