Read time: 4 minutes
SharePoint Online, a cloud-native platform, facilitates seamless collaboration within organizations by enabling employees from diverse geographical locations to collaborate effectively. Users can effortlessly access data across sites, lists/libraries, and documents from any internet-connected device.
In this article, we will learn how to migrate to SharePoint Online with the help of Microsoft PowerShell. Before we proceed to the steps, let us first learn about the benefits of moving to this platform.
Benefits of moving to SharePoint Online
Let’s explore the key benefits of SharePoint Online.
- Universally available: You can access the SharePoint Online data using any device (PC, smartphone, or tablet) and from anywhere.
- Share and collaborate: You can allow other users to share your site by inviting them to your site. Simply provide them the permission to access the site, and they can view or modify the data there.
- Web Analytics: SharePoint Online consists of some useful pre-built Web Analytics features which check the data usage and presents various reports.
- Effortless Permission Management: SharePoint offers a user-friendly and versatile system for handling permissions. It incorporates features such as permission inheritance and SharePoint roles, which collaborate seamlessly to regulate user access to SharePoint data.
- Version Control: Automatically tracks and manages document versions that prevent confusion and ensure users access the latest information.
- Customization: Adapts to specific organizational needs and enhances user experience through easy customization of pages and sites.
System requirements for best performance
Follow the table below to learn about the recommended requirements for best performance.
| Description | Recommendation |
| CPU | 64-bit Quad-core processor or better |
| RAM | 16 GB |
| Local Storage | Hard disk: 150 GB free space |
| Operating system |
|
| Microsoft Visual C++ 2015 Redistributable | Required for OneNote migration |
Migrate with Microsoft’s SharePoint Migration tool
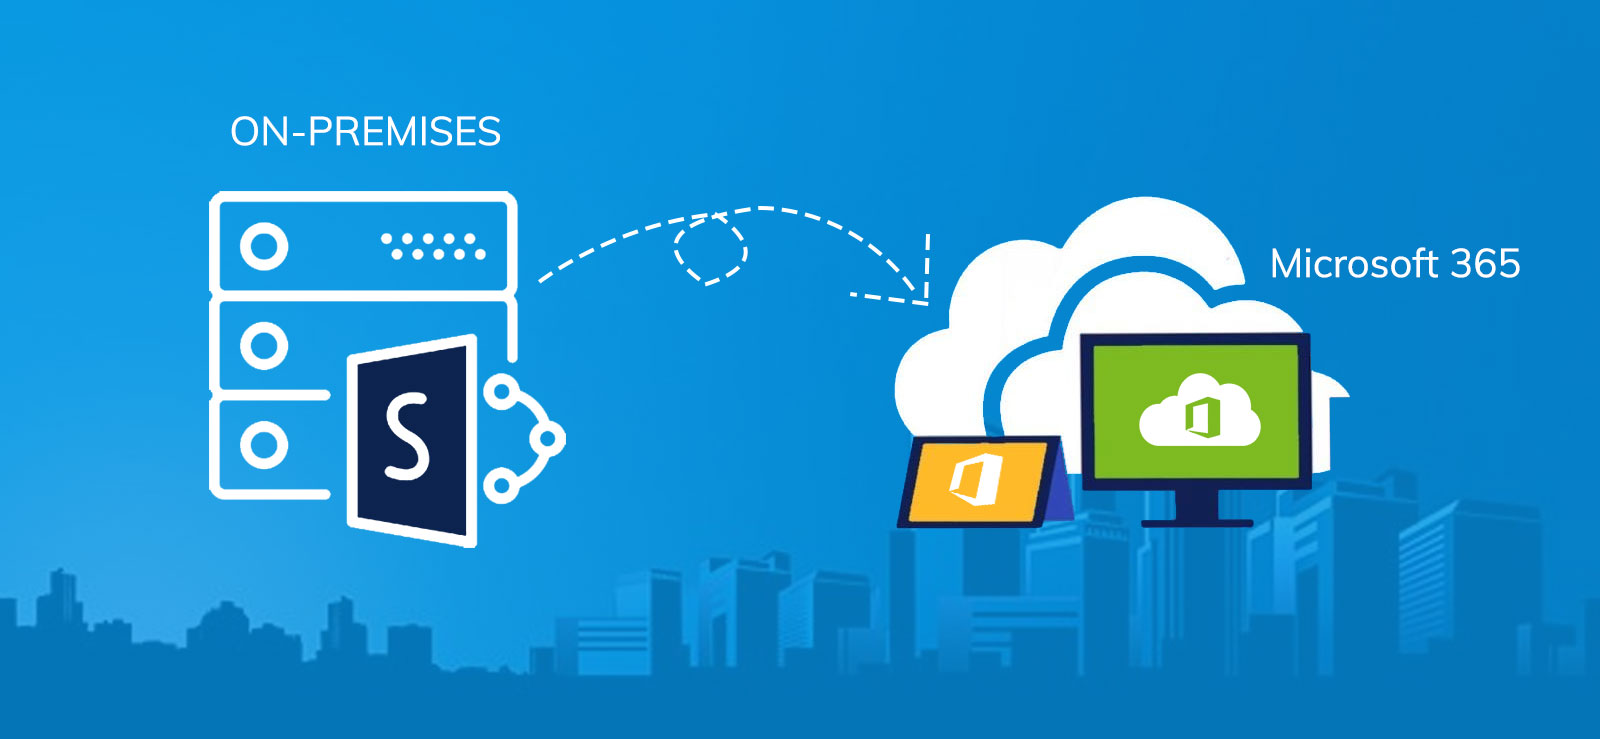
Migrating data from SharePoint on-premises platform to SharePoint Online can be a complex undertaking, requiring thorough planning and a deep understanding of both platforms. Fortunately, Microsoft has developed a valuable tool known as SPMT (SharePoint Migration Tool). The tool simplifies the process by seamlessly accessing data and lists/libraries from on-premises SharePoint and facilitating their smooth transition to SharePoint Online.
This tool is versatile and capable of handling migration tasks for both individual websites and large-scale enterprise data. It offers the flexibility to seamlessly migrate the on-premises data to Office 365, enhancing collaboration with users. Moreover, it supports data migration from various SharePoint versions, including:
- SharePoint Server 2019, 2016, & 2013.
- SharePoint Foundation 2013, & 2010.
- SharePoint Server 2010.
- Network and other local shared files.
The tool is present at the following URL –
https://spmtreleasescus.blob.core.windows.net/betainstall/default.htm
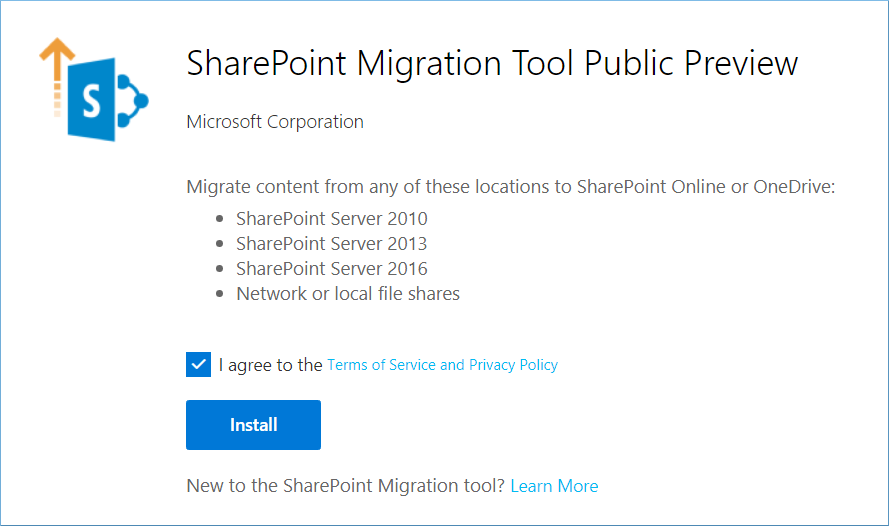
You can install the tool and follow the steps to run the migration.
Read also: Quick Checklist for SharePoint Migration
Alternatively, you can use PowerShell cmdlets for creating a migration task and run it. Here is the process:
Process to migrate using PowerShell
PowerShell cmdlets allow cutting long processes short and without entering into the application. People with technical expertise and a strong grip on running cmdlets prefer MS PowerShell to migrate to SharePoint Online. You can use PowerShell cmdlets to create a migration task and run it. Here is the process:
- Create a migration session
Define the SharePoint source$$Global:SourceSiteUrl = “on-premises site name”
$Global:OnPremUserName = “<your login name>”
$Global:OnPremPassword = ConvertTo-SecureString -String “<on-premieses password>” -AsPlainText -Force
$Global:SPCredential = New-Object -TypeName System.Management.Automation.PSCredential -ArgumentList $Global:OnPremUserName, $Global:OnPremPassword
$Global:SourceListName = “<Source List Name>”Define the SharePoint Online target
$Global:SPOUrl = “<SP Online url>”
$Global:UserName = “<SP Online admin user name>”
$Global:PassWord = ConvertTo-SecureString -String “<SP Online Password>” -AsPlainText -Force
$Global:SPOCredential = New-Object -TypeName System.Management.Automation.PSCredential -ArgumentList $Global:UserName, $Global:PassWordImport the SPMT Migration Module:
Import-Module Microsoft.SharePoint.MigrationTool.PowerShellThe cmdlet will register the SPMT session with the SPO credential:
Register-SPMTMigration -SPOCredential $Global:SPOCredential -Force - Add a migration task with the newly registered migration session
Add-SPMTTask -SharePointSourceCredential $Global:SPCredential -SharePointSourceSiteUrl $Global:SourceSiteUrl -TargetSiteUrl $Global:SPOUrl -MigrateAll
The cmdlet will create a migration task for SharePoint.
- Start the migration task
Run the cmdlet Start-SPMTMigration to initiate the migration task. - Get the status of the migration
Run this cmdlet to get the status of the migration.$session = Get-SPMTMigrationIt will show the count of scanned files, migrated files, and any potential error message.
If you started the migration using the -NoShow parameter, then you can use the Show-SPMTMigration to get the migration status.
Just run the command Show-SPMTMigration, and it will bring the migration status, task ID, source location, and target location.Just run the command Show-SPMTMigration, and it will bring the migration status, task ID, source location, and target location.
- Stop migration
After the completion of migration, you need to stop the ongoing batch.Stop-SPMTMigrationThe command will stop the batch immediately.
- Unregister the session
When you have completed the migration of a single batch, you can either choose to run another batch or unregister the session to disable to connection with SharePoint Online.Unregister-SPMTMigrationThe command removes the SPMT session.
The migration process for moving to SharePoint Online using PowerShell is not as easy as pie. It involves the execution of complex commands with which you can’t go wrong. One needs to have technical expertise and an understanding of the cmdlets to execute migration in PowerShell. This is where automated tools come in handy. SharePoint migration tools will allow you to make this move swiftly and seamlessly.
Conclusion
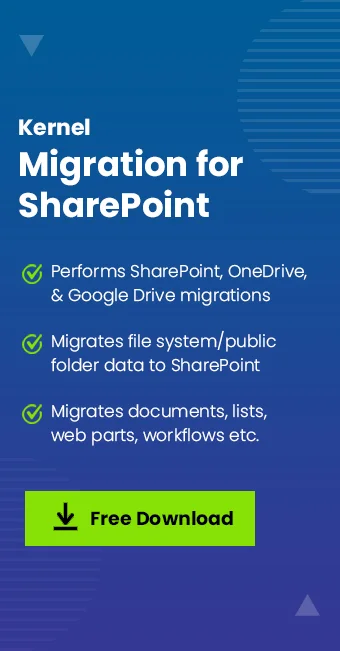
PowerShell comes as a straightforward way to migrate to SharePoint Online. However, if you’re not technically expert, you can face severe complications in attaining this. To avoid errors and perform a robust migration, implement Kernel Migration for SharePoint. The utility ensures data integrity, security and helps overcome challenges that other SharePoint migration methods can cause. Choose this tool to enhance your SharePoint Online migration journey while preserving your data, site elements, and permissions.