Read time: 6 minutes
Are you in the process of moving data from mapped network drives to SharePoint Online? If you are finding it challenging to migrate data from mapped network drives to SharePoint, then this article can help you.
Moving data from mapped network drives to SharePoint can be a time-consuming and complex process. Luckily, there is a way to transfer your data more efficiently, but you will have to understand how it works to take advantage of this strategy.
Unlike typical file sync or a cloud migration, which assumes you’re dealing with files, SharePoint migrations allow you to move nearly any data into the platform. Also, there are multiple common SharePoint Online migration issues and some of their useful solutions.
A mapped network drive is a storage location that you can use to save or access data. You can map a network drive to a remote computer so that you can access data on that computer from a workstation on your local network. Moving data from network drives to SharePoint is a common requirement for SharePoint administrators.
Benefits of Migrating Data from Network Drives to SharePoint
There are various advantages to migrating data from network drives to SharePoint. Below we have mentioned a few:
- SharePoint can be a great platform for storing files. It offers robust security, versioning, and many other benefits that make it a superior option over network drives.
- Transitioning your data to SharePoint is very easy when using a third-party migration tool.
- Migration to SharePoint helps you consolidate storage, manage permissions, and organize data in a way that is consistent with your business goals.
System Requirements to Move Network Drive to SharePoint
Before performing this action, make sure your system meets the below requirements.
- Connect your system with a good speed WiFi
- Stay connected with the internet throughout the process
- Make sure your system has Internet Explorer 10 or higher versions
Keep These Tips In Mind Before Transferring The Data
If you need to move data from a network drive to SharePoint, consider the following best practices:
- Identify where the data lives
The first step is to identify the location of the information on your network. Sometimes moving data requires more than just copying files. For example, if you’re moving an email archive, you also have to move permissions and public folder settings. - Tailor your approach to your needs
Consider your use case when deciding how to move content into SharePoint. If you have old files that are rarely used, it might be best to delete those files from their current location and move the remaining files to SharePoint. However, if those files are used frequently, it’s better to move them directly to SharePoint instead. - Understand your limitations
You can’t move everything between SharePoint Online and on-premises systems or third-party storage systems like Amazon S3. For instance, you can’t migrate content stored in Microsoft OneDrive for Business directly into SharePoint Online (although you can move content from OneDrive for Business into an on-premises file share and then into SharePoint Online). - Define Your File Structure
It’s a good idea to take some time to define your file structure before you start migrating files from network drives. Don’t assume that the same folder structure will work for both locations. - Update permissions after migration
After all the data is moved over, make sure that the correct people have access to it in SharePoint
Steps to Migrate Mapped Network Drive to SharePoint
Step 1 – Establish the Path to Your SharePoint Library
- In Internet Explorer, visit https://portal.office.com
- Use the credentials from your work account to log in to your account.
- If you are using SharePoint modern view, find the link for Return to SharePoint Classic
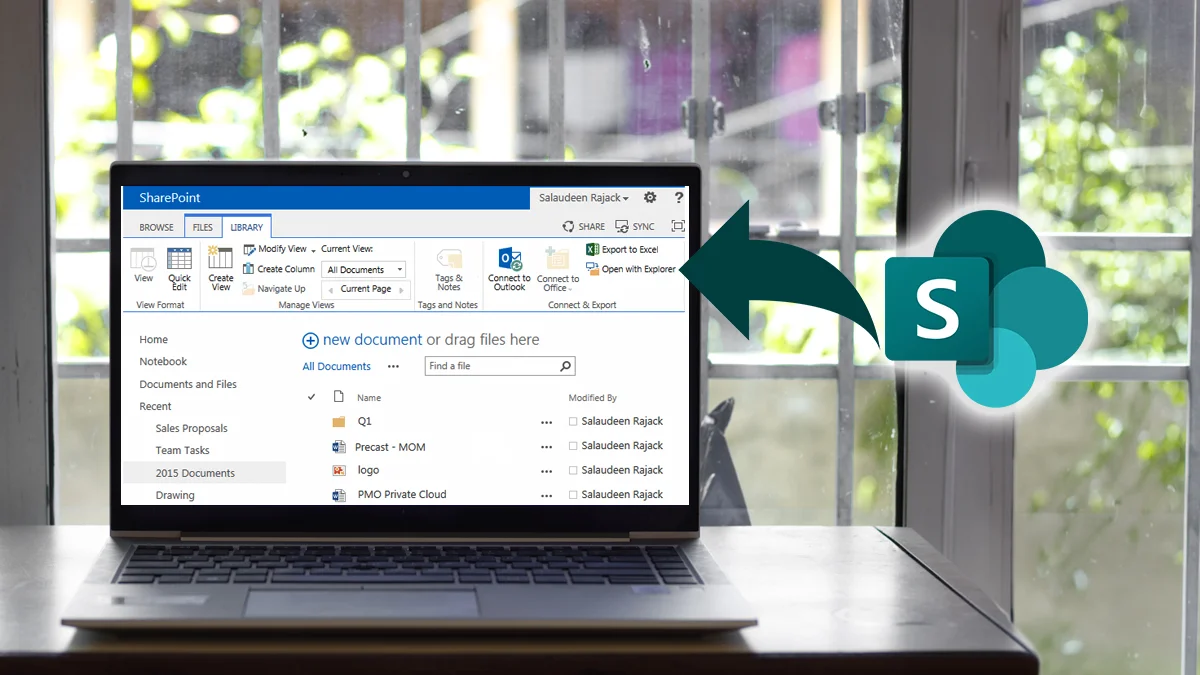
- Navigate to your SharePoint site, then to the Documents library.
- Select Open with Explorer from the Library Ribbon by clicking on it.
- In the Address Bar, paste the whole route (e.g., https://your-library-name-here.sharepoint.com/).
Step 2 – Assign A Trusted Status to Your SharePoint Library
- Open the Internet Explorer browser.
- Choose Internet Options from the Settings icon in the top right corner.
- Select the Security tab in the new dialogue.
- Then select Trusted Sites, then Sites.
- To confirm, provide the path to your SharePoint library and click Add.
Step 3 – Connect Network Drive to Documents Library in SharePoint
- Right-click the Network folder on the left-hand side panel in File Explorer.
- Select Map Network Drive from the menu.
- Connect to a website where you may keep your papers and photos by clicking Connect to a website.
- Select Next and then again Next.
- Enter the path to your SharePoint library.
- Click on Next to Finish.
Step 4 – Move Your Files
The File Explorer will show a folder for the mapped library on the left-hand side panel if you’ve correctly mapped your library. You may open it and go over its contents just like any other file or folder.
Drawbacks with the Migration Process
When moving from a Network drive to SharePoint, you should know some drawbacks of migrating data from Network Drives to SharePoint. Here are some of the most common ones:
- Issues of Permissions –
If you share a folder on a network drive with more than one user, each person will have different levels of access to the files and folders (i.e., Read-only or Read-write). If you move these folders & files into SharePoint, there will only be one level of permission regardless of who is working with it. - Issues of Redundancy –
If you have redundant copies of your data in different locations, then if one copy gets corrupted, all the documents will get corrupted, and no backup will be safe. This problem can be solved when your data is in SharePoint as it’s hosted on a remote server and not stored locally on any computer. - Issues of Versioning –
If you are working with large files and someone else is also accessing them simultaneously, conflicts may lead to losing some crucial data. In the case of SharePoint, versioning is enabled so only one person can change the file at a given time.
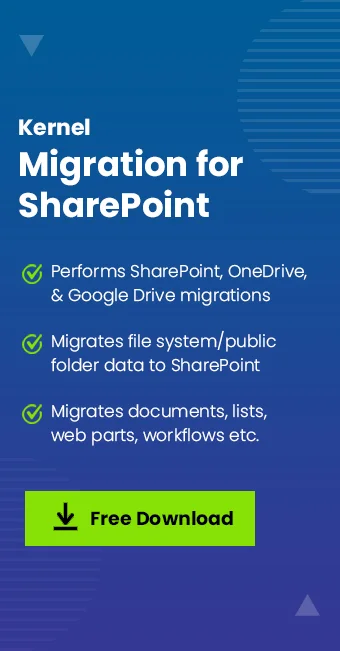
In case of misshaping, it is possible that you might end up losing your entire data. So, we recommend you use a third-party tool that offers security and reliability while moving a mapped drive SharePoint data. You can use a tool like Kernel Migrator for SharePoint to secure your data and perform the migration quickly. It is an advanced SharePoint Migration tool that facilitates the migration of data to SharePoint from various platforms, including file servers, older SharePoint versions, etc. Also, it supports all SharePoint Server versions and SharePoint Online. If you don’t want to follow a step-by-step guide to upgrade SharePoint 2016 to SharePoint 2019, then you should use Kernel Migrator for SharePoint and run the quick process.
Conclusion
Many prerequisites are required to migrate data from an accessible mapped drive to SharePoint. If you miss even a single step in it, it will not migrate and can even delete or corrupt data present in the source. So, it will help if you use Kernel Migrator for SharePoint software to migrate the data from a network drive to SharePoint. It will provide useful features like filters, mapping, and migration reports.