Read time 6 minutes
Microsoft discontinued extended support for SQL Server 2008/2008 R2 on July 9, 2019. If you’re still using SQL Server 2008, it’s crucial to upgrade promptly. Without security patches or official support, you can rely on online forums, knowledge-based articles, and FAQs. Many users have already upgraded to newer SQL versions, with others planning to follow suit.
Various migration methods exist to transition from an older version to the desired SQL Server version, tailored to specific needs.
When moving from SQL Server 2008 to SQL Server 2017 on-premises, the recommended tool is the Data Migration Assistant. We will provide a step-by-step guide to help you successfully complete the migration process.
What is the data migration assistant tool?
The Microsoft Data Migration Assistant is a complimentary tool enabling SQL Server upgrades while detecting potential compatibility issues that might affect data functionality in the new environment. It also suggests enhancements for the target server. Beyond transferring database schema and data, it includes uncontained items from the source server in the migration process.
Benefits of database migration assistant tool
- Migrates on-premises SQL Server to a new on-premises SQL Server or Azure SQL.
- Migrates different components like schema of databases, data and users, server roles, and SQL/Windows logins.
- After completion of the migration, applications can connect with the databases in the target SQL Server.
- Recognition of various issues that can affect the performance of an on-premises SQL Server.
- The tool finds new features that can help the database to work smoothly in various ways like performance, security, and storage.
You can download the utility from –
https://www.microsoft.com/en-us/download/details.aspx?id=53595
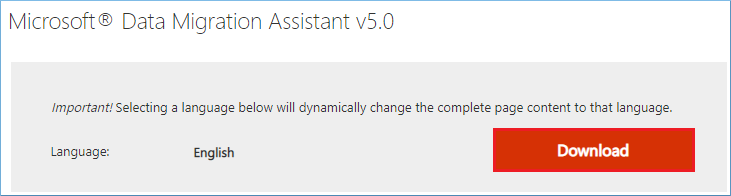
Click Download, and it will download to your system. Then install the utility, and you will get its home screen.
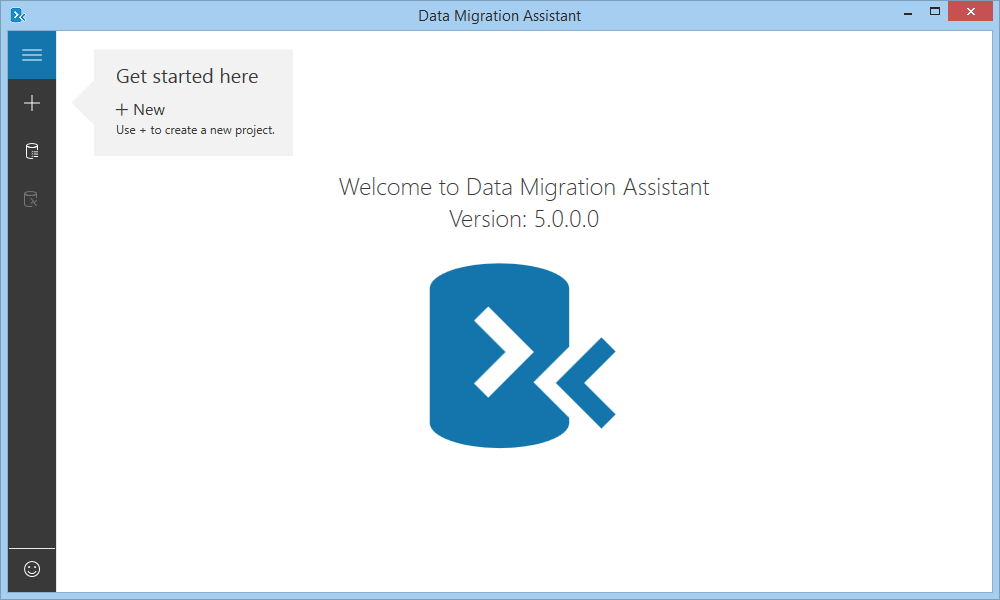
Now start the SQL 2008 to SQL 2017 on-premises migration process.
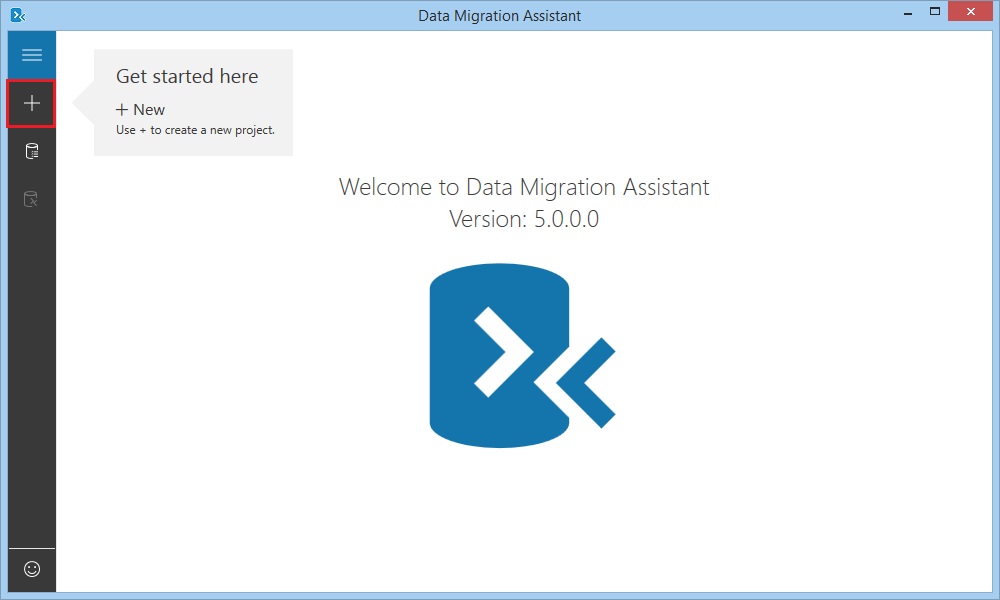
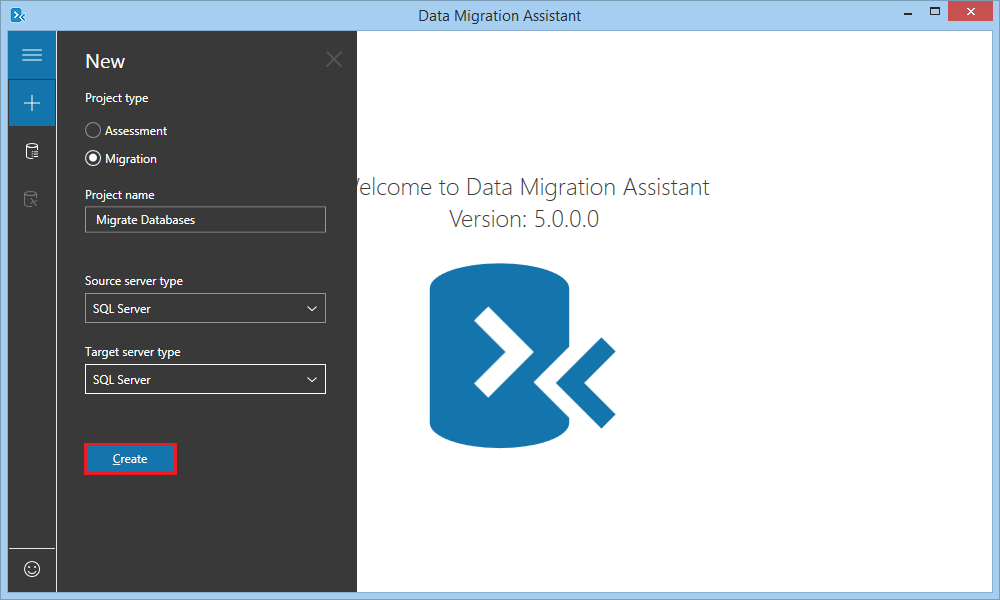
- Click New (+) to add a new migration project.
- Select Project Type as Migration. Provide a meaningful project name. Select SQL Server as the Source server type, and SQL Server as the target server type. Click Create.
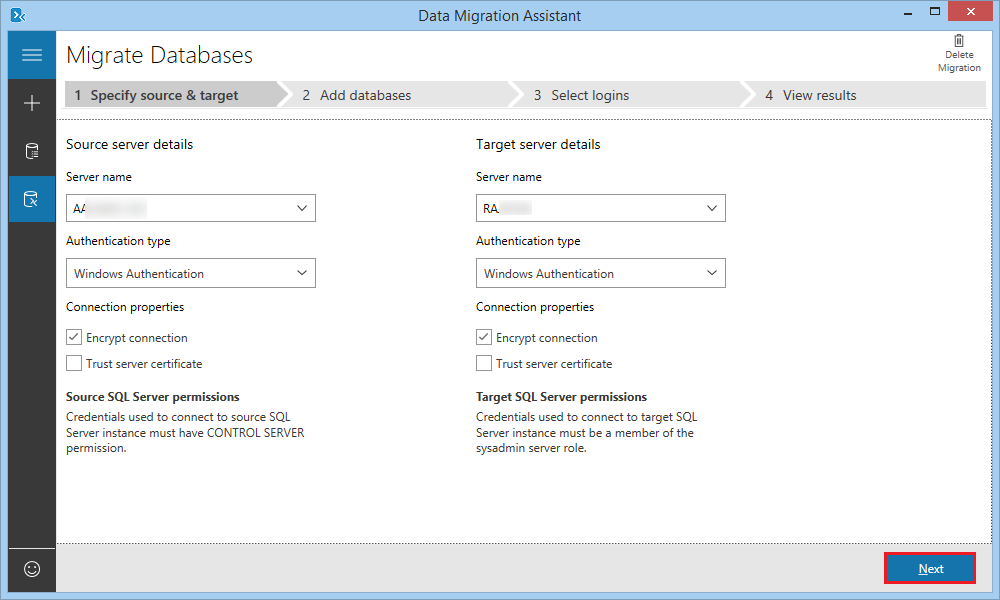
- The ‘Specify source & target’ tab, input the name of both source and destination servers. Choose the Authentication type suitable for the server, and the enhanced security check the option for Encrypt Connection. Then Click Next.
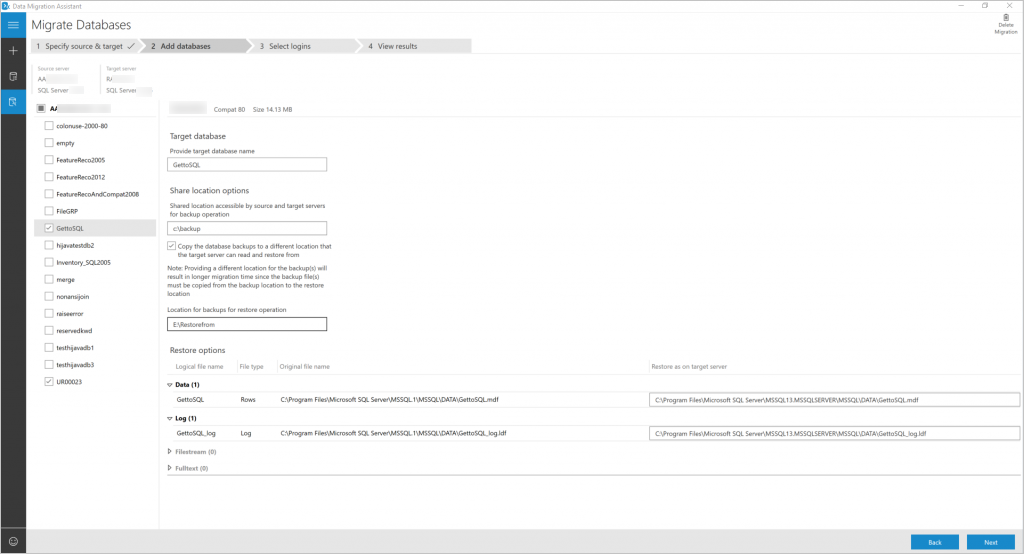
- When the tool makes a successful connection with both servers, it goes to the next tab, which is Add databases. Here, all the source databases are already selected by default. You can uncheck them easily and leave only the required ones.
- As soon as you select a database, you will see the migration options present for this database.
- Next, provide a network shared location that is accessible by both source and destination servers for the backup operation. Please note that the service account of the source server should have write permission on the network shared folder, and the service account of the destination server should have the read permission for the same folder.
- Provide the location for the data and transaction log files at the destination SQL Server.
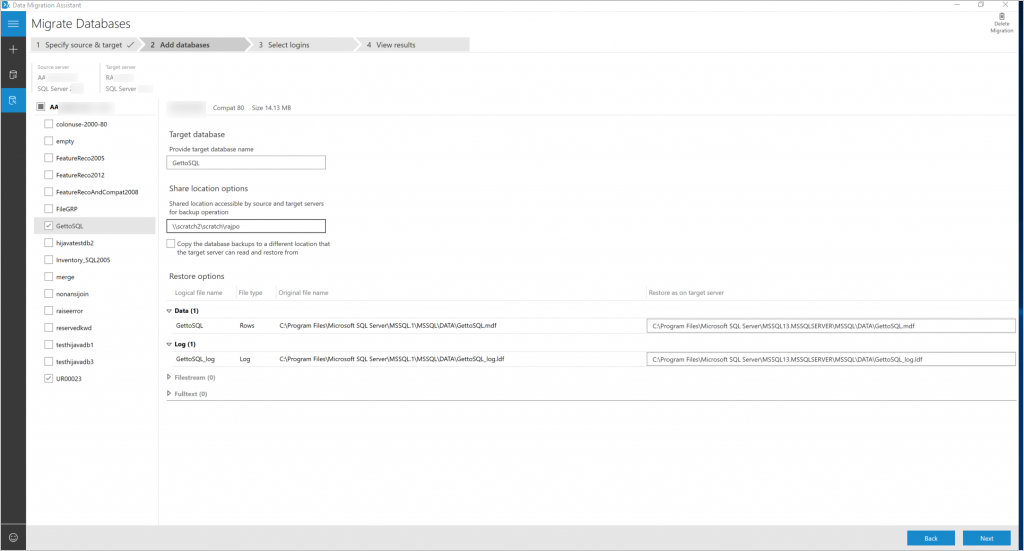
- If you are unable to provide a network-shared folder, then you can check the option ‘Copy the database backups to a different location that the target server can read and restore them.’ Then input a path for the backups for the restore operation. Then click Next.
The Data Migration Assistant tool will validate the location for the backup folder, data, and transaction logs. Finally, click Next. - Select the login details for migration. Click Start Migration.

- After successful completion, get the complete result in the ‘View Results’ tab.
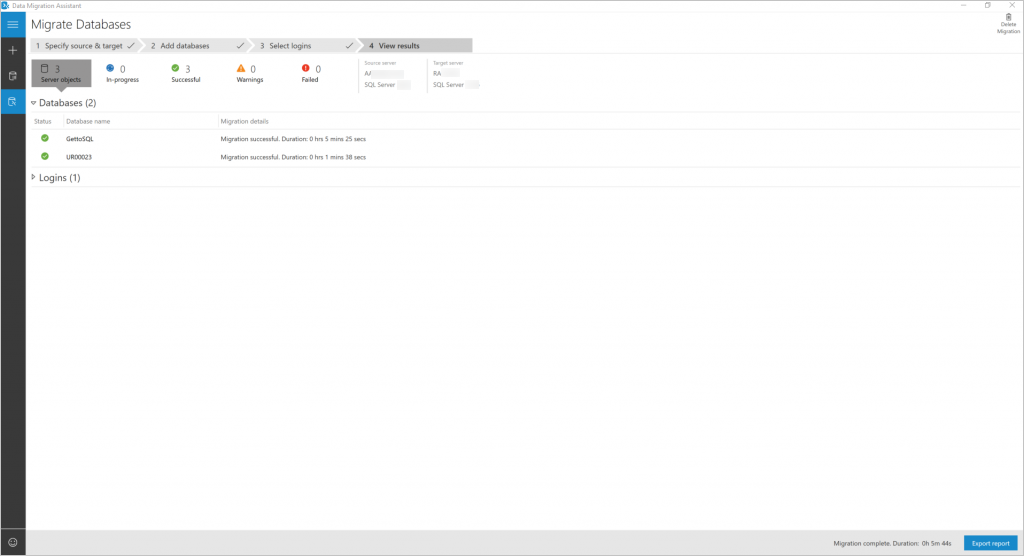
You can choose the ‘Export report’ option to save the migration report.
Conclusion
When upgrading SQL Server to a new version, ensuring safety is paramount. While the Data Migration Assistant tool is proficient, additional features such as filtering options and table previews are invaluable during migration, enhancing the process’s efficiency and reliability. That’s why you can go for a professional tool called Kernel for SQL Database Recovery software that can not only recover the corrupt MDF files but also save them to any version of on-premises SQL Server. Utilize this migration software to seamlessly transfer your intact MDF files from SQL Server 2008 to SQL Server 2017. It not only facilitates direct saving but also supports migrations across various SQL Server versions, ensuring versatile compatibility.