Read time: 6 minutes
Exchange Server 2010 is a way too outdated version of the server, which now no more receive any sort of security support or updates from the Microsoft. To continue using Exchange with uninterrupted communication flow, you need to move it to any higher version on-premises Exchange server, or to Office 365 for its advanced infrastructure.
However, before migrating the Exchange linked mailboxes, let us understand what are linked mailboxes in Exchange Server. Linked mailboxes are those mailboxes which are linked to accounts external to a forest. Here, user objects are connected with user mailboxes cannot access logon service. To enable that access to logon services, Exchange administrator is required to link those mailbox objects to user objects.
Native Method to Migrate Exchange 2010 Linked Mailboxes to Office 365
In the manual solution for migrating Exchange 2010 linked mailboxes, the conversion of linked mailboxes to general user mailboxes is required as one cannot directly migrate them to Office 365 location. The conversion of linked mailboxes to user mailboxes of Exchange can be performed only by running the cmdlets in Exchange Management Shell.
- Assign permissions to the user account by these cmdlets –
New-ManagementRoleAssignment -Role “Mailbox Import Export” -User “Domain\UserName”
- Now, convert linked mailboxes to user mailboxes by setting LinkedMasterAccount parameter as null –
Set-User -Identity xyz@domainname.com -LinkedMasterAccount $null
Now, those linked mailboxes are converted to user mailboxes; you can further use the cut-over migration method to convert Exchange 2010 user mailboxes to Office 365.
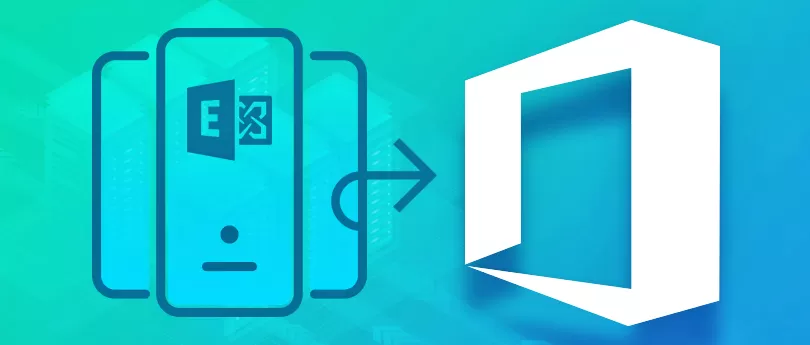
Exchange 2010 to Office 365: Migration challenges and solutions
Check out the listed challenges that can lead to Exchange mailboxes to Office 365 migration failure before completion:
- Challenge 1: Incorrect server configurations can cause migration failure.
Solution: Enable Outlook Anywhere and install a trusted SSL certificate.
- Challenge 2: There can be migration timeouts or failed transfers due to large mailbox sizes or unstable internet.
Solution: Cleanup mailboxes for effective management and try avoiding migration during peak hours.
- Challenge 3: MFA applied on the server can create login inefficiencies during migration.
Solution: Disable multi-factor authentication on the administrator account for some time and then migrate the data.
- Challenge 4: You cannot perform Exchange public folder migration using cutover or hybrid migration strategies.
Solution: Plan a different migration strategy for the public folders for a structured migration.
- Challenge 5: During migrations, there can be duplicate Azure AD accounts, if the user is already available in Office 365.
Solution: Perform a thorough clean up on the Active Directory and remove inactive accounts and fix duplicates.
These limitations cannot be ignored; so, it would be a good step to try a reliable migration solution for the migration of linked mailboxes from Exchange 2010 linked to Office 365. Use a reliable Exchange migration software, that is efficient to perform the migration in one go and incorporates a user-friendly interface.
Minimize downtime with recommended Exchange Migration tool
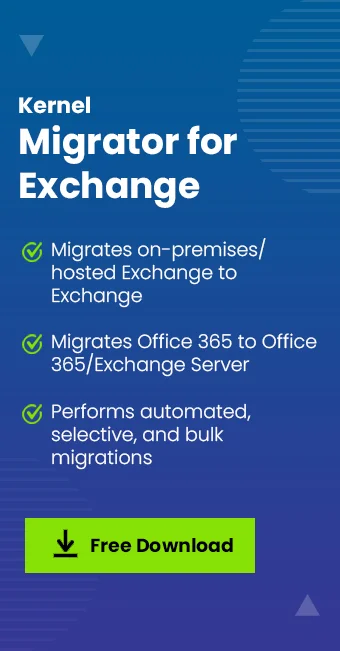
Kernel Exchange Migrator is a comprehensive Exchange to Exchange migration tool that facilitates hassle-free migrations between any Exchange versions, any Exchange version to Office 365, Office 365 to any Exchange version and between Office 365 tenants.
How to migrate with Kernel Migrator for Exchange
You can perform migration from Exchange 2010 to Office 365 with these steps:
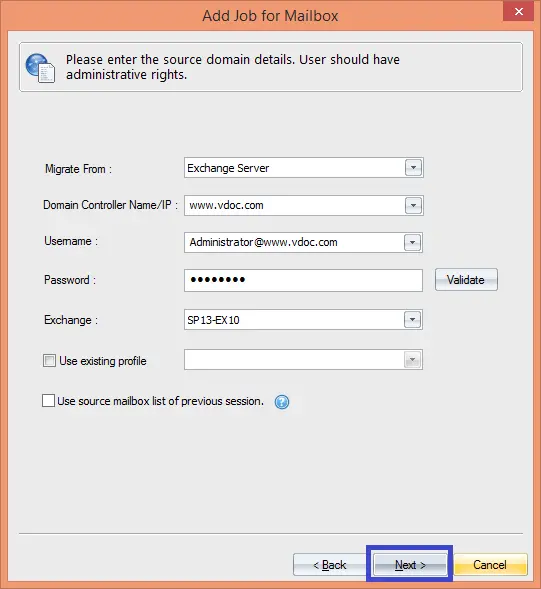
- Launch the software and click Add Job for Mailbox, then enter the Project Name, Job Name and click Next.
- Now, select Exchange Server as the source, enter its IP address, User Name, password, etc. and click Next.
- Select the mailboxes from the list you want to migrate and then click Next.
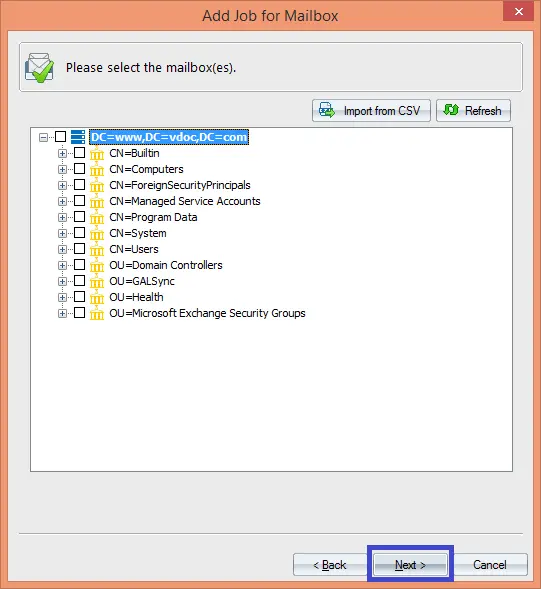 Note: You can also import the list of mailboxes from a CSV file.
 - Now, select Office 365 as the destination. Provide its credentials and click Next.
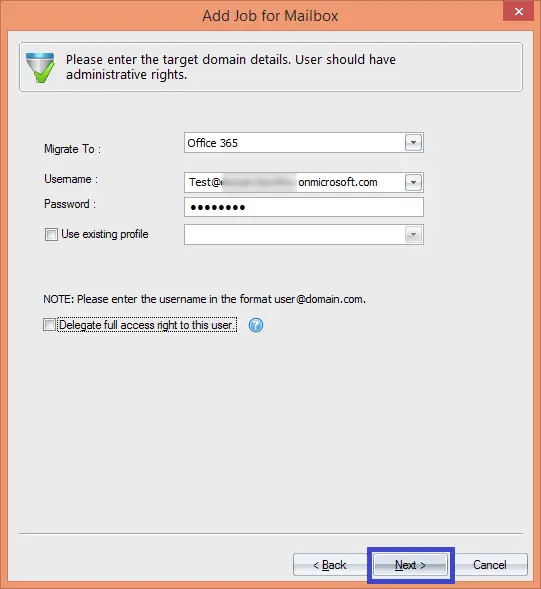 Note: You can also delegate full access rights to the user by selecting the option.
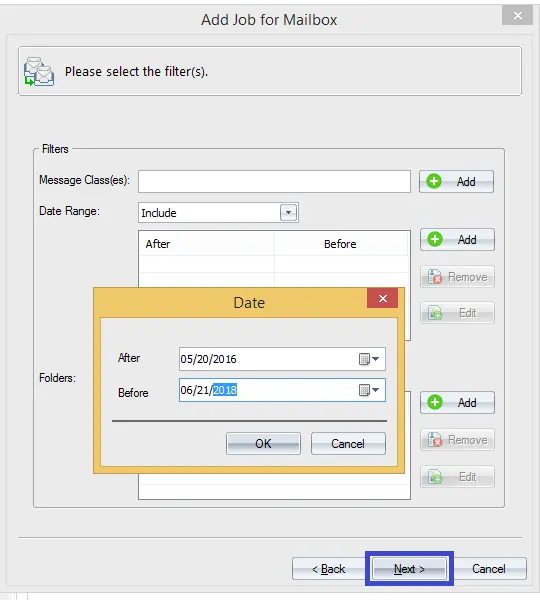
 - Now set filters like Message classes, date range, folders filters according to your need. Then click Next.
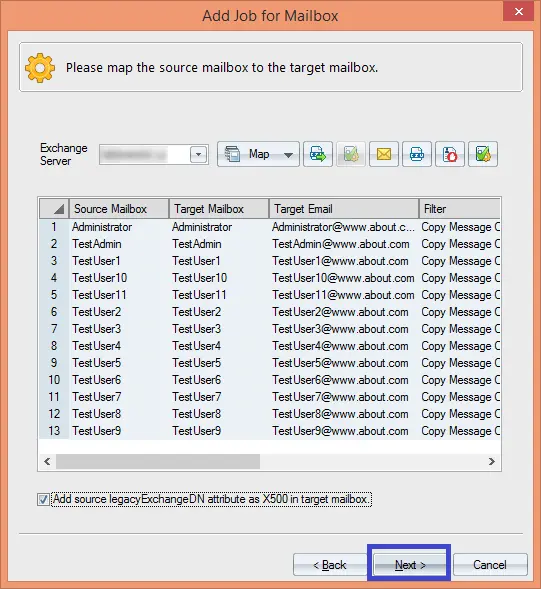
- Here, map the source and destination mailboxes, then click Next.
- In the next steps, the user can manage bad items and synchronization, set notifications, allot/deny hours for migration, schedule migration job, set report console, etc. Click Finish to migrate.
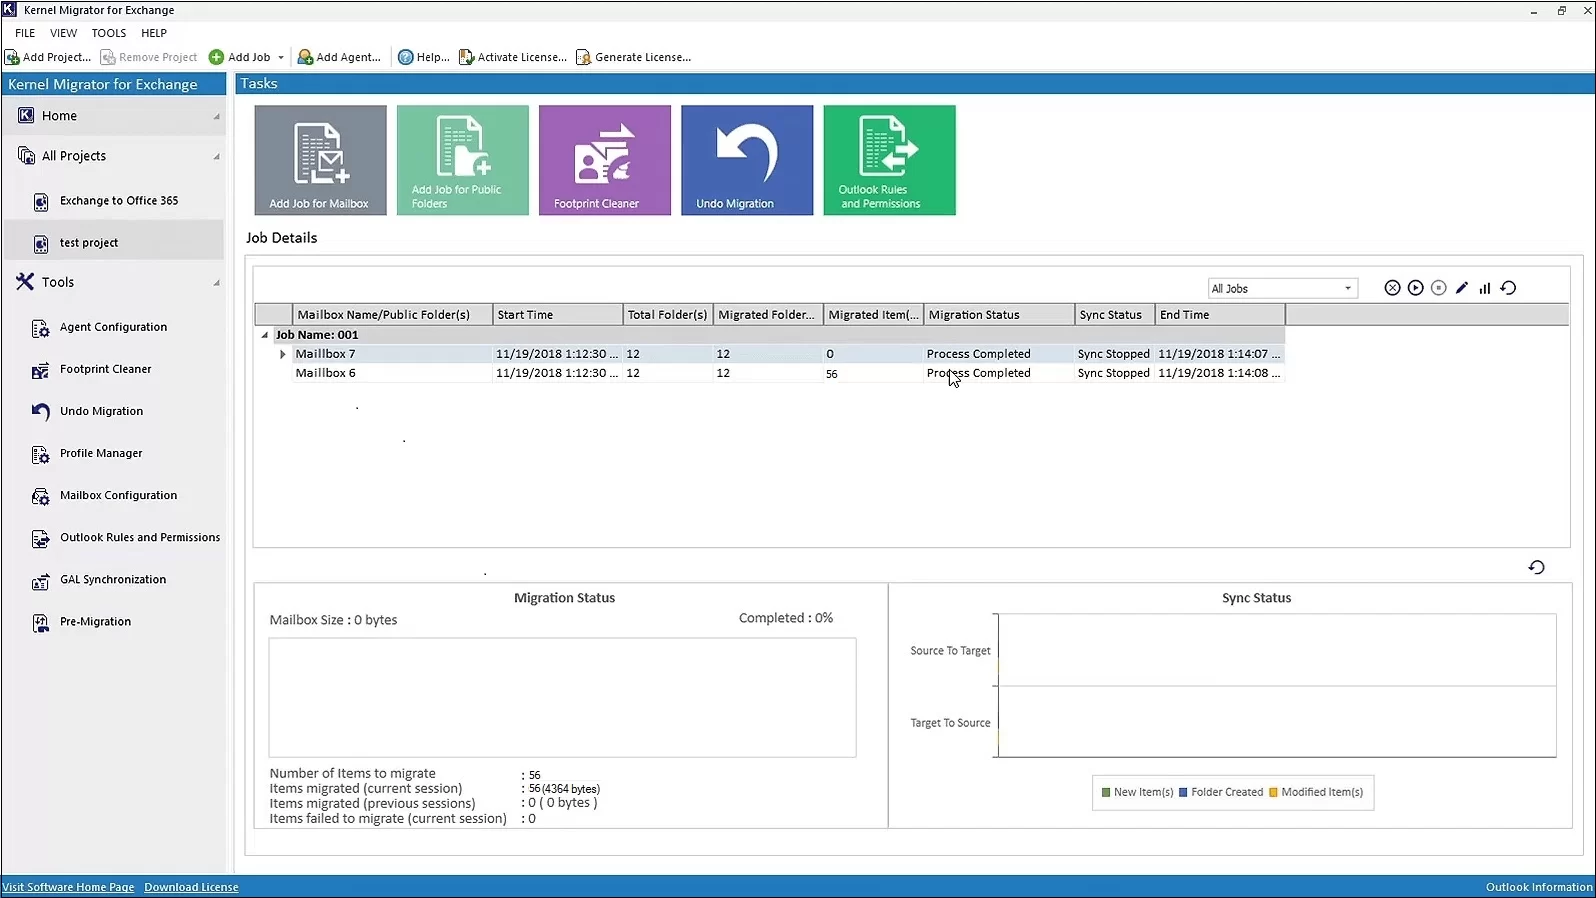
- Within some minutes, the migration is completed, and the final report is shown below.
Conclusion
Migration of Exchange linked mailboxes to Office 365 is a challenging task if the manual way of migration is chosen. The manual method uses complex PowerShell cmdlets and so the procedure is lengthy. So, we recommend you migrate your data using the trusted Kernel Migration for Exchange software, as it helps with faster and error-free Exchange to Office 365 migration.
Frequently Asked Questions
Ans. Here is what you need to arrange before migrating from Exchange Server 2010 to Office 365
1. Make sure that Exchange Server 2010 is working with SP3.
2. Convert linked mailboxes to user mailboxes before migration.
3. Synchronize the users to Office 365 using Azure AD Connect.
4. Enable Outlook Anywhere on Exchange 2010.
Ans. Before migrating, make sure you follow the given backup and security practices:
1. Take a full backup of the Exchange database.
2. Export crucial mailboxes to a PST file.
3. Make sure your backups are efficient and restorable.
4. Install a valid SSL certificate on the Exchange Server.
5. Disable unified messaging for your on-premises mailboxes.