Read time 11 minutes
When the size of the PST file exceeds the maximum file size limit, it could push you towards unfavorable situations of data loss and broken data items. The more a PST grows in size, the more it becomes a major reason of concern for Outlook users. So, you must adopt some methods to maintain Outlook PST file’s size and control your system from running out of space. Nowadays, PST files are more vulnerable to corruption as they run in Unicode format and large PST size also degrades the performance of Outlook.
Therefore, we have suggested possible workarounds for splitting large PST file into several small PST files. The methods are universally applicable to all version of Outlook 2019, 2016, 2013, 2010, and 2007 mailboxes.
There are different reasons for splitting large PST files, some of the common reasons are mentioned below:

Try automated tool Kernel for PST Split for splitting oversized PST files in MS Outlook 2019, 2016, 2013, 2010 and previous version.
There is no inbuilt tool offered by MS Outlook for splitting large-sized PST files. Therefore, we found workaround methods that can be performed manually to resolve the issue of splitting PST files in Outlook 2019, 2016, 2013, 2010 and 2007.
Import/Export wizard is not only used for moving data files to and from MS Outlook, but it also is used to split PST file in MS Outlook.
Following are the steps mentioned that will guide you to complete the splitting of PST files:
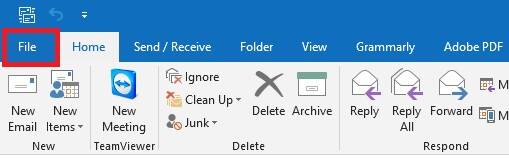
Step 1: Launch MS Outlook, click File from the menu bar.
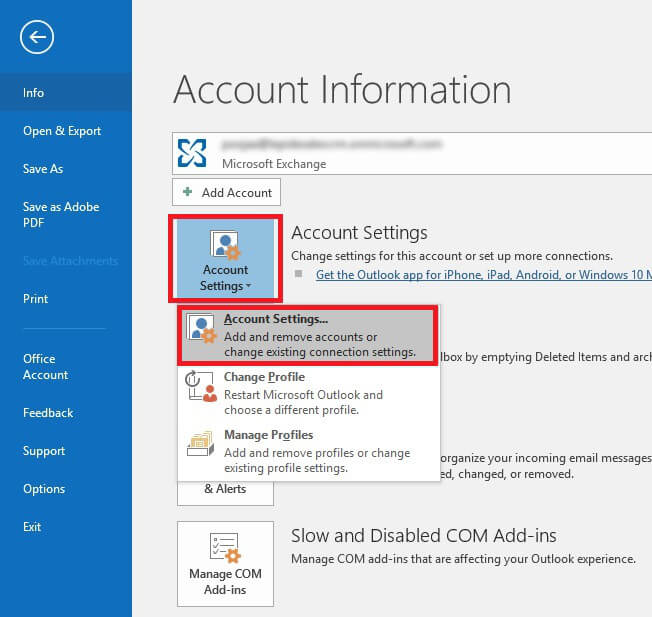
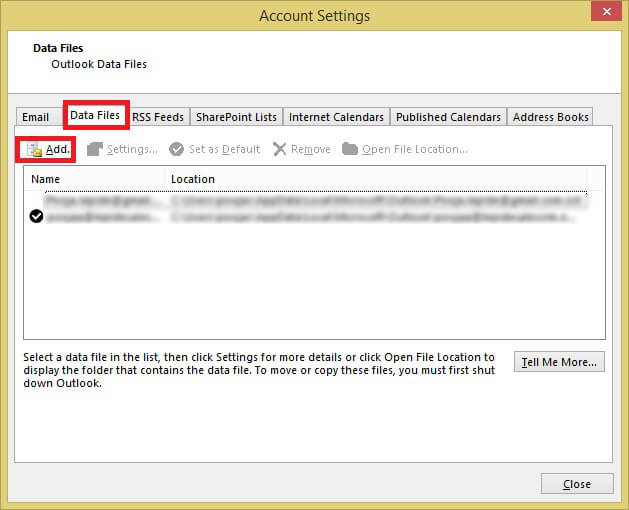
Step 2: Navigate to Account Settings >> Account Settings

Click Add button under Data Files tab from the dialog box.

Step 3: Enter name and type as Outlook data file (.pst) and click OK to create a new PST.
Step 4: You can view the new PST under Data Files
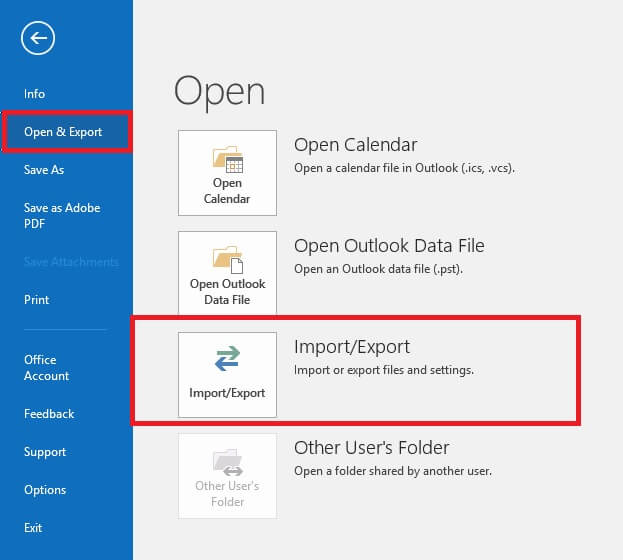
Step 5: Now, click File >> Open & Export >> Import/Export.
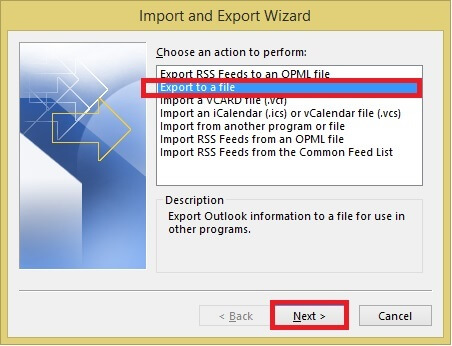
Step 6: Select Export a File in Import and Export Wizard and click Next button.
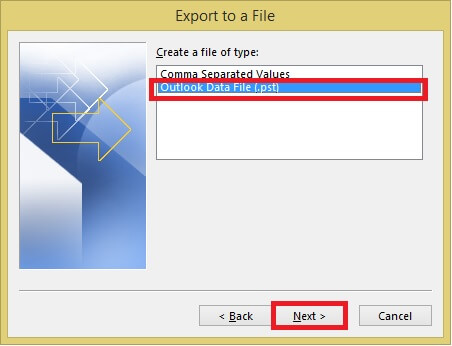
Step 7: In Export File windows select Outlook Data File (.pst) and click Next button.
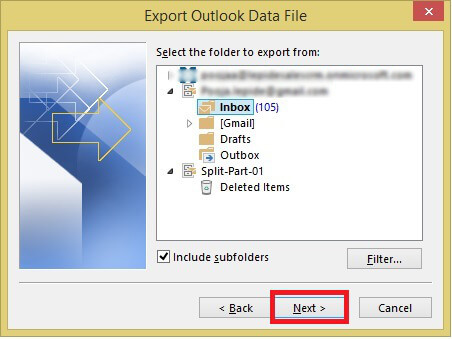
Step 8: Choose folders to export and check the Include Subfolders option if you want to export subfolders.
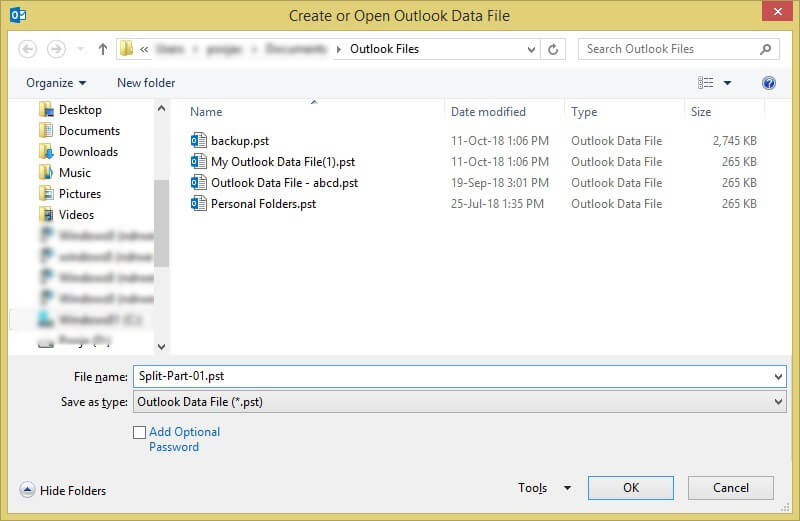
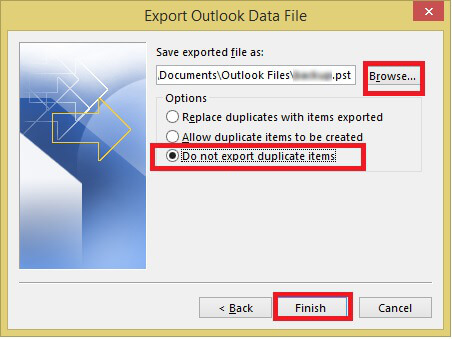
Step 9: Now, browse to select to select the saving location of the exported file and choose from options to disallow exporting duplicates items. And, click Finish
Step 10: Set a password for exported PST file or if you want you can cancel it simply.
You can also opt for another workaround method to split large-sized PST files using the Move to the Folder option. Navigate using the step by step procedure mentioned below:
Step 1: Launch Outlook, click File tab >> Account Settings >> Account Settings.
Step 2: Click the Data Files and click on the Add button to add a new PST file.
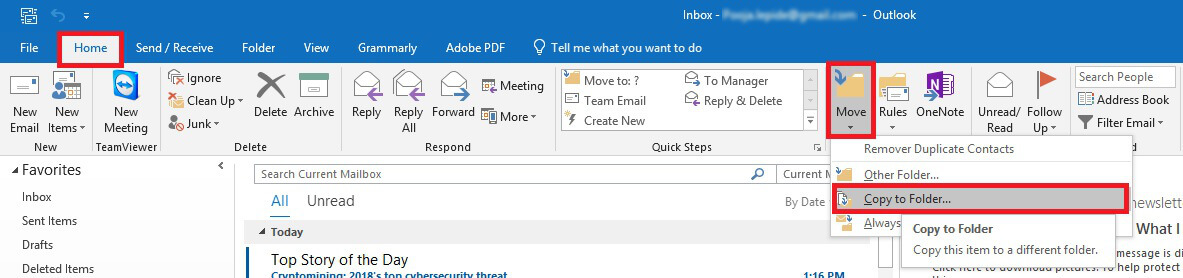
Step 3: Go to Home and open the default PST file of your Outlook profile and select the items you want to move to a new PST file you create in Step 2.
Step 4: To do so, click the Move button from the ribbon and select Copy to Folder.
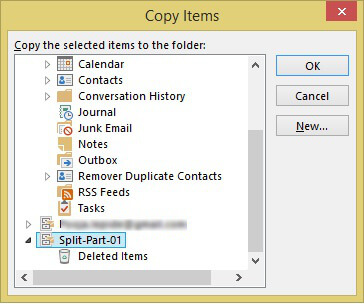
Step 5: Choose the PST file, so that all the selected data items from the default PST file can be moved to the new one.
Step 6: You can delete the copied items from the default PST file so that its size gets reduced.
You can use Archive Wizard for splitting large-sized PST file in Outlook. Follow the simple steps as mentioned below:
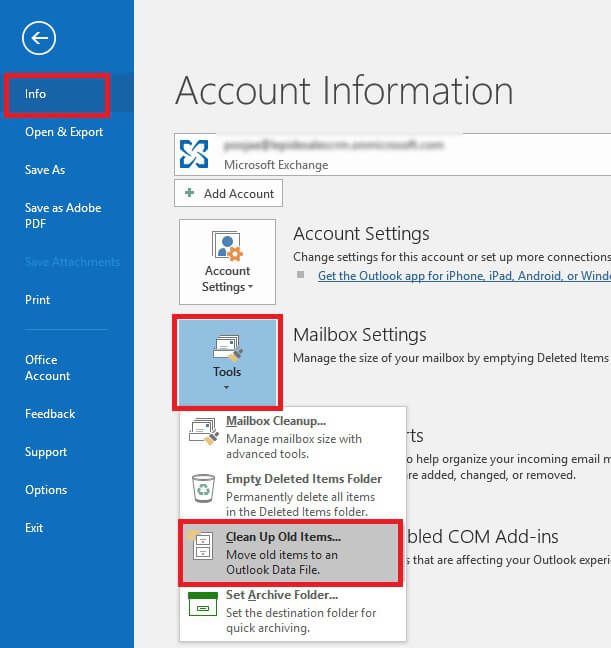
Step 1: Start MS Outlook, open File >> Info >> Tools >> Clean Up Old Items
Step 2: Select a folder to Archive, choose a date to Archive older items and click Browse to save the Archive file to the desired location.
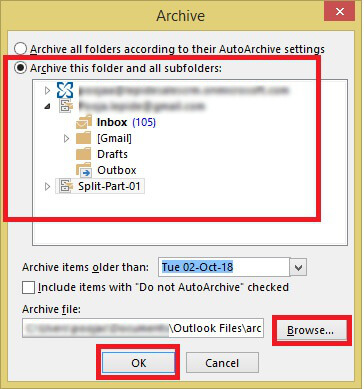
With the help of this technique, you can reduce the size of PST file and save older data items to the desired location one by one within Outlook and use them when required.
The manual methods mentioned above to perform splitting of large PST files have different limitations for the users of Microsoft Outlook.
The manual techniques to split large size PST files works efficiently and helps to avoid corruption and error issues. But, if you are looking for a solution that performs quickly and does not require the installation of Outlook on your system for splitting PST files, a third-party tool is the best fit. There are many tools that are available in the market, but the one that is recommended trusted by IT experts for PST Split procedure conveniently is Kernel for PST Split.
This utility is your one-stop solution for splitting PST files with 100% accuracy and without worrying about data loss. You can easily use the tool to split Outlook data items such as emails, contacts, calendars, tasks, etc.
Follow the steps given below to split a bulky PST file:
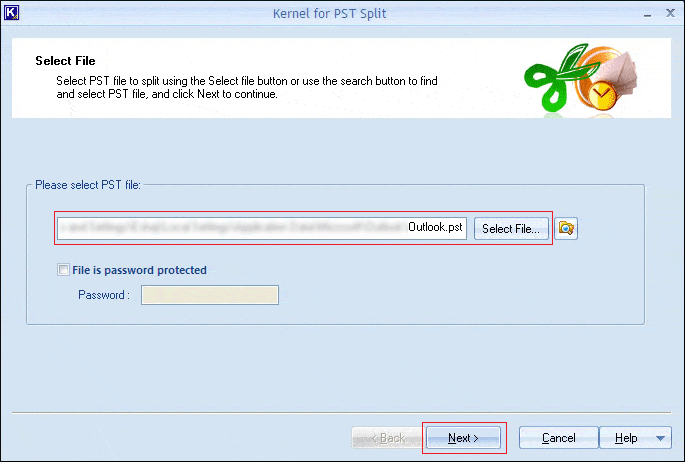
Note: If the PST is secured with a password, checkmark the File is password protected option and input password in the same window.
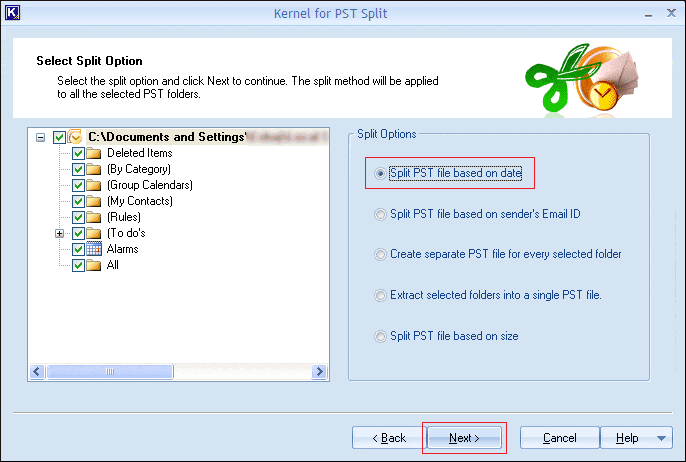
Note: For demonstration purpose, we’ve selected Split PST file based on date option; you can select any option as per your preference.

Note: You can define a date range manually as well.
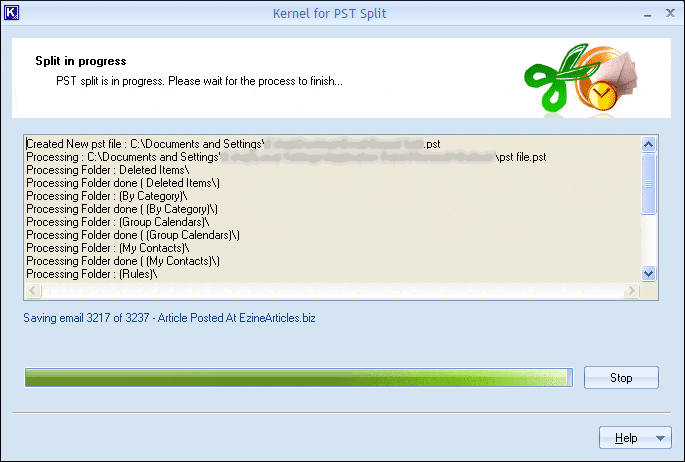
Note: In case if you wish to make some changes, click Stop.
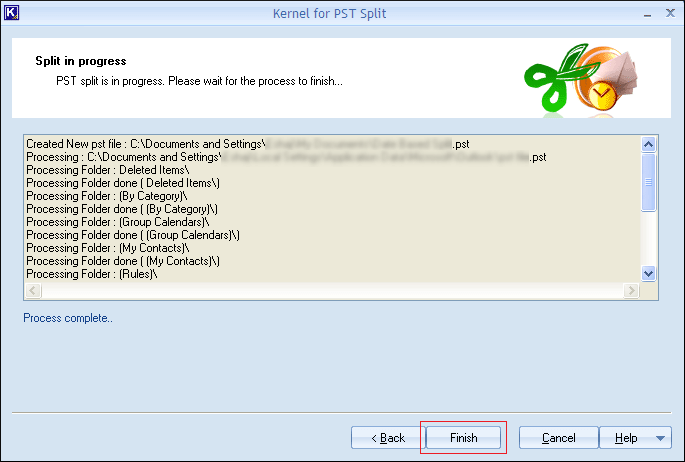
You’ve split PST file into same size proportions as per the setting in Step-3 & 4.
As we mentioned, there are multiple techniques to split oversized PST files in MS Outlook that cross permissible storage limits or that are about to reach maximum storage size limits. Therefore, for your comfort and convenience, we have mentioned both manual and automated techniques. As you can see manual methods are not direct methods to split PST files, they are just temporary workarounds, whereas the professional tool method is the best option to split PST file hassle-free.


Thank you for providing such an informative article on manual methods to split large PST files. The software suggested by you at the conclusion of the article also looked very effective. I will try it. Thank you!
Thanks for sharing this article. I get the solution to split large PST file.
Manual method worked, I have solved my PST split issues.
Thanks a lot!
Thank you for your guidance. It worked efficiently.