How to Set Maximum Concurrent Migrations in Office 365 Migration Endpoint?
Aftab Alam
 |
Updated On - September 29, 2023
|
Updated On - September 29, 2023
Read time 4 minutes
In a hybrid environment where both Exchange on-premises and Exchange Online coexist, migrations are facilitated through the use of migration endpoints when performing manual Office 365 or Exchange Server migrations via the Exchange Admin Center interface. These endpoints serve as connectors that bridge the two platforms, enabling the migration of mailboxes from one deployment to another. Administrators have the flexibility to specify the maximum number of mailboxes to be migrated in each batch from the source to the destination account by configuring the ‘Max. Concurrent Migrations’ settings within the migration endpoint. In this tutorial, we will delve into the details of this process.
First, let us go through the basic stages included in the native migration from Exchange to Office 365.
Migration of mailboxes from an on-premises Exchange Server to Office 365 using the hybrid configuration involves the steps:
Thus, migration to the cloud using the hybrid configuration starts with the creation of migration endpoints.
Migration endpoints serve as the configuration bridge between Exchange on-premises and Office 365. They encompass critical information like the Fully Qualified Domain Name (FQDN) of the on-premises server, a descriptive name, and login credentials for Exchange Online. To optimize the performance of a migration endpoint, there are several parameters that you can customize based on your specific needs.
But you can increase the limit for the concurrent mailboxes using the Exchange Admin Center or PowerShell.
You have the option to configure the concurrent migration limit when either creating a new migration endpoint or editing an existing one. The following steps outline the procedure for creating a migration endpoint:
If you have already created the migration endpoint, but you want to alter the value of concurrent migration, then you can change it also. Follow the below steps:
There is a special cmdlet ‘MaxConcurrentMigrations’ to set the concurrent limitation. First, you need to connect the windows PowerShell with Exchange Online and then run the command. Here are the steps:
The command will allow you to run any script even if it does not have a digital signature.
It will ask you to input the Administrator credentials and place it into the $livecred variable.
The command creates a session with Exchange Online.
The command places the session to the $importresults variable.
Here at the EndpointName, you will input the name of migration endpoint, and at Value, you will input the desired value for concurrent migration.
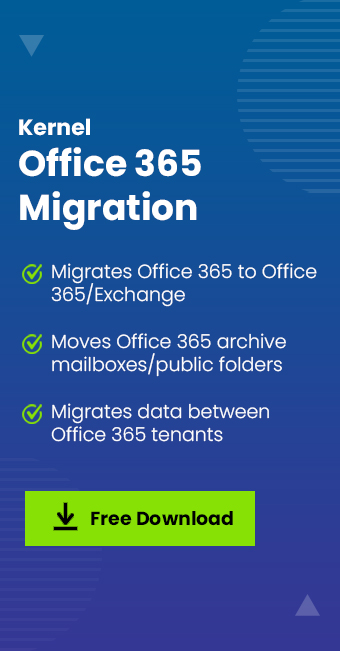
The ‘MaxConcurrentMigration’ value imposes a restriction on the overall number of mailboxes that can be migrated within a migration batch. Due to the intricacies associated with these settings, Exchange to Office 365 migrations are indeed complex. However, for those seeking a more streamlined and controlled migration process, the Kernel Office 365 migration tool offers a hassle-free solution. With this tool, you simply need to select the source Exchange and destination Exchange Online accounts, provide the necessary credentials, and apply appropriate filters. You can then initiate the migration immediately or schedule it to suit your convenience.