Kernel Duplicate File Finder scans Windows folders or drives for duplicate files of almost all types. You can add Windows drives or one or more folders for finding duplicates in them. The tool supports almost all file types as given below:
| File Type | Supported file formats |
|---|---|
| Image Files | JPG, JPEG, PNG, GIF, TIFF, BMP, JP2, ICO, EXIF, RAW |
| Audio Files | MP3, M4A, FLAC, WAV, WMA, AAC, AIFF, APE, TTA, WV, SHN |
| Video Files | MP4, MKV, 3GP, AVI, FLV, WEBM, VOB |
| Archive Files | ZIP, RAR, 7Z, ISO, JAR, TAR |
| Database Files | DB, MDF, MDB, PDB, SQLITE, ITDB, GDB, DB3, WMDB, SDF, DBS |
| Text Files | TXT, TEXT, RTF |
| MS Office Files | DOC, DOCX, XLS, XLSX, PPT, PPTX |
| Adobe Files | PDF, PS, EPS, PRN |
| Web Files | ASP, ASPX, CHM, CSS, DHTML, HTML, JS, JSON, PHP, RSS |
How to find duplicate files?
The following is the step-by-step method to find the duplicate items from your Windows system using the Kernel Duplicate File Finder.
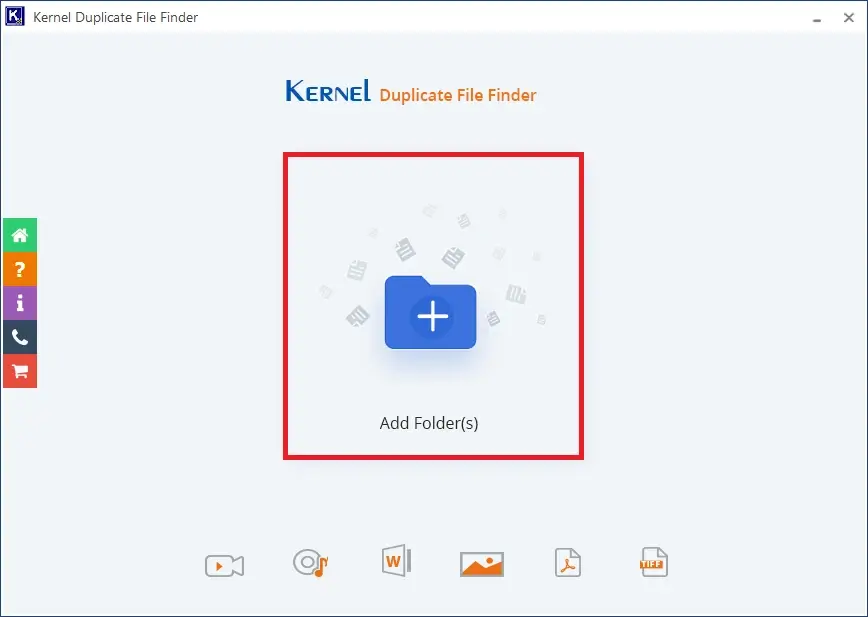
Step 1: Launch Kernel Duplicate File Finder and click Add Folder(s) with the Plus icon.
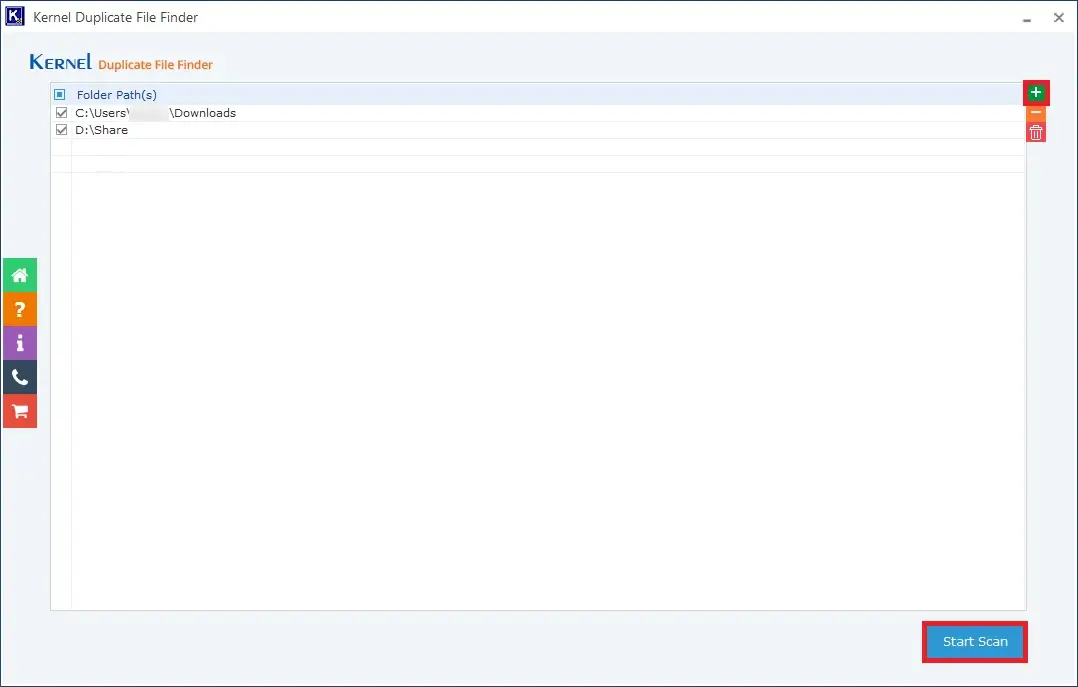
Step 2: Click the Add (+) button to select folders (or drive) from your computer.
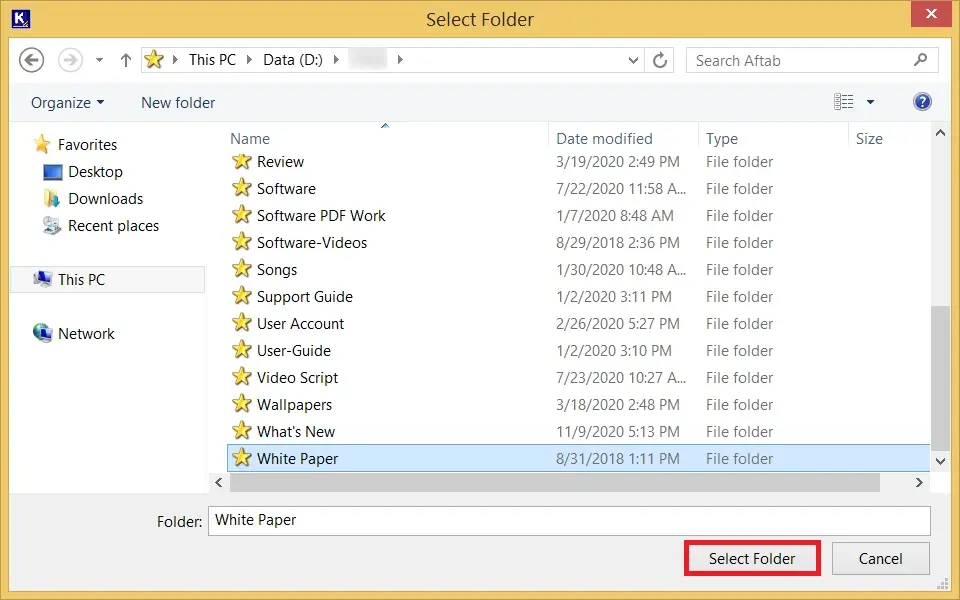
Step 3: Choose the folder(s) and click the Select Folder button.
Step 4: When you have selected and added the required folders to run the scan, click Start Scan.

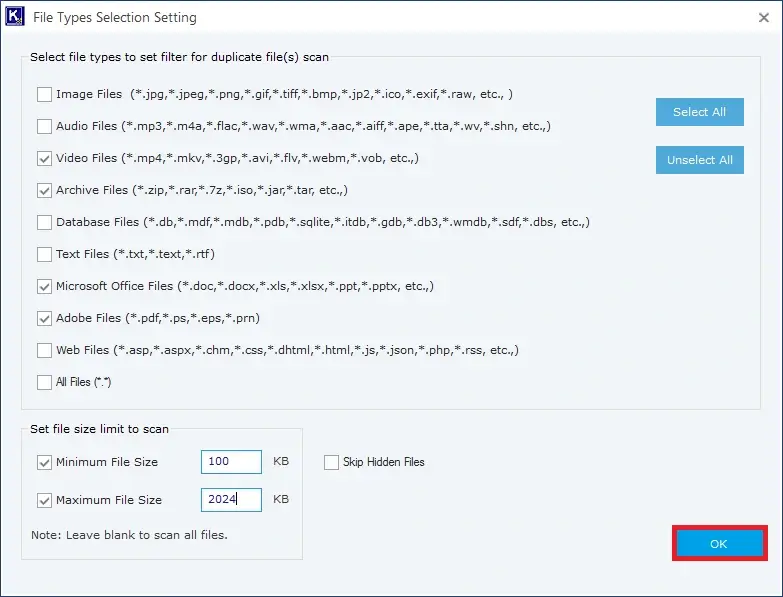
Step 5: The tool shows all the file types that it can recognize for duplicate content. These file types are Image, Audio, Video, Archive, Database, Text, Microsoft Office, Adobe Files, Web Files (you can also see the formats for each file type that the tool can scan). You can choose the required file type and then set the minimum and maximum file size. Also, you can choose to Skip the Hidden File. Lastly, click the OK button.
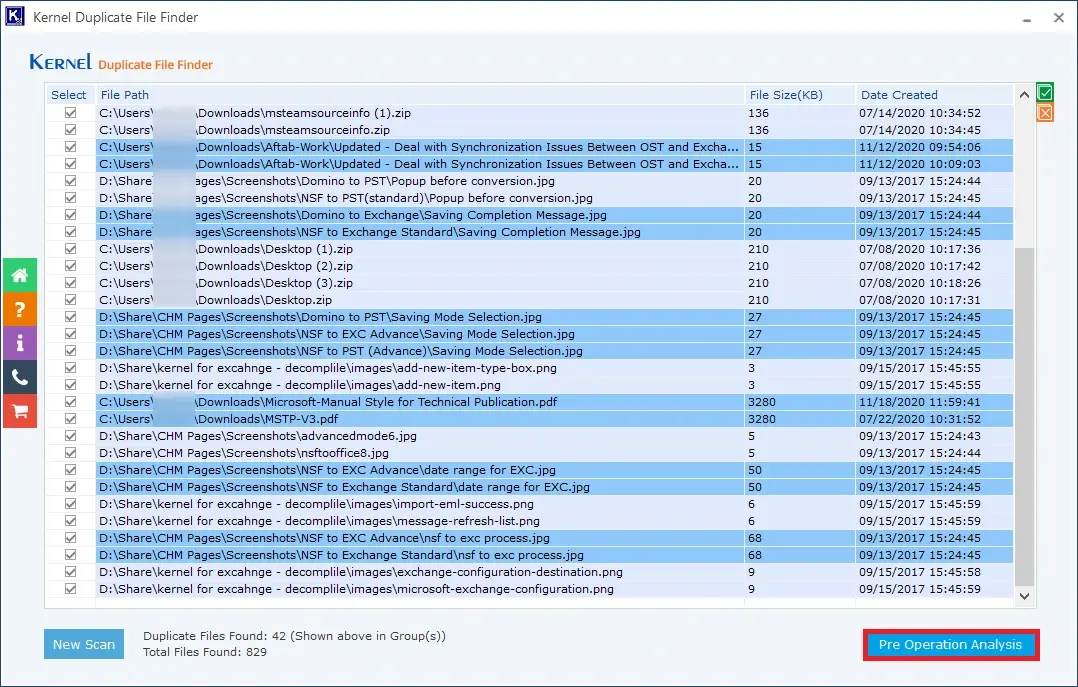
Step 6: The tool has scanned the folder and found the duplicate items in the specified folders. Now, click Pre-Operation Analysis.
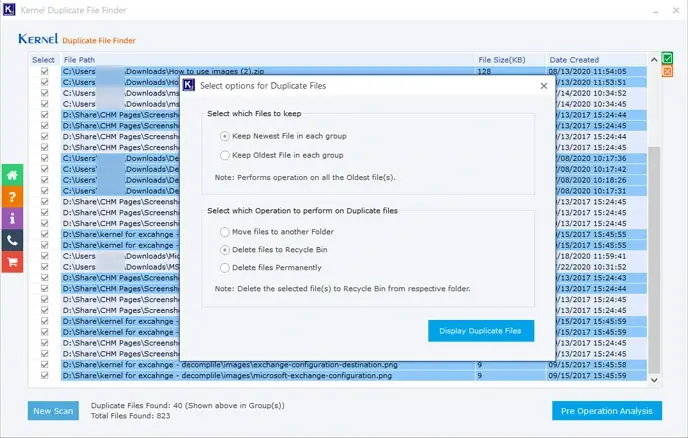
Step 7: There are two action categories for the duplicate items. The first one is to keep either newest or oldest files. The second one is to move to another folder, delete to Recycle Bin, or delete the files permanently. After selecting the options, click Display Duplicate Files.
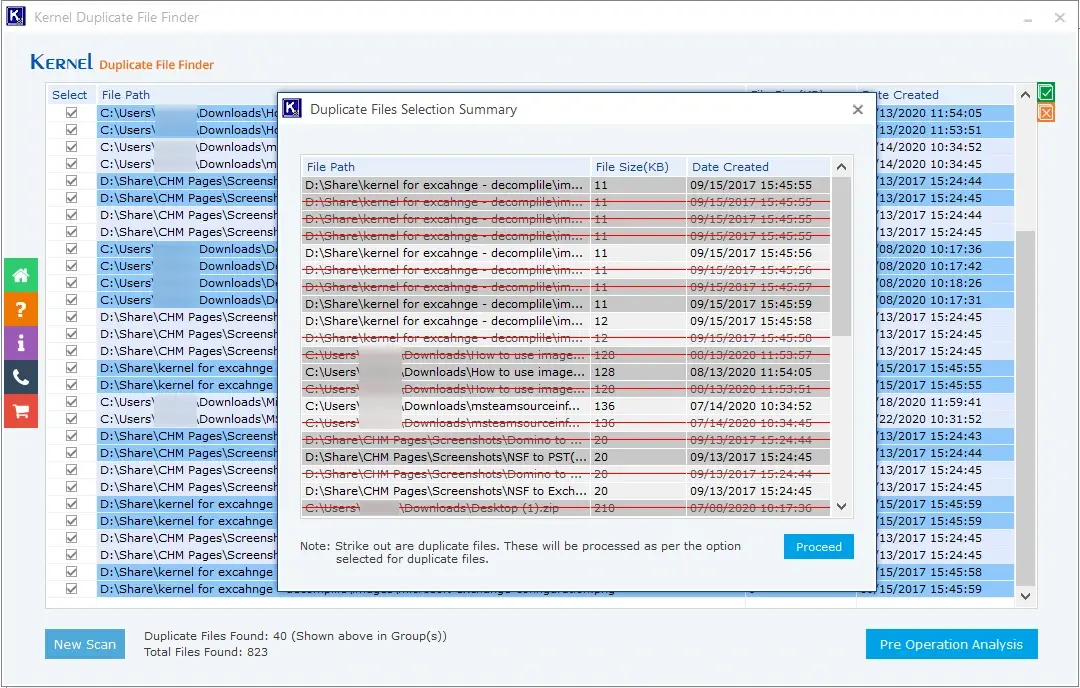
Step 8: The tool will show the files which will be affected by the selected action. Click Proceed.
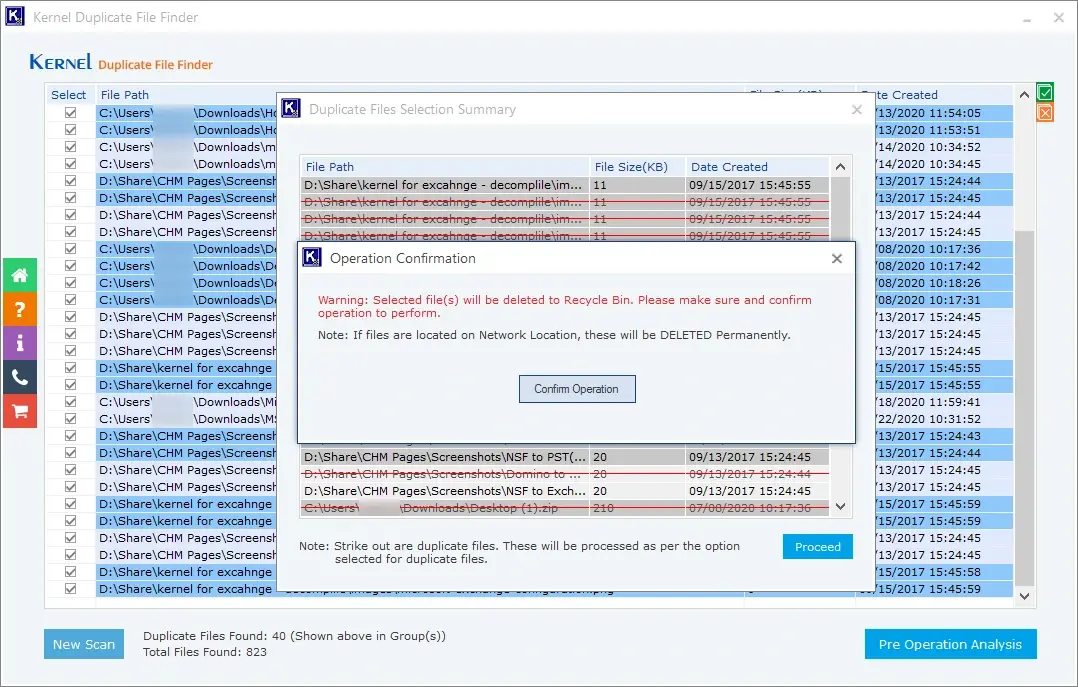
Step 9: In the example, the option was chosen to delete the files to the Recycle Bin. So, the message will appear about the selected option. You need to click the Confirm Operation button to finalize the process.
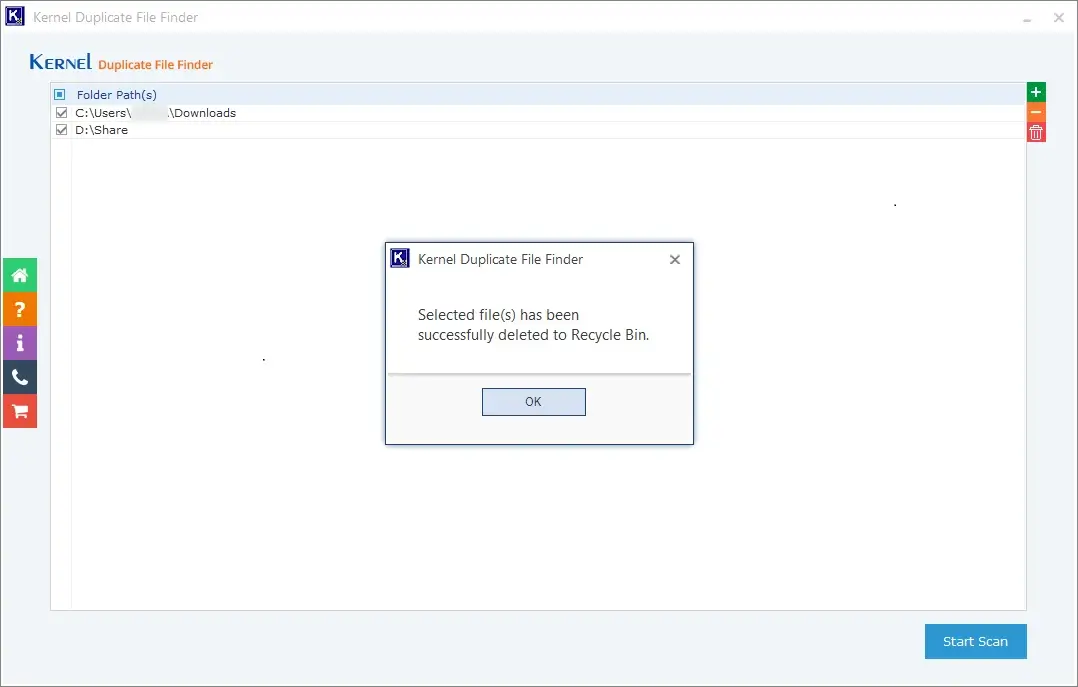
Step 10: The selected files are successfully deleted to the Recycle Bin. Click OK.
The method mentioned above works for all the files present in the computer drives and folders. You can choose multiple folders and check for duplicate data in a single attempt.