Read time 12 minutes
Are your old OST files keeping you from finally shifting to cloud storage? Confused how to import OST file to Office 365 easily? We’ve got the answer for you. Outlook users are often confused how to shift all their data files to cloud easily since you can’t access these files without their default profile.
To ease your dilemma and simplify the OST to Office 365 migration process, we’ll be going over the manual procedure to perform this migration. As a safer alternative, we’ll also highlight a professional tool to quickly upload OST to Office 365.
Reasons Which Lead Users to Move from OST to Office 365
- Better security features: Office 365 has several advanced features, so OST to Office 365 migration ensures that your data remains safe.
- Backup of important data: Importing OST files to Office 365 creates a backup of all the important data. This helps in recovering data in case of accidental deletion or system crash.
- Centralized data storage: Moving all the OST files to Office 365 helps in storing data at single location and accessing it easily.
- Easy collaboration: Importing OST files to Office 365 makes it easy for users to collaborate with clients and colleagues on different projects.
- Need of reliable platform: Frequent On-prem Exchange crashes and the need for a reliable platform compel users to shift to Office 365.
- Extensive storage capacity of Office 365 mailboxes as compared to OST files. Need to avoid frequent Exchange maintenance downtime.
Manual Way to Import OST File to Office 365
There are no direct methods to migrate OST emails to Office 365. However, you can convert OST files to PST format using the Import/Export feature of Outlook. Then, you can Import PST to Office 365 using the network upload method. Although, this method requires a strong technical base and extensive knowledge of Office 365. Apart from being time-consuming, this method doesn’t guarantee accurate results. Moreover, there’s a very high chance you might lose your essential data due to either a human or technical error.
How to Import OST Files to Office 365 Easily?
Importing OST files to Office 365 is not that easy. Novice and non-technical users find it a difficult task. That is why reliable third-party tools are advised for direct OST to Office 365 migration. Kernel Email Migrator is a useful tool for this.
Kernel Email Migrator imports OST files directly to Office 365 mailboxes. This is how you can do this:
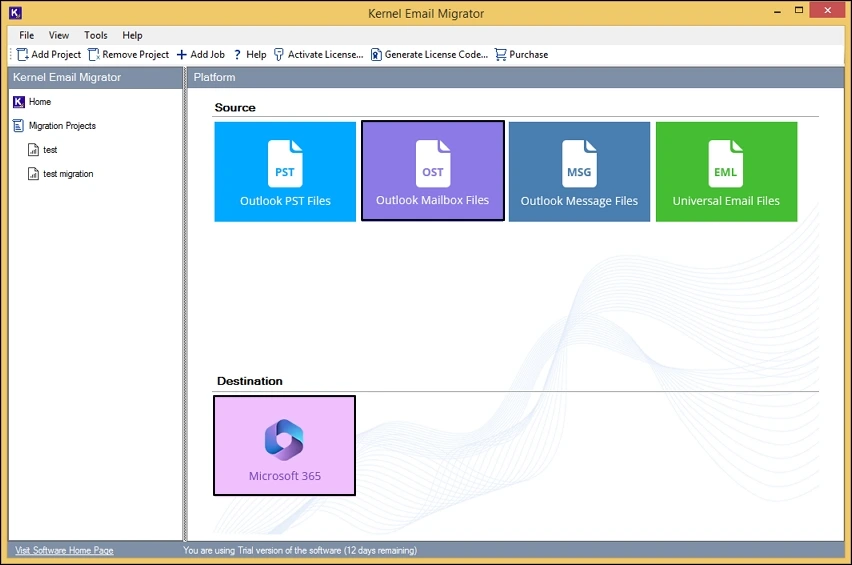
- Install and launch Kernel Import OST to Office 365 tool.
- Select Outlook Mailbox Files (OST files) as the source and Microsoft 365 as the destination platform.
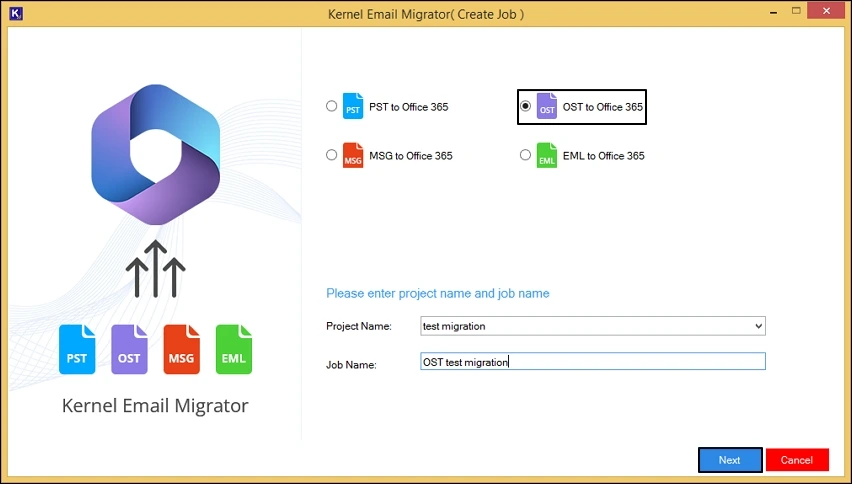
- Choose the OST to Office 365 option and enter a Project Name and a Job Name. Then click Next.
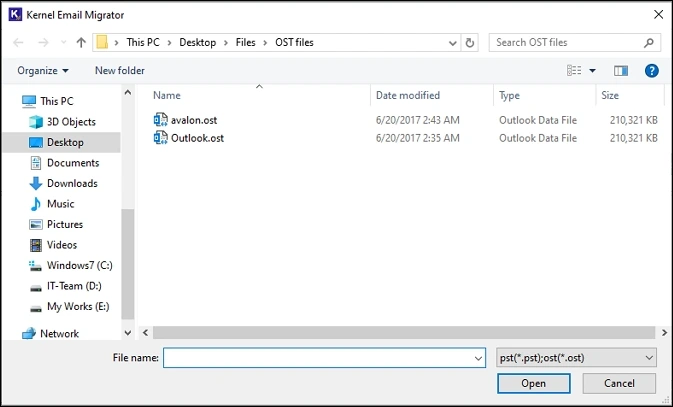
- Add single/multiple OST files in the Add Source section.
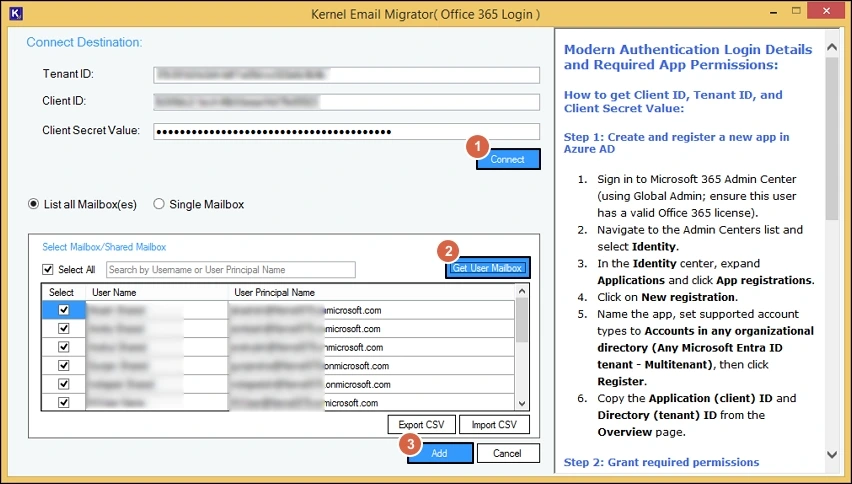
- To connect the destination mailbox, you’ll be required to input details like Tenant ID, Client ID, and Client Secret Value. Click on Connect after entering the correct credentials.
- Choose either the List all Mailbox(es) option or Single Mailbox option. Then click on Get User Mailbox to map all the Office 365 users.
- Click on Add to finally add the mapped users to the destination section.
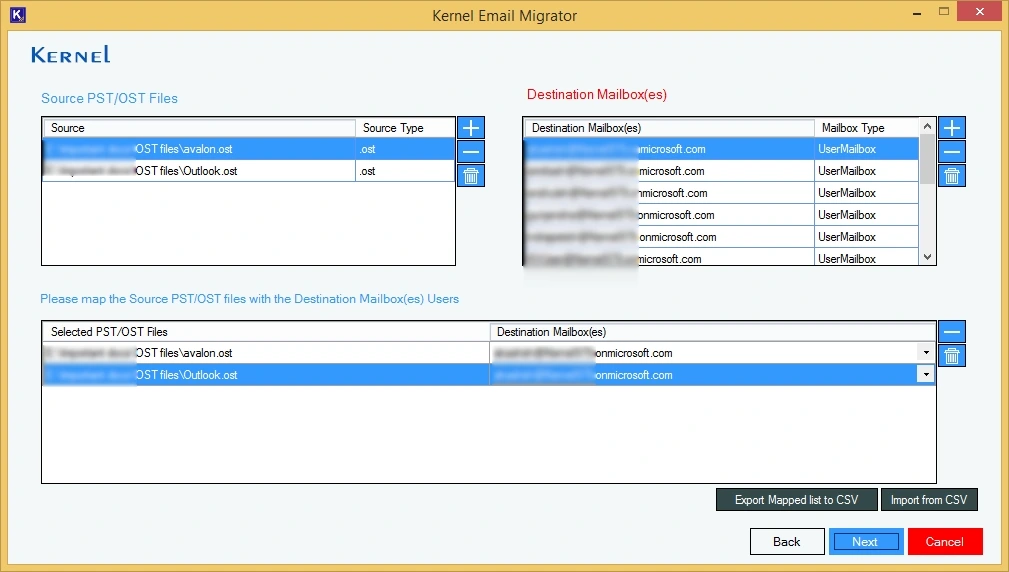
- Map the OST files with the chosen Destination Mailbox(es) users and click Next.
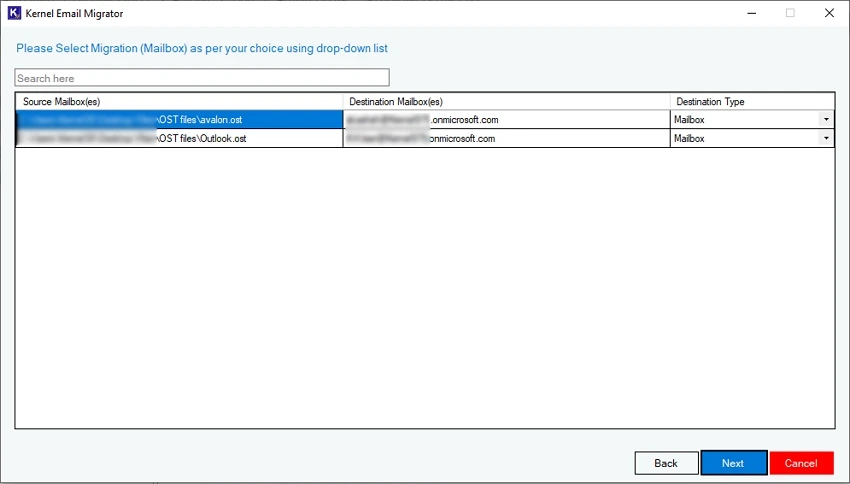
- All the OST files mapped with your choice of mailbox users will get displayed on screen. Click Next to proceed.
- Apply different filters like Date Range filter, Item type filter, option to Exclude Deleted and Empty folders, etc. You also get the option to skip previously migrated emails to avoid duplicity.
- Set Operational Timeout limit and click Next.

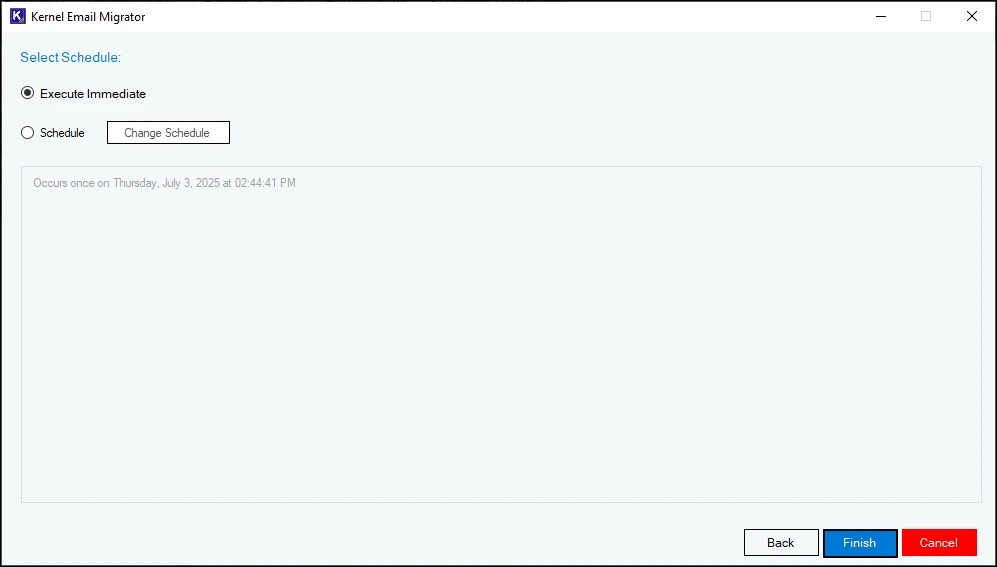
- Schedule the migration as per your convenience or choose the Execute Immediate option. Then click on Finish.
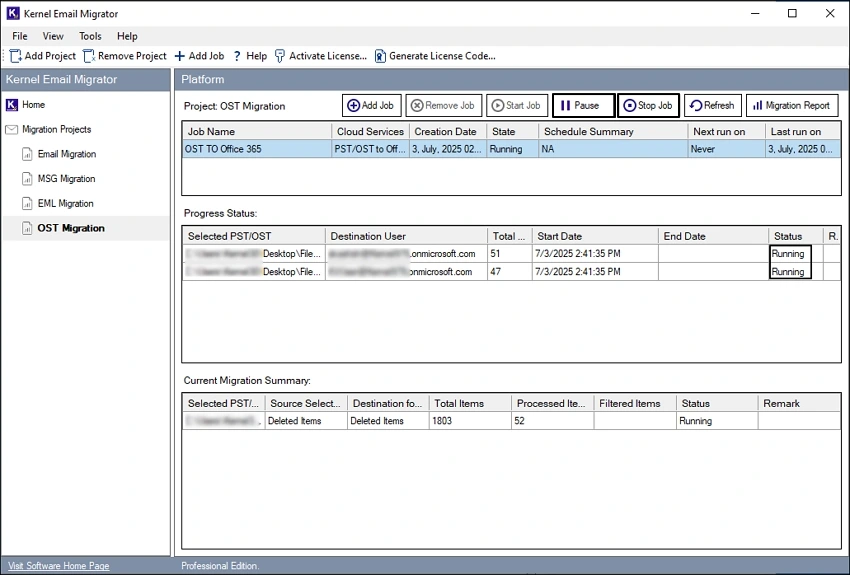
- The job will be created successfully. The job status will display Running while the process is going on.
- You also get the option to Pause or Stop the running job if required.
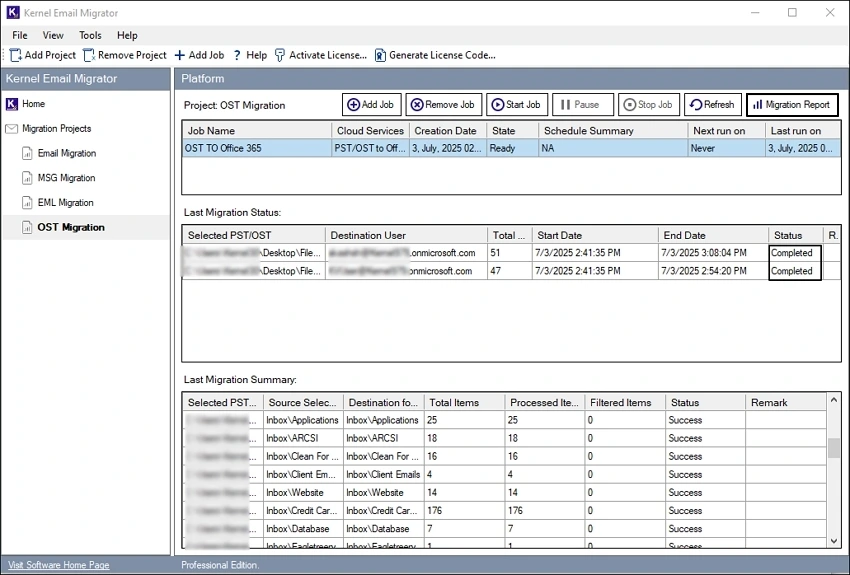
- After the migration is successfully completed, the job status will change to Ready.
- Click on Migration Report button to generate a detailed report of the recent migration job.
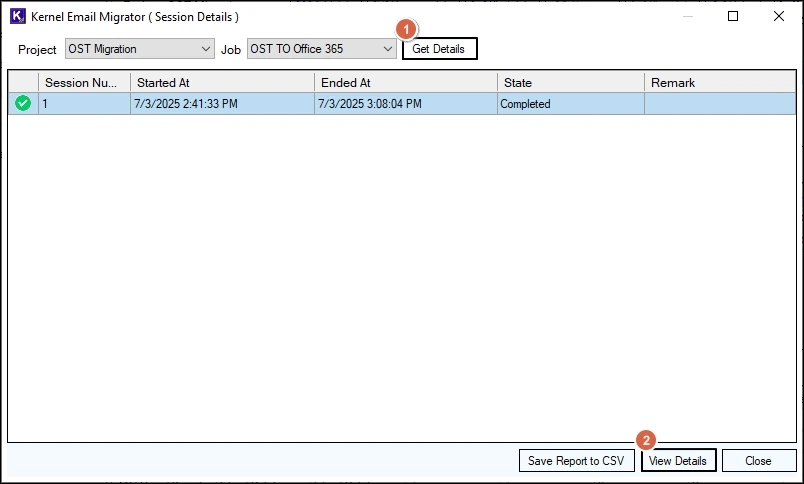
- Choose the migration job and then click on View Details.
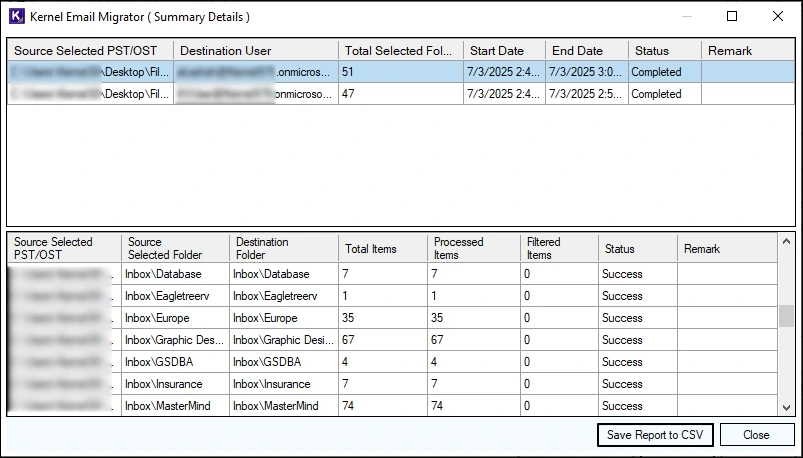
- The tool will generate a detailed report, click on Save Report to CSV button to save the generated report on your system.
Conclusion
Let’s recap what we have learned in this article. We started off by discussing the basic overview and why you might want to import your OST emails into Office 365. Then, we talked about the network upload method to upload OST to Office 365. walked through a step-by-step procedure for how to do just that. Finally, we shared the easiest third-party tool – Kernel Email Migrator. With its user-friendly interface and powerful features, this tool makes importing your emails a breeze.