Read time: 4 minutes
Transitioning from Exchange 2003 to Office 365 can be a smooth and efficient process when you follow the correct procedures. Successful execution hinges on careful planning and meticulous attention to detail. While the procedure itself is straightforward, having a clear understanding of the necessary preparatory steps can significantly streamline the process, ultimately saving you valuable time and effort.
The migration of email data from an on-premises Exchange installation to the cloud is a significant endeavor. Microsoft has made substantial efforts to provide ample guidance, ensuring a smoother transition compared to earlier versions.
If you’re in the process of migrating from Exchange 2003 and 2007, the Cutover Migration method is available as an option for you to utilize.
To ensure a seamless migration experience, industry experts recommend utilizing third-party tools equipped with interactive wizards designed to facilitate the migration of various components, including mailboxes, public folders, contacts, calendars, and distribution lists. Particularly, if you’ve incorporated numerous users within a shared mailbox on Microsoft 365, these third-party applications can offer more efficient handling of this task. The migration process can be categorized into two distinct types:
The following procedure outlines a simplified, step-by-step approach to migrating Exchange Server data to Office 365. This process encompasses several key steps, such as:
Step 1: Start Migration through Exchange Server Deployment.
Step 2: Analyze the Exchange Server 2003 connectivity and availability.
Step 3: Start the Cutover Migration.
Synchronization duration varies based on your mailbox’s size and the number of accounts being transferred. To access additional details about this process, go to Mailbox Status and click on it.
Step 4: Migrate the additional Exchange 2003 parts.
Upon successful completion of the Exchange account synchronization procedure, you will promptly receive an email containing a comprehensive report encompassing all pertinent details. Once you have received this report, you can then proceed with the subsequent migration steps.
You can conclude the migration process once all emails have been seamlessly transferred to Office 365.
Office 365 serves as a comprehensive platform for a wide range of communication and productivity tasks. In contrast, Exchange 2003 represents a legacy version of Microsoft Exchange Server, initially introduced in 2003, and subsequently phased out by Microsoft. Nevertheless, certain organizations continue to operate on Exchange Server 2003, citing a delay in transitioning to more modern iterations.
Migrating from Exchange Server 2003 to Office 365 is made effortless through the utilization of third-party Exchange Migration tools, which streamline and automate the entire migration procedure for a seamless transition.
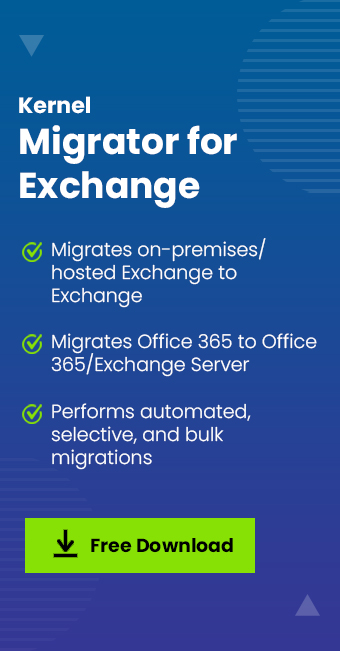
The Kernel Migrator for Exchange tool streamlines the process of transferring data from your Exchange Server 2003 environment to Office 365, simplifying what might otherwise be a complex task. This tool offers user-friendly wizards that guide you through every step of the mailbox and public folder migration journey, ensuring a seamless transition from your on-premises server setup to Office 365. Furthermore, it boasts compatibility with a variety of on-premises environments, allowing you to effortlessly migrate not only mailboxes and public folders but also contacts, calendars, and distribution lists to the Office 365 platform.
Microsoft Exchange Server and Office 365 represent two prominent email services offered by Microsoft. While transitioning from Microsoft Exchange Server to Office 365, the migration process involves transferring your data from one server to another. Nevertheless, this migration can sometimes present challenges. To ensure a smooth and hassle-free transition, many businesses opt for third-party solutions known for their simplicity and ease of use. One such reliable tool is Kernel Migrator for Exchange, which streamlines the migration of your emails, calendars, and contacts from your on-premises Exchange environment to Office 365. Our software comes equipped with interactive wizards that guide you through each step of the migration process, ensuring a seamless experience. Once the migration is successfully completed, you can easily remove your existing domain in Microsoft Office 365 to a new one, further enhancing the flexibility of your email environment.