Read time 6 minutes
SharePoint is a powerful collaboration tool that many organizations use to manage their documents, workflows, and team collaboration. One of the key features of SharePoint is its ability to provide access to different users at different levels. SharePoint has several permission levels that allow users to access, edit, and manage content according to their roles and responsibilities.
However, there may be cases where you need to grant limited access to a specific user or group of users. This is where SharePoint limited access comes into play. So, here, in this blog, we will discuss what SharePoint limited access is and how to use it effectively to achieve organizational goals.
SharePoint limited access is a permission level that provides users with access to a specific item or folder within the site, but restricts access to the rest of the site. This permission level is granted when a user is given permission to access an item or folder within the site but not the entire site or the parent folder of the item. This is useful when you want to share a document with someone who is not a member of the site but needs access to that particular document.
When you grant limited access to a user, SharePoint automatically creates a permission level for that user called Limited Access. The permission level is unique to the user and can’t be used for any other group or user. This permission level allows users to access the specific item or folder they have been granted access to but not the site’s content, including its settings, menus, and other documents.
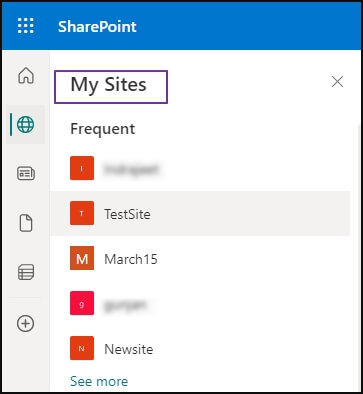
To grant limited access to a user or group, you must first ensure that the user or group has access to the parent site. Once the user or group has access to the parent site, follow these steps to grant limited access to specific content.
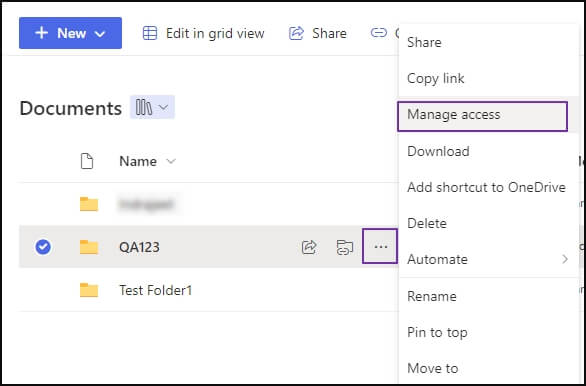
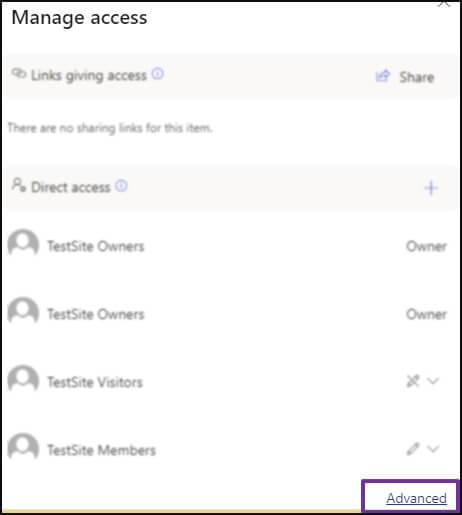
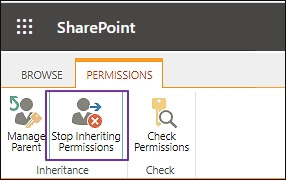
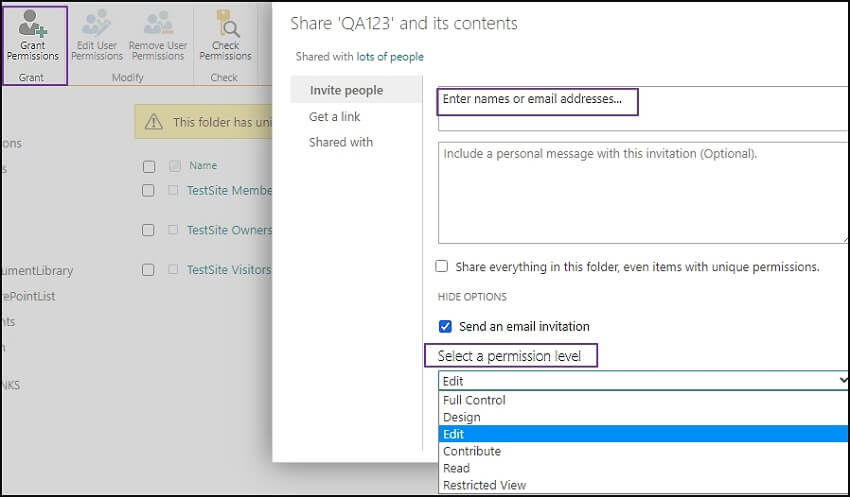
Once you have granted the SharePoint limited access permission to a user or group, they will be able to access the specific content you have granted them access to, but they will not see the rest of the site or library. Later, you can also customize permissions in SharePoint.
Here are some best practices to effectively use SharePoint limited access.
SharePoint limited access is a useful feature that can help organizations keep confidential or sensitive information secure while still allowing users to access the content they need to work on. By following the best practices, you can use limited access effectively and ensure your SharePoint site or library remains secure.
But sometimes, we need to migrate SharePoint data, including permissions. Don’t worry; you can easily migrate SharePoint permissions using an automated tool Kernel Migration for SharePoint. The SharePoint Migration tool is an all-including migration solution that quickly migrates SharePoint data, including site collection, versions, metadata, and list & libraries.
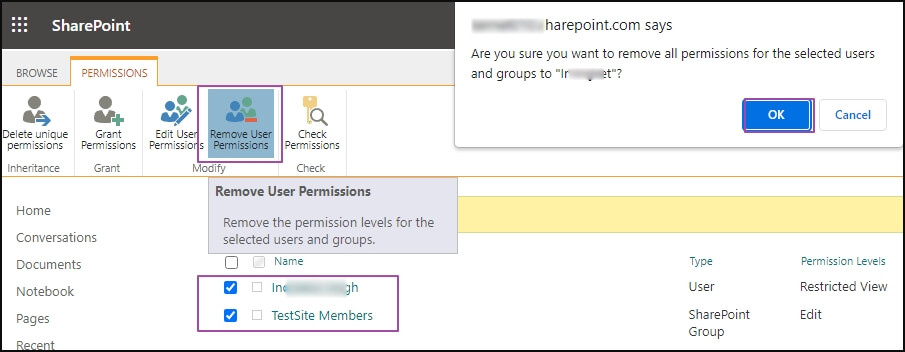
A- Sometimes, while managing permissions in SharePoint, we want to remove limited access permission from a particular site or document library. To remove limited access in SharePoint, you can follow the below steps: