Read time 6 minutes
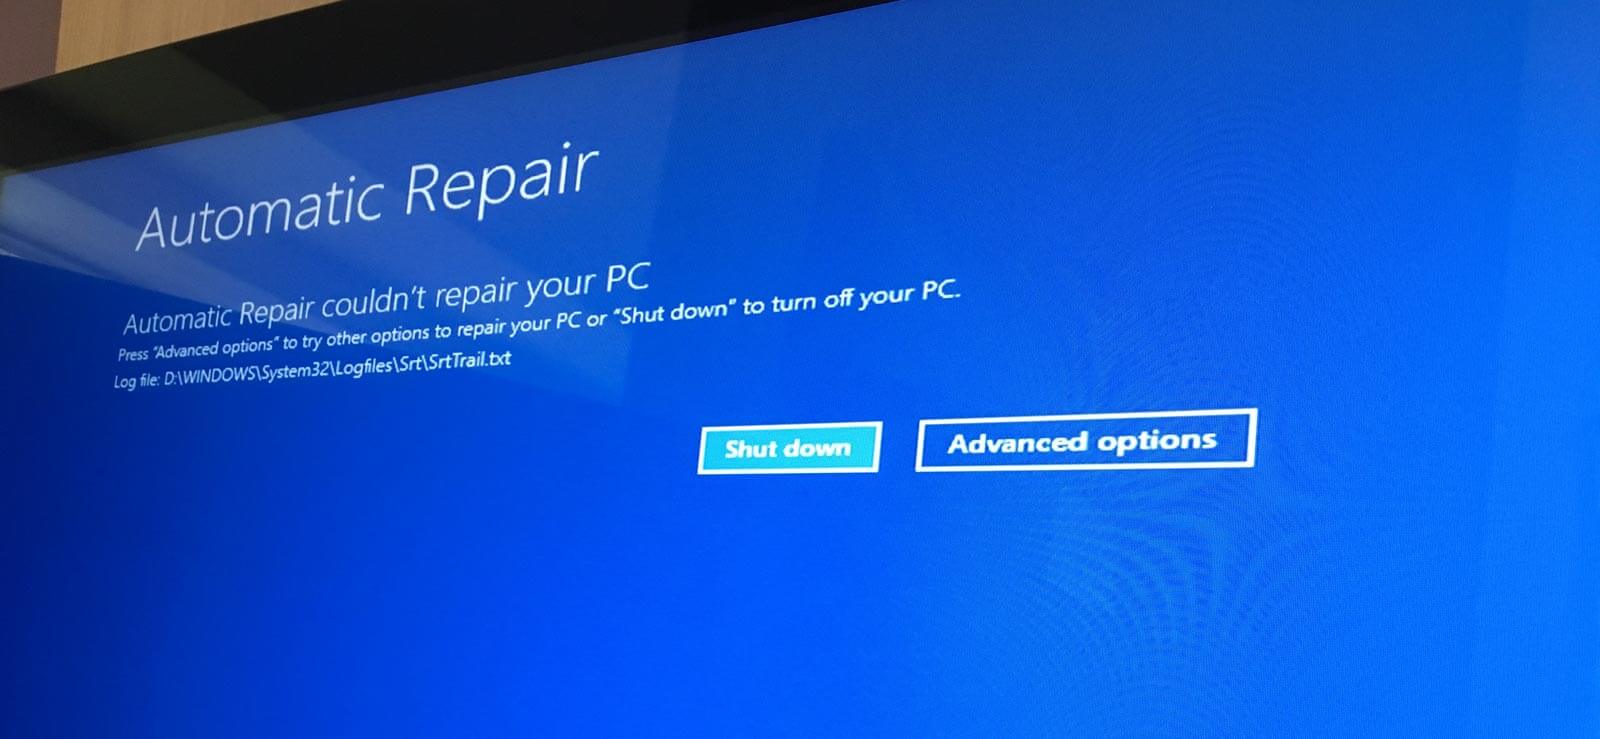
Are you facing the error “Startup Repair Cannot Repair This Computer Automatically” and don’t know how to fix it? Well, you don’t need to worry anymore. This blog is all about fixing this error by the best and the easiest way possible. Before going for the solutions, let’s first know why it happens:
- Damaged File System
- Corruption in Master Boot Record (MBR)
- Damaged Hard Drive
- Virus Attacks
- Power Fluctuations
Fix The Error Manually
If you are facing the error “Startup Repair Cannot Repair This Computer Automatically,” you can try the below-mentioned methods to fix it.
- Try CHKDSK: CHKDSK is a well-known utility that helps in various tasks, like verifying the integrity of a volume, fixing logical system errors, etc. One has to check if the system has bad sectors or if any drive isn’t working properly. We can do this using the Command Prompt. Let’s know how:
- Restart your system with installation disc and press F8 once it is started.
- Now go for Repair your Computer when the option shows up.
- You will see a new window on the screen, select ‘command prompt’ from the options available.
- Now type chkdsk C: /f/r in the command prompt and hit Enter key.
- Restart your system again.
- Once the system has restarted, the chkdsk will start the scanning process. In this process, it will scan the hard drive and look for any problems; once detected, it would fix them accordingly.
If it doesn’t work for you, then try an additional command before executing chkdsk.
1-Type the following command:
“diskpart>select disk X (X=0,1,2)>attrib disk>attrib disk clear>readonly”
“diakpart>list vol>sel vol X (X=0,1,2)>attrib vol>attrib vol clear readonly”
2-After running the above command, execute the CHKDSK command again.
After this, the chances of fixing the problem will increase.
- Try bootrec.exe: Bootrec utility is a Windows tool commonly used to fix startup issues. Let’s know how to do that:
- Restart the system with the installation disc.
- Once the system has started, it will prompt you to press any key, do that.
- Now select the time, currency, keyboard, language, and other input methods.
- Click on Next once all the steps are done.
- Once done, select Repair your computer.
- Moving forward, you need to select the operating system which needs to be repaired. Click on the Next button to proceed.
- At this stage, a dialogue box of System Recovery Options will pop-up on your screen, select Command Prompt from there.
- In the command prompt dialogue box, execute the following command:
- If any of the commands listed above has worked for you, and the bootrec utility runs successfully, you will get an installation path.
- At this stage, you need to type Yes to add an entry to the BCD store.
- Once the entry is saved successfully, you will get its confirmation.
- If Bootrec fails, type the following commands and execute them:
Bootrec /fixmbr
Bootrec /fixboot
Once you pass these commands, each command will take its time to complete and will also provide you the confirmation of the completion.
Or
You can go for this command if the previous one doesn’t turn out fruitful.
Bootrec /RebuildBcd
Note: The installation path you will see on your screen is the installation path of a Windows directory.
Note: Now, this may happen that the bootrec has located the missing Windows installation, and you are done with the process. But it may also happen that bootrec fails to find any Windows installation; in this case, you need to execute some different commands.
Bcdedit /export C:\BCD_Backup (Enter)
attrib bcd -s -h -r (Enter)
ren c:\boot\bcd bcd.old (Enter)
Bootrec /rebuildbcd (Enter)
Once the commands are executed properly and the process is done, restart the system.
- Try System Restore: You can try restoring the system to get the desired results. For that, you will need the Windows Recovery Environment (WinRE) and need to enable the system to restore if not enabled.
- Insert the installation disc and restart the system.
- At this stage, the system will present you with an option “Press any key to boot from CD or DVD,” press any key to proceed.
- Select time, currency, language, and other input options and click on Next to proceed.
- Now click on the Repair Your Computer.
- As you click on the previous option, a dialogue box will appear on the screen stating System Recovery Options.
- In that dialogue box, under Choose a recovery tool section, select System Restore.
- Now follow the instructions presented by the System Restore Wizard.
- Finally, click on Finish to complete the process.
Note: Make sure that you have selected the right operating system and disk.
- Try Clean Booting:
- Check Your Hard Drive: If nothing is working for you, better check your hard drive for any possible physical errors. For this, use the same hard drive on another system and see if it is working well. If it doesn’t work well for that too, that means you need to replace the hard drive.
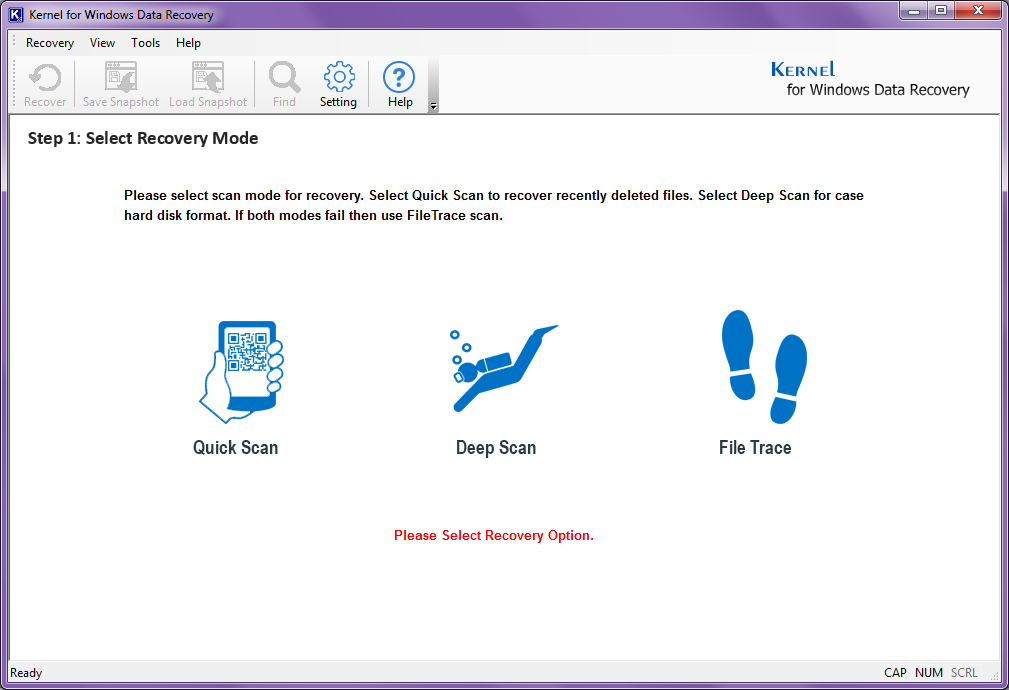
- Forgot to back up your data?: We have mentioned it multiple times that you need to back up your data before proceeding for any of the above methods. Still, you missed to create a backup, or you have lost your backup due to any reason, then you may need to try Kernel for Windows Recovery for the assured data recovery.
Kernel for Windows Data Recovery is a reliable data recovery tool that recovers all the lost data from your system in a few easy steps. The tool comes with three recovery modes to recover data according to your requirements. Have a look at the tool’s interface:
If none of the above methods work for you, you need to try clean booting your system. To clean boot your system, you need to run your computer in safe mode first and then try boot cleaning. Make sure when your system starts in this mode, the very first step you need to take is backup all your important data. Hope this method helps you.
Conclusion
In this blog, we were working on an issue in which the startup repair cannot repair the computer automatically. In the process of fixing this issue, we have tried two methods, using CHKDSK and Bootrec utilities. We have also suggested a few other manual methods which may work for you. In case you lose your data in the process, we recommend Kernel for Windows Data Recovery Tool for the best results.