Related Posts
Use New-MailboxExportRequest Powershell Command

Written By
Aftab Alam

Updated On
August 29, 2022
Read time 6 minutes
Microsoft Exchange Server provides numerous features and settings to handle your Exchange databases and their mailboxes and public folders. It also offers a unique feature like Exchange Management Shell – a cmdlet service – which lets you run a significant number of commands and perform the desired action. The benefit of Exchange Management Shell is that you do not need to access any mailbox or database manually but run the command and make the changes you want.
In the preset writeup, we are going to discuss the following command –
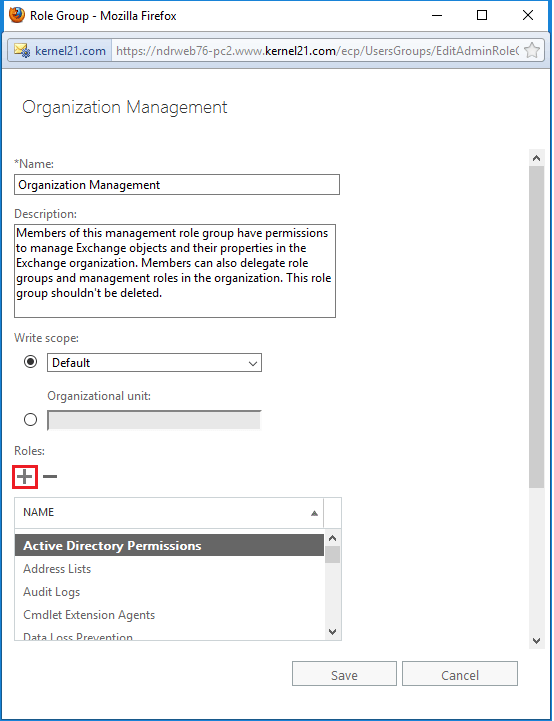
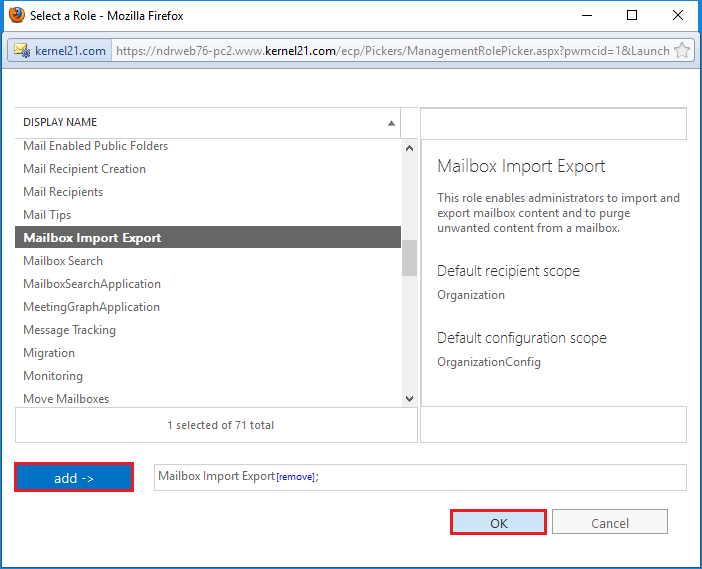
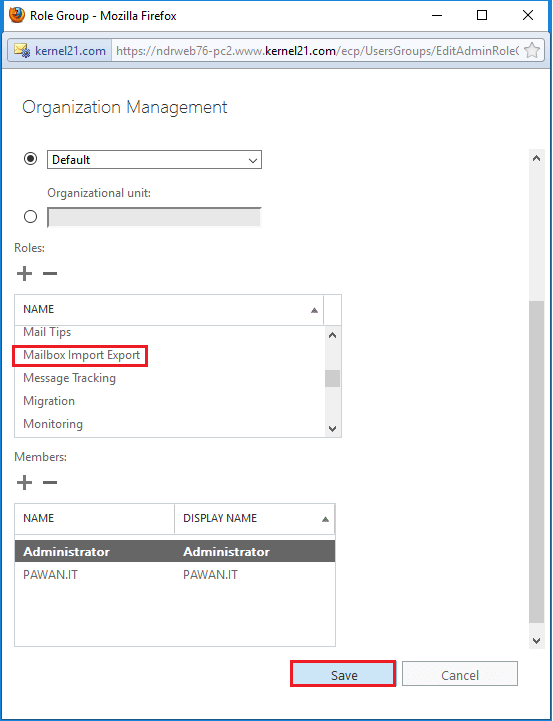
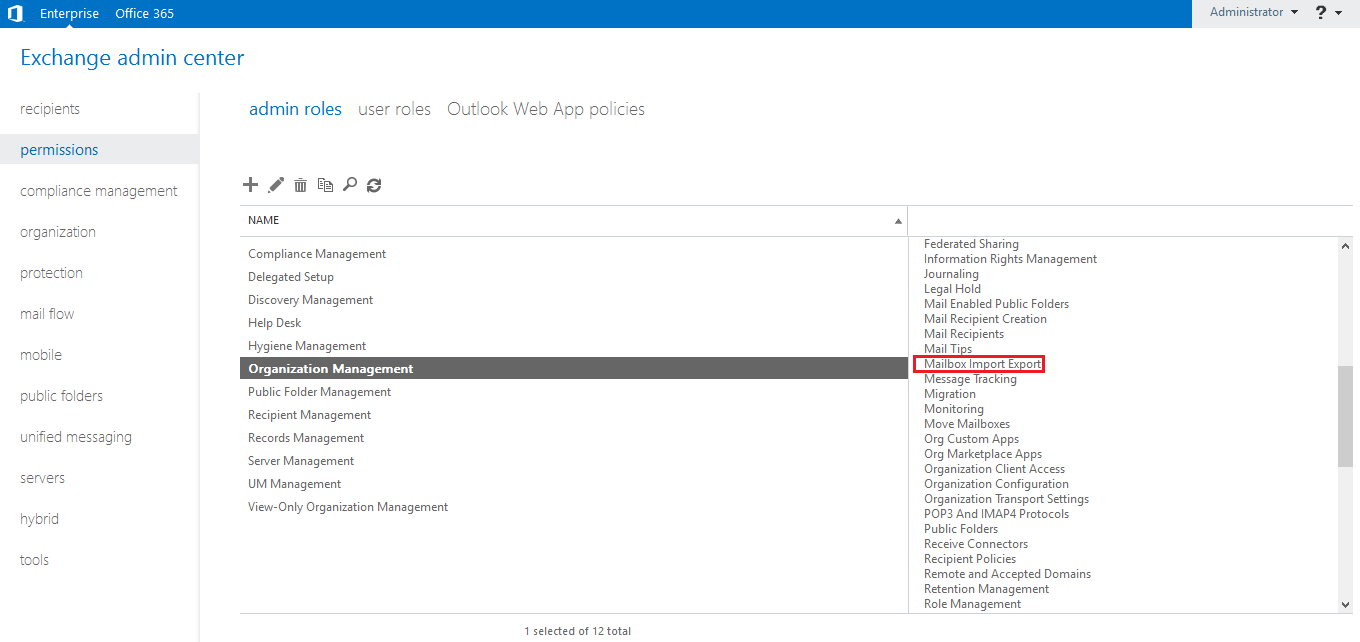
This cmdlet lets you export Exchange mailboxes to Outlook PST files. To perform this command, the account should have the Mailbox Import-Export role assigned to it, and that role is not assigned to any role group, by default. Here is the process –

Before starting the export request, you should make sure that the destination folder where you will save the PST file is a network shared folder. Exchange Trusted Subsystem should have Read/Writer permissions over the folder.
Step – 1. To convert a folder to a shared folder, right-click the folder, go to its sharing option and click the share button. After sharing, click the OK button.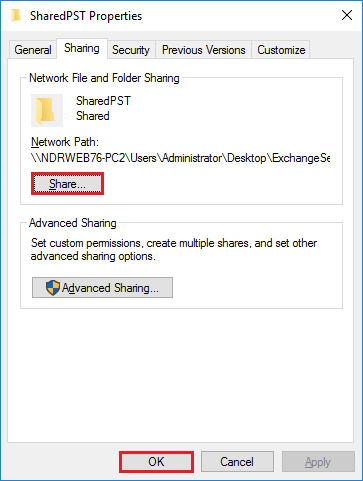
Step – 2. Start the Exchange Management Shell as an Administrator.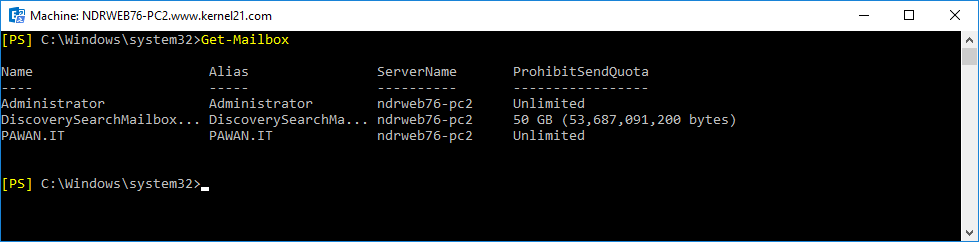
Step – 3. Run the command –
It will enlist all the mailboxes in the organization.
Step – 4. Run the second command –
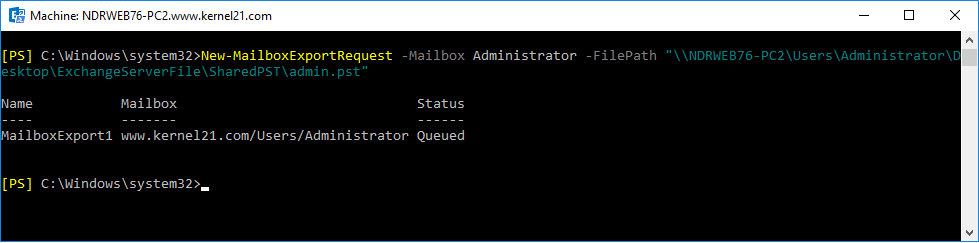
After running the command, the mailbox will be in a queue for the migration.
Note: To export data from the archive mailbox, you can use the switch -IsArchive in the above cmdlet.
Step – 5. After completing the migration, you can go to the destination folder and see a newly created PST file.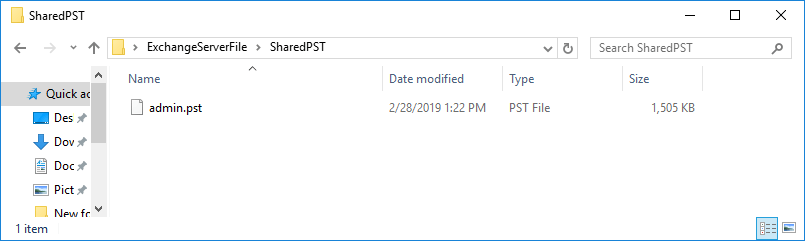
In this way, you can export any mailbox from the Exchange database.
The mailbox export request has some useful parameters which you can use depending on your need. Here are some prominent parameters useful at various levels –
The manual export job using the Mailbox Export Request to take a backup of Exchange mailbox is quite limited in scope as many users are not comfortable in using cmdlets.
If you want to take a secure backup easily, then you can also use a professional tool called Kernel Exchange Backup tool. It can access the Exchange data and provide a much better environment for the backup.
Kernel Exchange Backup & Restore is a light-weight software which lets you export or backup Exchange mailboxes directly to PST files. You can select single or unlimited mailboxes, apply filters, and send data to the desired location. Each mailbox gets saved to the respective PST file with the same name as that of the mailbox. It has a user-friendly interface and so, the tool is easy to use. After the export, it provides reports as well.