Read time 6 minutes
As an Exchange administrator, you are expected to be proficient in various tasks such as copying, backing up, and restoring data. The latest versions of Exchange Server and Office 365 are equipped with advanced features to support these tasks. Moreover, professional tools are available to aid these processes.
In this article, we will guide you through the process of copying incoming/outgoing emails to another mailbox across different versions of Exchange. With our step-by-step approach, you can easily accomplish this task and transfer data effectively. So, keep reading to learn more about this essential process in Exchange administration.
Copy incoming/outgoing emails to another mailbox
In any organization, Exchange, administrators may need to access the emails of a mailbox in another mailbox for auditing or legal purposes. This may become a frequent requirement for managerial or review purposes too. But sending or forwarding individual emails to another mailbox is a tedious task. Fortunately, Exchange Server provides some easy ways to copy the incoming/outgoing emails to another mailbox to access them instantly.
You can create a Transport Rule in Exchange Management Console or enable forwarding for the mailbox. In the present article, we will go through all these solutions and solve our issues smartly.
Create Exchange transport rule in Exchange Management console
This method is for the older versions of Exchange, Exchange 2007, and Exchange 2010.
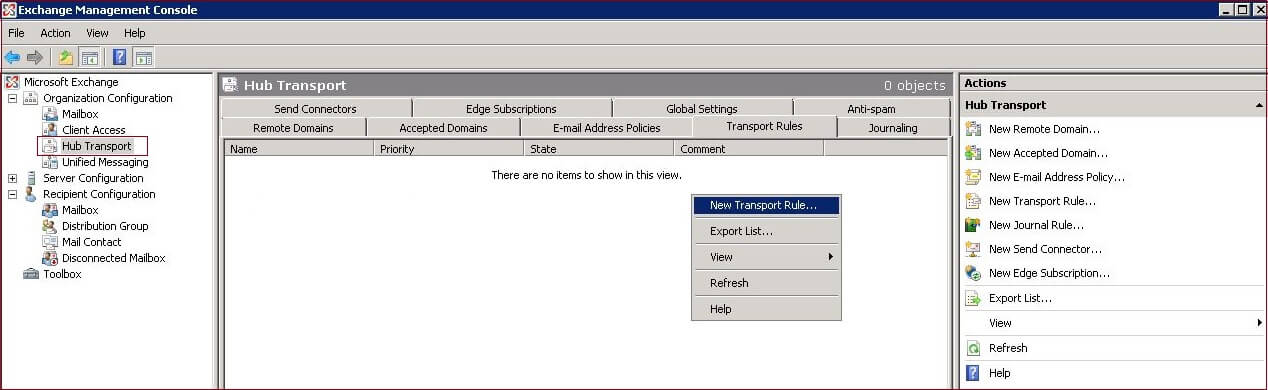
- Open Exchange Management Console, go to the left-pane, and expand the folders. Go to Organization Configuration>>Hub Transport.
- On the Hub Transport page, right-click and choose the option New Transport Rule.
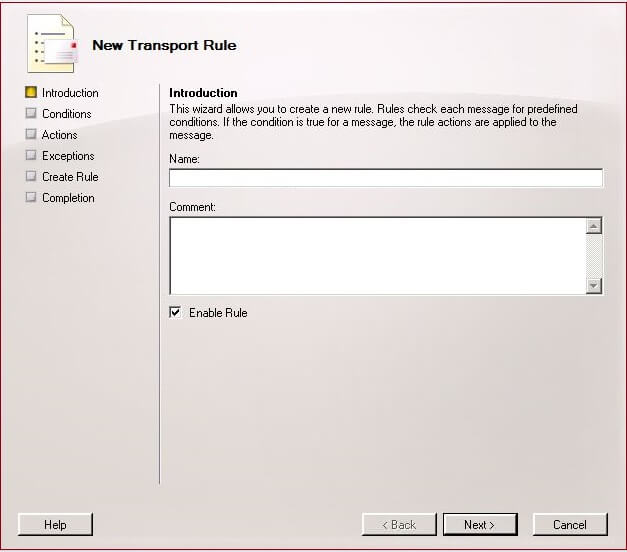
- On the New Transport Rule page, you need to go step by step to create a new rule. The first stage is the Introduction. Provide a new name to the rule and click Next.
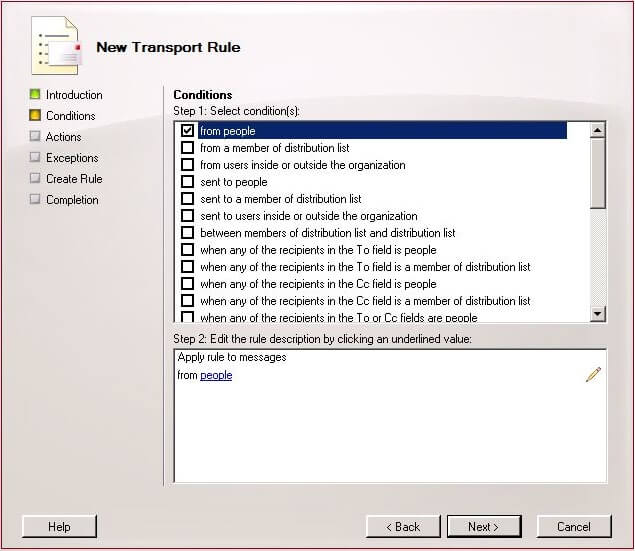
- The second stage is Conditions, where you need to use the checkbox to select various conditions that will apply to the rule. Then you can click the People icon to select the user accounts where the rule will be applied. Then click Next.
- The next stage is Actions; here, you can use the checkboxes to select the various actions for the Transport Rule. After making the changes, click Next.
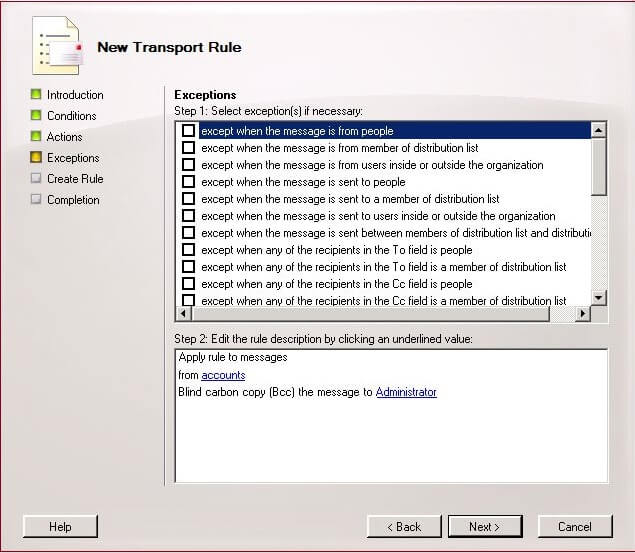
- The next stage is Exceptions that will allow you to make some adjustments to the rule. You can click the Accounts option and select the various account that will have exceptions to the rule.
- The next stage is Create Rule, where the tool will show the settings to create the account. Click New.
- The Completion page will provide you with summary of all your changes that you have applied. Click Finish and a new transport rule has been created.
Another method is to forward the emails to another account of the same organization. You can complete it through the Exchange Admin Center and Exchange Management Shell both. This is possible only in the recent versions of Exchange Server.
Using the Exchange Admin Center
This method is for the latest versions of Exchange like Exchange 2016 and 2019.
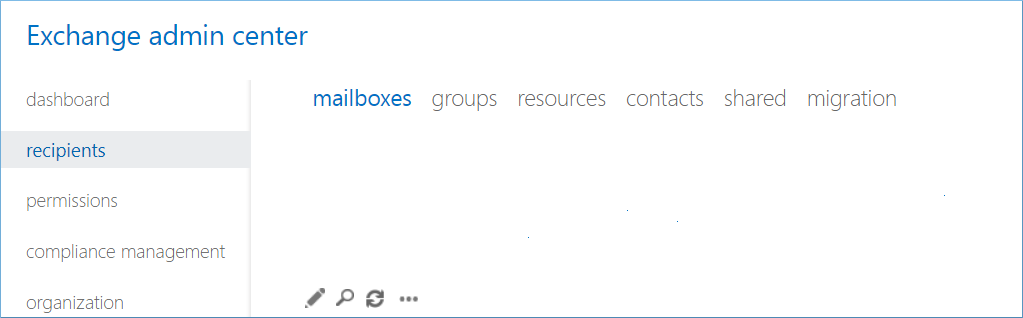
- Log in to the Exchange Admin Center and go to Mailboxes under the Recipients category.
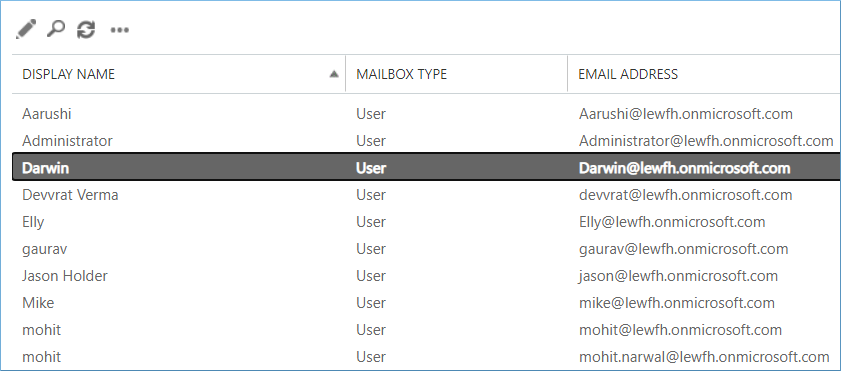
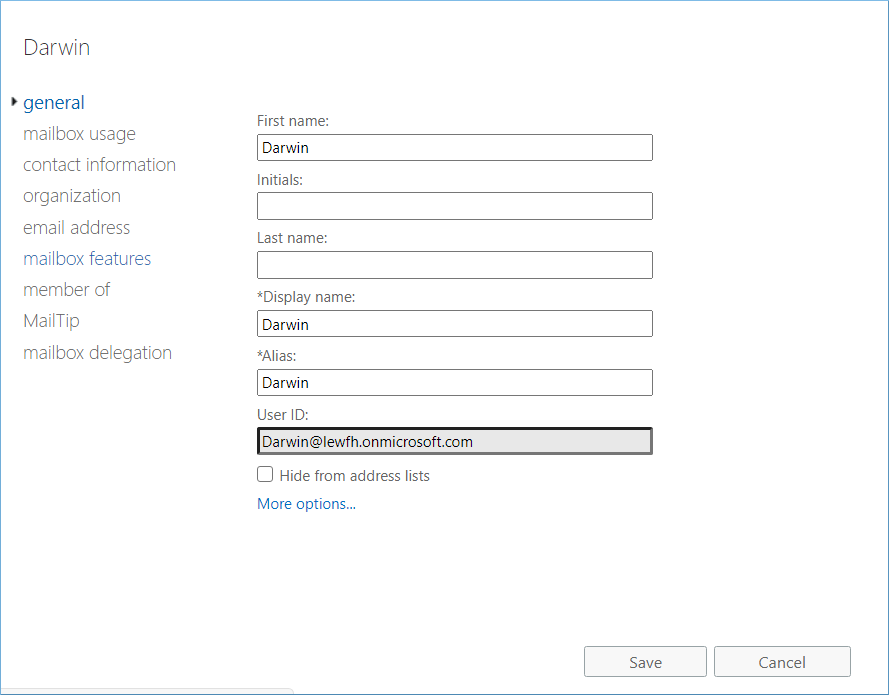
- In the list of mailboxes, select the mailbox that you want to set up the mail forwarding for. Click Edit.
- Click Mailbox Features.
- Go to Mail Flow and select View details.

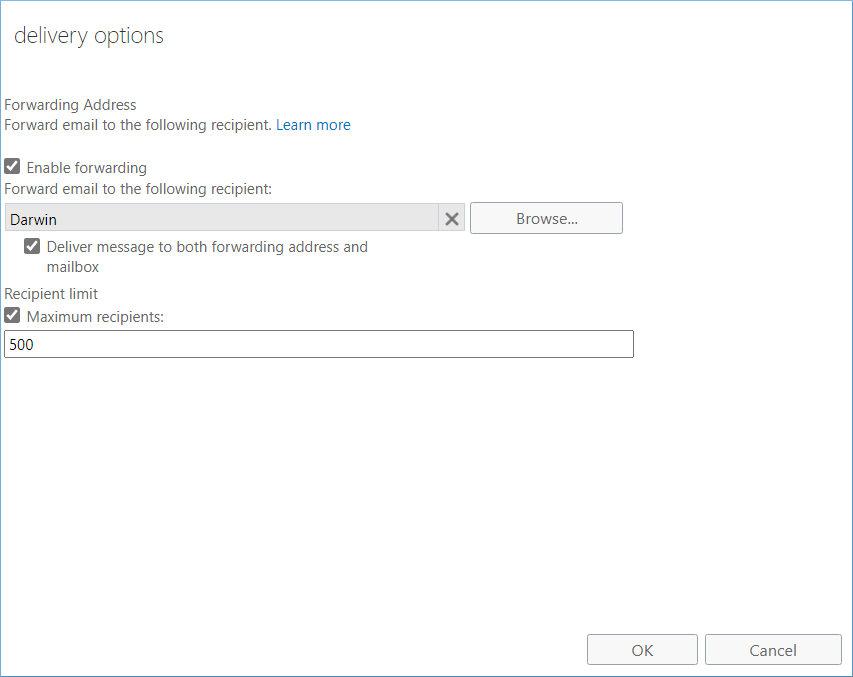
- Check the Enable Forwarding box and click the Browse button. It will open the Select Recipient page.
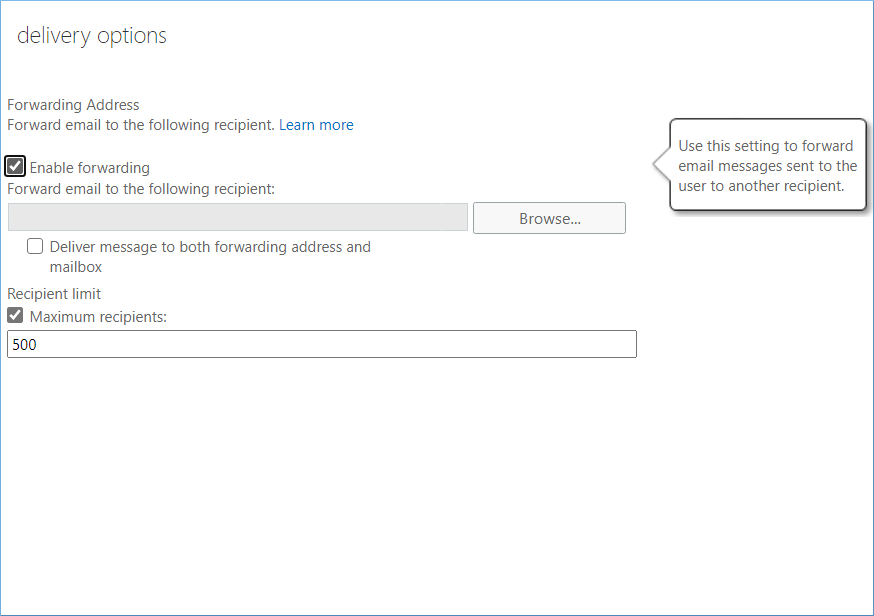
- Select the user that you want to forward all the emails to. Check the ‘Deliver message to both forwarding address and mailbox’ checkbox in case you want to get copies of the emails to both recipients and forwarding email. Click OK and then click Save.
- To check the changed settings, you can check the Mailbox Features and go to the View details (under Mail Flow) pane and see the new mail forwarding settings.
Using Exchange Management Shell
Run the cmdlets:
The command will forward all the emails coming to Jacob Doherty’s account to another email address test1@test.com.
Conclusion
If you’re an Exchange administrator and you need to copy emails to another mailbox for compliance or other reasons, there are a few options available. While forwarding emails can work for individual mailboxes, it can be difficult to do for all mailboxes.
For a more efficient solution, consider using Kernel Office 365 Backup & Restore tool to back up all mailboxes to your local system as PST files. Not only does this provide an easy backup solution, but it makes it easy to restore mailboxes, including their attachments and sender details, in the future.