Read time: 8 minutes
Different platforms create different containers to save audio, video, and image, resulting in platform-specific formats. These containers are adaptive to their native platforms and will play on the supported media player applications. Let’s talk about MOV (QuickTime Movie) and WMV (Windows Media Video).
A MOV file is an MPEG-4 multimedia container file format developed by Apple. WMV uses the Advanced Systems Format (ASF) container format and is a compressed video file format developed by Microsoft.
If you want to convert from MOV to WMV, then it means that you want to change the compression method from Apple to Microsoft-based players. This write-up explains how to convert MOV file to WMV with updated methods in 2026, along with each step-by-step process.
What are the Real Reasons to Convert MOV to WMV
The reason to convert from MOV to WMV may differ from user to user. At the same time, some people want easier sharing ability, while others want smooth playback on Windows devices. Here are some common reasons to convert from MOV to WMV that you should know:
- People find that older systems struggle to play MOV files properly due to codec issues.
- MOV files take up more storage space than WMV, which makes sharing complex.
- Windows devices have smooth playback experiences with WMV files.
- Some email platforms, as well as editing software, report compatibility issues with MOV.
- Gamer & content creators usually convert MOV to WMV for faster uploads on low-end devices.
- Business converts training videos from MOV to WMV. Similarly, teachers use WMV video in PowerPoint presentations.
Top Method to Convert MOV to WMV
Here are the tested methods from native to professional tools to convert from MOV to WMV. Each one has its own set of processes, results, advantages as well as drawbacks.
Method 1: Convert MOV to WMV via VLC Media Player
VLC Media Player is the top choice for both Windows and Mac users to play video files. However, it is also helpful to convert videos from one format to another in a few steps. If you want to convert MOV to WMV via VLC, follow the steps below:
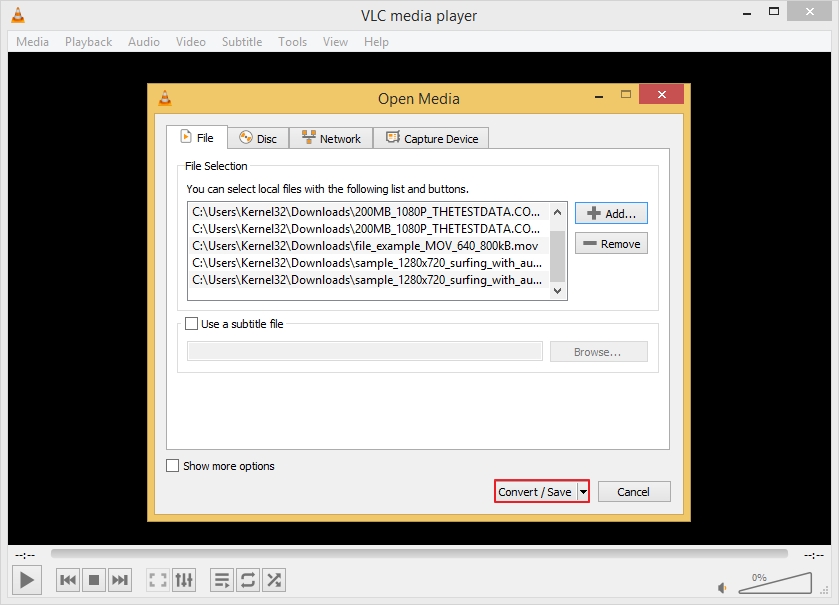
- Open VLC Media Player on your system, click Media, and then Convert/Save.

- Click Add to select and add the MOV video files, then click Convert/Save.
- Choose WMV as the output, select the saving folder, and click Start.
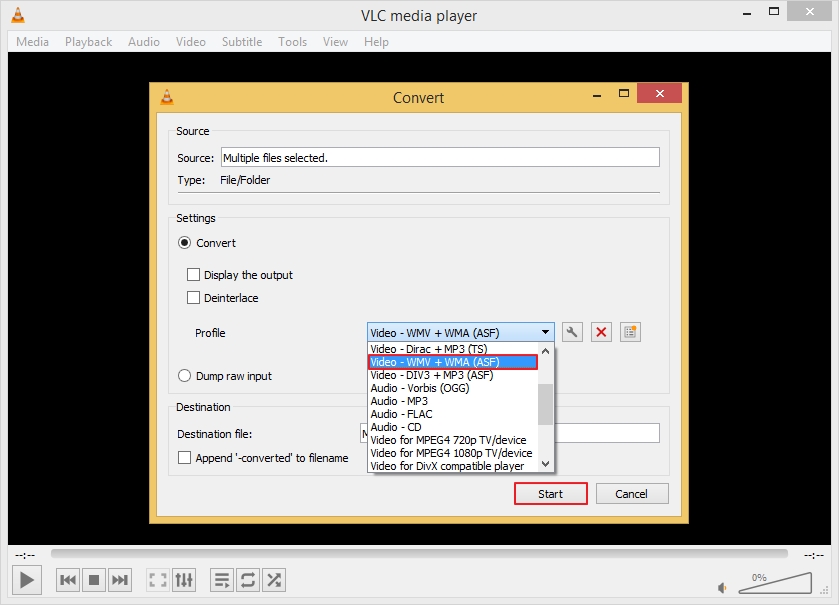
The conversion will complete in a few minutes as per the MOV video file size. Once done, you can check your resultant WMV file in the preferred folder.
Why VLC is Useful for Video Conversion
VLC is free, lightweight, and supports many video formats. It is suitable for basic video conversion without advanced editing requirements.
Method 2: Convert MOV to WMV via Online Converter
Web-based video converters are becoming popular today. Users find it more convenient for basic conversion tasks because it requires no application to install. Even a beginner can convert MOV to WMV from a web browser. Here are the steps to follow:
- Open any browser, choose a trusted online MOV to WMV converter, and then upload the MOV video file.
- Select WMV as the output format and click Convert.
- Once converted, download the converted WMV file. Many tools automatically process the download.
You can check the results in the download folder of your system.
Advantages and Limitations of Web-Based Video Converter
| Advantages of Online Converters | Limitations of Online Tools |
|---|---|
| No software installation required | File size restrictions |
| Works on multiple devices | Internet connection required |
| Quick conversion for small files | Slower upload speed for large videos |
| Easy for beginners | Privacy concerns with sensitive videos |
What I Felt While Converting MOV to WMV
Advantages and limitations are always associated with both manual and native methods to convert MOV to WMV for free. When advantages lead, the methods seem to be more reliable, but if drawbacks lead, people deprioritize and consider them as risks. Converting MOV to WMV via VLC Media Player (which also doesn’t support UNDF format)and online tools limits people to some file sizes, quality issues, privacy concerns, etc.
So what could be the next, beyond limits solution? The answer is: a professional and top-rated video converter tool!!!
Method 3: Professional Solution to Convert MOV to WMV Easily
In difficult situations, when users need original video quality, they need stable and advanced conversion features. If you regularly work with videos or need high-quality results, the Kernel Video Converter can simplify the entire process. It supports bulk conversion, maintains video quality, handles large MOV files smoothly, and gives reliable results.
Steps to Convert MOV to WMV Using Kernel Video Converter:
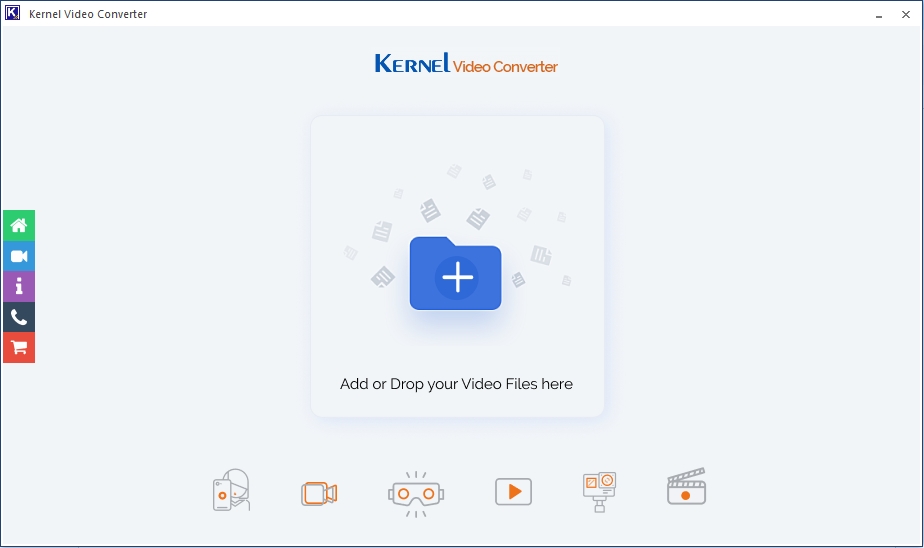
- Download, install, and open the Kernel Video Converter on your system.
- Click Add to add the MOV video files to the tool.
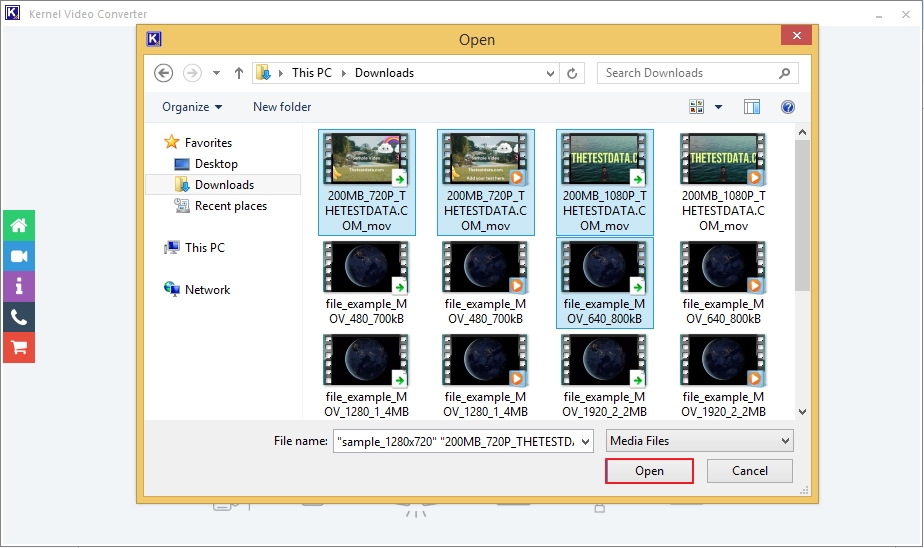
- Locate and choose MOV, then click Open.
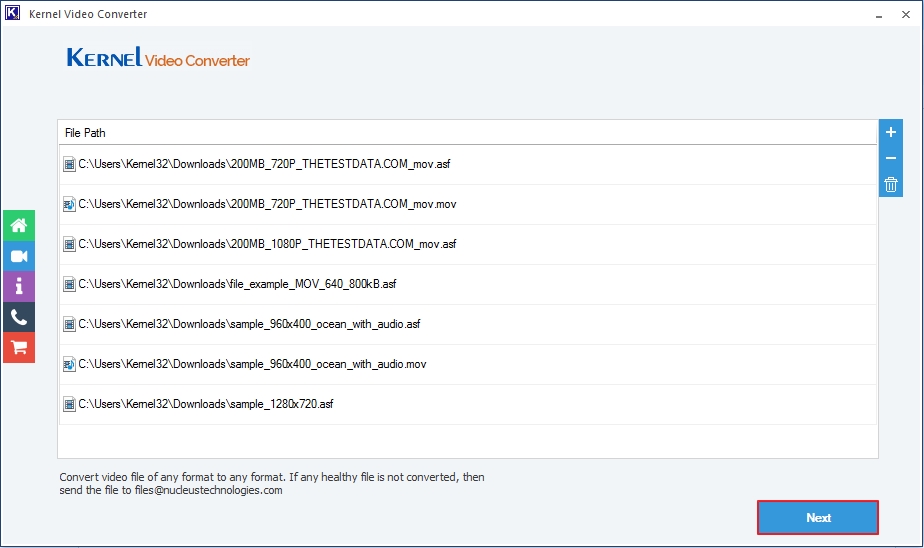
- Selected MOV files will be listed. Review them and click Next.
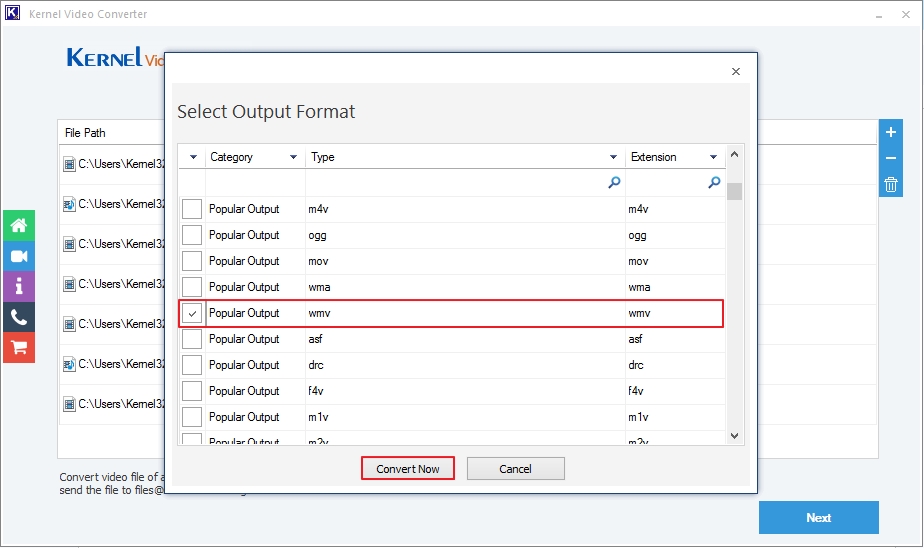
- Select WMV as the output format and click Convert Now.
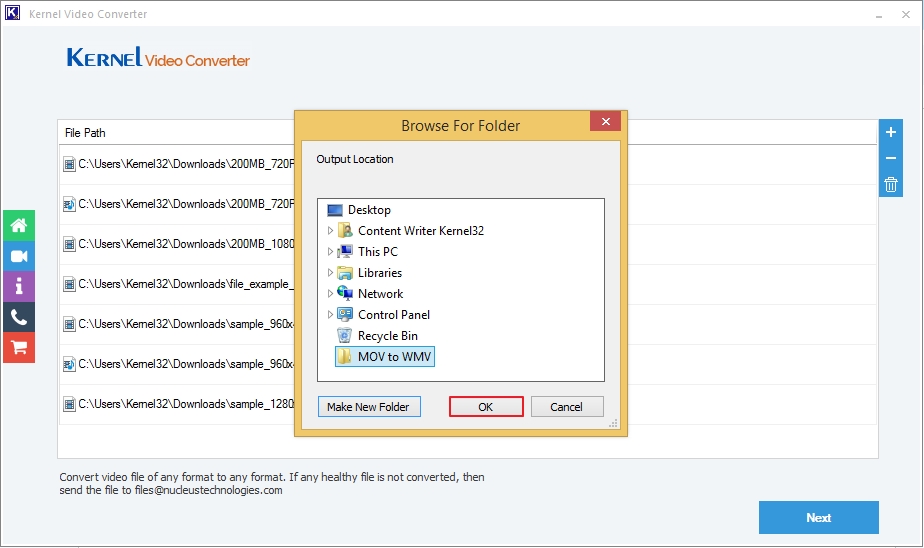
- Provide the folder location for saving your WMV output and click OK.
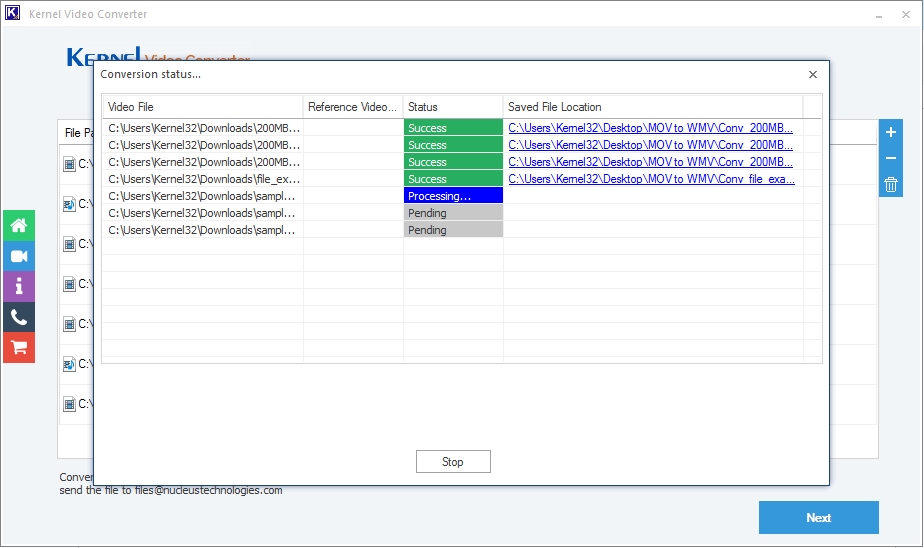
- The MOV to WMV conversion will start immediately; you can check the live status. Wait for a while.
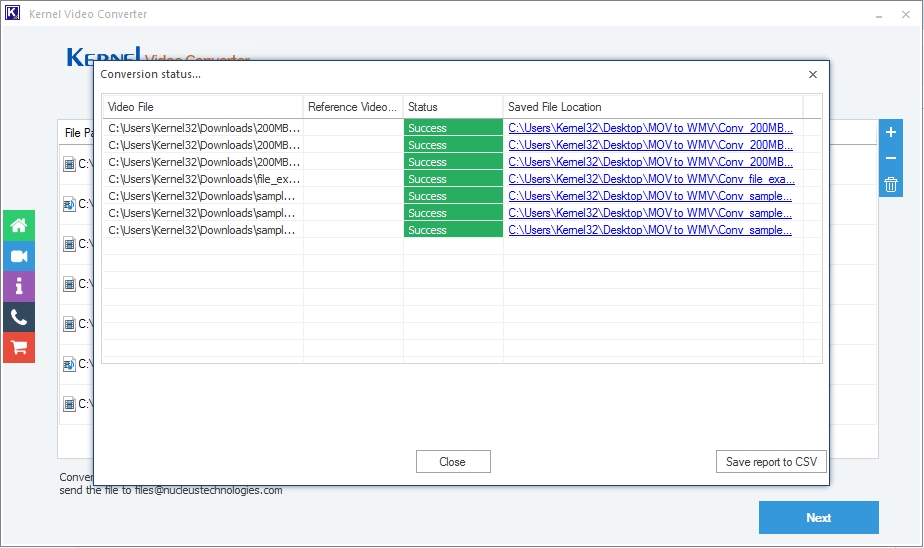
- All your converted files will be saved in the provided location. Also, you download a CSV file via Save report to CSV for record keeping.
Features You Will Get With It
- Batch video files for conversion.
- No file size restriction
- High-quality video output
- Error-free and fast processing speed
- Beginner-friendly interface
- Multiple source and output formats support
From my experience with various tools and methods for conversion, Kernel Video Converter felt much more reliable for regular use, even for bulk and large file sizes. The conversion process was simple and direct, and the resultant WMV files played smoothly on my Windows system afterwards. I would especially suggest it for users who often handle large videos for different purposes because it saves time and avoids the common problems free converters usually create.
Last Say on How to Convert MOV to WMV
Almost every regular video user should know how to convert MOV file to WMV. It is useful when you need better compatibility, smaller file sizes, & easier sharing, as well as smoother playback on Windows systems. Free online tools and VLC work well for basic needs, but for better speed, an error-free process, and video quality, choosing professional software with best practices for conversion is wise. I personally found that using a dedicated converter saves time with large and bulk video file conversion support at once.
For you, first keep enough storage in your system, then choose the right method depending on your file size, quality expectations, and daily video conversion requirements. The free trial version is out, you can download and experience the hands-on conversion process!
Frequently Asked Questions
A: VLC Media Player & online converters are the only free ways to convert from MOV to WMV. Still, they have limitations, but they can work for basic tasks.
A: You may lose video quality if you use unreliable conversion methods. To escape such issues, use only a professional video converter.