Related Posts
Configure Zimbra Mail Account in Microsoft Outlook 2019

Written By
Anisha Rawat
Updated On
December 09, 2021
Read time 4 minutes
Microsoft Outlook is one such email client that has made lives easier for all professionals. This utility allows its users to manage various email accounts, including Zoho Mail, at a single location. It can effectively organize the user’s personal and confidential information, including emails, calendar, contacts, tasks, appointments, notes, and others. A smart decision would be to add your Zimbra Mail to Outlook. It is a complex and detailed procedure that requires the utmost attention of the user. In this article, we will be discussing how to configure Zimbra Mail in Microsoft Outlook 2019.
Working individuals often use multiple email accounts. Outlook allows them to manage all accounts in a much better manner. It is essential to have knowledge about the reasons behind the need to configure Zimbra Mail in Outlook-
Zimbra Mail relies heavily on IMAP email protocol for the transfer of all its emails. To add any email account in Outlook, it can be configured manually. This involves entering all the necessary details related to the mail account and setting up the correct IMAP ports for an uninterrupted transfer of emails.
Follow these steps to configure your Zimbra mail account to Outlook 2019-
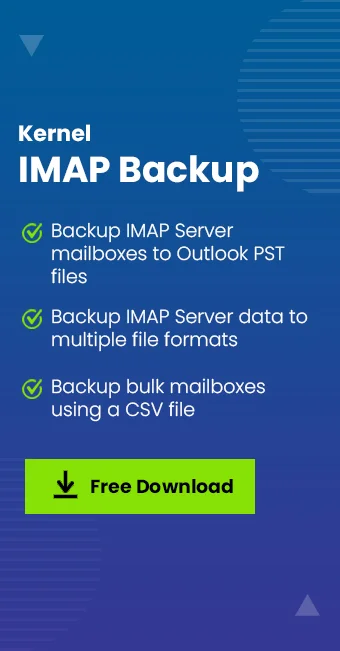
It is a wise choice to keep a backup of all your Zimbra Mail contents to avoid any loss of data even in the worst situations. This can be achieved by using the Kernel IMAP Backup to ensure the backup of single or multiple IMAP server mailboxes.
Some of the prominent features of the Kernel IMAP Backup software are-
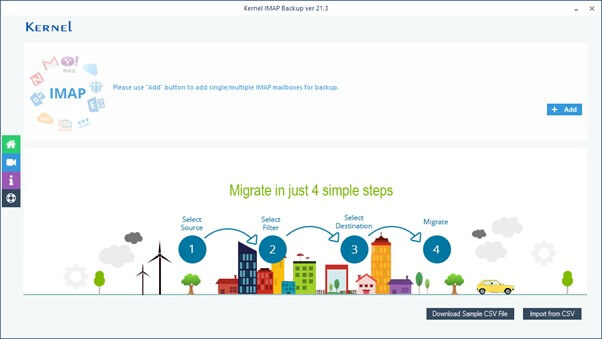
Zimbra email account must be configured in Outlook 2019 to manage data smoothly. This process is lengthy which needs the user’s attention. To back up all the important Zimbra emails, you can take the help of a professional tool like the Kernel for IMAP Backup, which is among the top 5 backup tools for IMAP users.


![How to Migrate Hostinger to Outlook? [Step-by-Step]](https://www.nucleustechnologies.com/blog/wp-content/uploads/2026/07/hostinger-to-outlook-featured.webp)