Read time 6 minutes
Over the years, Microsoft Outlook has become an important part of our daily routine. We can send/receive emails, save calendar events, create tasks, meetings, journals, and much more, as Outlook offers numerous advantageous features to enhance your work experience. All this data is stored by default in data files i.e., PST files, that are automatically created by the MS Outlook email client.
Although Outlook data files contain complete mailbox data and many times these files are used to create additional data files for different purposes like categorizing, archiving, backup, etc. Here are some simple methods that will guide you to create data files (PST), remove data files, and close them successfully.
What is a PST File?
PST file (Personal Storage Table) is the Outlook data file which is used to store all crucial information that Outlook contains. PST file is a blend of various components like inbox, outbox, drafts, contacts, notes, journals, tasks, and many more. PST files are used to archive and backup data, and for import and export between Outlook profiles or accounts.
How to add PST file in Outlook 2019, 2016, 2013 and 2010
Adding PST files in Outlook is a very simple process. It just requires a few steps to complete the full process. Another way to add PST file is you can create PST file in MS Outlook. Creating a new PST file allows you to store your email messages, contacts, calendars all in a separate file. It is helpful in situations like archiving old emails to free up some space, backing up important emails, separating work and personal email messages, etc. The methods to add PST file in Outlook are described below in detail:
- Start any version of MS Outlook 2016, 2013, or 2010.
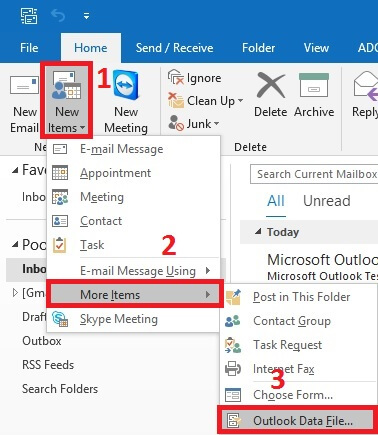
- Click New Items > More Items > Outlook Data File, see the screenshot for a better understanding.
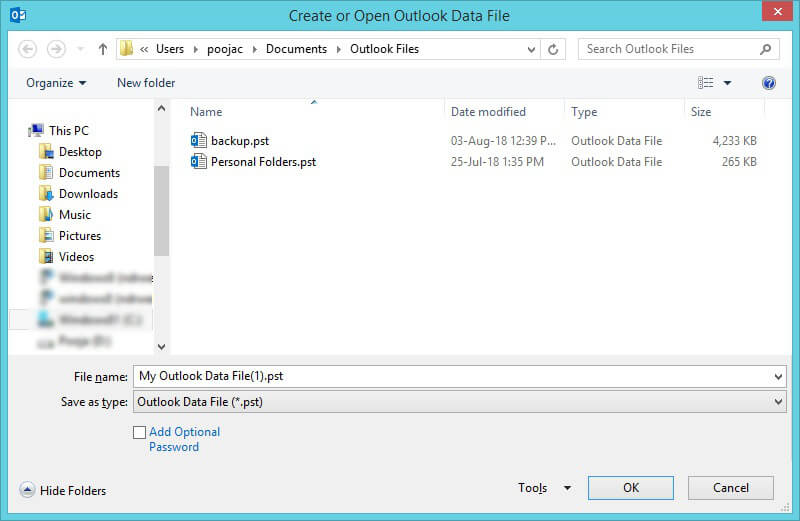
- In Create or Open Outlook Data File dialogue box enter a new name of the data file in the File Name field as per choice. Click OK and the newly created data file will appear in the left pane of Outlook 2016, 2013, & 2010.
How to close PST file from Outlook 2019, 2016, 2013 and 2010
You can add multiple data files to your Outlook profile, but when there’s no longer need of that data file, you can simply close it from Outlook. By closing a data file from Outlook, this will not delete the data file from your system. You can follow the steps mentioned below to close the Outlook data file from 2019, 2016, 2013 & 2010.
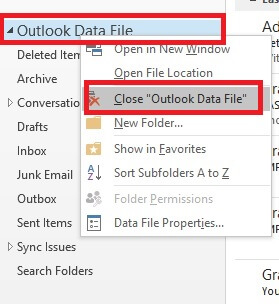
- Open MS Outlook and select the data file you want to close from the left navigation pane.
- Right-click on the data file and click Close “Outlook Data File” from the drop-down list. This will close the data file immediately.
How to remove PST file from Outlook 2019, 2016, 2013 and 2010
Sometimes, you want to remove the data file completely because it is not required anymore. Use the below steps to remove the data file:
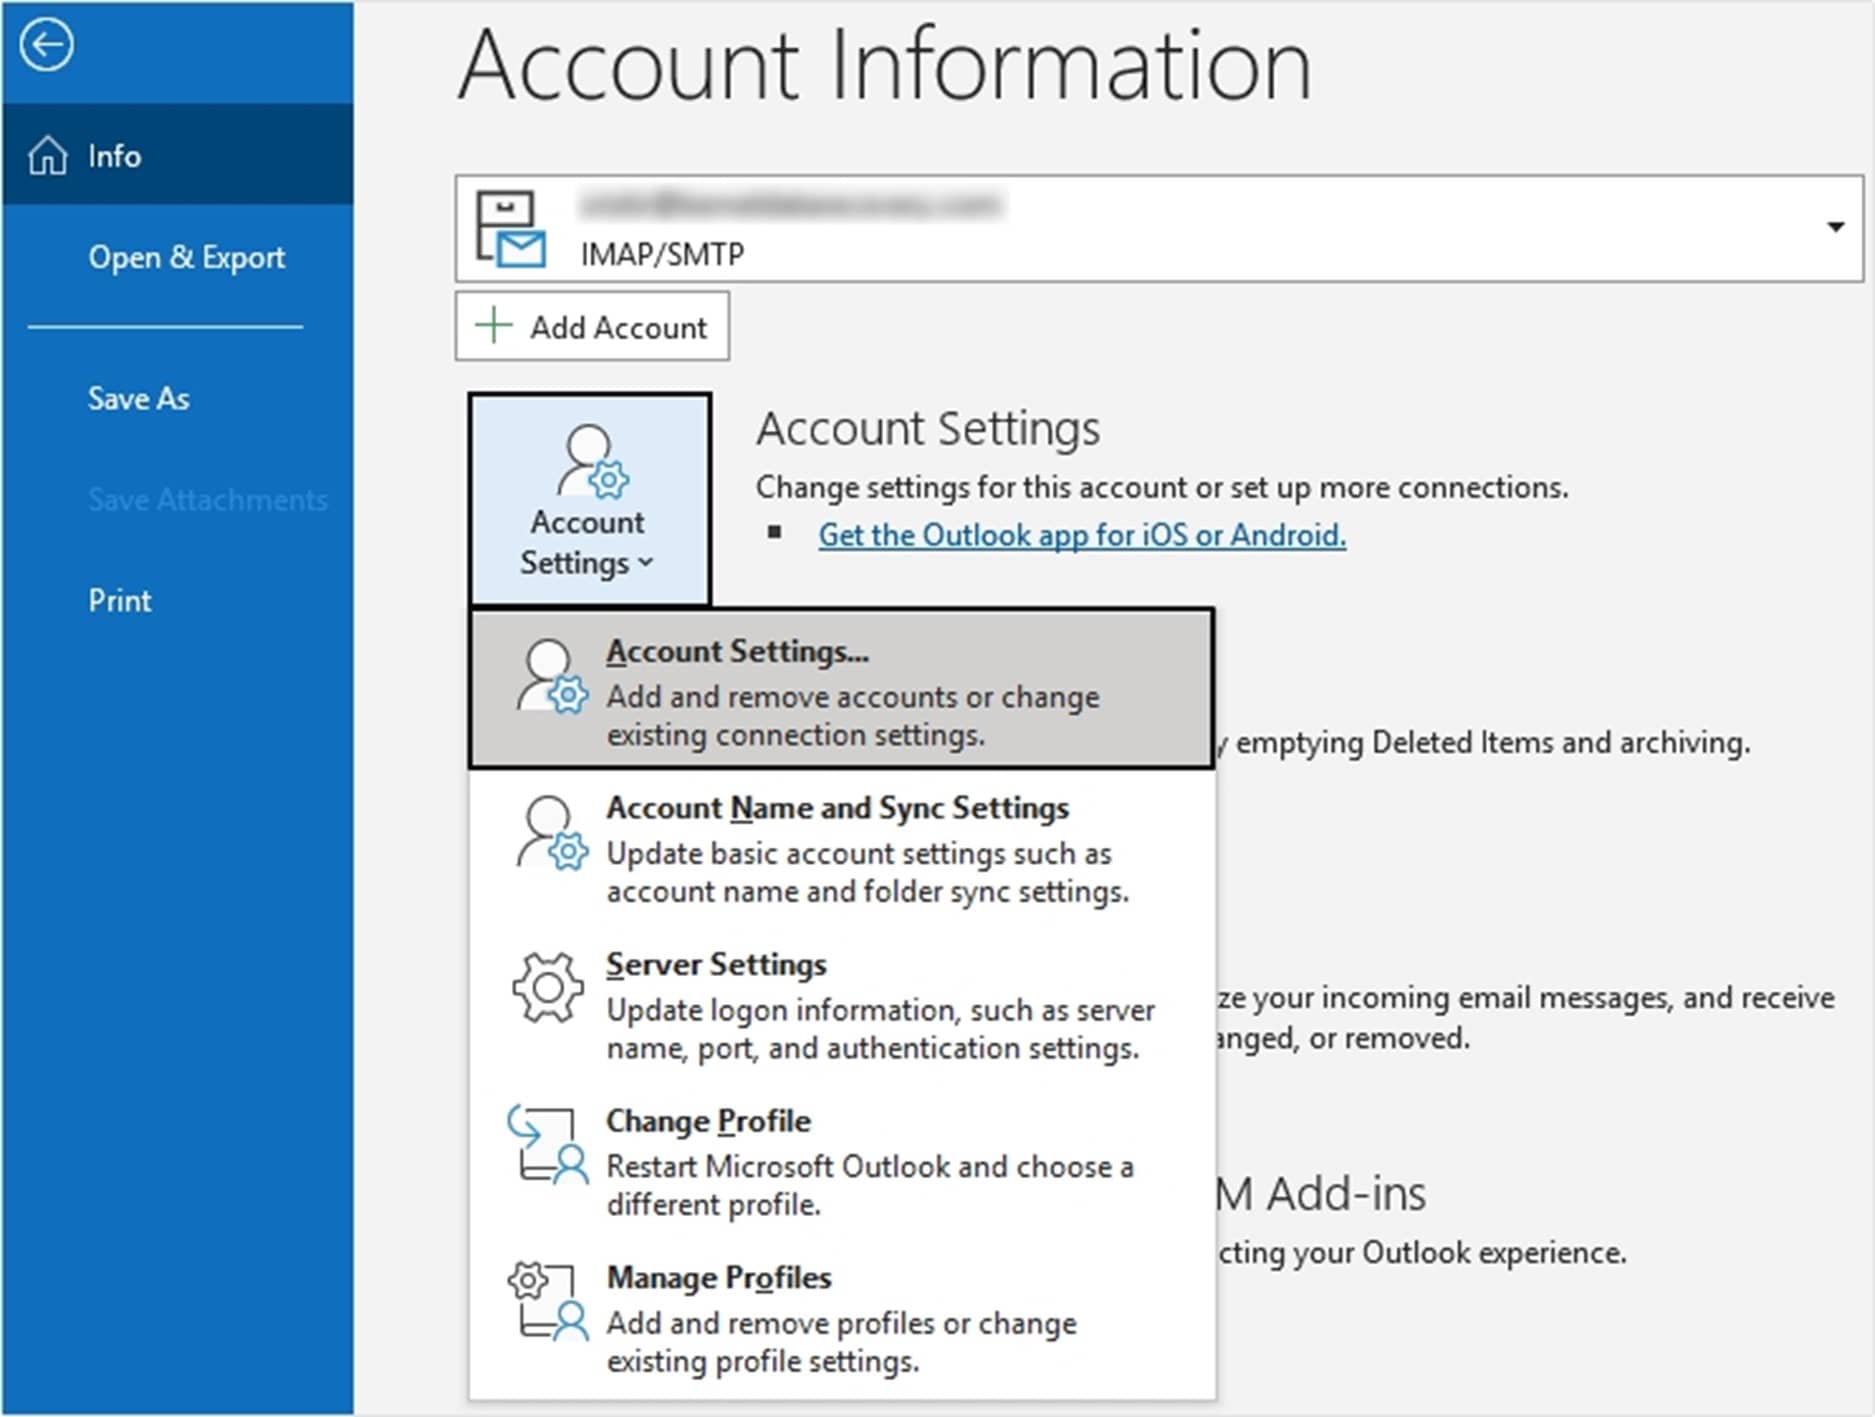
- Start MS Outlook, go to File > Info > Account Settings > Account Settings.
- Select the desired data file that you want to remove and click the Remove button. From the popped-up dialogue box choose Yes.
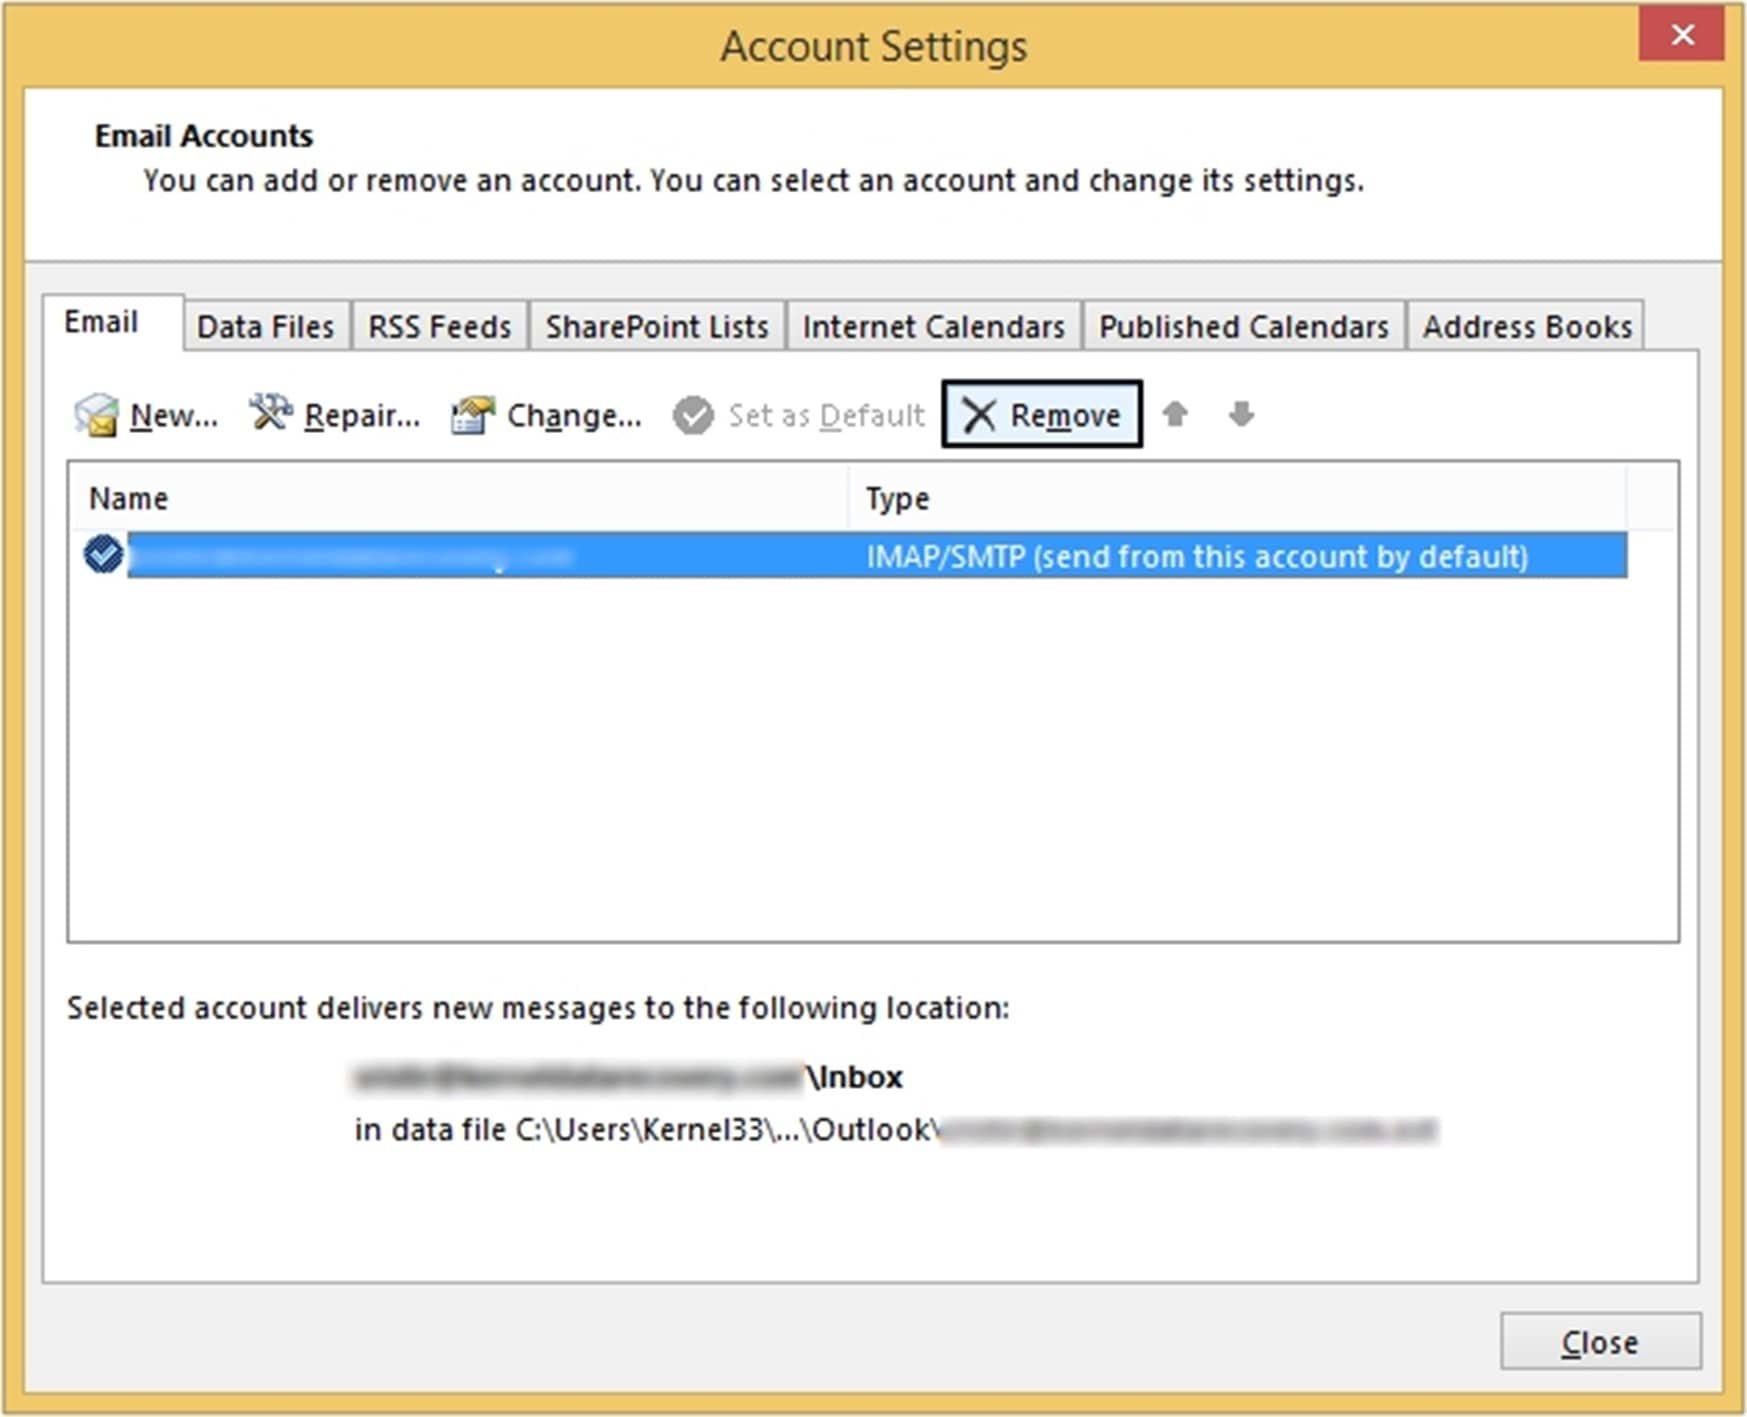
- Now, you can see a message to ask you for confirmation. Click on the Yes button.
Note: Apart from adding, closing, and removing the data file, one can also perform other tasks like archiving emails to PST.
How to archive Outlook data file
Using this method one can save the selected items in a separate archive folder. Follow the steps given below to archive Outlook data file.
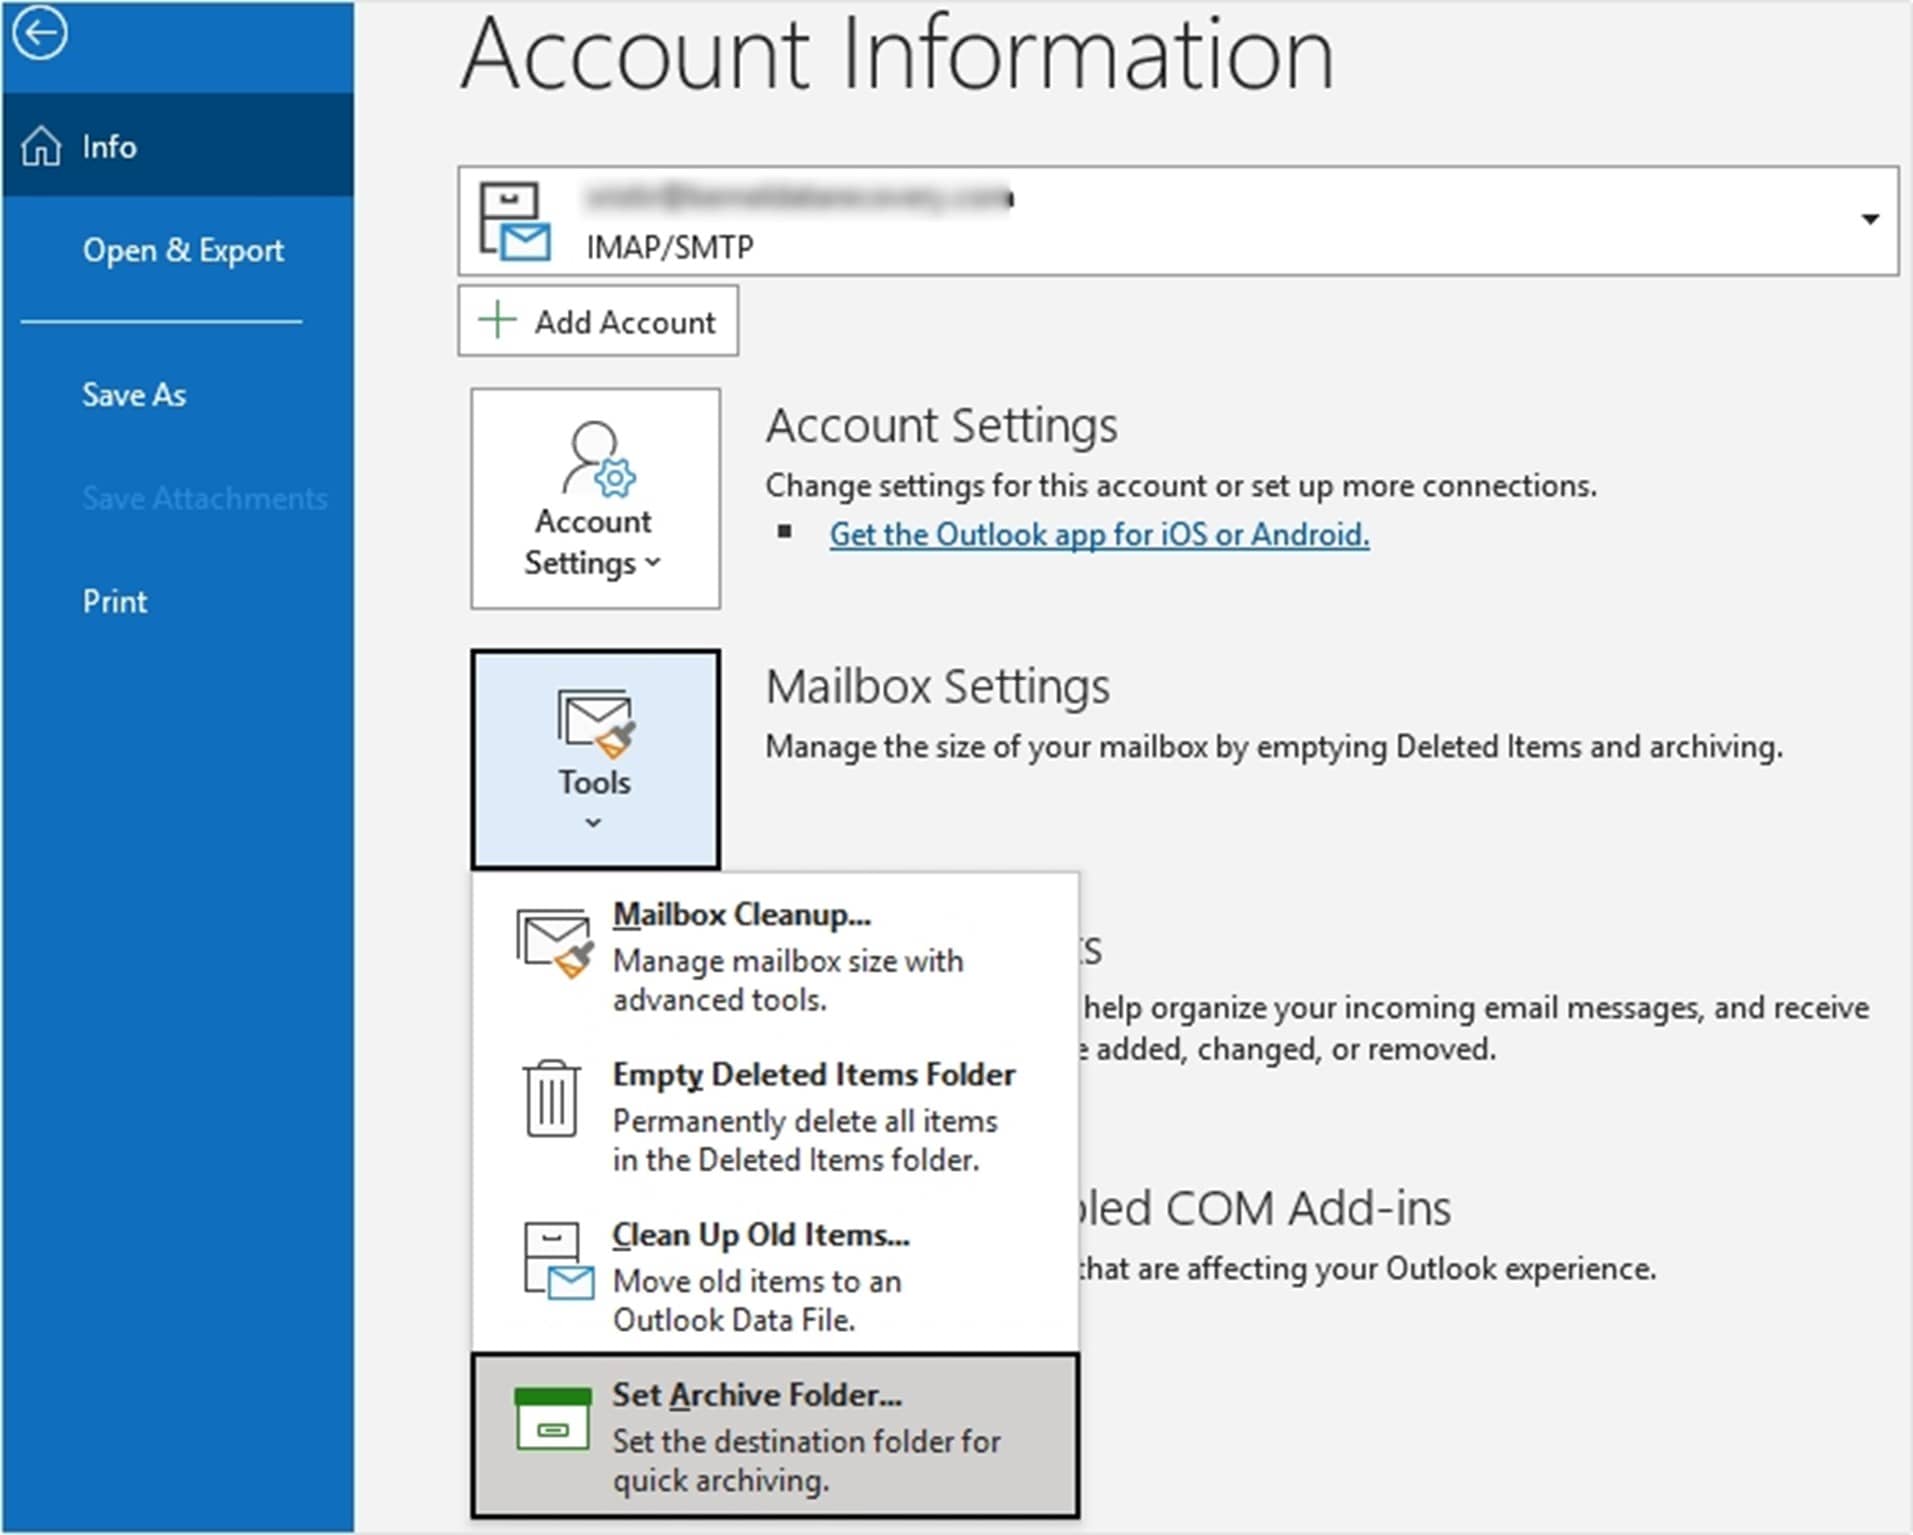
- Open Outlook, then go to File option
- Click the Mailbox setting and then click the Archive option.
- Now, select any of the option you want to archive and browse a folder location for the archive folder.
- And finally click on the OK button.
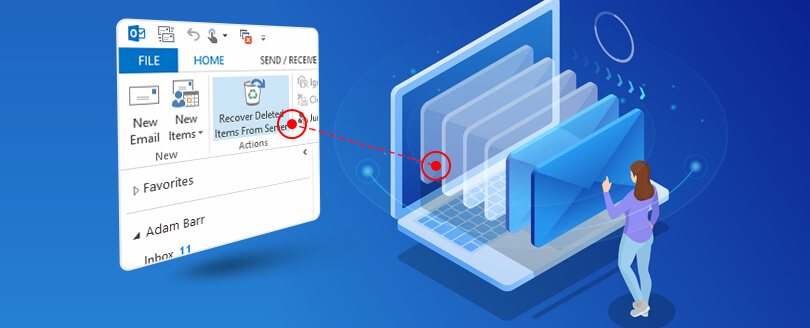
What if your data file got corrupted?
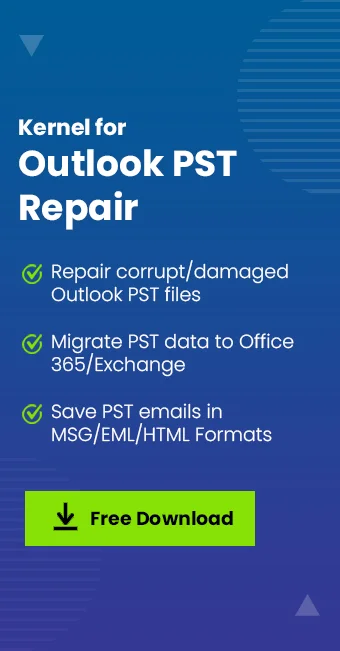
Adding, closing, and removing data files in Outlook is an easy task. But what if your data files got corrupted while performing these tasks. This situation can create various difficulties for users. You can easily fix corruption of data files with Kernel for Outlook PST Repair tool. This tool has an innovative algorithm and provides you with a bunch of advanced benefits. You can easily recover deleted emails or attachments, repair corrupted PST files, save PST files to different web mails, and many other things.
Conclusion
Users may sometimes feel the need to add, close or remove data files in Outlook. We have provided some manual methods that you can attempt for the same. However, manual methods have some limitations, and they may cause corruption in your data files. You can repair Outlook data files with a professional and reliable tool. We recommend using Kernel for Outlook PST Repair tool.